Go Back
+ servings
Creamy Beef and Shells

Creamy Beef and Shells: Comforting Family Meal in 30 Minutes

Discover the joy of Creamy Beef and Shells, a comforting dish ready in just 30 minutes!
Prep Time 10 minutes
Cook Time 20 minutes
Total Time 30 minutes
Servings: 4 servings
Course: Dinner
Cuisine: American
Calories: 450

Ingredients
  

For the Pasta
  • 8 oz Medium Pasta Shells
For the Beef Filling
  • 1 lb Ground Beef Use lean ground beef for a lighter meal.
  • 1 medium Onion Chopped.
  • 3 cloves Garlic Minced.
For the Sauce
  • 15 oz Tomato Sauce High-quality or homemade.
  • 1 cup Cream Heavy or half-and-half.
  • 1 tbsp Italian seasoning
  • 1 tbsp Mustard
Optional Add-ins
  • 1 cup Cheddar Cheese Shredded, substitute with nutritional yeast for vegan option.
  • 2 cups Vegetables Like mushrooms, spinach, or bell peppers.

Equipment

  • Large pot
  • Skillet
  • Colander
  • spatula

Method
 

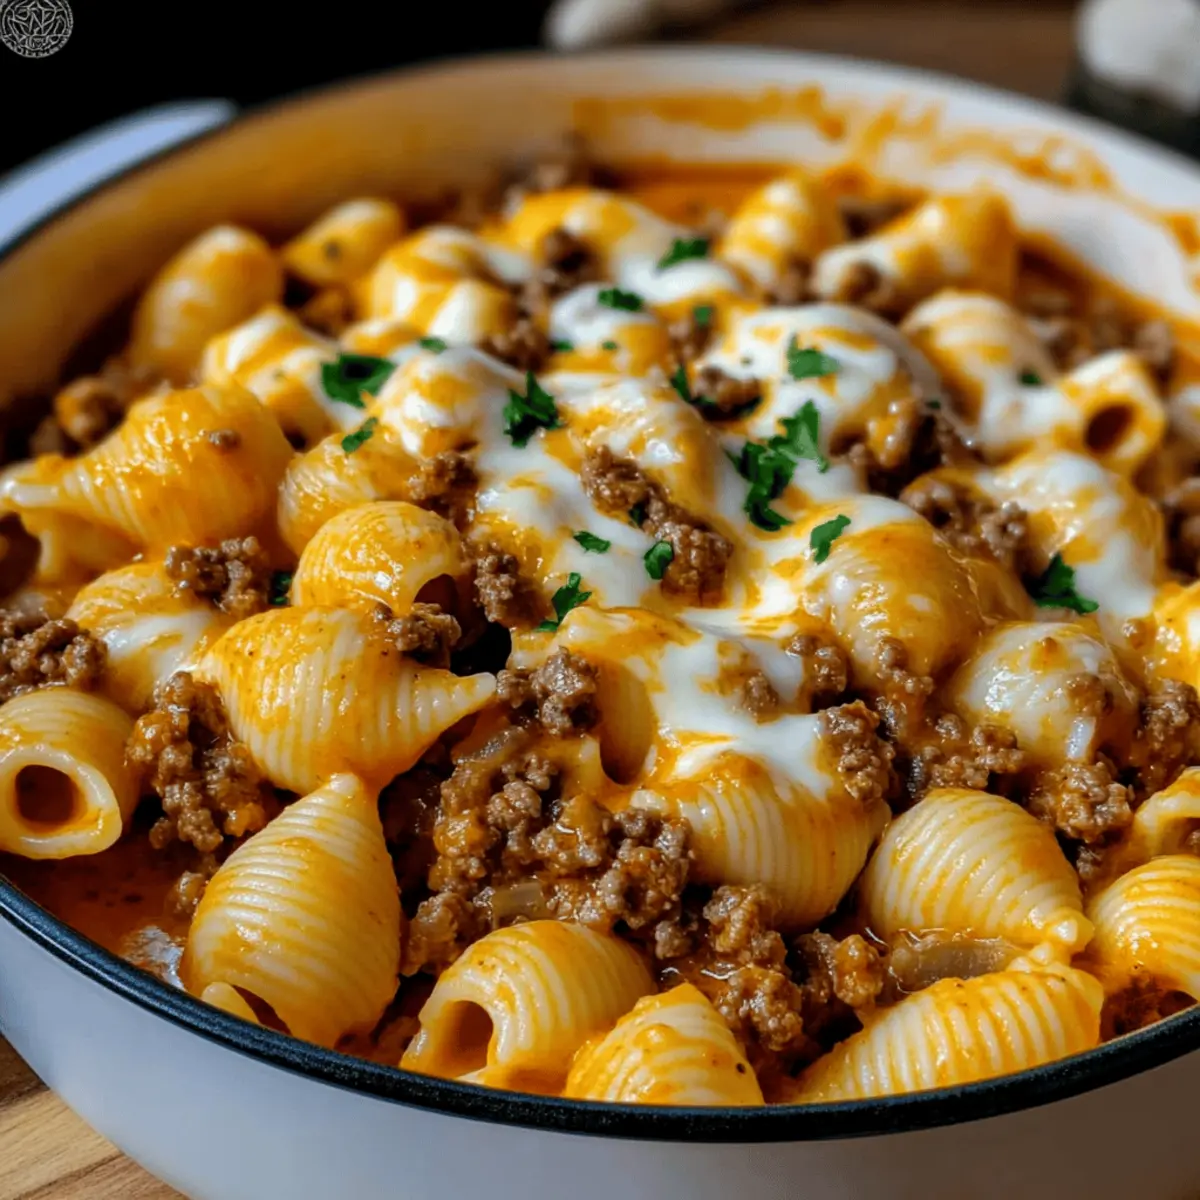
Step-by-Step Instructions for Creamy Beef and Shells
  1. Bring a large pot of salted water to a boil. Add the medium pasta shells and cook according to package instructions (8-10 minutes). Drain and set aside.
  2. In a skillet, heat 1 tablespoon of oil over medium heat. Sauté the chopped onions for 3-4 minutes until translucent. Add minced garlic and cook for 30 seconds.
  3. Add ground beef, cooking for 5-7 minutes until browned. Stir occasionally.
  4. Pour in the tomato sauce and cream, stir, and add Italian seasoning and mustard. Simmer for 5-7 minutes until thickened.
  5. Fold the drained pasta shells into the skillet with the creamy beef sauce until well-coated.
  6. If using cheese, stir in until melted. Adjust seasoning with salt and pepper as needed. Serve hot.

Nutrition

Serving: 1cupCalories: 450kcalCarbohydrates: 35gProtein: 30gFat: 20gSaturated Fat: 10gPolyunsaturated Fat: 2gMonounsaturated Fat: 6gCholesterol: 80mgSodium: 600mgPotassium: 700mgFiber: 2gSugar: 3gVitamin A: 10IUVitamin C: 15mgCalcium: 15mgIron: 20mg

Notes

Store leftovers in an airtight container for up to 4-5 days. Can be frozen for up to 3 months.

Tried this recipe?

Let us know how it was!