
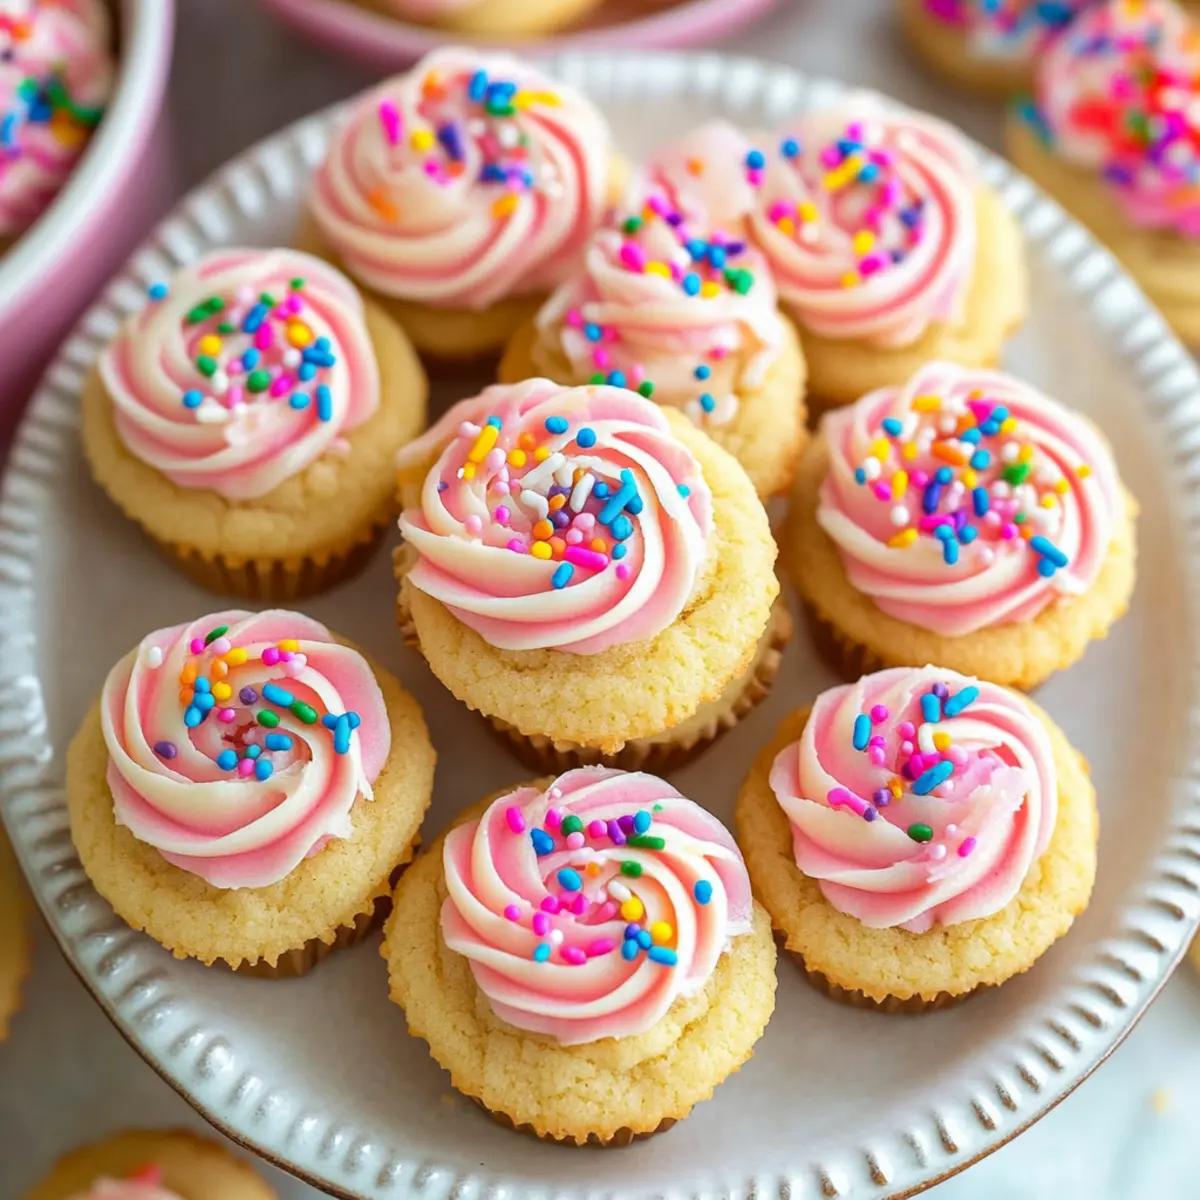
As I glanced at the remnants of last week’s cookie baking session, the idea of reimagining classic sugar cookies danced in my mind. Enter these delightful Sugar Cookie Cups, where nostalgia meets creativity. With a tender, chewy base cradling a velvety swirl of cream cheese frosting, these treats are guaranteed to bring a smile to everyone’s face. What’s even better? They’re super easy to whip up in just one bowl and are perfect for any occasion—from cozy gatherings to festive celebrations. Trust me, with the right sprinkles on top, they become an instant crowd-pleaser. Ready to take your dessert game to the next level with these charming mini delights? Let’s get baking!

Why Are Sugar Cookie Cups So Irresistible?
Delightful flavors come together in these charming sweets, blending the classic taste of sugar cookies with a creamy twist. Effortless preparation means they’re ideal for both beginner and seasoned bakers alike. Versatile options allow you to customize toppings and fillings, making them suitable for any occasion. Visually appealing with colorful sprinkles, they are perfect for gatherings and bring joy to every table. And who can resist that perfectly chewy texture paired with rich cream cheese frosting? If you love fun desserts, check out my Cheesecake Cookie Dough for another sweet treat!
Sugar Cookie Cups Ingredients
Get ready to whip up these adorable treats!
For the Cookies
- All-purpose flour – Provides the chewy structure; be sure to spoon and level it for accuracy.
- Baking soda and baking powder – These leavening agents ensure your cookie cups rise beautifully.
- Salted butter – Offers rich flavor; using it at room temperature helps with easy mixing. Can swap for unsalted butter plus a pinch of salt.
- Granulated sugar – The primary sweetener that gives these Sugar Cookie Cups their delightful sweetness and texture.
- Vanilla extract – Enhances the overall flavor profile, but feel free to use vanilla bean extract for a more luxurious touch.
- Almond extract – Adds that classic sugar cookie flavor that makes these cups irresistible.
- Large egg – Binds everything together; using one at room temperature ensures a smoother batter.
For the Cream Cheese Buttercream Frosting
- Cream cheese – Delivers that creamy richness; make sure it’s softened for easy beating.
- Butter – Adds additional creaminess to the frosting; again, softening it is key to a smooth texture.
- Powdered sugar – Sweetens the frosting; adjusting the quantity can help you achieve your desired sweetness and consistency.
- Vanilla extract – Just a touch enhances the frosting flavor even more.
- Milk – Helps achieve the perfect pipeable consistency; add gradually for the best results.
For Decor
- Sprinkles – Perfect for embellishing; use themed ones to match any occasion or festive event!
Step‑by‑Step Instructions for Sugar Cookie Cups
Step 1: Preheat the Oven
Begin by preheating your oven to 350°F (175°C). While the oven warms up, prepare two muffin pans by greasing them thoroughly with nonstick cooking spray. This step ensures that your lovely Sugar Cookie Cups release easily after baking, preventing any frustrations when it’s time to enjoy your sweet creations.
Step 2: Cream the Butter and Sugar
In a large mixing bowl, combine the softened salted butter and granulated sugar. Using a hand mixer or stand mixer, beat them together on medium speed for about 2-3 minutes, until the mixture is light and fluffy. This is a crucial step to aerate the butter, leading to deliciously chewy Sugar Cookie Cups that will impress everyone at your gathering.
Step 3: Add the Egg and Extracts
Next, crack an egg into the creamed butter and sugar mixture, along with the vanilla and almond extracts. Mix on low speed just until everything is combined and smooth. Take a moment to enjoy the delightful aroma that fills your kitchen—this flavor blend is key to achieving that classic sugar cookie taste in your delicious cups.
Step 4: Whisk the Dry Ingredients
In a separate bowl, whisk together the all-purpose flour, baking powder, baking soda, and a pinch of salt until well combined. This step ensures that the leavening agents are evenly distributed, which is essential for your Sugar Cookie Cups to rise beautifully. The next phase will have you combining both mixtures to create the dough.
Step 5: Combine Wet and Dry Ingredients
Gradually add the dry ingredients to the wet mixture, mixing on low speed until a soft dough forms. Be careful not to over-mix; just blend until everything comes together. The dough should be slightly tacky but manageable, perfect for pressing into your muffin cups for those delightful Sugar Cookie Cups.
Step 6: Press the Dough into Muffin Cups
Using a tablespoon, scoop about 2 tablespoons of dough into each greased muffin cup. Press the dough down firmly to ensure it spreads evenly across the bottom and halfway up the sides, forming a well for the frosting. Aim for even distribution to create perfectly shaped Sugar Cookie Cups that will hold their form after baking.
Step 7: Bake the Cookie Cups
Place the muffin pans in the preheated oven and bake for approximately 12 minutes, or until the edges are golden brown. Keep an eye on them as they bake; they should look puffed and slightly browned. Once they’re out of the oven, allow them to cool for at least 15 minutes in the pans.
Step 8: Create the Cup Shape
After the cookie cups have cooled slightly, gently press down the centers with a small measuring cup or the back of a spoon to create a well in each cookie. This step is essential for accommodating the luscious cream cheese frosting that will top your Sugar Cookie Cups, adding to their charming appeal.
Step 9: Make the Cream Cheese Frosting
For the frosting, beat softened cream cheese and butter together in a clean mixing bowl until smooth and creamy. Gradually add powdered sugar, vanilla extract, and a splash of milk, mixing until you reach a smooth, pipeable consistency. This creamy frosting will be the crown on your delightful Sugar Cookie Cups.
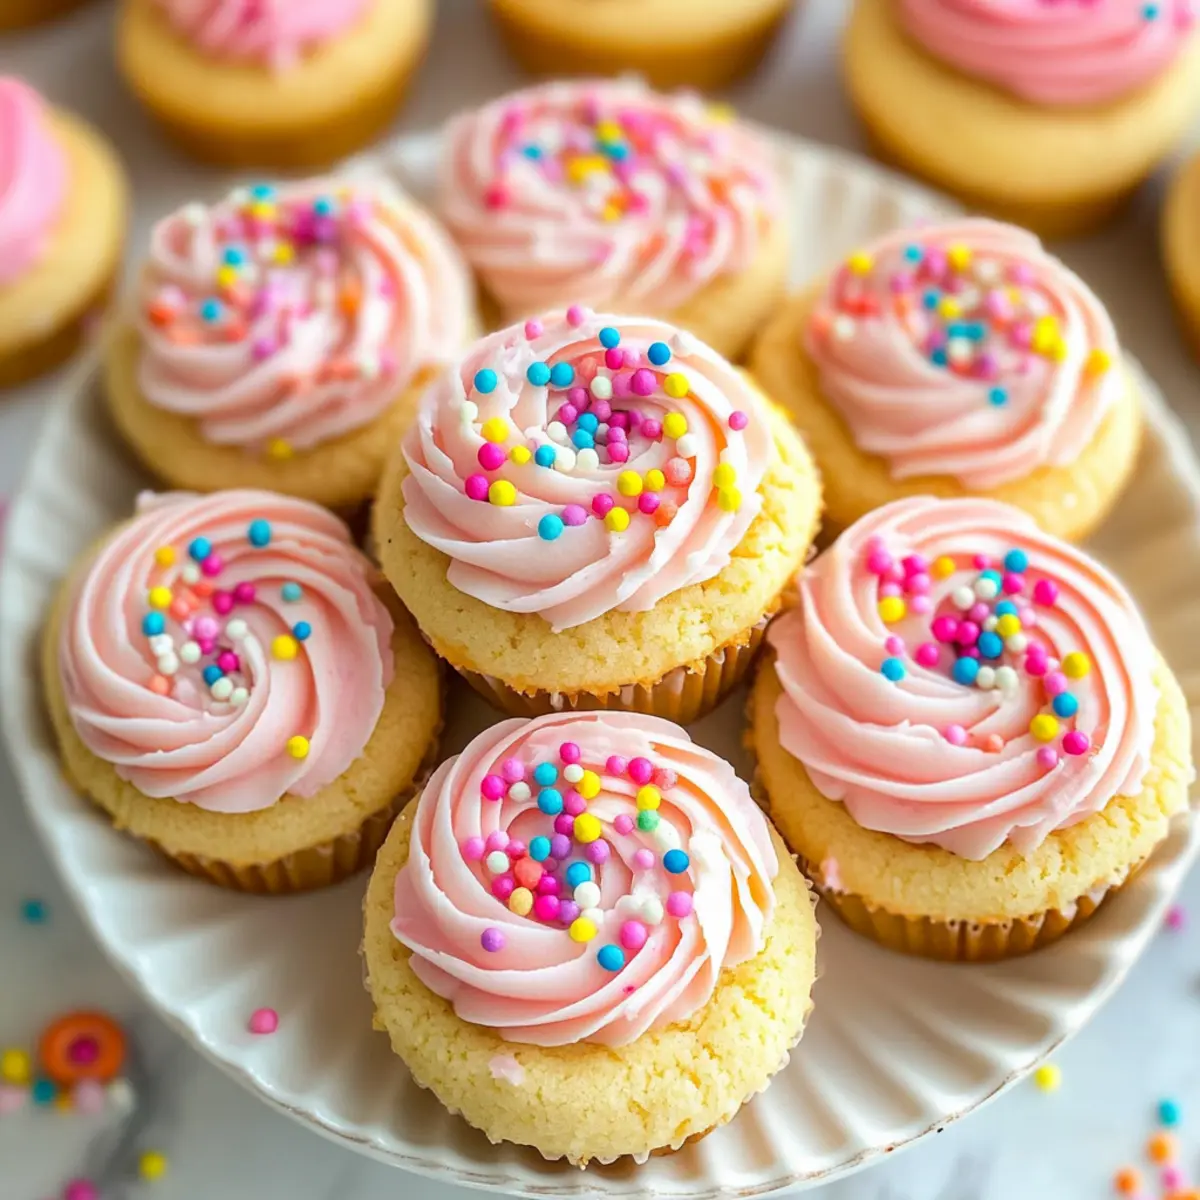
Step 10: Frost the Cookie Cups
Finally, using a piping bag or a spoon, generously swirl the cream cheese frosting into each cooled cookie cup. Feel free to get creative with the design! To add a festive touch, sprinkle colorful decorations on top. Your charming Sugar Cookie Cups are now complete and ready to bring joy to any gathering!
Storage Tips for Sugar Cookie Cups
-
Room Temperature: Store your Sugar Cookie Cups in an airtight container at room temperature for up to 1 week. This keeps them fresh and chewy, ready for enjoyment whenever you crave a sweet treat.
-
Fridge: If you prefer to keep them longer, store in the fridge for up to 2 weeks. Just remember to let them sit at room temperature for a few minutes before eating, to bring back that delightful texture.
-
Freezer: For longer storage, freeze the unfrosted cookie cups for up to 3 months in a sealed freezer bag. Thaw them in the fridge overnight before frosting and enjoying.
-
Reheating: If you’ve made a batch to enjoy later, gently reheat in a microwave for about 10-15 seconds to soften before adding frosting. Enjoy the warm bliss of freshly baked Sugar Cookie Cups!
What to Serve with Sugar Cookie Cups
These adorable treats pair beautifully with delightful sides and beverages to create a memorable dessert experience.
-
Fresh Fruit Salad: A bright, refreshing fruit salad adds a vibrant splash of color and a burst of natural sweetness, balancing the richness of the cookie cups.
-
Flavored Milkshakes: Creamy milkshakes in vanilla, strawberry, or chocolate flavors create a fun, nostalgic pairing, bringing back those childhood dessert memories.
-
Coffee or Espresso: The rich, warm flavors of coffee or espresso enhance the sweet taste of the sugar cookie cups, making for a perfect afternoon treat.
-
Chocolate Dipping Sauce: Serve with warm chocolate sauce for dunking; the combination of flavors will entice everyone to come back for more.
-
Vanilla Ice Cream: A scoop of vanilla ice cream melts delightfully over the warm cookie cups, creating an irresistible dessert that’s sure to please.
-
Gourmet Hot Cocoa: For cozy gatherings, pair with a decadent hot cocoa topped with whipped cream—this heavenly combination will warm hearts and grow smiles.
-
Spritz Cookies: Keep the theme going with a batch of spritz cookies—these delicate bites offer a lovely contrast in texture while remaining delightfully sweet.
Let your creativity flow as you mix and match these pairings; they’ll elevate your Sugar Cookie Cups to truly festive heights!
Sugar Cookie Cups Customization Ideas
Feel free to unleash your creativity and personalize your Sugar Cookie Cups for every occasion!
-
Frosting Flavors: Swap cream cheese frosting for vanilla or chocolate frosting to explore different flavor profiles. Each option adds a unique charm!
-
Gluten-Free Delight: To make gluten-free, substitute all-purpose flour with a gluten-free flour blend. It’s a simple change that allows everyone to indulge.
-
Fruity Fillings: Experiment with fillings such as fruit preserves, lemon curd, or chocolate ganache. These delicious surprises will take your cookie cups to the next level!
-
Mini Versions: Use a mini muffin pan to create adorable bite-sized cookie cups. Just adjust the baking time, and you’ll have perfect little treats to share.
-
Nutty Twist: Add chopped nuts like pecans or almonds to the dough for a delightful crunch. This adds texture that will have everyone reaching for more.
-
Seasonal Sprinkles: Change up the decor by using seasonal or holiday-themed sprinkles. Think red and green for Christmas or pastel shades for springtime gatherings.
-
Layered Indulgence: For an extra layer of fun, try layering frosting with other ingredients like whipped cream or fruit. It transforms your treat into a showstopper!
These Sugar Cookie Cups are a canvas for your imagination, so don’t hesitate to get inspired! And for more sweet fun, check out my Twix Cookies Chewy or Cheesecake Stuffed Cookies for additional delicious ideas!
Expert Tips for Sugar Cookie Cups
-
Room Temperature Ingredients: Ensure all ingredients, especially butter and egg, are at room temperature. This promotes better mixing for your Sugar Cookie Cups.
-
Avoid Over-Mixing: When combining wet and dry ingredients, mix just until combined to maintain the soft and chewy texture of the cookies.
-
Cool Completely: Allow the cookie cups to cool completely before frosting to prevent the cream cheese frosting from melting into the cups.
-
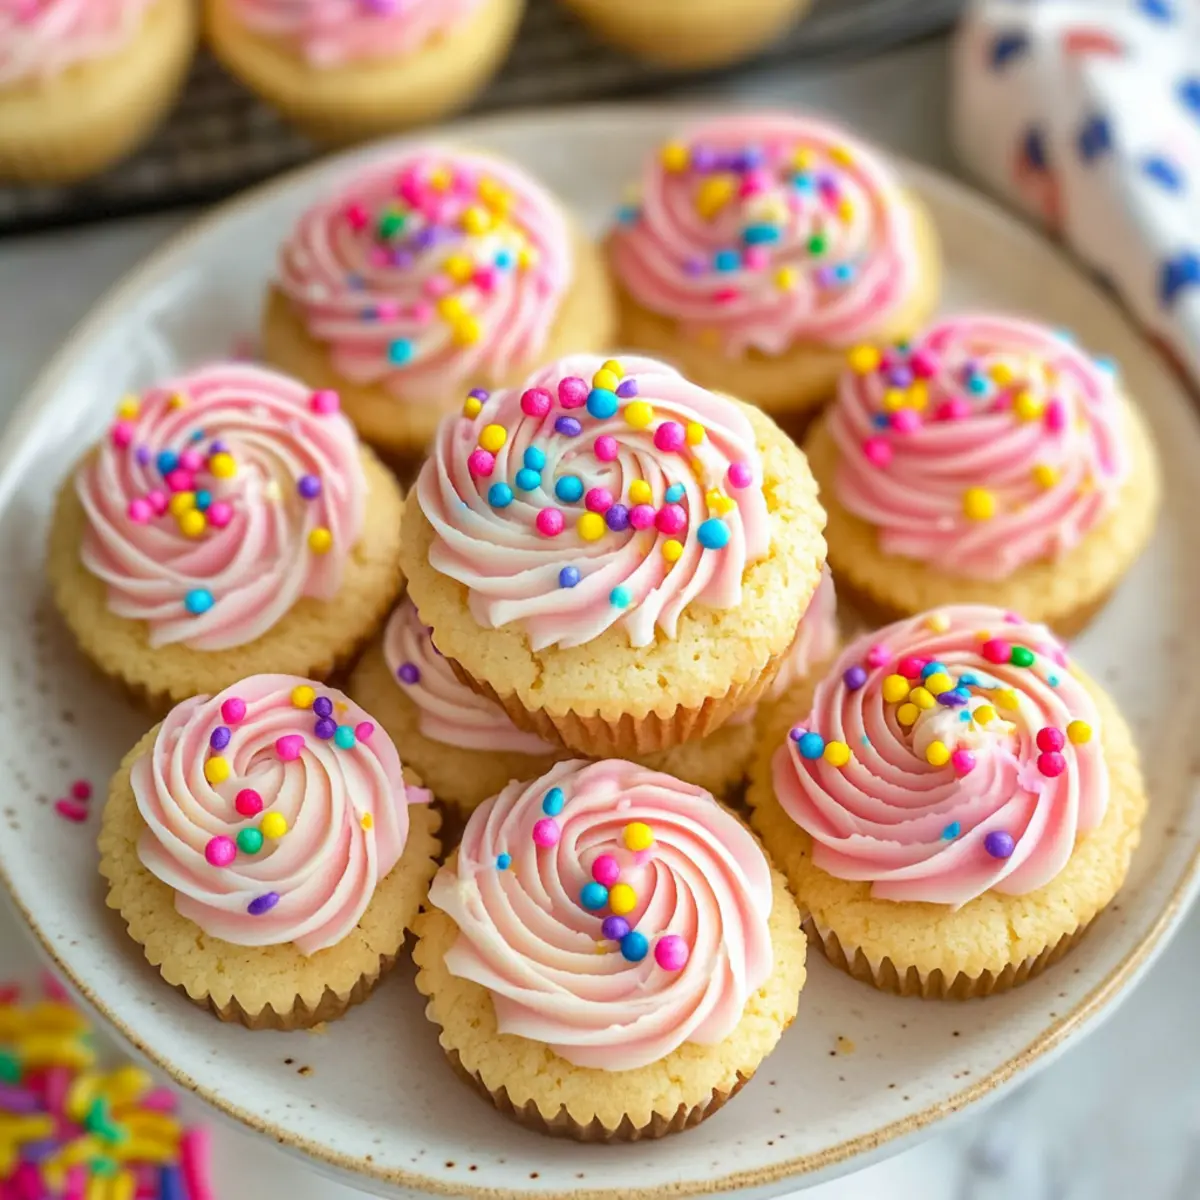
Decorative Sprinkles: Choose festive or colorful sprinkles to enhance the visual appeal of your Sugar Cookie Cups, making them perfect for any celebration.
-
Make Ahead: Prepare cookie cups up to two days in advance and frost them on the day of serving for maximum freshness and flavor.
Make Ahead Options
These Sugar Cookie Cups are a fantastic candidate for meal prep, saving you time on busy weekdays or special occasions. You can prepare the cookie cups up to 48 hours in advance; simply bake and allow them to cool completely, then store them in an airtight container at room temperature. For the frosting, whip it up the day of serving to maintain its fresh, creamy texture; this can also be made 24 hours ahead and refrigerated. Just be sure to bring it to room temperature before piping. With these make ahead options, you’ll have delicious Sugar Cookie Cups ready to impress without the last-minute rush!
Sugar Cookie Cups Recipe FAQs
What is the best way to select ripe ingredients for my Sugar Cookie Cups?
Absolutely! For the best results, ensure your butter is at room temperature—this helps to achieve a fluffy texture when creamed with the sugar. Eggs should also be at room temperature to mix seamlessly. Fresh ingredients, like vanilla and almond extracts, will enhance your cookies’ flavor, so opt for high-quality versions.
How should I store my Sugar Cookie Cups, and how long will they last?
Very good question! Store your Sugar Cookie Cups in an airtight container at room temperature for up to one week. If you want to extend their lifespan, you can refrigerate them for up to two weeks. Just let them sit out for a few minutes before enjoying to bring back their delightful chewiness!
Can I freeze my Sugar Cookie Cups, and if so, how?
Of course! To freeze your Sugar Cookie Cups, make sure they are completely unfrosted and cooled. Place them in a single layer in a sealed freezer bag, and they can be stored for up to 3 months. When you’re ready to enjoy them, simply thaw in the fridge overnight and frost them right before serving for fresh taste.
What should I do if my cookie cups aren’t forming the desired shape after baking?
If your cookies are puffing up and losing their cup shape, don’t fret! Right after you take them out of the oven, use the back of a spoon or a small measuring cup to gently press down the centers to create that lovely well. Be sure to do this while they’re still warm, as it makes shaping much easier!
Are there any dietary considerations I should keep in mind when making Sugar Cookie Cups?
Yes! If you have allergies, note that this recipe contains gluten (from the all-purpose flour) and dairy (from the butter and cream cheese). To make it gluten-free, use a certified gluten-free flour blend. If you’re making it for someone with a dairy allergy, you can substitute with dairy-free butter and a dairy-free cream cheese alternative for the frosting!
Can I make variations of my Sugar Cookie Cups with different fillings or toppings?
Absolutely! The more the merrier! You can swap out the cream cheese frosting for chocolate or vanilla frosting for a different flavor profile. Additionally, consider adding fruit preserves, lemon curd, or even chocolate ganache in the center for a surprise twist. Get creative, and have fun with it!
Sweet and Chewy Sugar Cookie Cups with Creamy Frosting
Ingredients
Equipment
Method
- Preheat your oven to 350°F (175°C) and grease two muffin pans.
- In a mixing bowl, cream the softened butter and sugar together until light and fluffy.
- Add the egg and extracts, mixing until combined and smooth.
- In another bowl, whisk together the flour, baking powder, baking soda, and salt.
- Combine wet and dry ingredients, mixing until a soft dough forms.
- Scoop about 2 tablespoons of dough into each muffin cup and press down evenly.
- Bake for approximately 12 minutes or until edges are golden brown.
- Press down the centers with a measuring cup to create wells after cooling slightly.
- For the frosting, beat cream cheese and butter until creamy, then add powdered sugar, vanilla, and milk.
- Frost the cookie cups and add sprinkles for decoration.