
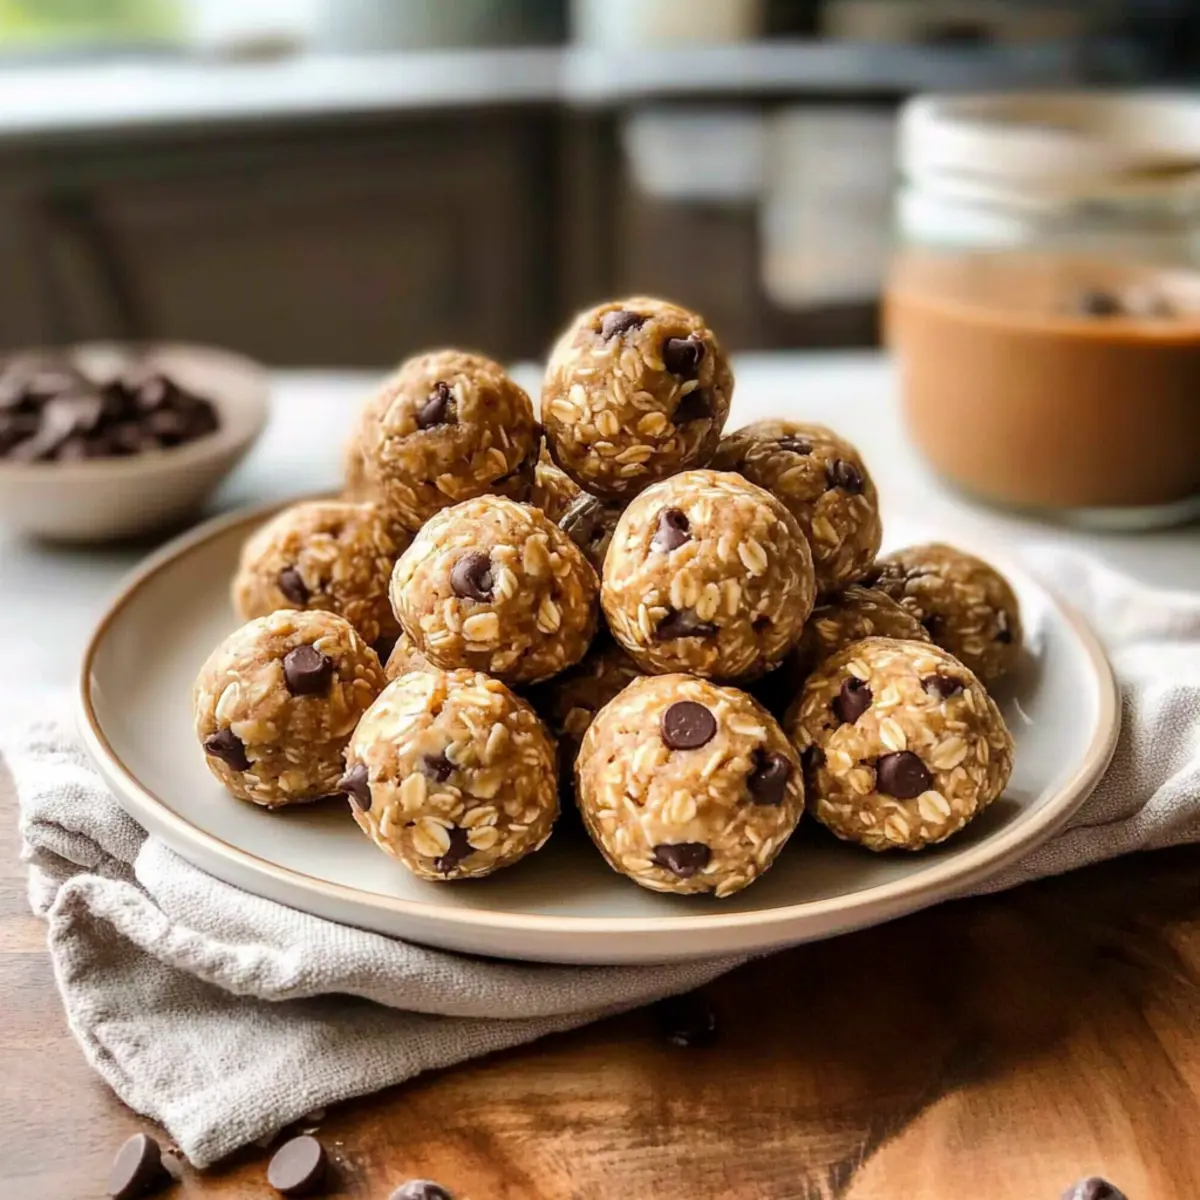
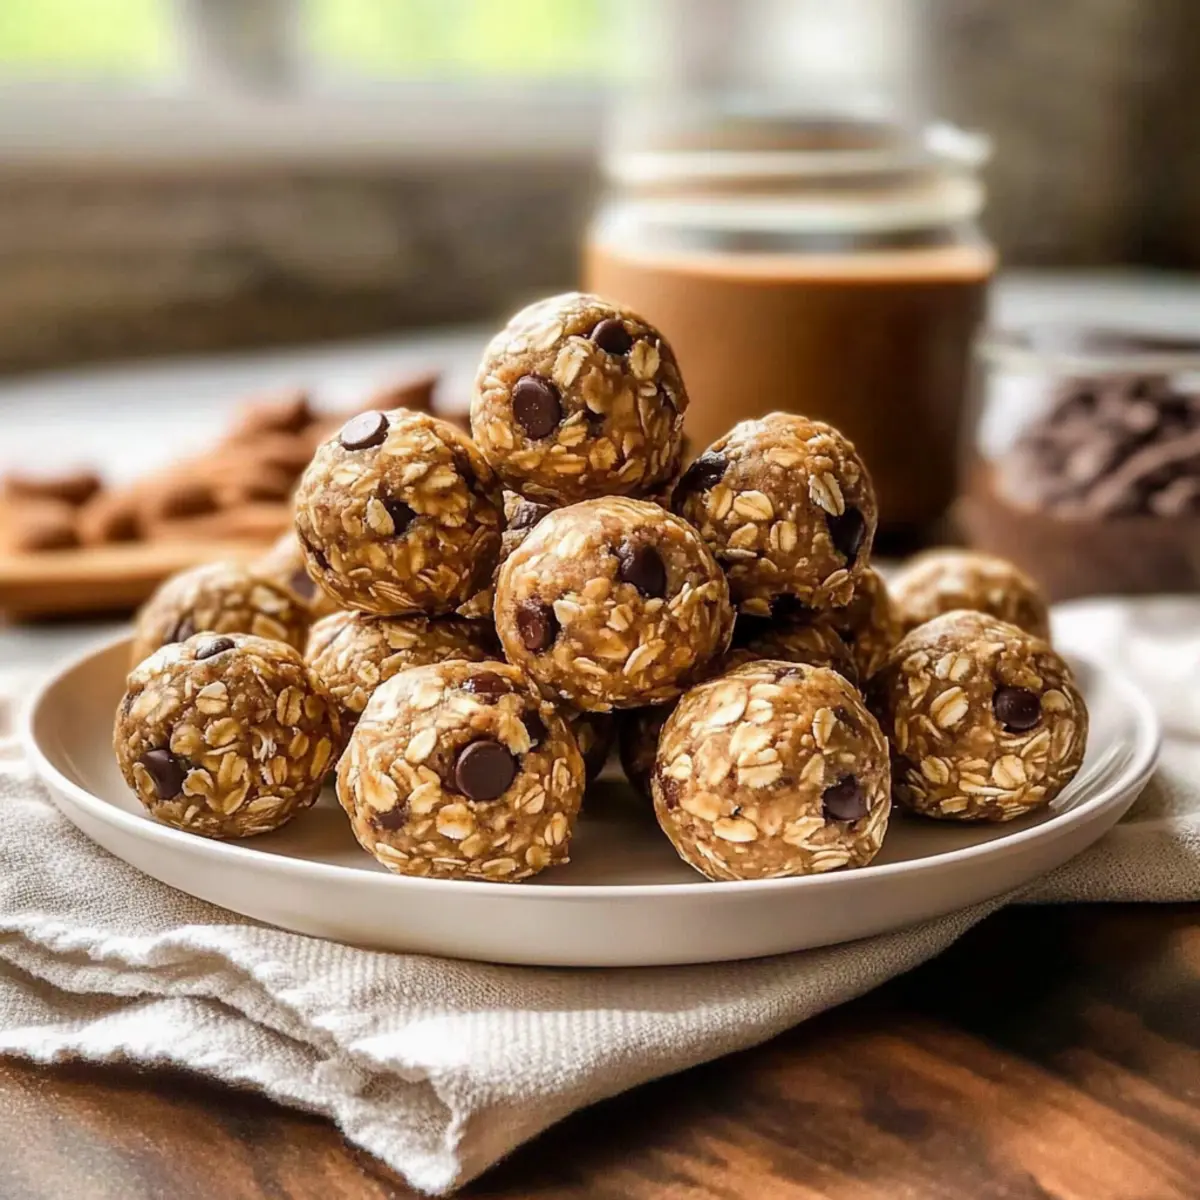
As I savored the last bite of one of these delightful Energy Bites, I couldn’t help but marvel at how something so wholesome could be made in mere minutes. These Easy and Healthy No-Bake Protein Balls are a game-changer for anyone tired of fast food or seeking a nutritious pick-me-up. Packed with the rich flavors of peanut butter, oats, and dark chocolate, they’re not only a scrumptious snack but also super simple to whip up—ready in just 15 minutes! With their protein-rich profile, they provide the perfect energy boost for busy days, keeping your hunger at bay without the guilt. Plus, the flexible nature of this recipe means you can switch ingredients to suit your taste or pantry, making them just as fun to create as they are to eat. Are you ready to discover your new favorite snack?
Why Are Protein Balls a Must-Try?
Nutritious, Delicious Snacking: These protein balls are not just snacks; they’re a wholesome treat packed with energy! Quick and Easy: With just 15 minutes of prep, you can whip up a batch without turning on the oven. Flavor Flexibility: Customize the flavors by swapping in your favorite nut butters or adding in extras like coconut or spices. Guilt-Free Indulgence: They satisfy your sweet tooth with dark chocolate chunks while keeping health in mind. Crowd-Pleasing Treat: Perfect for kids’ lunchboxes or post-workout boosts, they appeal to everyone! For more protein-packed options, check out these High Protein Pancake ideas or our delightful Pecan Pie Balls.
Protein Balls Ingredients
-
For the Base
-
Rolled oats – A hearty foundation that provides fiber; opt for gluten-free oats if necessary.
-
Peanut butter – Rich in healthy fats and helps bind the mixture; almond or sunflower seed butter make great substitutes.
-
Honey – Adds a natural sweetness and acts as a glue; maple syrup is a good vegan option.
-
For the Protein Boost
-
Protein powder – Elevates the protein content, perfect for muscle recovery; consider plant-based protein for a vegan version.
-
Chia seeds – Packed with omega-3 fatty acids and fiber for added health benefits; flaxseeds can be used instead.
-
For Flavoring
-
Vanilla extract – Enhances the overall flavor profile; can be omitted for those who prefer a simpler taste.
-
Salt – A pinch balances sweetness and elevates all flavors.
-
For a Sweet Treat
-
Dark chocolate chips – Indulge in a rich flavor while enjoying the health benefits; replace with dried fruits for a different twist.
These delicious protein balls are sure to become your go-to healthy snack!
Step‑by‑Step Instructions for Easy and Healthy No-Bake Protein Balls
Step 1: Prepare Workspace
Clear your countertop to create a clean, organized space for making your protein balls. Line a tray or baking sheet with parchment paper to prevent sticking and ensure easy cleanup later. Keeping everything tidy will help you focus as you whip up these delightful treats in just 15 minutes.
Step 2: Combine Dry Ingredients
In a large mixing bowl, add rolled oats, protein powder, chia seeds, and a pinch of salt. Stir these dry ingredients together until they are well combined and evenly distributed. This base will give your protein balls their hearty texture, so ensure there are no clumps before moving on to the next step.
Step 3: Incorporate Wet Ingredients
Pour in the peanut butter, honey, and vanilla extract into the bowl with your dry mix. Using a sturdy spoon or spatula, mix the ingredients thoroughly until they meld into a thick, sticky consistency. You should see the ingredients coming together, forming a cohesive dough that holds together well—this is the heart of your protein balls.
Step 4: Add Chocolate Chips
Gently fold in the dark chocolate chips, ensuring they are evenly distributed throughout the mixture. This step adds a lovely richness to your protein balls, balancing health with a hint of indulgence. Aim for a nice sprinkle of chocolate in each bite while being careful not to over-mix, which could break apart the oats.
Step 5: Check Texture
Evaluate the texture of your mixture; it should be moist but not overly sticky. If the mixture feels too sticky, add a few more oats to absorb excess moisture. Conversely, if it’s too dry, drizzle in a touch more honey or peanut butter to achieve a perfect balance—this step is crucial for the final consistency of your protein balls.
Step 6: Form Balls
Using a tablespoon, scoop out the mixture and roll it into a smooth ball between your palms. Each ball should be about the size of a golf ball—don’t worry about perfection, as the beauty of homemade protein balls lies in their rustic charm. Place each formed ball on the lined tray, leaving some space between them.
Step 7: Chill
Refrigerate the tray of formed protein balls for about 20 minutes to allow them to set properly. This cooling time will help the balls firm up, making them easier to handle. While you wait, you can admire your handiwork and prepare for the delightful moment when you can finally enjoy your nutritious snacks!
Step 8: Serve or Store
Once chilled, your delicious protein balls are ready to be enjoyed! You can serve them immediately or store any leftovers in an airtight container in the fridge for up to a week. For longer freshness, consider freezing them; these easy-to-make protein balls will be your go-to snack ready when you need a quick energy boost!

Protein Balls Variations & Substitutions
Feel free to customize these protein balls for a delightful twist that suits your cravings and pantry!
-
Nut Butter Swap: Use almond or sunflower seed butter instead of peanut butter for a unique flavor profile. It’s a fun way to experiment with the base texture and taste.
-
Sweetener Alternatives: Swap honey with maple syrup for a vegan-friendly option. This change will not only cater to dietary needs but also impart a gentle caramel-like sweetness.
-
Coconut Crunch: Add shredded coconut to the mix for a tropical texture and flavor. The added chewiness makes each bite enjoyable, bringing a whole new dimension to your energy balls.
-
Spiced Up: Incorporate a dash of cinnamon or nutmeg for added warmth. This aromatic touch transforms the protein balls into a cozy treat, perfect for chilly days or holiday gatherings.
-
Fruit Infusion: Mix in dried fruit like cranberries or apricots instead of chocolate chips for a chewy, fruity alternative. This substitution creates a refreshing balance of sweetness and tartness in each bite.
-
Mini Bites: Roll smaller balls for a kid-friendly snack option. With bite-sized treats, kids can enjoy these protein-packed bites easily, making them perfect for lunchboxes or after-school snacks.
-
Nut-Free Delight: Replace chia or flaxseeds with pumpkin seeds to keep the balls nut-free while still benefiting from added crunch and nutrients. This version ensures everyone can enjoy them without allergy concerns.
For even more energy-rich ideas, give our High Protein Pancake recipe a try or indulge in some sweet Tiramisu Balls Bake. Happy customizing!
Make Ahead Options
These Easy and Healthy No-Bake Protein Balls are perfect for meal prep, allowing you to stock up on nutritious snacks for your busy week ahead! You can mix the dry ingredients (rolled oats, protein powder, chia seeds, and salt) and store them in an airtight container up to 3 days in advance. Additionally, you can form the balls and refrigerate them for up to 24 hours before serving. Just remember to keep the protein balls in the fridge to maintain their shape and texture. When you’re ready to enjoy, you can either serve them cold or let them sit at room temperature for a few minutes to soften slightly. This prep ahead strategy saves you time and ensures you have a healthy treat on hand whenever hunger strikes!
What to Serve with Easy and Healthy No-Bake Protein Balls
Pairing delightful accompaniments with your protein balls elevates your snack experience. Picture yourself indulging in these energy bites while savoring contrasting textures and flavors!
-
Fresh Fruit Salad: A medley of colorful fruits adds a refreshing contrast to the chewy protein balls. Try pairing with berries for a sweet-tart explosion of flavors.
-
Greek Yogurt Parfait: Layered with creamy yogurt and crunchy granola, a parfait enriches your snack and provides a balance of protein and probiotics.
-
Nutty Granola Bars: The crunchy texture and nutty flavors complement the soft, chewy nature of the protein balls, creating a memorable snacking duo.
-
Nut Butter Dipping Sauce: A drizzle of your favorite nut butter can enhance the protein punch while providing a delightful creaminess.
-
Matcha Latte: Pair these protein-packed snacks with a warm or iced matcha latte for an energizing boost that complements their wholesome goodness.
-
Dark Chocolate-Covered Almonds: For an extra treat, enjoy these as a side; they offer a crunchy texture and rich taste to balance the soft protein balls.
-
Coconut Chia Pudding: The creaminess of chia pudding blended with coconut notes pairs beautifully, creating a wholesome and indulgent snack spread.
-
Spiced Cinnamon Tea: Enjoy these bites with a warm cup of cinnamon tea for a comforting pairing that enhances their wholesome flavors.
Elevate your protein balls by complementing them with these delicious pairings, making your snack time a truly sensational experience!
Tips for the Best Protein Balls
-
Choose the Right Oats: Rolled oats are ideal for texture, but if your mixture is too gritty, consider blending them into a finer flour for a smoother bite.
-
Moisture Matters: If your protein balls are dry, adding a little more honey or nut butter can help them stick together beautifully for a perfect protein ball.
-
Chill for Perfection: Refrigerating your protein balls for at least 20 minutes helps them hold their shape, ensuring a satisfying chew every time.
-
Experiment with Flavors: Don’t hesitate to try different nut butters or add-ins like spices or dried fruits; flexibility is key to finding your favorite protein balls.
-
Mind the Mix: Stir gently when incorporating chocolate chips, as vigorous mixing can break down the oats, affecting the overall texture of your protein balls.
How to Store and Freeze Protein Balls
Fridge: Store protein balls in an airtight container for up to one week. This keeps them fresh and ready for snacking throughout your busy days.
Freezer: For longer storage, freeze protein balls in a single layer on a baking sheet, then transfer to a freezer-safe bag for up to three months.
Thawing: To enjoy, simply remove the desired amount from the freezer and let them sit at room temperature for about 15 minutes before indulging.
Reheating: These no-bake protein balls are best enjoyed chilled, so there’s no need to reheat—just grab and go!

Protein Balls Recipe FAQs
What type of oats should I use for protein balls?
Absolutely! Rolled oats are the best option for these protein balls, as they provide the perfect texture and cohesion. If you’re looking for a gluten-free version, simply opt for certified gluten-free rolled oats. They hold together well and create that satisfying chew. If you prefer a smoother texture, you can blend the oats into a finer flour to suit your taste!
How should I store protein balls?
To keep your protein balls fresh, store them in an airtight container in the fridge for up to one week. This method works great for daily snacking. Alternatively, if you want to extend their shelf life, you can freeze them—just place them in a single layer on a baking sheet first, then transfer to a freezer-safe bag. They’ll stay fresh for up to three months!
Can I freeze protein balls?
Very! Freezing your protein balls is a fantastic option. After forming the balls, lay them out on a baking sheet and freeze them for about an hour. Once firm, transfer them to a freezer-safe bag or container. To enjoy them later, simply pull out the desired amount and let them thaw at room temperature for about 15 minutes before indulging!
What should I do if my mixture is too dry or sticky?
If you find your mixture to be too dry, adding a tablespoon of honey or nut butter will help bind everything together nicely. On the other hand, if it’s too sticky and hard to handle, simply mix in a little more rolled oats until you achieve the right consistency. Adjusting these ingredients is key to crafting the perfect protein balls, so don’t hesitate to make minor tweaks!
Are there any dietary considerations I should keep in mind?
Yes, definitely! If you’re making these protein balls for children or individuals with allergies, ensure that all ingredients are safe for consumption. For a nut-free alternative, use sunflower seed butter instead of peanut butter. Additionally, always check labels for potential allergens in the protein powder or chocolate chips you choose. It’s so important to cater to everyone’s dietary needs, and thankfully, these protein balls offer plenty of flexibility!
Can I use different types of nut butter?
Absolutely! One of the joys of making protein balls is the flexibility in flavors. You can easily swap peanut butter for almond butter or cashew butter. Each variation will impart its unique taste and adjust the health benefits slightly, so feel free to experiment until you find your favorite combination!
Nutty Protein Balls for Quick Energy and Flavorful Bites
Ingredients
Equipment
Method
- Prepare Workspace: Clear your countertop and line a tray with parchment paper.
- Combine Dry Ingredients: Mix rolled oats, protein powder, chia seeds, and salt in a bowl.
- Incorporate Wet Ingredients: Add peanut butter, honey, and vanilla to the dry mixture and combine well.
- Add Chocolate Chips: Fold in dark chocolate chips gently.
- Check Texture: Adjust moisture with more oats or nut butter as needed.
- Form Balls: Scoop and roll the mixture into golf ball-sized balls.
- Chill: Refrigerate the formed balls for about 20 minutes.
- Serve or Store: Enjoy immediately or store in an airtight container.