
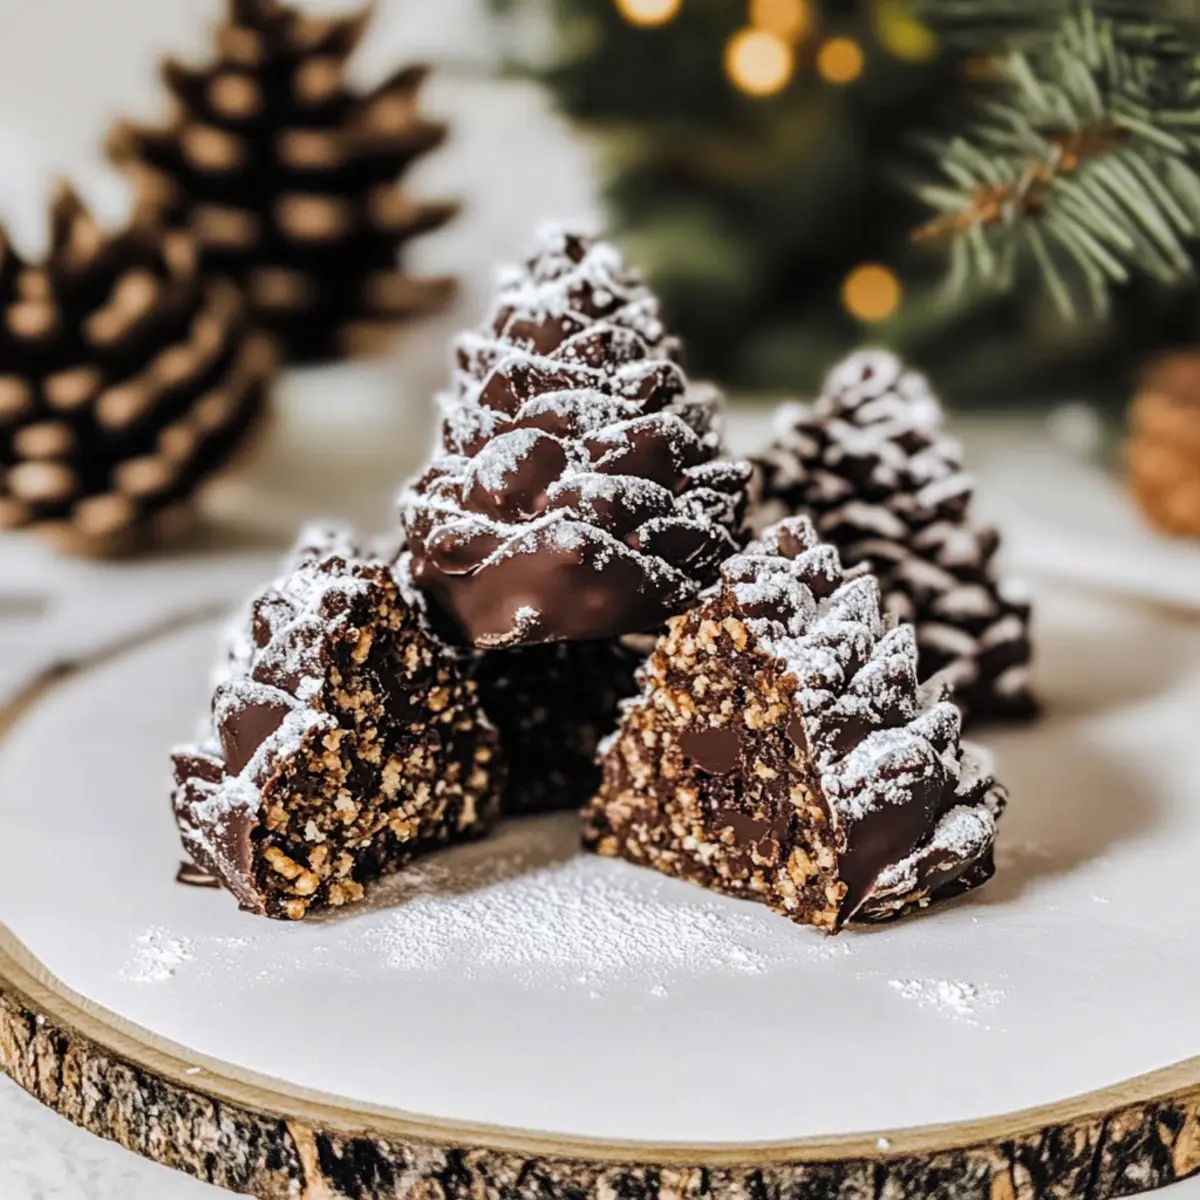
As I stirred the chocolate and cereal together, I couldn’t help but feel like a kid again, excited by the simple joy of creating something festive. These No-Bake Pine Cone Truffles are not only an adorable, holiday-inspired treat but also a beautifully crunchy dessert that comes together without ever turning on the oven. Perfect for those of us who crave homemade delights yet may not have the most time to spare, these truffles are a delightful treat to share at gatherings or as thoughtful edible gifts. The combination of rich chocolate and delightful textures will leave your friends and family enchanted. Curious how this enchanting treat comes to life? Let’s dive in!
Why are Pine Cone Truffles a must-try?
Festive Fun: These Pine Cone Truffles are the perfect blend of whimsy and flavor, making them a hit at any holiday gathering.
No-Bake Goodness: No oven needed means you can whip these up quickly, saving you time for other festive preparations.
Crowd-Pleasing Delight: With their unique shape and crunchy texture, these truffles are sure to impress friends and family, sparking joy at cookie exchanges or dessert tables.
Customizable Options: Make them your own! Switch up the chocolate or cereal for a personalized twist—try them with white chocolate bark or add nuts for an extra crunch!
Don’t miss out on more delicious ideas like Key Lime Truffles and Chicken Pineapple Quesadillas to round out your festive menu!
Pine Cone Truffles Ingredients
For the Dough
- Chocolate Sheet Cake – Use a 9×13 baked chocolate sheet cake, store-bought or homemade, as the base for your truffles.
- Chocolate Almond Bark – Melted for a rich chocolate coating; you can substitute with white chocolate for a snowy effect.
For the Coating
- Chocolate Frosted Flakes – Adds a delightful crunch and visual appeal that mimics real pine cones; traditional Frosted Flakes can be used if needed.
For Dusting
- Powdered Sugar – A light dusting gives the truffles a snowy finish; can be omitted for a less sweet experience.
Get ready to create some enchanting Pine Cone Truffles that will bring joy during the holiday season!
Step‑by‑Step Instructions for Pine Cone Truffles
Step 1: Prepare the Dough
Crumble the baked chocolate sheet cake into a stand mixer and mix on high until a soft dough forms, about 2-3 minutes. The dough should feel slightly warm to the touch. Once ready, knead it gently with your hands to ensure it is well combined and smooth.
Step 2: Shape the Truffles
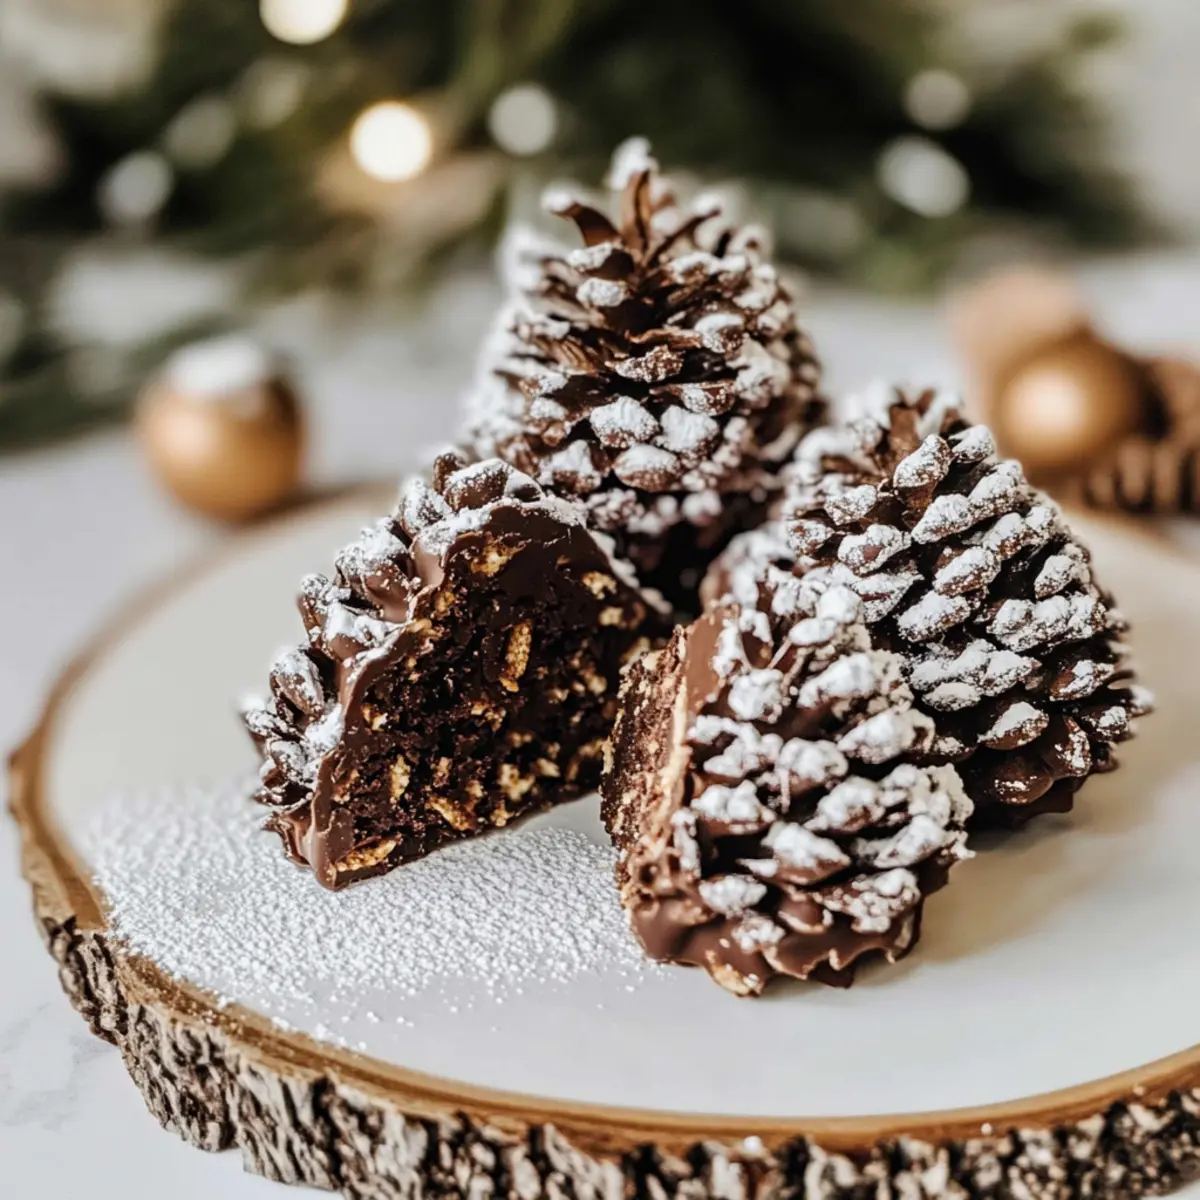
Divide the dough into equal pieces, rolling each into 2-inch balls. Lightly flatten the bottom of each ball to create a cone shape—this will make each truffle resemble an adorable pine cone. Take your time to mold them nicely, as a good shape adds to the visual appeal of your Pine Cone Truffles.
Step 3: Cover with Cereal
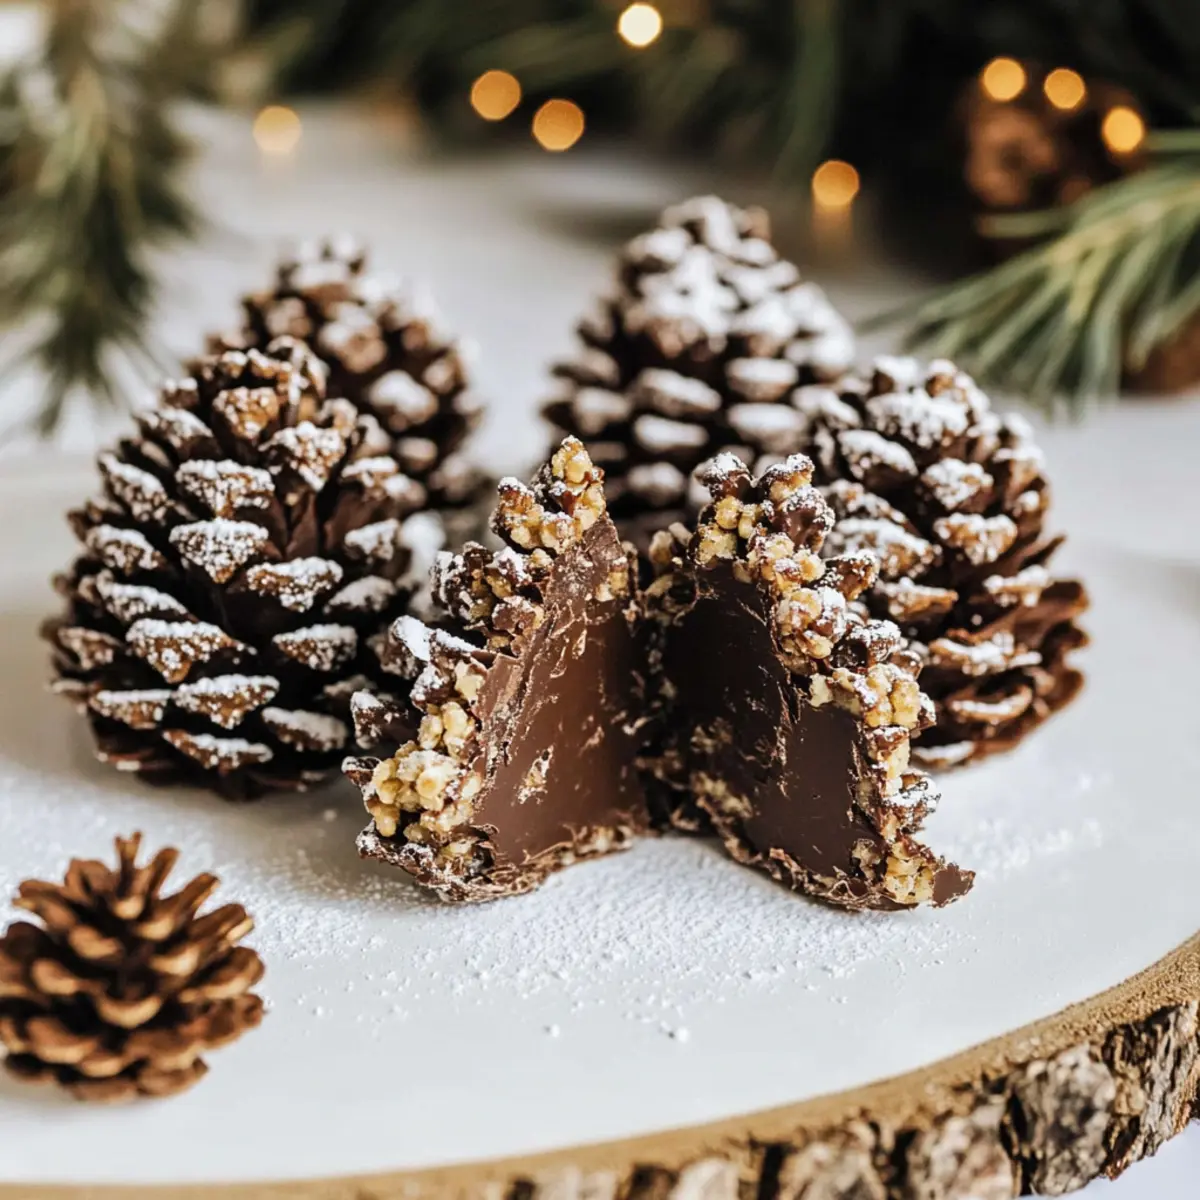
Starting from the flat bottom of your shaped truffles, press the chocolate frosted flakes diagonally into the dough. Work your way around the truffle, layering the cereal to replicate the textured look of a pine cone. The flakes should adhere well to the dough, creating a delightful and crunchy exterior.
Step 4: Freeze the Shaped Truffles
Once you’ve covered all truffles with cereal, place them on a parchment-lined tray. Put the tray in the freezer and let the shaped truffles firm up for about one hour. This step is essential to ensure that the truffles hold their shape during the coating process.
Step 5: Melt the Coating
While the truffles are chilling, break the chocolate almond bark into pieces and place them in a microwave-safe bowl. Microwave in one-minute intervals, stirring after each interval, until smooth and fully melted—approximately 2-3 minutes in total. The melted chocolate should be silky to coat your Pine Cone Truffles easily.
Step 6: Coat the Truffles
Once the truffles are firm, dip each frozen cone into the melted chocolate, ensuring they are completely coated. Allow any excess chocolate to drip off before placing the coated truffles back on the parchment paper. This finish will give your Pine Cone Truffles a glossy, delicious outer layer.
Step 7: Set Again
If the coating seems soft, return the truffles to the freezer for an additional 10 minutes. This final chilling ensures the chocolate sets firmly, producing a delightful crunch when bitten into. Perfectly formed Pine Cone Truffles will be ready to enjoy soon!
Step 8: Finish and Serve
Once set, dust the coated truffles lightly with powdered sugar using a fine sieve for a snowy appearance. Arrange your beautiful Pine Cone Truffles on a festive platter or gift them to friends and family. They not only look enchanting but taste divine too—perfect for any holiday occasion!
Make Ahead Options
These Pine Cone Truffles are a fabulous choice for meal prep, allowing you to save time during the busy holiday season! You can prepare the truffle dough and shape them into cones up to 24 hours in advance. Simply store the formed truffles in an airtight container in the fridge to maintain their freshness. The final coating of chocolate can be done just before serving, ensuring a delightful crunch and glossy finish. If time gets tight, feel free to freeze the uncoated truffles for up to 3 months; then, just thaw them before dipping in chocolate. Your truffles will be just as delicious and visually stunning, making holiday entertaining a breeze!
Storage Tips for Pine Cone Truffles
Fridge: Store truffles in an airtight container for up to 5 days. This will keep them fresh and maintain their delightful texture.
Freezer: For longer storage, freeze Pine Cone Truffles in a labeled container for up to 2 months. Ensure they are placed in a single layer to avoid sticking.
Thawing: To enjoy, remove from the freezer and let them thaw in the fridge for about 1-2 hours before serving. This helps preserve their flavor and texture.
Reheating: If you prefer them slightly softened, you can let them sit at room temperature for about 15 minutes before serving.
Pine Cone Truffles: Creative Twists
Feel free to get inventive with these truffles and add your personal touch for a delightful twist on a classic!
- Vegan Option: Swap the chocolate almond bark for a dairy-free chocolate alternative and use a vegan cake base for a plant-based treat.
- Nutty Delight: Fold in some chopped pecans or walnuts into the dough for an extra crunch and a rustic flavor.
- Flavorful Boost: Add a teaspoon of peppermint extract to the cake batter for a refreshing minty twist – perfect for the holidays!
- Fruity Burst: Mix in dried cranberries or chopped dried cherries into the dough for a sweet and tart surprise with every bite.
- Spicy Kick: Sprinkle in a pinch of cayenne pepper or chili powder for a subtly spicy version that contrasts beautifully with the sweetness.
- Coconut Love: Roll your truffles in shredded coconut after dusting with powdered sugar for a tropical flair, enhancing the festive look.
- No Fuss Cereal: Try using crushed graham crackers instead of cereal for a buttery texture that’s equally delicious.
- Choco-Loco: Use a mix of different chocolates for coating, such as milk and dark chocolate, for a rich and layered chocolate experience.
With these fabulous variations, why not explore some delightful extras to your holiday fare? You might enjoy fun treats like Key Lime Truffles or savory options like Chicken Pineapple Quesadillas that are sure to add flavor to your gatherings!
Expert Tips for Pine Cone Truffles
-
Even Sizing: Choose cereal pieces that are evenly sized for a more realistic look. This will enhance the visual appeal of your Pine Cone Truffles.
-
Chill the Dough: If the dough becomes too soft while shaping, chill it in the fridge briefly before continuing to avoid messy handling.
-
Smooth Coating: Stir a small amount of coconut oil into the melted chocolate for an extra smooth coating on your truffles. This helps achieve a professional finish.
-
Coat Thoroughly: Ensure each truffle is fully dipped in chocolate to maintain uniformity. Don’t rush this step; a complete coating is key for flavor and appearance.
-
Dust Generously: Don’t hold back on the powdered sugar dusting! A generous layer simulates snow, making your Pine Cone Truffles look festive and inviting.
What to Serve with No-Bake Pine Cone Truffles
Indulging in the sweet, chocolaty delight of these truffles becomes even more special when paired with complementary dishes and beverages that elevate your festive table.
-
Peppermint Hot Chocolate: A warm cup topped with whipped cream harmonizes beautifully with the rich chocolate truffles, enhancing their flavor profile. The refreshing mint gives a holiday twist that feels cozy and inviting.
-
French Vanilla Ice Cream: A scoop of creamy ice cream adds a velvety contrast to the crunch of the truffles. The coolness of the ice cream balances the sweetness, making every bite delightful.
-
Gingerbread Cookies: The spiced flavor of gingerbread offers a lovely contrast to the rich chocolate, celebrating classic holiday tastes while providing a crunchy counterpart.
-
Spiced Apple Cider: This warm beverage complements the earthy tones of chocolate, bringing a festive warmth to your treat table. The spice notes echo holiday nostalgia and are perfect for sipping while enjoying your truffles.
-
Fruit Medley: A fresh assortment of sliced apples, pears, and berries can cleanse the palate between bites of the rich truffles. The natural sweetness of fresh fruit offers a refreshing contrast.
-
Dark Chocolate Fondue: For a luscious pairing option, serve your truffles alongside a small pot of warm dark chocolate fondue. Dip fruit or pretzels for a delightful mix of textures while savoring the decadent chocolate flavor.
-
Festive Cookies and Milk: A classic pairing, offering crunchy sugar cookies or snickerdoodles alongside a glass of milk rounds out the treat experience, evoking childhood memories of delicious holiday treats.
-
Eggnog: With its rich and spiced flavors, eggnog is the perfect holiday drink to accompany your Pine Cone Truffles, adding a festive flair to your dessert spread.
Pine Cone Truffles Recipe FAQs
What is the best way to select a chocolate sheet cake for my truffles?
Absolutely! The best choice is a moist, flavorful cake, but you can use store-bought or homemade chocolate sheet cake. Look for a cake that’s not too crumbly; this ensures your truffles will hold together well. If it has a few dark spots or uneven texture, don’t worry—it can still work wonderfully!
How do I store Pine Cone Truffles, and for how long will they stay fresh?
For optimal freshness, keep your Pine Cone Truffles in an airtight container. They will last about 5 days in the fridge but can be stored longer if you freeze them. Just place them in a labeled container and ensure they are in a single layer to prevent sticking. In the freezer, they can maintain their delightful flavor and texture for up to 2 months!
Can I freeze Pine Cone Truffles, and what’s the best way to do it?
Very! To freeze Pine Cone Truffles effectively, place them in a single layer on a parchment-lined tray in the freezer until they are completely firm. Once frozen, transfer them to an airtight container or a freezer bag, layering parchment paper between them to avoid sticking. They can be stored this way for up to 2 months!
What should I do if the truffle dough feels too soft to shape?
If you find that your dough is too soft when shaping, no need to fret! Simply chill the dough in the fridge for about 15-20 minutes. This will help firm it up, making it easier to mold into those cute cone shapes. Ensuring your hands are also cool can make a noticeable difference!
Are there any common allergies associated with the ingredients in Pine Cone Truffles?
Indeed, there are a few considerations! The main allergens in this recipe include chocolate (which may have dairy or nuts) and cereal (gluten). If preparing for individuals with allergies, you might want to source gluten-free cereal and dairy-free chocolate options. Additionally, always check labels to avoid cross-contamination!
What type of chocolate works best for the coating? Can I use something else?
The recipe calls for chocolate almond bark, which melts beautifully for coating. However, if you’re aiming for a snowy effect or want a lighter flavor, white chocolate is an excellent substitute! Just make sure it’s good quality for the best results. Melt it the same way—using intervals in the microwave works wonders!

Decadent Pine Cone Truffles: No-Bake Holiday Delight
Ingredients
Equipment
Method
- Crumble the baked chocolate sheet cake into a stand mixer and mix on high until a soft dough forms, about 2-3 minutes.
- Divide the dough into equal pieces, rolling each into 2-inch balls and flattening the bottom to create a cone shape.
- Press the chocolate frosted flakes diagonally into the shaped truffles starting from the flat bottom.
- Place the coated truffles on a parchment-lined tray and freeze for about one hour.
- Melt the chocolate almond bark in a microwave-safe bowl in one-minute intervals.
- Dip each frozen truffle into the melted chocolate ensuring they are completely coated.
- Return the coated truffles to the freezer for an additional 10 minutes if the coating is soft.
- Dust the coated truffles lightly with powdered sugar and arrange them on a festive platter.