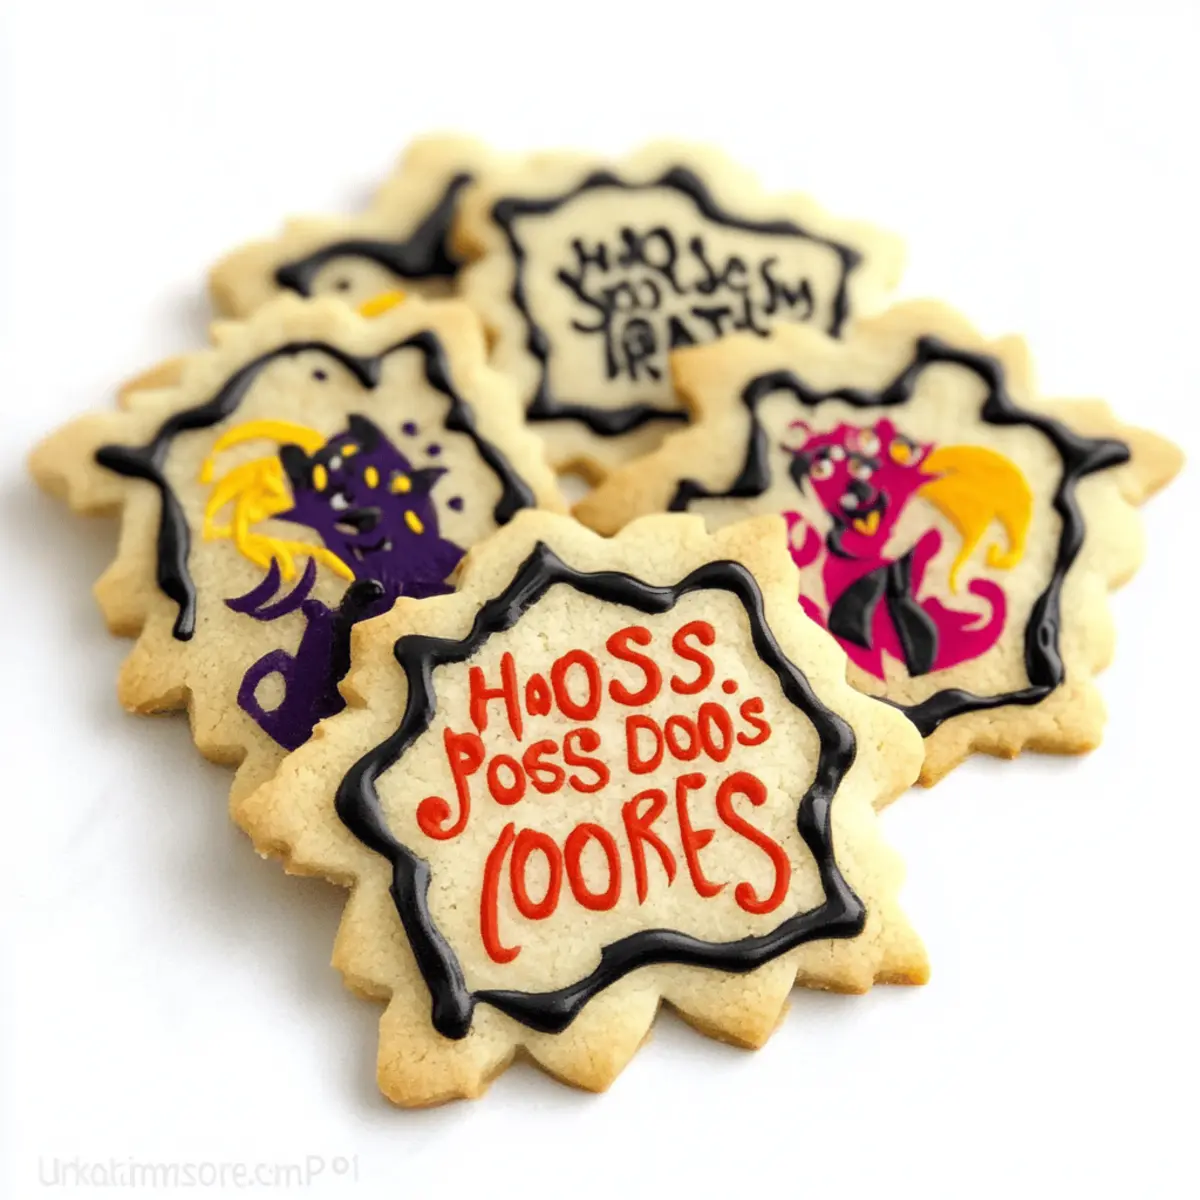
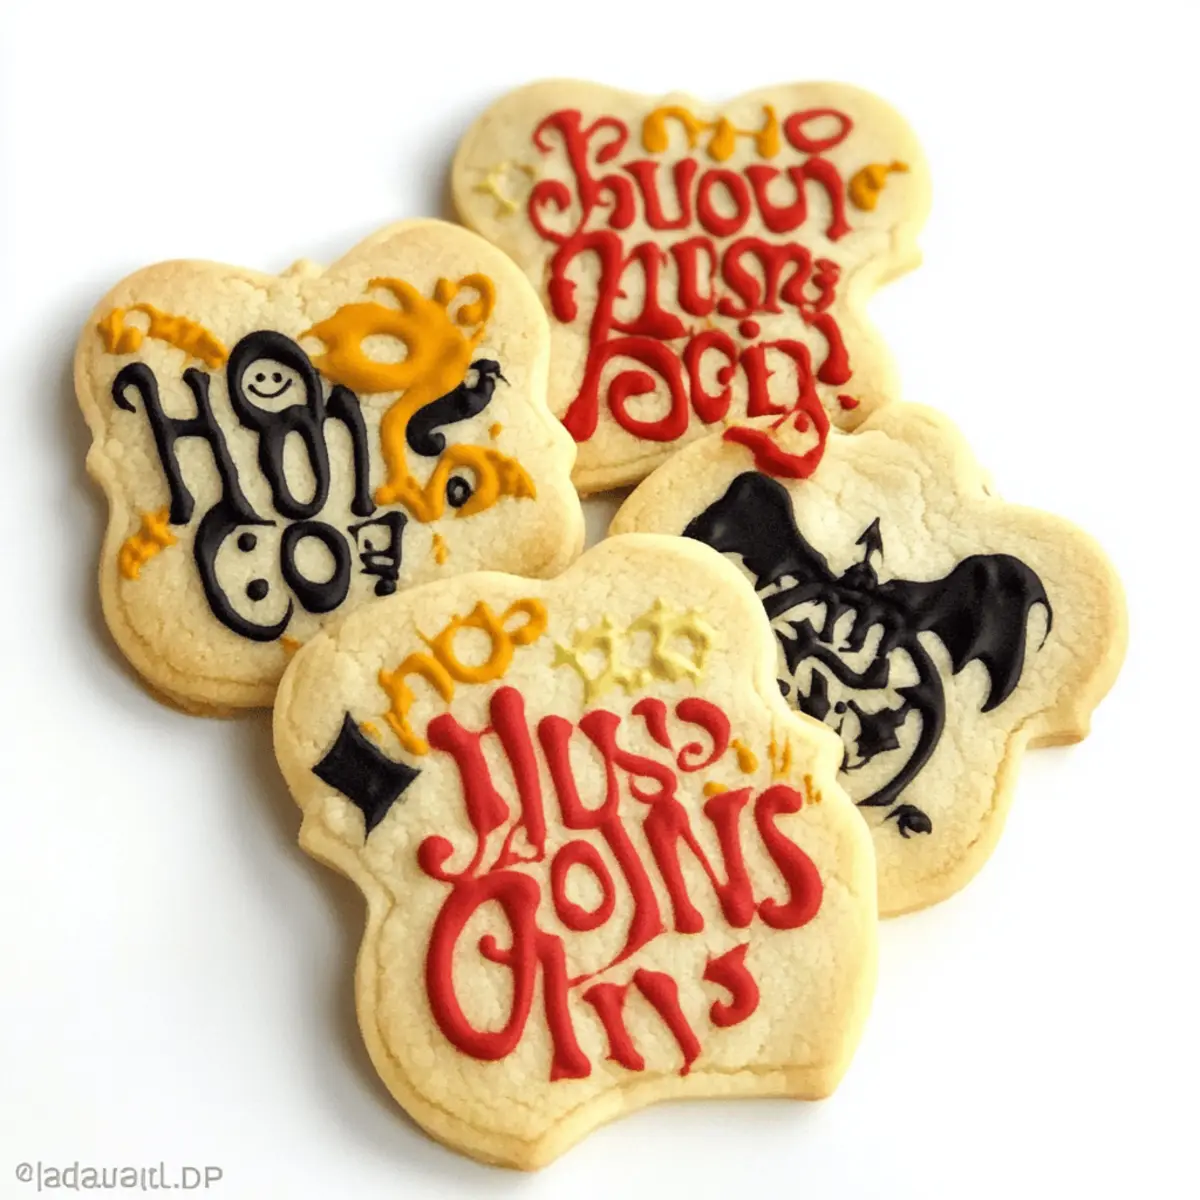
As I unwrapped the first packets of colorful edible paints, a wave of nostalgia swept over me, transporting me back to childhood Halloween parties filled with laughter and creativity. That’s the magic I wanted to capture with my Hocus Pocus Cookies—delicious cut-out sugar cookies that not only taste amazing but also bring whimsy to your festive gatherings. With their crispy exterior and soft, flavorful interior, these cookies promise to be a hit among both kids and adults, making them the ideal centerpiece for any Halloween celebration. Plus, the artistic touch of hand-painting each cookie makes this activity not just about baking, but about creating cherished memories. Are you ready to enchant your friends and family with these delightful treats? Let’s get started!

Why Are Hocus Pocus Cookies So Special?
Whimsy and Fun: These cookies not only taste fantastic but also spark creativity and joy, as you hand-paint your own designs.
Perfect for All Ages: Kids and adults alike will adore decorating and indulging in these unique treats together.
Easy-to-Follow Recipe: With simple ingredients and straightforward steps, even beginner bakers can master these cookies!
Impressive Presentation: Create a stunning cookie platter that’s sure to impress guests at your Halloween gatherings.
Versatile Variations: Want to switch things up? Customize your cookie paint colors and flavors to suit any occasion!
For more delightful cookie recipes, don’t miss out on the Cheesecake Stuffed Cookies or the fun Peanut Butter Spider Cookies. These options will keep your baking adventures entertaining year-round!
Hocus Pocus Cookie Ingredients
• Get ready to cast a delicious spell with the right ingredients for your Hocus Pocus Cookies!
For the Cookie Dough
- Unsalted Butter – Provides richness and flavor; remember to use softened butter that leaves an imprint when pressed.
- Granulated Sugar – Ensures sweetness and a crispy texture, essential for that perfect baked cookie!
- Eggs – Adds structure and moisture; opt for large eggs at room temperature for better mixing.
- Vanilla Extract – Enhances the cookie flavor; pure extract is preferred for the best taste.
- Almond Extract – Offers additional flavor depth; substitute with lemon or peppermint extract if desired.
- All-Purpose Flour – Builds structure and texture; avoid bread or cake flour to maintain cookie tenderness.
- Baking Powder – Aids in slight lift; use just ¼ teaspoon to keep cookies from spreading too much.
- Salt – Balances sweetness and enhances flavors, making every bite delightful.
For the Cookie Paint
- Egg Yolks – The base for your colorful paint; avoid including whites to preserve consistency.
- Food Coloring – Customize your cookie designs with vibrant colors, mixing gradually until you achieve your desired shades.
With these ingredients, you’re all set to whip up memorable Hocus Pocus Cookies that are sure to enchant your Halloween festivities!
Step‑by‑Step Instructions for Hocus Pocus Cookies
Step 1: Prepare the Dough
Begin by softening your unsalted butter until it leaves an imprint when pressed. In a mixing bowl, cream the softened butter with granulated sugar for 2-3 minutes until light and fluffy. Add eggs one at a time, mixing well after each addition. Finally, pour in the vanilla and almond extracts, blending everything until smooth and well incorporated.
Step 2: Combine Dry Ingredients
In a separate bowl, whisk together all-purpose flour, baking powder, and salt until evenly combined. Gradually add this dry mixture to the wet ingredients from Step 1, mixing until a cohesive dough forms. Make sure there are no flour pockets left, and the mixture feels soft and pliable, perfect for rolling out.
Step 3: Roll Out Dough
Divide the dough into thirds for easier handling. On a lightly floured surface, roll each third to a ¼-inch thickness, ensuring an even surface that will bake nicely. Use your favorite cookie cutters to cut out various shapes—whether ghoulish or whimsical, the Hocus Pocus Cookies will delight everyone. If the dough is too soft, chill it in the fridge for 30 minutes before cutting.
Step 4: Bake Cookies
Preheat your oven to 350°F (177°C) while the cut-out cookies sit on the baking sheet. Place the cookies about an inch apart on the sheet and bake for 12-16 minutes until they are set and just beginning to turn golden at the edges. Once done, transfer them to a wire rack to cool completely, ensuring the cookies have a lovely crisp exterior.
Step 5: Paint Cookies
While the cookies cool, prepare your edible paint by mixing egg yolks with food coloring in small bowls. Be sure to mix gradually until you reach the vibrant shades you desire for your Hocus Pocus Cookies. Once the cookies are fully cooled, use food-safe brushes to apply your colorful designs, allowing your creativity to shine.
Step 6: Store Cookies
After decorating, let the paint set for a few minutes. Store your beautifully painted Hocus Pocus Cookies in an airtight container at room temperature for up to 3 days. Alternatively, if you want to prepare in advance, freeze unpainted cookies for future fun, ensuring they stay fresh and delicious for your Halloween festivities!

Make Ahead Options
These Hocus Pocus Cookies are perfect for meal prep, simplifying your Halloween festivities! You can prepare the cookie dough up to 24 hours in advance by wrapping it tightly in plastic wrap and refrigerating it to keep it fresh and delicious. Additionally, if you’d like to bake later, feel free to freeze the unpainted cookies for up to 3 months; just thaw them in the fridge before decorating. When you’re ready to serve, simply bake the cookies and let them cool completely before painting with your edible colors. This prep method saves you time and effort, ensuring your cookies are just as magical and enchanting on Halloween night!
Expert Tips for Hocus Pocus Cookies
-
Chill the Dough: If your cookie dough is too sticky, chilling it for about 30 minutes makes it easier to roll out and cut shapes, ensuring perfect cookies every time.
-
Use a Light Touch: When painting your cookies, use a gentle hand to prevent the paint from soaking into the cookie. Light strokes will keep the designs vibrant and defined.
-
Color Mixing: Start with a small amount of food coloring and gradually add more until you reach your desired shade. This helps avoid overly vibrant colors that can overpower the cookie.
-
Check for Doneness: Keep an eye on your cookies as they bake; they’ll be set but not overly brown. A slight golden edge signals they’re ready for cooling!
-
Airtight Storage: Store your freshly painted Hocus Pocus Cookies in an airtight container to maintain their crispiness and flavor. They can last for up to three days at room temperature.
-
Avoid Egg Whites: For the cookie paint, make sure to only use egg yolks. Including egg whites can alter the consistency and drying time of your paint.
What to Serve with Hocus Pocus Cookies
Imagine a delightful gathering where your taste buds join the party, perfectly complementing the festive spirit of Halloween.
-
Spooky Hot Chocolate: This rich and creamy beverage adds a cozy touch, making your cookie experience even more magical. Top with whipped cream and a sprinkle of cocoa for the ultimate treat.
-
Pumpkin Pie Bars: Their spiced sweetness pairs beautifully with the Hocus Pocus Cookies, bringing a seasonal flavor that everyone loves. These bars are great for holiday get-togethers!
-
Caramel Apple Slices: Crisp apples drizzled with warm caramel create a refreshing contrast to the sweetness of your cookies, reminding everyone of the fall season.
-
Gingerbread Milkshake: The warm spices echo the flavor profiles of autumn while the creaminess unites with the cookies perfectly. A festive twist on a classic!
-
Halloween Fruit Platter: A colorful assortment of seasonal fruits like tangerines and grapes provides a fresh element that lightens the dessert table, perfect for balancing the sweetness of the cookies. Serve with a honey-yogurt dip for added flair!
-
Cinnamon Sugar Popcorn: This crunchy, sweet snack is bite-sized and perfect for sharing. It adds texture and is addictive, making it a great companion alongside your cookies.
-
Fizzy Apple Cider: This bubbly drink brings a fun sparkle to your festivities! Its sweet and tart flavor plays wonderfully with the cookies’ texture.
Engage your guests with these delightful pairings and create a Halloween celebration that’s as enchanting as the Hocus Pocus Cookies themselves!
Hocus Pocus Cookies Variations
Feel free to add your own twist to these delicious cookies and make them uniquely yours!
-
Flavor Swaps: Replace almond extract with any of your favorite extracts like lemon or peppermint for a different flavor profile.
-
Colorful Paint: Experiment with different shades of food coloring, giving your cookies playful and festive designs beyond the Hocus Pocus theme.
A mix of bright colors can brighten up your Halloween gatherings, making each cookie special!
-
Gluten-Free: Use a 1:1 gluten-free flour blend instead of all-purpose flour to accommodate gluten-sensitive guests. The cookies will still be delightful and tender.
-
Chocolate Delight: Add 1/2 cup of chocolate chips to the dough for a rich, chocolatey twist that pairs beautifully with the vanilla flavors.
This unexpected flavor addition can create a Hocus Pocus twist that delights chocolate lovers!
-
Dairy-Free: Substitute with dairy-free butter or coconut oil for a lactose-free version that still maintains that sweet buttery flavor.
-
Sprinkles Galore: Before baking, add festive Halloween-themed sprinkles on top of the cookies for extra fun and crunch.
These sprinkles not only enhance the look but also add a delightful texture that kids will adore.
-
Crispy Edges: For extra texture, roll the cookie edges in sugar before baking. This will give them a lovely crunch and a touch of sweetness.
Once you’ve perfected your Hocus Pocus Cookies, don’t forget to check out the Oreo Cheesecake Cookies for more baking inspiration or try out the delicious Panko Cookies Chewy for a different cookie experience!
How to Store and Freeze Hocus Pocus Cookies
- Room Temperature: Store decorated Hocus Pocus Cookies in an airtight container at room temperature for up to 3 days to maintain their freshness and crispiness.
- Freezer: For longer storage, freeze unpainted cookies by wrapping them tightly in plastic wrap or placing them in a zip-top bag for up to 6 months.
- Thawing: When ready to enjoy, thaw frozen cookies in the fridge overnight before painting or serving, allowing them to return to their delightful texture.
- Reheating: If you’d like to warm up cookies before serving, place them on a baking sheet and heat in a preheated oven at 300°F (149°C) for 5-10 minutes.

Hocus Pocus Cookies Recipe FAQs
How do I choose ripe ingredients for my Hocus Pocus Cookies?
Absolutely! For the best flavor, use fresh and high-quality ingredients. Make sure your butter is softened (leaving an imprint when pressed) and your eggs are at room temperature for easier mixing. The more the merrier—always opt for pure vanilla extract and almond extract for a delightful flavor boost!
What’s the best way to store my decorated Hocus Pocus Cookies?
Store your decorated cookies in an airtight container at room temperature for up to 3 days. This helps maintain their freshness and crispiness. If you have leftover unpainted cookies, wrap them tightly in plastic wrap or place them in a zip-top bag for longer storage.
Can I freeze my Hocus Pocus Cookies? If so, how?
Yes, you can freeze your Hocus Pocus Cookies! It’s best to freeze them before painting. To do this, wrap each cookie individually in plastic wrap and then place them in a freezer-safe bag. You can keep them in the freezer for up to 6 months. When you’re ready to use them, just thaw overnight in the fridge—they’ll be ready for painting or eating!
What should I do if my cookie dough is too sticky?
Very! If your dough feels overly sticky while rolling it out, don’t worry. Simply chill the dough in the fridge for about 30 minutes. This will firm it up, making it easier to handle. If you’re still having trouble, lightly dust your work surface with flour as you roll.
Are there any dietary considerations for Hocus Pocus Cookies?
Definitely! While these cookies are a treat for many, ensure to check for nut allergies if using almond extract. Additionally, the recipe contains eggs, making it unsuitable for vegans. If you need a gluten-free option, you can use your favorite gluten-free all-purpose flour blend instead.
How can I achieve the perfect painting consistency for my cookie paint?
To create the ideal consistency, mix egg yolks with food coloring gradually until you reach your desired shades, ensuring the mixture isn’t too watery. Avoid including egg whites, as they can change the texture and make painting difficult. If it’s too thick, simply add a few drops of water until it flows smoothly.

Hocus Pocus Cookies: Magic in Every Delicious Bite
Ingredients
Equipment
Method
- Soften butter until it leaves an imprint. Cream with sugar for 2-3 minutes. Add eggs one at a time and mix. Blend in vanilla and almond extracts.
- Whisk together flour, baking powder, and salt. Gradually add to wet ingredients until a cohesive dough forms.
- Divide dough into thirds. Roll each to ¼-inch thickness and cut out shapes.
- Preheat oven to 350°F (177°C). Bake cookies for 12-16 minutes until set and edges are golden.
- Mix egg yolks with food coloring. Once cookies are cooled, use brushes to paint designs.
- Let paint set for a few minutes. Store in an airtight container for up to 3 days.
