
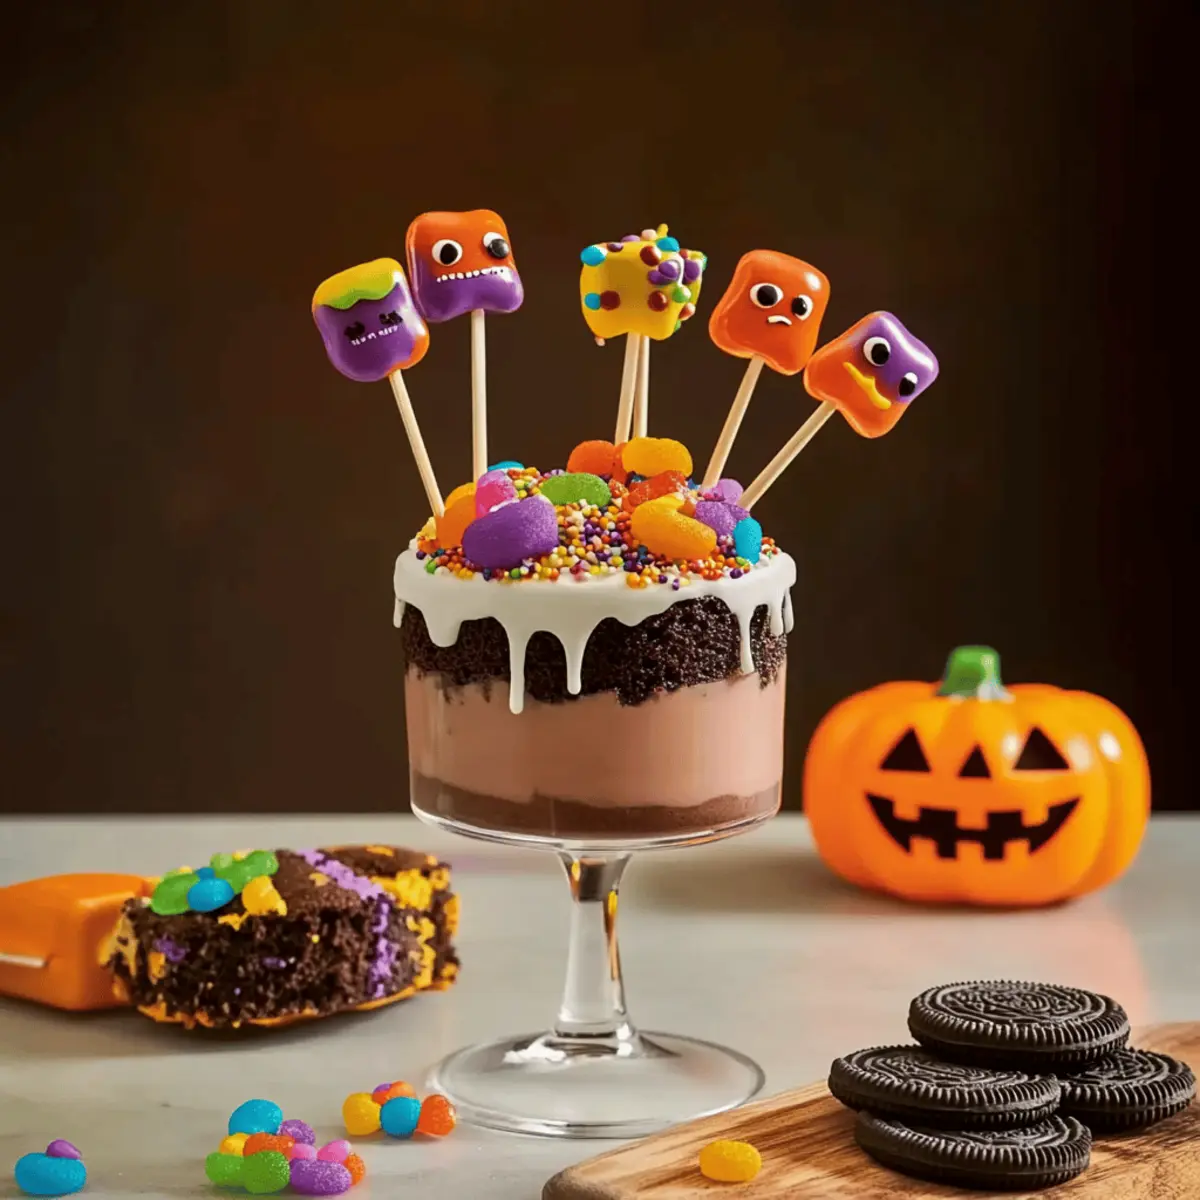
As I flipped through my childhood memory book, I stumbled upon a snapshot of Halloween—the crisp air, the laughter of friends, and of course, the treats! This year, I’m excited to reinvigorate that festive spirit with “12 Spooktacular Halloween Desserts” that are perfect for any gathering. Among these, the Halloween Marshmallow Pops stand out as a delightful, no-bake option that will charm guests of all ages with their playfully spooky designs. These treats not only save time—perfect for the busy Halloween season—but also invite creativity as you can personalize them with sprinkles and toppings. Ready to conjure up some culinary magic this Halloween? Let’s dive into these hauntingly delectable recipes that are sure to enchant your party!
Why Are These Marshmallow Pops a Must-Try?
No-Bake Delight: These Halloween Marshmallow Pops are incredibly easy to make—no baking required! Just melt, dip, and decorate for spooky fun.
Customizable Fun: Each pop can be personalized with your choice of toppings, like colorful sprinkles or chocolate drizzles, making them unique for every guest.
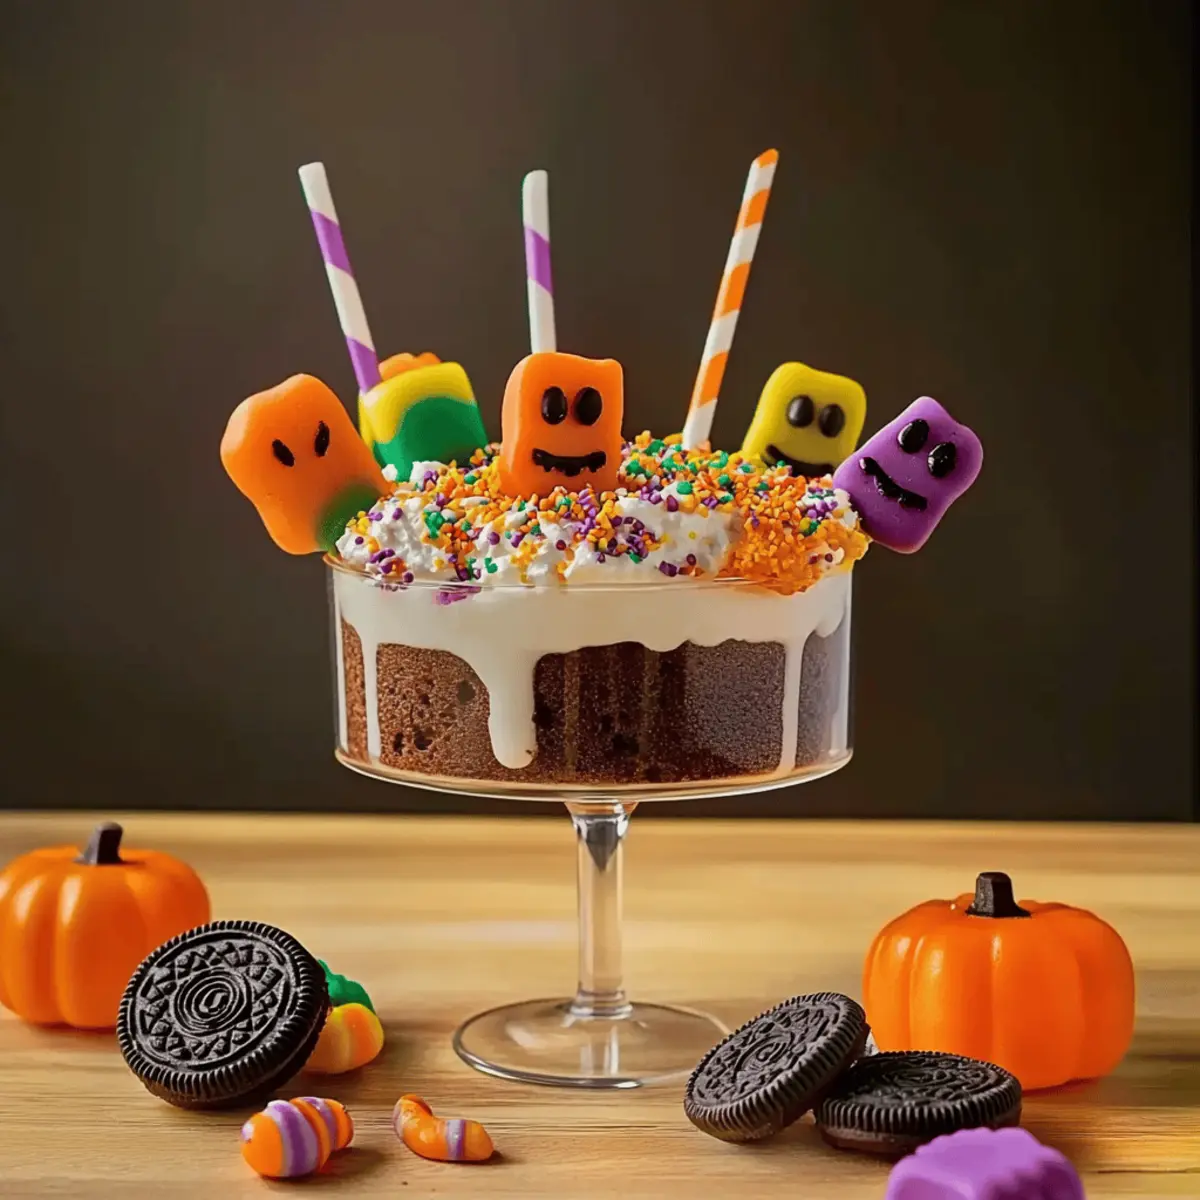
Instant Crowd-Pleaser: Their playful designs and vibrant colors are guaranteed to be a hit at any Halloween gathering, appealing to guests young and old.
Quick Prep Time: With minimal ingredients and preparation time, these pops help you focus on enjoying the festivities. If you enjoy easy yet delightful recipes, don’t forget to check out our Marshmallow Brownies Fudgy for another sweet treat to impress your guests!
Memory Maker: Bringing these cheery pops to life offers a nostalgic nod to childhood Halloween memories, creating new moments with friends and family.
Halloween Marshmallow Pops Ingredients
For the Pops
• Marshmallows – The star ingredient, choose large ones for a perfect pop!
• Lollipop Sticks – These serve as the stick to hold your pops; consider using colorful ones for added fun.
• Candy Melts – Essential for coating the marshmallows; choose vibrant colors for a festive look.
For the Toppings
• Sprinkles – Add a touch of color and crunch; go for Halloween-themed mixes for an extra spooky vibe!
• Mini Chocolate Chips – Great for creating eyes or other fun designs on your pops.
• Chopped Nuts – A crunchy option that can be used for texture and flavor.
For Decorations
• Edible Glitter – Sprinkle on top for some magical shimmer that kids will love.
• Chocolate Drizzle – Melted chocolate can be drizzled over pops for a rich touch.
• Candy Eyes – Perfect for giving your marshmallow creatures a ghastly gaze!
These Halloween Marshmallow Pops will not only be delightful additions to your party but are also super easy to whip up, making them the ideal no-bake treat to impress your guests!
Step‑by‑Step Instructions for Halloween Marshmallow Pops
Step 1: Melt the Candy Coating
Begin by unwrapping your candy melts and placing them in a microwave-safe bowl. Microwave in 30-second intervals on medium power, stirring between each interval until the melts are fully smooth and melted, taking about 1-2 minutes. The vibrant colors should be glossy and fluid, perfect for coating your marshmallows!
Step 2: Assemble the Marshmallow Pops
Insert lollipop sticks into the center of each large marshmallow, ensuring they’re secure. This creates your pop base. Once prepared, dip each marshmallow into the melted candy melt until fully coated, allowing any excess to drip off. Rest the pops upright in a foam block or a decorated cup for drying.
Step 3: Add the Toppings
While the candy coating is still wet, it’s time to add your fun toppings! Roll or sprinkle your coated marshmallow pops with Halloween-themed sprinkles, mini chocolate chips, or chopped nuts to create distinctive textures and flavors. Ensure you cover the pops generously while the coating is still sticky so everything adheres well.
Step 4: Let Them Set
Place the marshmallow pops in a cool, dry area to set completely, which should take about 15-30 minutes. The coating should harden and create a fun, festive look on your Halloween Marshmallow Pops. You can also speed this up by placing them briefly in the refrigerator.
Step 5: Decorate with Edible Accents
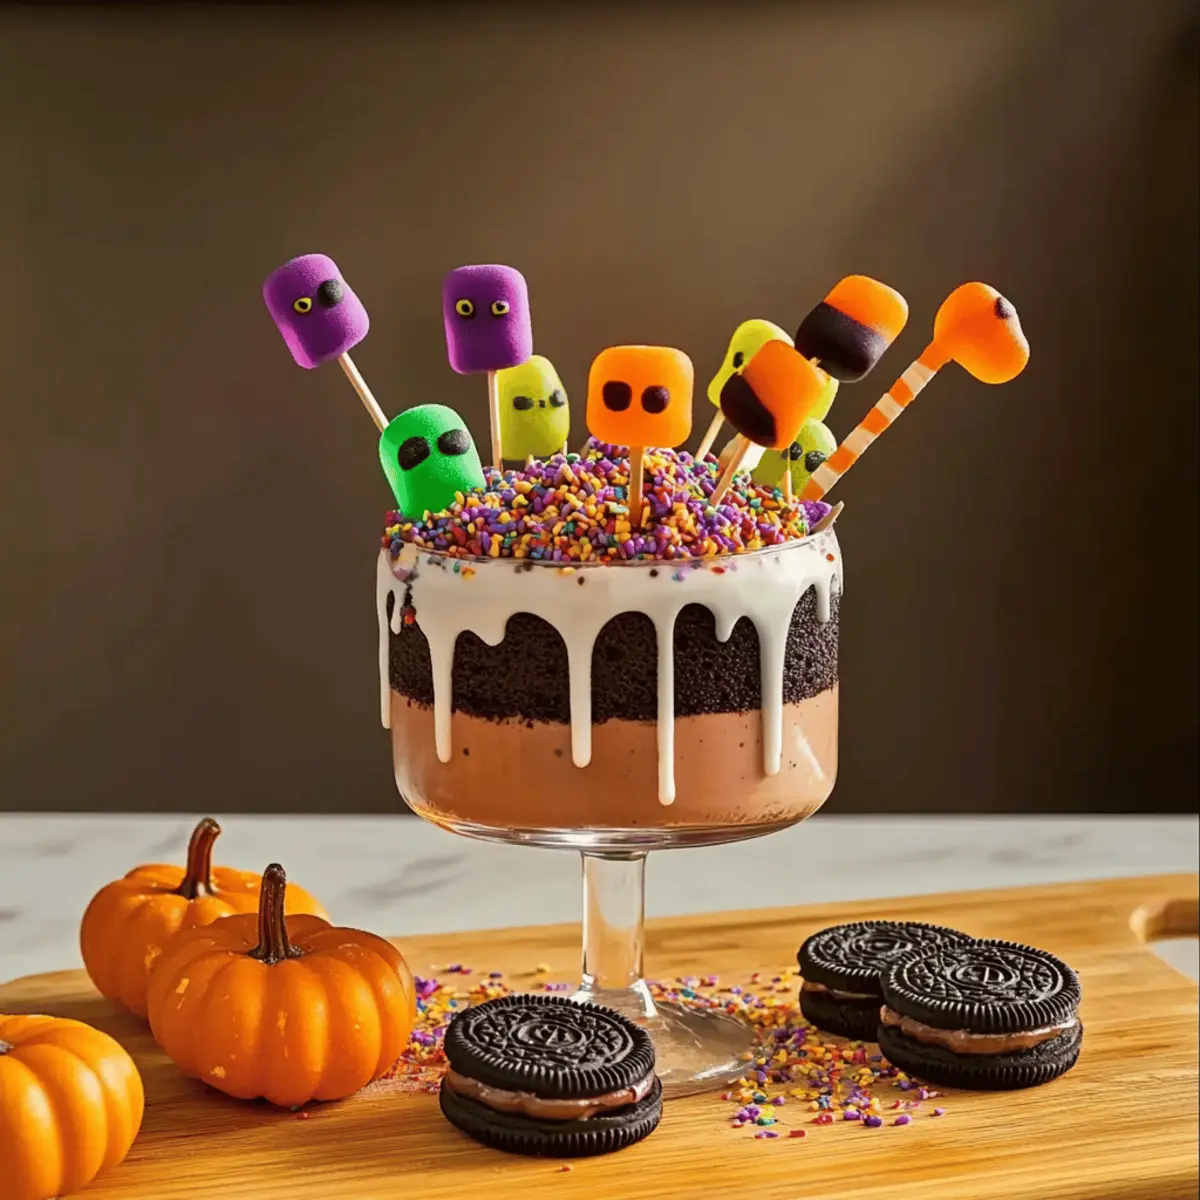
Once set, unleash your creativity! Drizzle melted chocolate over the pops for extra flair, and stick on candy eyes to give them life. A sprinkle of edible glitter can add a magical touch, capturing the Halloween spirit. Each pop can become a unique masterpiece that will surely delight your guests.
Step 6: Serve and Enjoy
Arrange your finished Halloween Marshmallow Pops on a festive platter or in treat bags for easy serving. Display them at your Halloween gathering, showcasing their colorful and spooky designs. These pops are not only a treat for the taste buds but a treat for the eyes too, making them a highlight of your Halloween festivities!
Make Ahead Options
These Halloween Marshmallow Pops are perfect for meal prep and can save you time when it comes to party planning! You can prepare the marshmallow pops up to 24 hours in advance by following these steps: first, melt the candy coating and assemble the pops with lollipop sticks. After coating them in candy melts, allow the pops to set before adding the toppings. To maintain freshness, store them in an airtight container in the refrigerator. Just before serving, feel free to add any remaining decorations, like edible glitter or candy eyes, for that extra spooky touch. This way, you’ll have delightful treats ready to wow your guests without the last-minute rush!
Storage Tips for Halloween Marshmallow Pops
Room Temperature: Store your Halloween Marshmallow Pops in an airtight container at room temperature for up to 3 days. Keep them away from direct sunlight and heat sources to maintain their texture.
Fridge: If you need to keep them longer, refrigerate for up to a week. Make sure they are in a container with a lid to prevent them from drying out or absorbing other odors.
Freezer: For even longer storage, freeze the pops for up to 2 months. Wrap each pop in plastic wrap and place them in a freezer-safe bag. Let them thaw in the fridge before serving.
Reheating: While these pops are best enjoyed cold or at room temperature, if you want to soften them, briefly microwave them for about 5-10 seconds. This will retain the fun, gooey texture that makes Halloween Marshmallow Pops irresistible!
Halloween Marshmallow Pops Variations
Feel free to mix things up with these festive ideas tailored to make your Halloween Marshmallow Pops even more enjoyable and unique!
-
Cultural Twist: Incorporate local candies like caramel-covered pretzels or spicy chocolate for a regional flair. Your guests will love the surprise in every bite.
-
Nut-Free: Substitute chopped nuts with toasted coconut flakes or sunflower seeds for a crunchy texture without the allergens. These swaps keep your treats inclusive for all!
-
Dairy-Free Treat: Replace candy melts with dairy-free chocolate or melted coconut oil mixed with cocoa powder for a rich, chocolatey coating. It’s a fantastic option for vegan friends!
-
Festive Flavors: Add a drop of peppermint or orange extract to your candy melts for an aromatic twist—perfect for the Halloween season! The new flavor profiles will enchant everyone.
-
Spooky Shapes: Instead of traditional pops, use cookie cutters to shape your marshmallows into ghosts, bats, or pumpkins before coating. This playful approach adds even more personality to your treats!
-
Chocolate-Dipped Crispy Rice: For a creamier texture, dip your pops in chocolate-coated crispy rice instead of plain chocolate. It gives an exciting crunch and whimsical touch to your Halloween spirit!
-
Cereal Coated Pops: Roll your pops in Halloween-themed cereals for an extra crunch and color. Choose colorful cereals that resonate with the Halloween theme for an enticing look.
-
Giant Treats: Opt for oversized marshmallows and transform them into show-stopping centerpiece pops. Decorate them with flair for a wondrous addition to your dessert table!
Explore these variations, and let your creativity shine! If you’re in the mood for more Halloween delights, don’t miss out on our delicious Peanut Butter Spider – perfect for adding a spooktacular touch to your festivities!
What to Serve with Halloween Marshmallow Pops?
These enchanting pops not only steal the show but can also be part of a delightful spread for your Halloween celebration.
-
Spooky Fruit Platter: A colorful arrangement of seasonal fruits, like oranges, grapes, and berries, offers a fresh contrast to the sweetness of the pops, balancing indulgence with health.
-
Witch’s Brew Punch: A fun, colorful punch spiked with fruity flavors and perhaps a splash of ginger ale will keep everyone refreshed and amplify the festive atmosphere.
-
Ghoulish Cheese Board: Include a variety of cheeses, crackers, and spooky-themed snacks like ghost-shaped cutouts; the savory element perfectly complements the sweet treats.
-
Haunted Cupcakes: Serve cupcakes adorned with Halloween-themed frosting; their light, fluffy texture adds a wonderful contrast to the chewy marshmallow pops.
-
Mini Pumpkin Pies: These give a nod to fall flavors that pair beautifully with the sweetness of marshmallow pops; the spices in pumpkin pie offer a warm, cozy balance.
-
Caramel Corn: The crunchy, sweet popcorn provides a delightful textural experience alongside the soft, chewy marshmallows, making snacking a treat.
-
Spiced Apple Cider: Warm or cold, this seasonal beverage will add comfort to your celebration, tying together the flavors of autumn with your dessert spread.
-
Chocolate-Dipped Pretzels: The salty crunch of pretzels enveloped in chocolate is a perfect savory counterpoint to the rich sweetness of the pops.
Tips for the Best Halloween Marshmallow Pops
• Use Fresh Marshmallows: Ensure your marshmallows are fresh and soft for the best texture; stale marshmallows won’t have that delightful chewiness.
• Stick to the Basics: Opt for classic candy melt colors like orange, black, and white for a traditional Halloween look; this will enhance the festive vibe of your treats.
• Timing is Key: Work quickly after dipping to apply toppings before the coating sets; if it hardens, the toppings won’t stick well.
• Chill for Success: If the candy melt becomes too thick, warm it gently in the microwave for a few seconds to regain a smooth texture. This step ensures your Halloween Marshmallow Pops have an even coating.
• Creative Presentation: Arrange pops in a spooky-themed display or treat bags adorned with Halloween decorations; presentation can make your treats even more enticing at the party.

Halloween Marshmallow Pops Recipe FAQs
Are the marshmallows supposed to be fresh or can I use stale ones?
Absolutely! For the best texture and taste, it’s essential to use fresh marshmallows. Stale marshmallows can lose their delightful chewiness, resulting in a less enjoyable treat. When they’re fresh, the pops maintain that perfect balance of softness and sweetness!
How should I store the Halloween Marshmallow Pops?
You can store the pops at room temperature in an airtight container for up to 3 days. Just keep them out of direct sunlight and heat to preserve their texture. If you plan on keeping them longer, refrigerate them for up to a week. Ensure they are sealed to avoid drying out.
Can I freeze the marshmallow pops, and if so, how?
Yes, you can freeze your Halloween Marshmallow Pops for up to 2 months! To freeze, wrap each pop individually in plastic wrap and place them inside a freezer-safe bag. When you’re ready to enjoy them, simply let them thaw in the refrigerator for a few hours before serving.
What should I do if the candy melts get too thick while coating?
If the candy melts become too thick, it’s easy to fix! Simply warm them gently in the microwave for a few seconds, stirring in between until smooth again. This will ensure a silky coating for your marshmallows and make the dipping process much easier.
Are there any dietary considerations I should keep in mind?
Definitely! If you have guests with allergies, it’s essential to check the ingredient labels for your candy melts, as they may contain allergens like dairy or nuts. You can also find vegan-friendly candy melts to accommodate dietary restrictions. Always have a list of ingredients on hand to keep your guests informed!
Can I use different toppings on the pops?
The more the merrier! Personalizing the Halloween Marshmallow Pops with various toppings is a fantastic idea. You can use sprinkles, mini chocolate chips, or even edible glitter for a touch of magic. Let your creativity run wild; each pop can be a one-of-a-kind treat!
Halloween Marshmallow Pops that Will Bewitch Your Guests
Ingredients
Equipment
Method
- Begin by unwrapping your candy melts and placing them in a microwave-safe bowl. Microwave in 30-second intervals on medium power, stirring between each interval until fully melted and smooth.
- Insert lollipop sticks into the center of each marshmallow securely. Dip each marshmallow into the melted candy melt until fully coated, allowing excess to drip off. Rest the pops upright to dry.
- While the coating is still wet, add toppings such as sprinkles, mini chocolate chips, or chopped nuts. Ensure generous coverage while the coating is sticky.
- Place the marshmallow pops in a cool, dry area to set completely for 15-30 minutes. Optionally, place in the refrigerator to speed up setting.
- Once set, decorate with melted chocolate drizzle, stick on candy eyes, and sprinkle with edible glitter for added flair.
- Arrange the finished pops on a festive platter or in treat bags for serving. Show off their fun designs at your Halloween gathering.