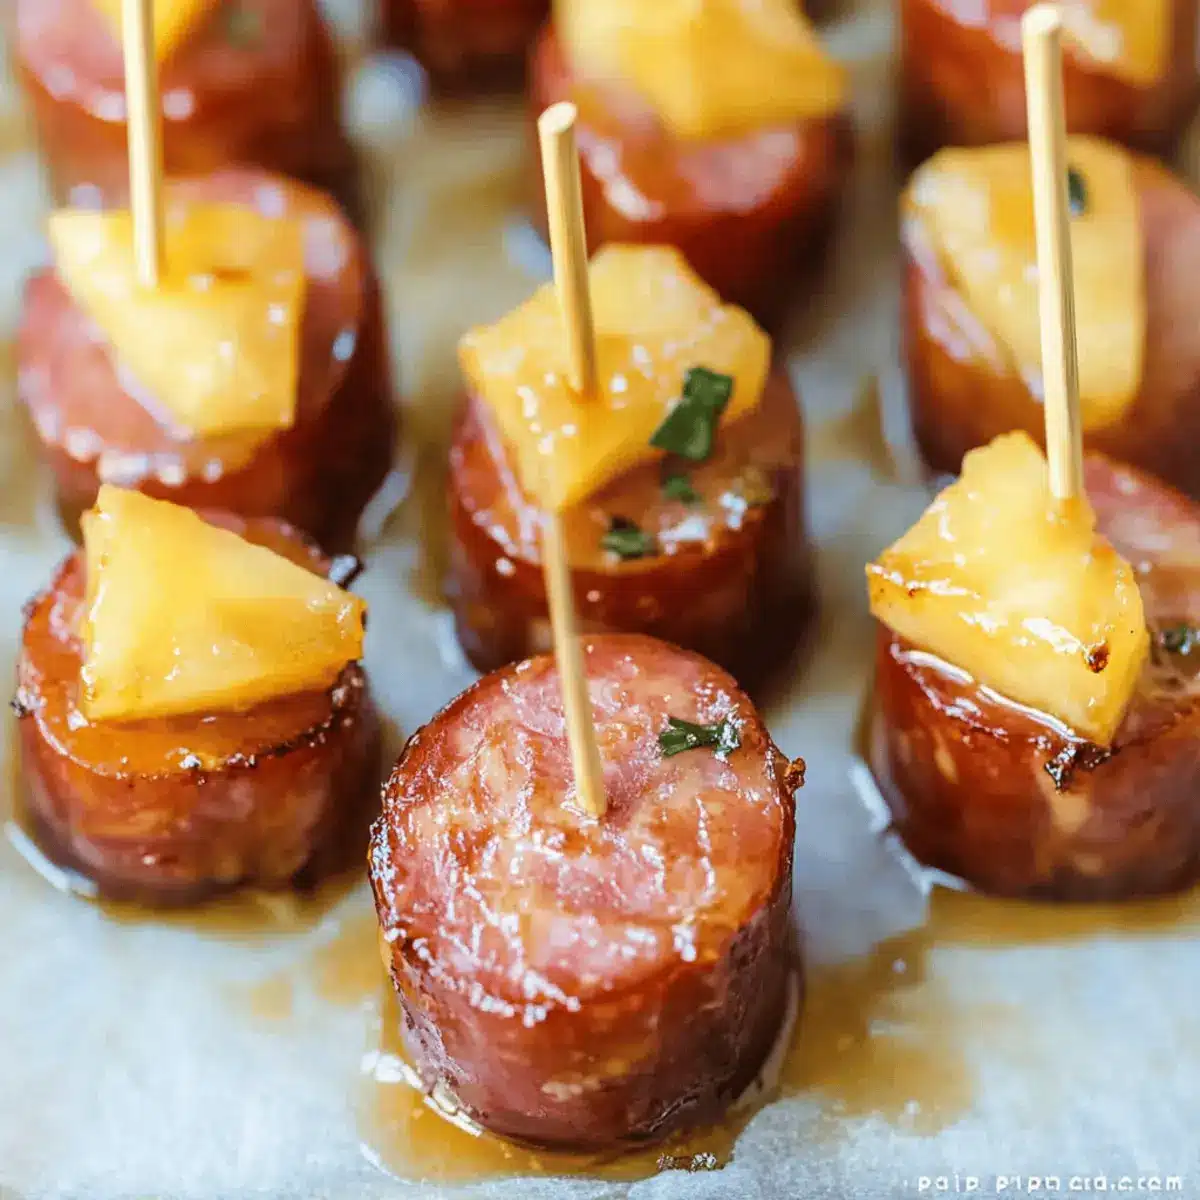
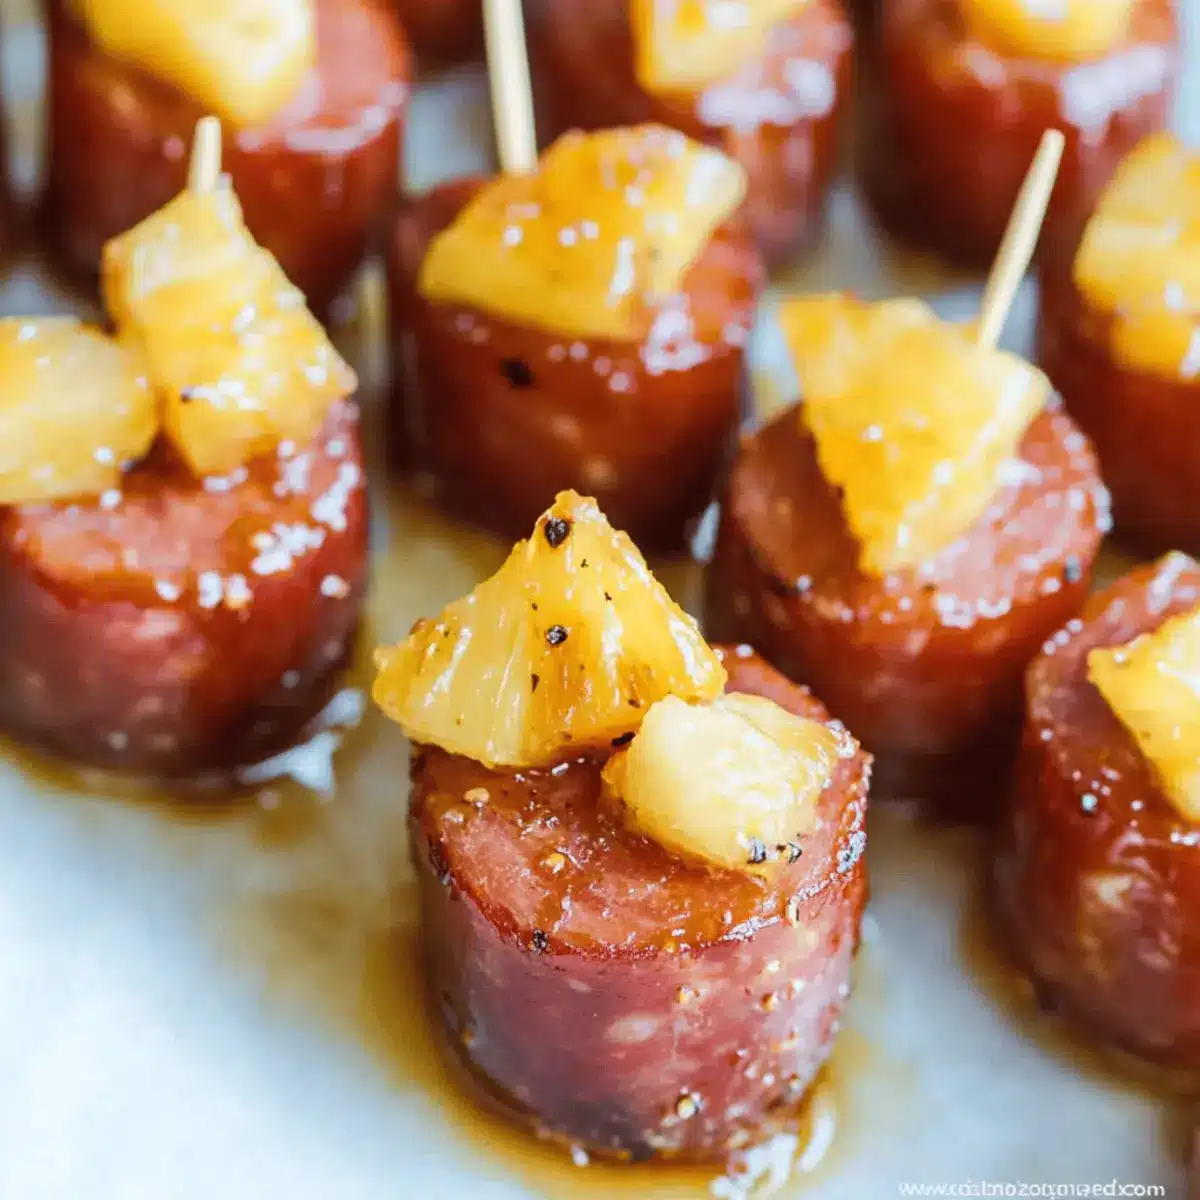
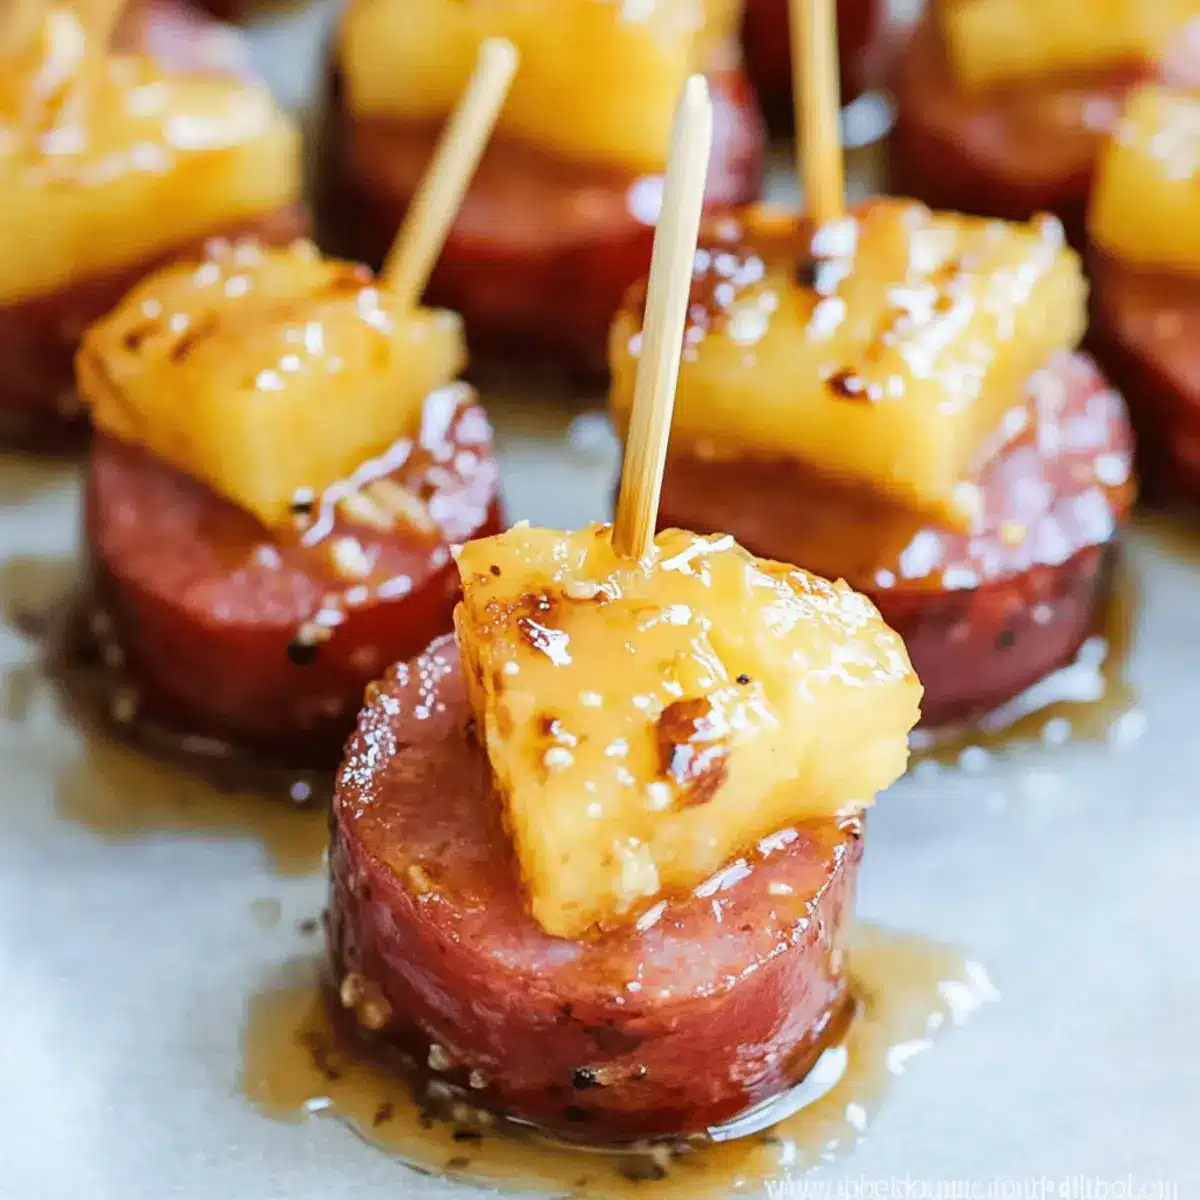
“Quick, what’s the easiest way to impress your friends at your next get-together?” That’s often the first question I hear from fellow home-chefs, and it immediately brings to mind my favorite party starter: Glazed Kielbasa Bites. With just five minutes of prep, you can whip up these sweet and salty treats that are perfect for game day or summer BBQs. They’re not only super easy to make but pack a punch of flavor that will have everyone coming back for seconds. Plus, they’re kid-friendly, making them an absolute win for family gatherings. So, are you ready to make your next event unforgettable with this delightful appetizer?

Why Will You Adore This Recipe?
Ease of Preparation: This recipe comes together in just five minutes, making it effortless even for busy home cooks.
Savory-Sweet Goodness: The delightful juxtaposition of sweet pineapple and savory kielbasa ensures maximum flavor in every bite.
Crowd-Pleasing Appeal: Perfect for game day or summer BBQs, these bites will be the star of your appetizer spread.
Adaptable Ingredients: Feel free to swap out kielbasa for your favorite sausage or experiment with different sauces for unique flavor profiles. For something even quicker, try pairing with Sticky Steak Bites for a true flavor explosion.
Kid-Approved: Made with simple ingredients, they are sure to win over picky eaters and become a family favorite.
Make-Ahead Flexibility: These snacks can be prepped ahead of time, letting you focus on entertaining when guests arrive.
Glazed Kielbasa Bites Ingredients
Discover the simple ingredients needed for these flavorful morsels!
For the Bites
• Kielbasa – Provides the main protein and savory flavor; you can easily substitute with any smoked sausage for a variation.
• Pineapple Slices – Adds a burst of sweetness and juiciness; canned pineapple in juice works perfectly, but fresh pineapple can also be used for a fresher taste.
For the Glaze
• Teriyaki Sauce – Contributes umami depth and sweetness; opt for a gluten-free version to accommodate dietary needs.
• Sweet Chili Sauce – Enhances sweetness with a mild kick; you can substitute with any chili garlic sauce if you’d like more heat.
• Honey – Boosts overall sweetness while helping to thicken the glaze; maple syrup is a great vegan alternative for this dish.
These ingredients come together to create delicious and memorable Glazed Kielbasa Bites that your family and friends won’t be able to resist!
Step‑by‑Step Instructions for Glazed Kielbasa Bites
Step 1: Preheat the Oven
Begin your journey to delicious Glazed Kielbasa Bites by preheating your oven to 425°F (220°C). This ensures a hot cooking environment for caramelization. Set the timer for a few minutes while you prepare the ingredients so you can get the bites in the oven as soon as possible.
Step 2: Assemble Your Bites
Next, take your kielbasa slices and lay them on a clean surface. Place a pineapple slice on top of each kielbasa piece and secure them together with toothpicks. Aim for a snug fit, ensuring that each bite holds together well. This step should take about 5 minutes, and you’ll love how colorful they look!
Step 3: Make the Glaze
In a small mixing bowl, combine teriyaki sauce, sweet chili sauce, honey, and a splash of pineapple juice from the can. Whisk these ingredients together until the mixture is smooth and well-blended. The glaze should be sticky and glossy, ready to elevate your Glazed Kielbasa Bites into a flavorful treat. This step requires just 2-3 minutes!
Step 4: Prepare the Baking Sheet
Grab a sturdy baking sheet and line it with aluminum foil for easy cleanup. Lightly spray the foil with cooking spray to prevent sticking. This prep work ensures your bites bake evenly and come off the sheet beautifully once cooked. It will take only a couple of minutes to prepare.
Step 5: Arrange and Brush with Glaze
Now, neatly arrange your assembled kielbasa bites on the prepared baking sheet, making sure they aren’t touching. Use a brush to generously coat the tops with your homemade glaze, ensuring every bite is infused with that sweet and salty flavor. This step should only take 3-4 minutes, so you’ll be cooking in no time!
Step 6: Bake the Bites
Place your baking sheet into the preheated oven and bake for 15-20 minutes. Keep a close eye on them, checking occasionally for an attractive caramelization. You’ll know they’re ready when the bites are heated through and golden brown on top. This step allows the flavors to meld beautifully while creating a wonderful aroma in your kitchen.
Step 7: Serve Hot
Once your Glazed Kielbasa Bites are done baking, remove them from the oven and let them cool for a minute or two. This cooling time will help prevent any burns from the hot pineapple. Serve them warm, allowing guests to grab these gorgeous bites with toothpicks for a delightful appetizer experience.

Glazed Kielbasa Bites: Endless Possibilities
Feel free to let your creativity shine by customizing these delightful bites to suit your taste buds!
-
Spicy Kick: Add a pinch of cayenne pepper to the glaze for a flavorful heat that packs a punch. It elevates the taste profile, making each bite more exciting!
-
Barbecue Twist: Swap teriyaki sauce with your favorite barbecue sauce. This change brings a smoky flavor that can remind you of summer cookouts with family and friends.
-
Different Proteins: Use chicken or turkey sausage for a lighter option. These alternatives still provide a satisfying bite, allowing the glaze to shine through while offering varying textures.
-
Sweet and Tangy: Try using a zesty citrus glaze instead of sweet chili sauce. A blend of orange juice and zest can give your bites a fresh twist that dances on the palate.
-
Herbed Touch: Add fresh herbs like rosemary or thyme to the glaze for an aromatic boost. This subtle enhancement brings a lovely fragrance and additional complexity.
-
Fruit Fusion: Substitute pineapple slices with peaches or mango for a different fruity note. The juicy sweetness of these fruits can transform your glazed bites into a tropical delight!
-
Crispy Finish: Sprinkle crushed fried onions on top for added crunch before serving. This delightful texture creates an irresistible contrast to the tender bites.
-
Sweet Maple Surprise: Replace honey with maple syrup for an appealingly different flavor in the glaze. It adds a warm sweetness that pairs beautifully with the savory kielbasa. For more maple glory, consider serving these alongside Maple Glazed Butternut for a cohesive theme!
Tips for the Best Glazed Kielbasa Bites
Keep It Steady: Use a sturdy baking sheet to support the weight of the bites and prevent the sheet from bending during cooking.
Watch the Clock: Keep a close eye on the bites while baking; if your oven runs hot, they can quickly burn.
Cool Before Serving: Allow the bites to cool slightly after baking; this prevents burns from the hot pineapple.
Ingredient Swaps: Feel free to substitute kielbasa with other sausages or experiment with different sauces to create unique flavors in your glazed kielbasa bites.
Prep Ahead: Assemble these bites the night before the event and add the glaze right before baking to maintain freshness.
What to Serve with Glazed Kielbasa Bites
These delightful appetizers can be easily transformed into a memorable meal, perfect for any gathering.
-
Creamy Mashed Potatoes: Their buttery smoothness contrasts beautifully with the sticky kielbasa, offering comfort and richness.
-
Fresh Garden Salad: Crisp greens and vibrant veggies brighten the plate, balancing the savory bites with freshness.
-
Tangy Coleslaw: Its crunchy texture and sweet acidity cut through the richness, making every bite even more enjoyable.
-
Garlic Breadsticks: Soft and warm, they complement the glazed bites perfectly, soaking up any leftover sauce and adding deliciousness.
-
Spicy Pickles: These zesty bites introduce a sharp kick that counters the sweetness of the kielbasa, creating a delightful flavor explosion.
-
Refreshing Lemonade: This drink’s bright citrus notes cleanse your palate, making every bite of savory kielbasa feel like a new adventure.
-
Chocolate Chip Cookies: For dessert, these classic treats bring a comforting sweetness, delightfully rounding off your meal with nostalgia.
How to Store and Freeze Glazed Kielbasa Bites
Fridge: Store leftover Glazed Kielbasa Bites in an airtight container for up to 2 days. Reheat in the oven at 350°F (175°C) for about 10 minutes for best results.
Freezer: You can freeze baked kielbasa bites for up to 1 month. Place them in a single layer on a baking sheet to freeze, then transfer to a freezer bag for easy storage.
Reheating: When ready to enjoy, reheat from frozen in the oven at 350°F (175°C) for 15-20 minutes or until heated through and caramelized.
Make-Ahead Tip: Assemble the bites ahead of time and store in the fridge, but don’t add the glaze until you’re ready to bake for optimal freshness.
Make Ahead Options
These Glazed Kielbasa Bites are perfect for busy home cooks looking to save time during meal prep! You can assemble the bites (pineapple on top of kielbasa and secured with toothpicks) up to 24 hours in advance and store them in the refrigerator. Additionally, prepare the glaze and keep it in a separate airtight container for freshness. When you’re ready to serve, simply brush the glaze over the bites and bake as instructed for an easy, hassle-free appetizer. To maintain their quality, avoid brushing the glaze on until just before baking; this will keep the flavors vibrant, ensuring that your guests experience these delightful bites at their very best!

Glazed Kielbasa Bites Recipe FAQs
How do I choose the best kielbasa for this recipe?
Absolutely! When selecting kielbasa, look for a smoked version that has a rich and deep flavor. Ensure it has a good color and firmness, avoiding any packages with dark spots or an off smell. If you’re looking for a lighter option, turkey or chicken sausage make excellent substitutes that still bring great flavor to your Glazed Kielbasa Bites.
What’s the best way to store leftover Glazed Kielbasa Bites?
You can store your leftover Glazed Kielbasa Bites in an airtight container in the fridge for up to 2 days. When you’re ready to enjoy them again, simply reheat in the oven at 350°F (175°C) for about 10 minutes, ensuring they regain their delightful sticky texture!
Can I freeze Glazed Kielbasa Bites?
Absolutely! You can freeze baked kielbasa bites for up to 1 month. To do this, place the bites in a single layer on a baking sheet and freeze them until solid. Then, transfer them to a freezer-safe bag. When you’re ready to enjoy them, reheat directly from the freezer at 350°F (175°C) for 15-20 minutes until heated through.
What should I do if my glaze isn’t thickening?
If your glaze isn’t thickening as desired, don’t fret! You can simmer the mixture on the stove over medium heat for about 5-7 minutes to reduce it further. Just stir frequently to avoid burning. If you need to thicken it quickly, adding a teaspoon of cornstarch dissolved in a little water can also work wonders.
Are these bites suitable for kids?
Very! Glazed Kielbasa Bites are a big hit with kids due to their sweet and savory flavors. They are also easy to eat, making them perfect for little hands. Just keep an eye on the toothpicks to prevent any accidents, and consider serving some with a side of ranch dressing for dipping!
What if I want a vegetarian alternative?
For a vegetarian option, try using marinated tofu or seitan. You can slice them similarly and pair with the same pineapple and glaze. These alternatives maintain the essential flavors of the Glazed Kielbasa Bites without the meat while still being delicious and satisfying.

Irresistible Glazed Kielbasa Bites for Your Next Gathering
Ingredients
Equipment
Method
- Preheat your oven to 425°F (220°C).
- Lay kielbasa slices on a clean surface, place a pineapple slice on each piece and secure with toothpicks.
- In a mixing bowl, combine teriyaki sauce, sweet chili sauce, honey, and a splash of pineapple juice. Whisk until smooth.
- Line a baking sheet with aluminum foil and lightly spray with cooking spray.
- Arrange the assembled kielbasa bites on the baking sheet and brush with glaze.
- Bake in the preheated oven for 15-20 minutes until heated through and golden brown.
- Remove from the oven and let cool for a minute before serving warm.
