
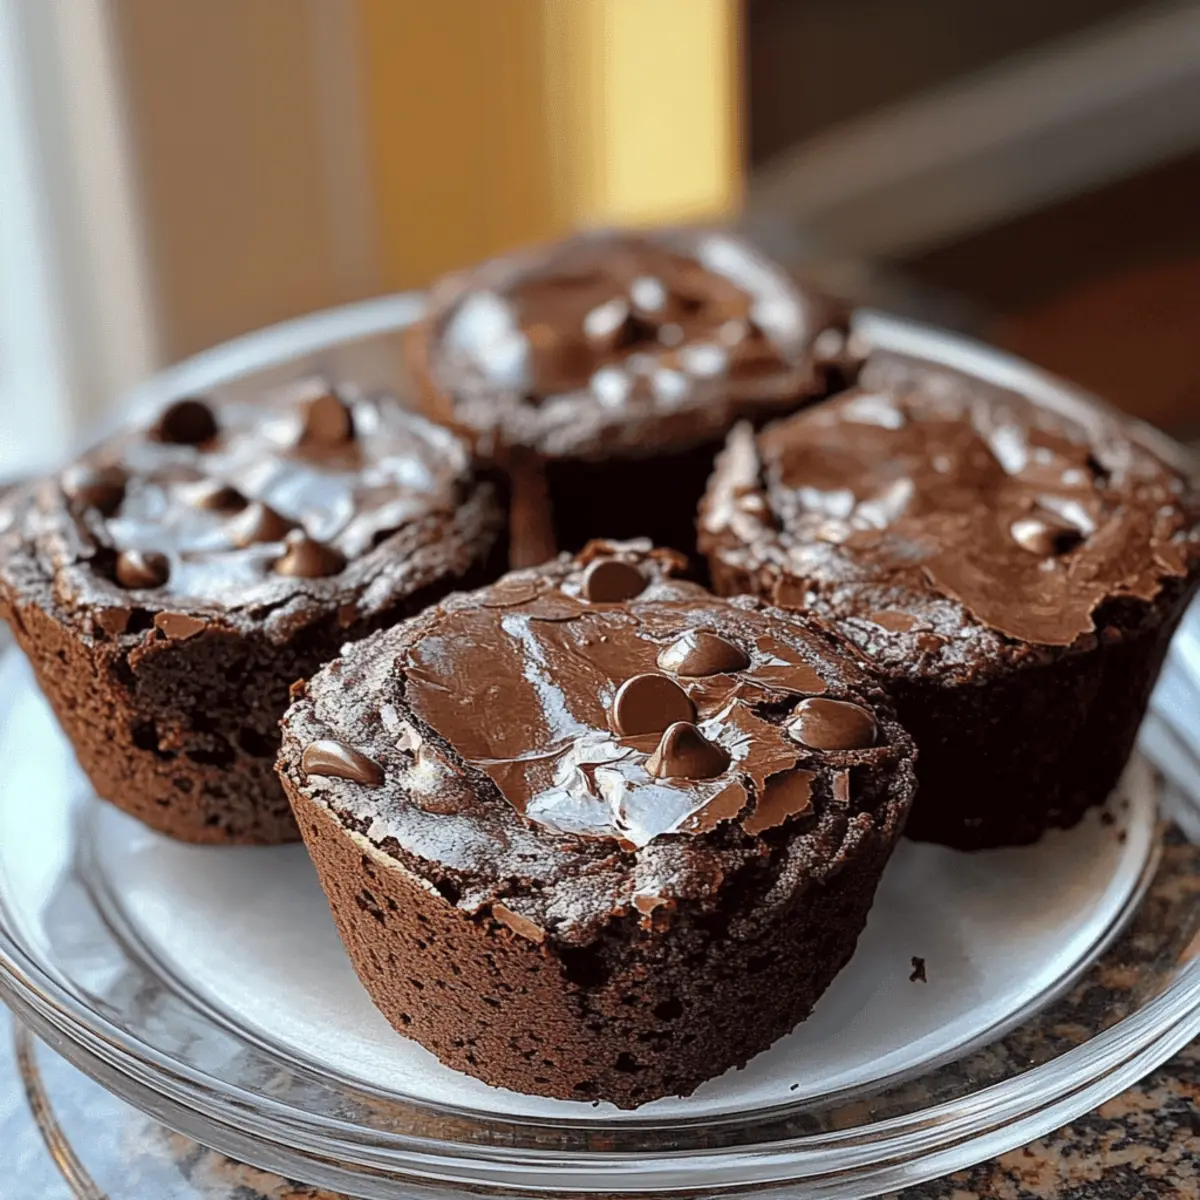
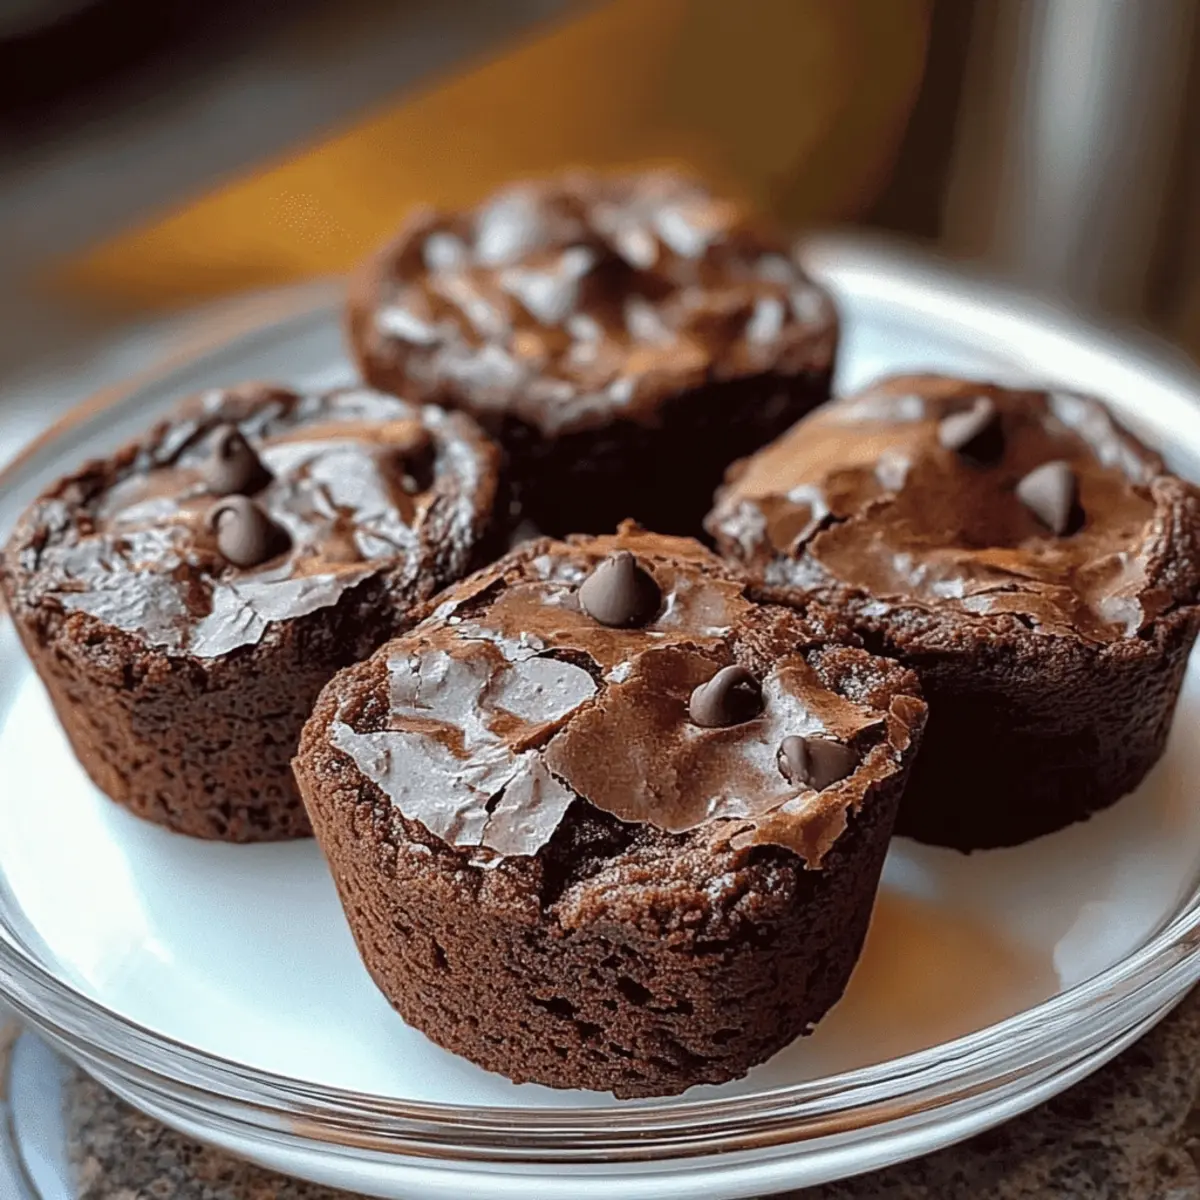
There’s something magical about biting into a fudgy Chocolate Protein Brownie that feels indulgent yet guilt-free—like discovering an old favorite in a brand-new, healthier outfit. These incredible treats don’t just satisfy your sweet tooth; they’re packed with protein and low in calories, making them perfect for post-workout fuel or a late-night snack. Best of all, you can whip them up in under 30 minutes with easy-to-find ingredients, so there’s no need to stray into the realm of fast food. Whether you choose to enjoy them warm straight from the oven or chilled as a meal-prepped delight, I promise you’ll be reaching for seconds. Are you ready to indulge in chocolatey goodness without the guilt? Let’s dive into the recipe!

Why Choose Chocolate Protein Brownies?
Indulgent Satisfaction: These brownies deliver a rich, fudgy texture that satisfies your chocolate cravings without the guilt.
Protein-Packed Power: Each bite is loaded with protein, making them an ideal post-workout snack or midday energy booster.
Quick & Easy: You can whip these up in under 30 minutes, perfect for those busy days when you need something sweet and nutritious.
Versatile Options: Whether you prefer vegan substitutions or want to add mini chocolate chips, this recipe adapts to your dietary needs effortlessly.
Meal Prep Friendly: Bake a batch and store them for the week—great for a grab-and-go snack when you’re craving something delicious.
Dive into the world of guilt-free indulgence, and consider pairing them with a delicious High Protein Frozen Peanut Butter snack for a complete treat!
Chocolate Protein Brownie Ingredients
• A delightful mix of nutritional ingredients awaits you!
For the Batter
- Chocolate Protein Powder – Your primary protein source that elevates these brownies into a guilt-free treat.
- Greek Yogurt – Adds moisture and protein; swap in dairy-free yogurt for a vegan alternative.
- Almond Flour – A gluten-free, low-carb choice; you can use oat flour for even more texture.
- Cocoa Powder – Essential for a rich chocolate flavor—make sure it’s unsweetened!
- Almond Milk – Provides liquid; feel free to choose any milk alternative based on your preference.
- Maple Syrup – Naturally sweetens your brownies; adjust the quantity to match your sweet tooth.
- Baking Powder – Helps the brownies rise to that perfect fudgy texture.
- Salt – Balances and enhances all the flavors brilliantly.
- Mini Chocolate Chips (optional) – For those extra chocolaty indulgences; skip them for fewer calories or opt for dark chocolate chips for a healthier twist.
Step‑by‑Step Instructions for Guilt-Free Chocolate Protein Brownies
Step 1: Preheat the Oven
Start by preheating your oven to 350°F (175°C). While the oven heats up, prepare your mini muffin tin by greasing it well or lining it with silicone liners. This ensures your chocolate protein brownies come out easily and remain perfectly fudgy without sticking.
Step 2: Mix Wet Ingredients
In a large mixing bowl, whisk together one egg, Greek yogurt, almond milk, and maple syrup until the mixture is smooth and creamy, about 2 minutes. This blend adds moisture and nourishment to your chocolate protein brownies, so ensure there are no lumps for the best results!
Step 3: Combine Dry Ingredients
Next, gently stir in the chocolate protein powder, cocoa powder, almond flour, baking powder, and salt. Mix until all the dry ingredients are fully incorporated, forming a thick batter. This should take about a minute; avoid overmixing to keep your brownies tender and fudgy.
Step 4: Add Chocolate Chips
If you desire an extra layer of indulgence, fold in the mini chocolate chips at this stage. The heat from the oven will melt them slightly, creating pockets of gooey chocolate throughout your brownies. This step adds a delightful texture and flavor to your guilt-free chocolate protein brownies.
Step 5: Fill Muffin Cups
Evenly distribute the brownie batter into the prepared muffin cups, filling each about three-quarters full. This should yield roughly 8 to 10 brownie bites. Ensure they are all filled uniformly so they bake evenly and emerge satisfyingly fudgy.
Step 6: Bake the Brownies
Place the muffin tin in the oven and bake for 10-12 minutes. Keep an eye on them; the brownies are done when a toothpick inserted comes out mostly clean, with a few crumbs attached. This timing ensures your brownies remain moist and chocolaty.
Step 7: Cool and Transfer
Once baked, let the brownies cool in the muffin tin for about 5 minutes. After that, carefully transfer them to a wire rack to cool completely. This step allows the brownies to set properly, giving them that rich, fudgy texture you crave in your chocolate protein brownies.
Step 8: Store or Serve
Enjoy your guilt-free chocolate protein brownies warm or store them in an airtight container for up to 5 days in the fridge. For longer storage, freeze them for up to 2 months. These brownies make for a perfect on-the-go snack or a delightful post-workout treat!
How to Store and Freeze Chocolate Protein Brownies
Fridge: Store your Chocolate Protein Brownies in an airtight container for up to 5 days to maintain their fudgy texture and freshness.
Freezer: For longer storage, freeze the brownies for up to 2 months. Wrap each brownie individually in plastic wrap or foil, then place them in a freezer bag.
Reheating: When ready to enjoy, thaw in the fridge overnight, or warm them in the microwave for about 10-15 seconds for that freshly baked feel.
Meal Prep: These brownies are perfect for meal prep! Bake a batch and keep them on hand for quick, nutritious snacks during busy days.
Make Ahead Options
These Chocolate Protein Brownies are a fantastic option for meal prep! You can prepare the batter up to 24 hours in advance by mixing the wet and dry ingredients as instructed and storing it in the refrigerator. Just remember to tightly cover the bowl to keep everything fresh and prevent any saltiness from the baking powder. When you’re ready to bake, simply stir the batter briefly to recombine, fill your muffin tins, and bake as directed. You can also freeze the baked brownies for up to 2 months; just be sure to cool them completely before wrapping individual portions in plastic wrap. This way, you’ll have delicious, guilt-free snacks ready at a moment’s notice, perfect for busy days!
What to Serve with Guilt-Free Chocolate Protein Brownies?
Pairing these rich, fudgy bites with complementary flavors and textures can elevate your guilt-free treat experience to new heights.
- Greek Yogurt: Creamy and rich, adding Greek yogurt alongside brings a delightful tanginess that balances chocolate sweetness beautifully.
- Fresh Berries: Juicy strawberries or tangy raspberries offer a burst of freshness that contrasts perfectly with the dense brownies.
- Nut Butter Drizzle: A warm drizzle of almond or peanut butter adds a nutty flavor and creaminess, making each bite irresistibly decadent.
- Protein Smoothie: A berry or banana protein smoothie boosts your snack with additional nutrients, making it a satisfying post-workout combo.
- Banana Slices: Top your brownie with fresh banana slices for a sweet, creamy texture that pairs wonderfully with chocolate.
- Coconut Whipped Cream: Light and fluffy, coconut whipped cream adds a tropical flair and a hint of sweetness, enhancing that indulgent feel.
- Dark Chocolate Espresso: For coffee lovers, a shot of dark chocolate espresso makes for a rich drink that complements the brownies’ flavors perfectly.
- Chia Seed Pudding: Serve a side of chia seed pudding for added texture and health benefits, making your snack truly nourishing and fulfilling.
- Cinnamon Spiced Almond Milk: A warm glass of this aromatic milk provides a cozy, soothing contrast to the rich chocolate flavor of your brownies.
- Frozen Yogurt: A scoop of frozen yogurt or a dairy-free alternative makes for a refreshing, creamy dessert pairing that feels like a treat!
Expert Tips for Chocolate Protein Brownies
-
Watch the Baking Time: Avoid overbaking; check at 10 minutes for that perfect fudgy texture. Slightly underbaking can yield wonderfully moist chocolate protein brownies.
-
Careful Mixing: Mix just until the ingredients combine. Overmixing can lead to a rubbery texture, so be gentle with the batter.
-
Yogurt Matters: Use full-fat Greek yogurt for extra moisture. If opting for dairy-free, make sure your yogurt has a creamy texture to prevent dryness.
-
Experiment Wisely: Feel free to add nut butter or frosting for extra indulgence on special occasions, but remember that it may change the calorie count.
-
Proper Storage: Keep brownies in an airtight container for up to 5 days in the fridge or freeze them for up to 2 months to maintain freshness.
Chocolate Protein Brownies Variations & Substitutions
Feel free to personalize your brownies with these delightful twists and substitutions to create your perfect batch!
-
Dairy-Free: Substitute Greek yogurt with plant-based yogurt to enjoy a vegan-friendly brownie that’s just as moist.
-
Flour Alternatives: Swap almond flour for coconut flour if you’re looking for a nut-free option. Just remember to reduce the amount as coconut flour absorbs more liquid!
-
Sweetener Swap: For a lower-calorie version, replace maple syrup with stevia or monk fruit sweetener to satisfy your sweet tooth guilt-free.
-
Extra Fiber: Add 1/4 cup of black beans blended into the batter for extra protein and fiber without altering the texture much!
-
Nutty Flavor: Incorporate 1/4 cup of almond or peanut butter to achieve a richer taste and creamy texture—perfect for nut lovers!
-
Cosmic Twist: Create Cosmic Brownie Protein Bites by topping with a layer of healthy chocolate frosting and colorful sprinkles for a fun, kid-approved treat.
-
Fruit Infusion: Mix in some berries or sliced bananas into the batter to add natural sweetness and a burst of flavor in every bite.
-
Heavenly Heat: Add a pinch of cayenne pepper or a dash of chili powder for a surprising twist that complements the chocolate beautifully.
These brownies are not just indulgent but versatile, so consider pairing them with delicious Cheesecake Stuffed Chocolate for a uniquely sweet experience that fits into your healthy lifestyle!
Chocolate Protein Brownies Recipe FAQs
What type of protein powder should I use?
You can use any chocolate protein powder you prefer, whether it’s whey, casein, or plant-based. If you’re looking for a vegan option, opt for a pea or rice protein powder. Just keep in mind that each type might slightly alter the texture, so choose according to your taste and dietary needs!
How should I store these brownies?
For best results, store your Chocolate Protein Brownies in an airtight container in the fridge for up to 5 days. This will keep them fresh and fudgy. If you want them to last longer, consider freezing them! Just wrap each brownie in plastic wrap, place them in a freezer bag, and they’ll stay good for up to 2 months.
Can I freeze the brownies? How do I do that?
Absolutely! To freeze your brownies, wrap each one individually in plastic wrap or foil and place them in a freezer-safe bag. When you need a snack, simply thaw them overnight in the fridge or microwave them for about 10-15 seconds to enjoy that freshly baked taste.
Why are my protein brownies rubbery?
Rubbery texture often results from overmixing the batter or overbaking them. To avoid this, mix your ingredients just until combined, and keep an eye on the timer while baking. If the toothpick comes out mostly clean at the 10-minute mark, take them out – they’ll set as they cool, giving you the perfect fudgy brownie.
Are these brownies suitable for those with allergies?
These Chocolate Protein Brownies can be adjusted for various dietary needs. For a gluten-free option, use certified gluten-free almond flour and ensure your protein powder is gluten-free as well. Additionally, you can make them dairy-free by swapping Greek yogurt for a plant-based yogurt and using non-dairy milk. Always check labels to ensure they suit your specific allergies or dietary restrictions!

Decadent Chocolate Protein Brownies You Won't Feel Guilty About
Ingredients
Equipment
Method
- Preheat your oven to 350°F (175°C) and prepare your mini muffin tin.
- In a large bowl, whisk together the egg, Greek yogurt, almond milk, and maple syrup until smooth.
- Gently stir in the chocolate protein powder, cocoa powder, almond flour, baking powder, and salt until fully incorporated.
- Fold in the mini chocolate chips if using.
- Distribute the batter into the muffin cups, filling each about three-quarters full.
- Bake for 10-12 minutes until a toothpick comes out mostly clean.
- Let the brownies cool in the tin for about 5 minutes, then transfer to a wire rack to cool completely.
- Store in an airtight container for up to 5 days or freeze for up to 2 months.