
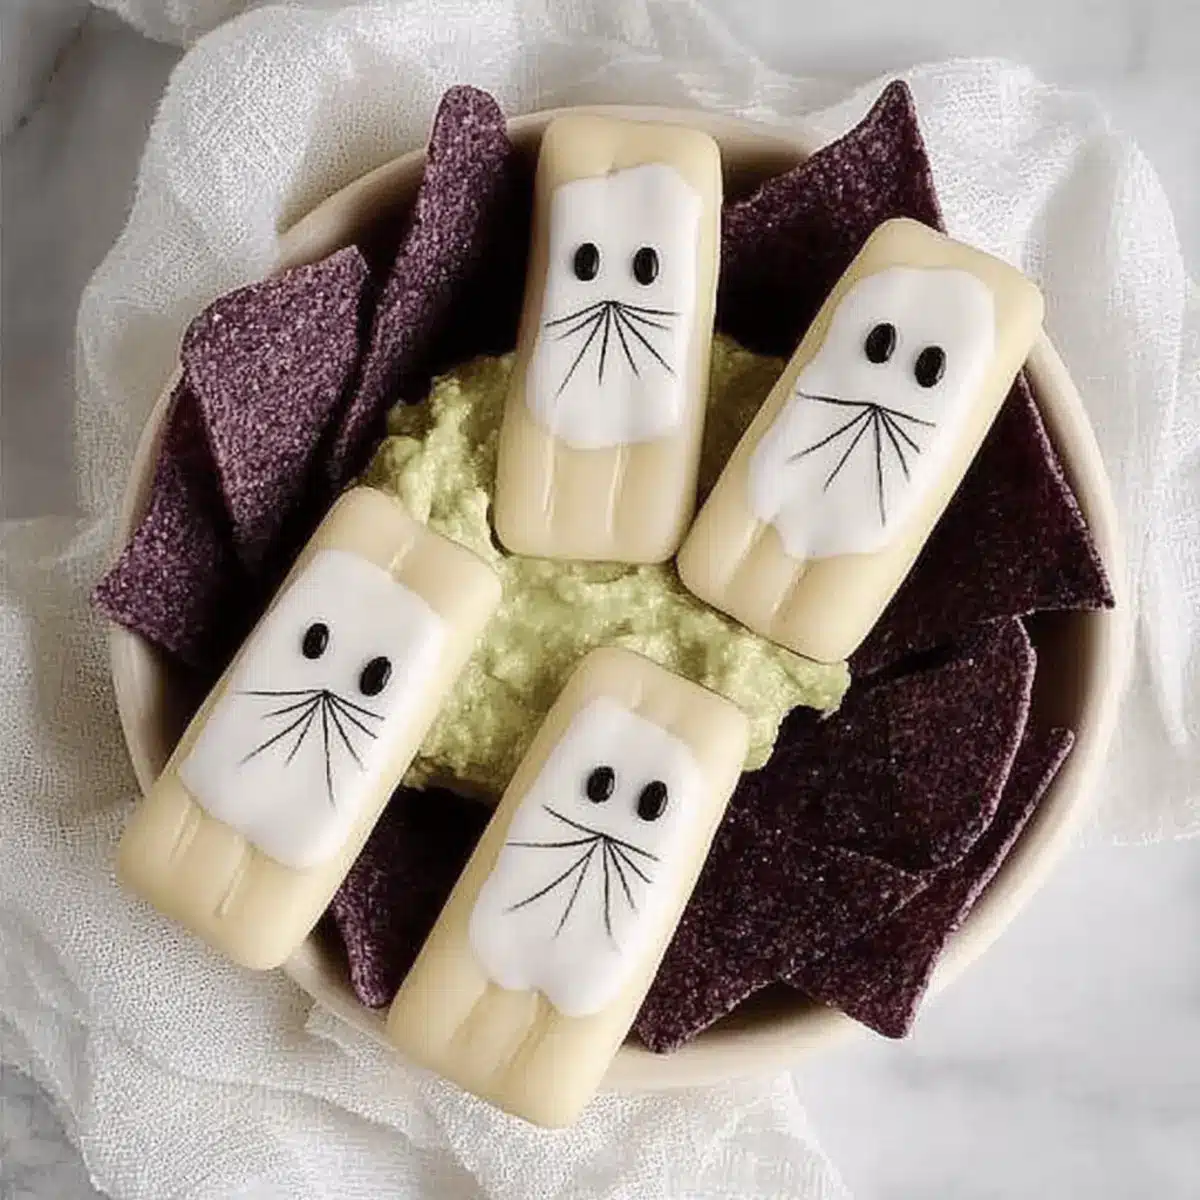
As I rummaged through the pantry, seeking inspiration for our hauntingly fun Halloween party, a quirky idea struck me: what if I transformed ordinary wafers into spooky delights? Enter the Chocolate Dipped Ghost Wafers—a simple, playful, and utterly enchanting treat that everyone will adore. These kid-friendly snacks not only bring a festive vibe to your table, but they also allow for creative customization, ensuring each ghostly creation reflects your personal touch. With effortless prep and minimal mess, you can whip up these delightful bites in no time, leaving you free to enjoy the eerie festivities. Curious to see how these ghoulish treats come together? Let’s dive into the recipe!
Why Are Ghost Wafers So Fun?
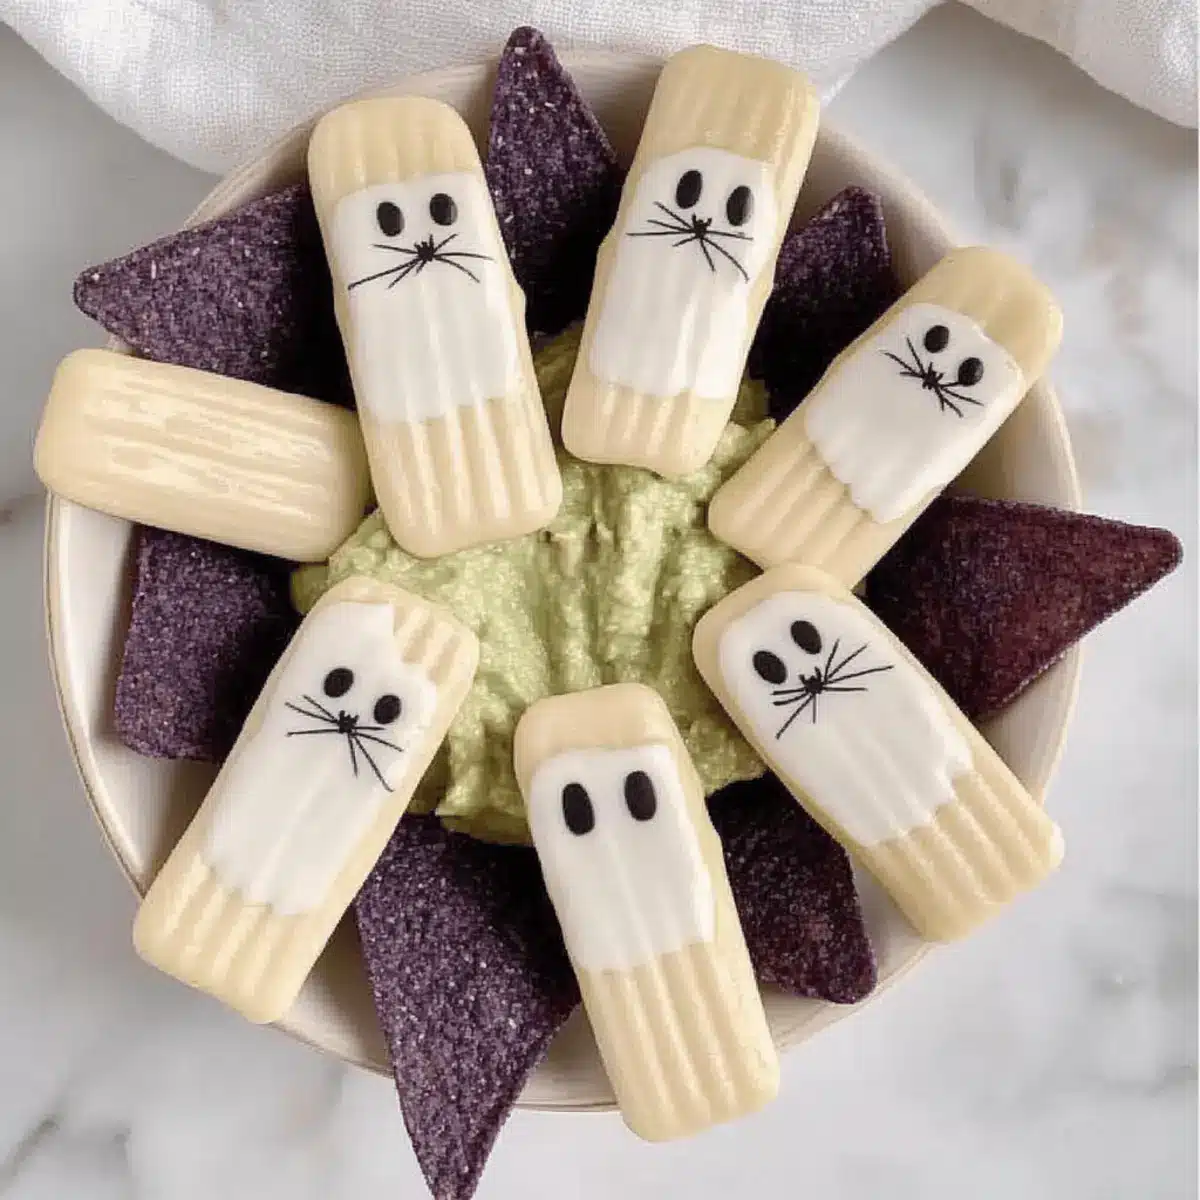
Simplicity, these Chocolate Dipped Ghost Wafers are not only easy to make but also require minimal ingredients and time. Adorable designs will delight kids and adults alike, as you customize each wafer with fun decorations like candy eyes and sprinkles. Versatile options allow you to switch up flavors—try dark or white chocolate for a different spooky effect. Perfect for parties, these treats are a great addition to any Halloween spread, just like my Cheesecake Stuffed Chocolate or Keto Brownie Waffles. Sweet nostalgia takes over as you reminisce about classic childhood treats, making these a perfect fit for all ages!
Chocolate Dipped Ghost Wafers Ingredients
Get ready to create your spooky treats!
For the Wafers
- Wafer cookies – Choose your favorite vanilla or chocolate wafers for a delightful base.
- White chocolate – Melting white chocolate gives the ghostly appearance; you can use candy melts for ease.
For the Decorations
- Black icing – Use for creating spooky eyes and smiles; it also adds a pop of fun!
- Candy eyes – These adorable eyes bring the ghosts to life—pick up a variety for personality!
- Sprinkles – Festive sprinkles can add an extra layer of fun and color to your ghostly creations.
With these Chocolate Dipped Ghost Wafers, your Halloween festivities are sure to be a hit!
Step‑by‑Step Instructions for CHOCOLATE DIPPED GHOST WAFERS
Step 1: Prepare the Chocolate
Start by setting up a double boiler or a microwave-safe bowl to melt your white chocolate. If using the microwave, heat in 30-second intervals, stirring in between, until completely smooth—this should take about 1–2 minutes. Aim for a velvety consistency without any lumps. Once melted, remove it from heat and let it cool slightly, so it doesn’t scorch your wafers when dipping.
Step 2: Dip the Wafers
Take your wafer cookies, one at a time, and carefully dip them into the melted white chocolate, allowing any excess to drip back into the bowl. Ensure that each wafer is evenly coated, creating that spooky ghostly layer. Place the dipped wafers on a parchment-lined baking sheet. Repeat this process until all wafers are coated, approximately 10–15 wafers will fit on one sheet.
Step 3: Add Ghostly Features
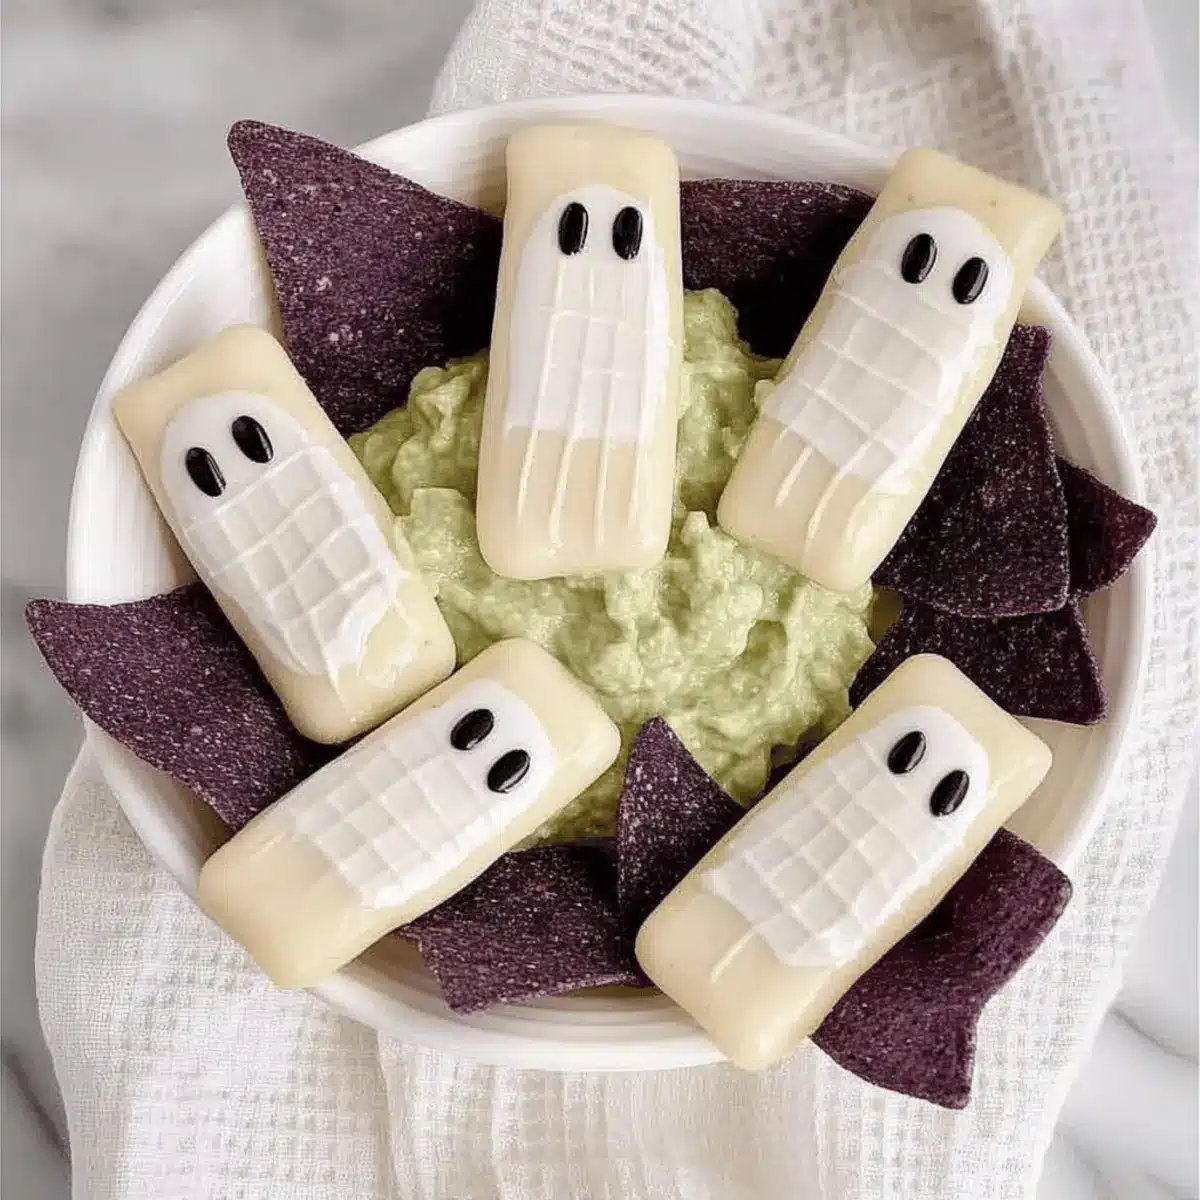
Before the white chocolate sets, quickly add candy eyes and decorate each ghost with black icing to create fun faces. Aim for about 2-3 candy eyes per cookie, placing them strategically to give each ghost its own unique personality. Use the icing to add mouth expressions, ensuring you act fast as the chocolate will harden in approximately 10 minutes.
Step 4: Let Them Set
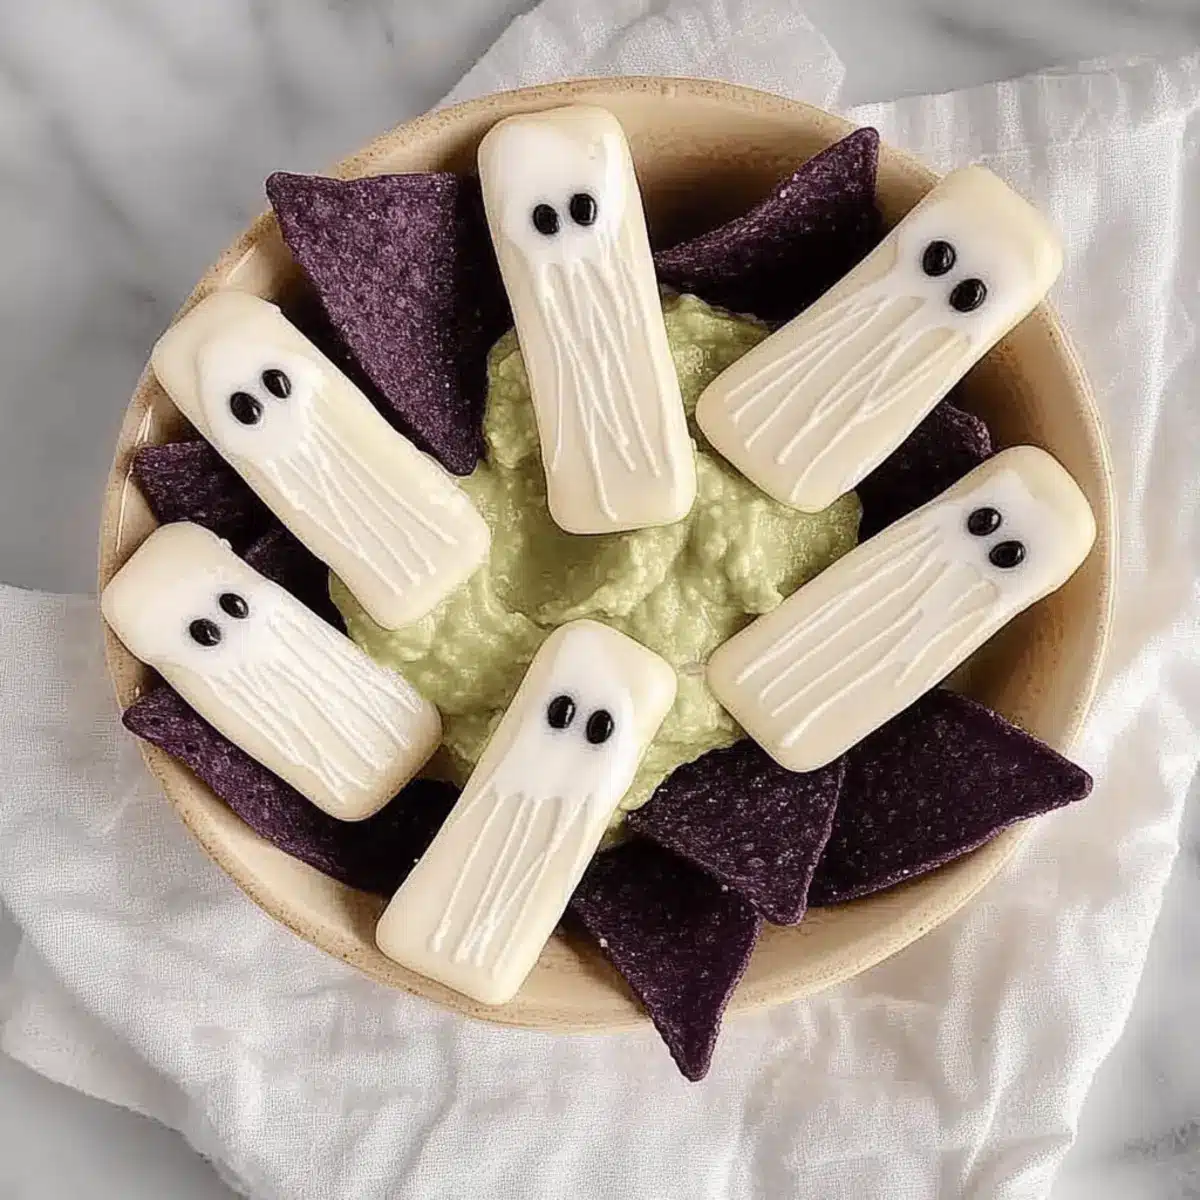
After decorating, let your Chocolate Dipped Ghost Wafers sit at room temperature for about 20–30 minutes until the chocolate firms up completely. Alternatively, pop them into the fridge for about 10 minutes for quicker setting. Keep an eye out for a nice glossy finish on the chocolate—that’s your cue they’re ready to go!
Step 5: Serve and Enjoy
Once your ghostly treats are set, arrange them on a spooky platter or a themed tray to showcase your creations. Feel free to sprinkle some festive decorations around, like edible glitter or colorful sprinkles, to enhance the Halloween spirit. These Chocolate Dipped Ghost Wafers are not just delightful to eat, but they also make for a fun centerpiece at any Halloween gathering!
Make Ahead Options
These Chocolate Dipped Ghost Wafers are perfect for busy home cooks looking to save time during the Halloween festivities! You can prepare the wafers and dip them in white chocolate up to 3 days in advance; simply store them in an airtight container in the refrigerator to maintain their crisp texture. For the best presentation, add the candy eyes and black icing decorations just before serving. This way, the vibrant colors and textures stay fresh and enticing. When ready to impress your guests, simply take them out, add the final touches, and arrange them on a spooky platter. You’ll enjoy more time mingling with family and friends while still offering a delightful treat!
What to Serve with Chocolate Dipped Ghost Wafers
As you bring these charming treats to the table, consider the perfect accompaniments to create a spellbinding Halloween spread.
-
Spooky Fruit Platter: Arrange ghost-shaped melon or apple slices alongside vibrant berries. This adds freshness and color to your dessert table.
-
Witch’s Brew Punch: A fun, bubbly green punch with lime sherbet and lemon-lime soda will electrify your drinks station. Add gummy worms for extra flair!
-
Mummy Hot Dogs: Wrap mini hot dogs in crescent roll strips and bake until golden. These savory bites perfectly balance the sweetness of your ghost wafers.
-
Cheesy Monster Nachos: Pile tortilla chips high with cheese, black olives, and jalapeños, then bake until everyone can enjoy this cheesy crowd-pleaser.
-
Bewitched Veggie Platter: Include an assortment of fresh vegetables served with a zesty ranch dip. The crunchy textures create a delightful contrast to your wafers.
-
Chocolate Spider Cupcakes: These eye-catching cupcakes topped with chocolate frosting and spider decorations will complement your theme beautifully, enticing both kids and adults alike.
-
Halloween-Themed Cookies: Consider making spooky sugar cookies decorated with icing. Their crunchy sweetness will blend seamlessly with the soft, creamy ghost wafers.
-
Mellow Pumpkin Spice Latte: This warm, aromatic drink will allow guests to savor the season’s flavors, perfectly warming everyone up alongside the festive snacks.
-
Candy Corn Bars: A sweet treat made from layers of candy corn and chocolate will tantalize your sweet tooth, harmonizing wonderfully with the ghostly flavors of your dessert.
By mixing sweets and savory delights, you’ll create a Halloween celebration perfect for every ghost and goblin at your gathering!
Tips for the Best Chocolate Dipped Ghost Wafers
-
Quality Chocolate: Use high-quality white chocolate for a smoother melt and delicious taste, enhancing your Chocolate Dipped Ghost Wafers.
-
Temperature Control: Ensure the melted chocolate isn’t too hot when dipping; let it cool slightly to prevent the wafers from becoming soggy.
-
Quick Decorating: Work swiftly when adding candy eyes and decorations, as the chocolate can set quickly; aim to finish within 10 minutes for best results.
-
Parchment Paper: Always line your baking sheet with parchment to prevent sticking and ensure easy removal of the ghost wafers once set.
-
Custom Toppings: Experiment with different types of sprinkles, edible glitter, or even crushed candy for added fun and a personal touch to your spooky treats.
Variations & Substitutions for CHOCOLATE DIPPED GHOST WAFERS
Feel free to get creative with these chocolate dipped delights—they’re just begging for your personal touch!
- Dairy-Free: Use vegan white chocolate or coconut-based melts for a dairy-free version that’s just as delicious.
- Flavor Twists: For an added kick, flavor your white chocolate with a dash of peppermint extract or orange zest. These little tweaks will elevate your ghostly treats!
- Colorful Coating: Swap out white chocolate for vibrant colored melts to make your ghosts more colorful and fun—perfect for adding festive cheer to the table.
- Nut Toppers: Add a sprinkle of crushed nuts on top for added crunch and flavor; almonds or walnuts can make a delightful addition.
- Chocolate-Dipped Alternatives: Try dipping pretzel rods or rice cakes in white chocolate for a fun spin on the classic wafer. Each offers unique shapes and textures!
- Bite-Sized Ghosts: Create smaller ghost shapes using mini wafers or round cookies for a pop-in-your-mouth treat—ideal for little hands.
- Add Some Spice: Incorporate a hint of cinnamon or chili powder to the white chocolate for an unexpected warm flavor. Spicy treats have their own charm!
- Fun Shapes: Use cookie cutters to create ghost shapes from homemade or store-bought cookies. Decorate to your heart’s content!
Don’t forget, if you’re looking for more creative ideas that will impress your guests, check out my Hot Fudge Brownie for an indulgent dessert, or enjoy the lightness of my Cheesecake Stuffed Chocolate for an elegant finish!
Storage Tips for Chocolate Dipped Ghost Wafers
Room Temperature: Keep the Chocolate Dipped Ghost Wafers in an airtight container at room temperature for up to 3 days to maintain freshness.
Fridge: If you want them to last a bit longer, store in the fridge for up to 1 week; just allow them to come to room temperature before serving for the best taste.
Freezer: For longer storage, these treats can be frozen in an airtight container for up to 2 months; place parchment paper between layers to prevent sticking.
Reheating: There’s no need to reheat these wafers, but if they’ve been in the fridge, let them sit for about 10 minutes at room temperature before serving.
Chocolate Dipped Ghost Wafers Recipe FAQs
Why do I need to use quality white chocolate?
Absolutely! Using high-quality white chocolate ensures a smoother melt and a richer flavor for your Chocolate Dipped Ghost Wafers. It enhances the overall taste, giving your spooky treats a decadent touch that both kids and adults will appreciate. Look for chocolate with cocoa butter listed as an ingredient for the best results.
How should I store the Chocolate Dipped Ghost Wafers?
To maintain the freshness of your Chocolate Dipped Ghost Wafers, keep them in an airtight container at room temperature for up to 3 days. If you want them to last longer, refrigerate them for up to 1 week, but be sure to let them come to room temperature before serving to enjoy their optimum taste!
Can I freeze the Chocolate Dipped Ghost Wafers?
Yes! For longer-term storage, you can freeze your Chocolate Dipped Ghost Wafers for up to 2 months. Place these adorable treats in an airtight container, interspersed with parchment paper to prevent sticking. When you’re ready to enjoy them, simply thaw them in the fridge overnight or at room temperature for about 1 hour before serving.
What should I do if my chocolate isn’t melting smoothly?
If you encounter lumps while melting your chocolate, it could be too hot or have been overheated. To fix this, try adding a small amount of vegetable oil or coconut oil to the chocolate as you melt it, which can help achieve a smoother consistency. Always melt slowly and stir frequently, especially in a microwave, to avoid scorching.
Can I customize the decorations on the ghost wafers?
Very! These Chocolate Dipped Ghost Wafers are highly customizable. Feel free to switch up the candy eyes or use colorful sprinkles to create different designs for each ghost. You can also incorporate festive toppings like edible glitter or crushed candies for added flair. The more, the merrier when it comes to creativity!
Hauntingly Good Chocolate Dipped Ghost Wafers for Halloween
Ingredients
Equipment
Method
- Start by setting up a double boiler or a microwave-safe bowl to melt your white chocolate.
- Take your wafer cookies, one at a time, and carefully dip them into the melted white chocolate.
- Before the white chocolate sets, quickly add candy eyes and decorate each ghost with black icing.
- After decorating, let your Chocolate Dipped Ghost Wafers sit at room temperature for about 20–30 minutes.
- Once your ghostly treats are set, arrange them on a spooky platter to showcase your creations.