
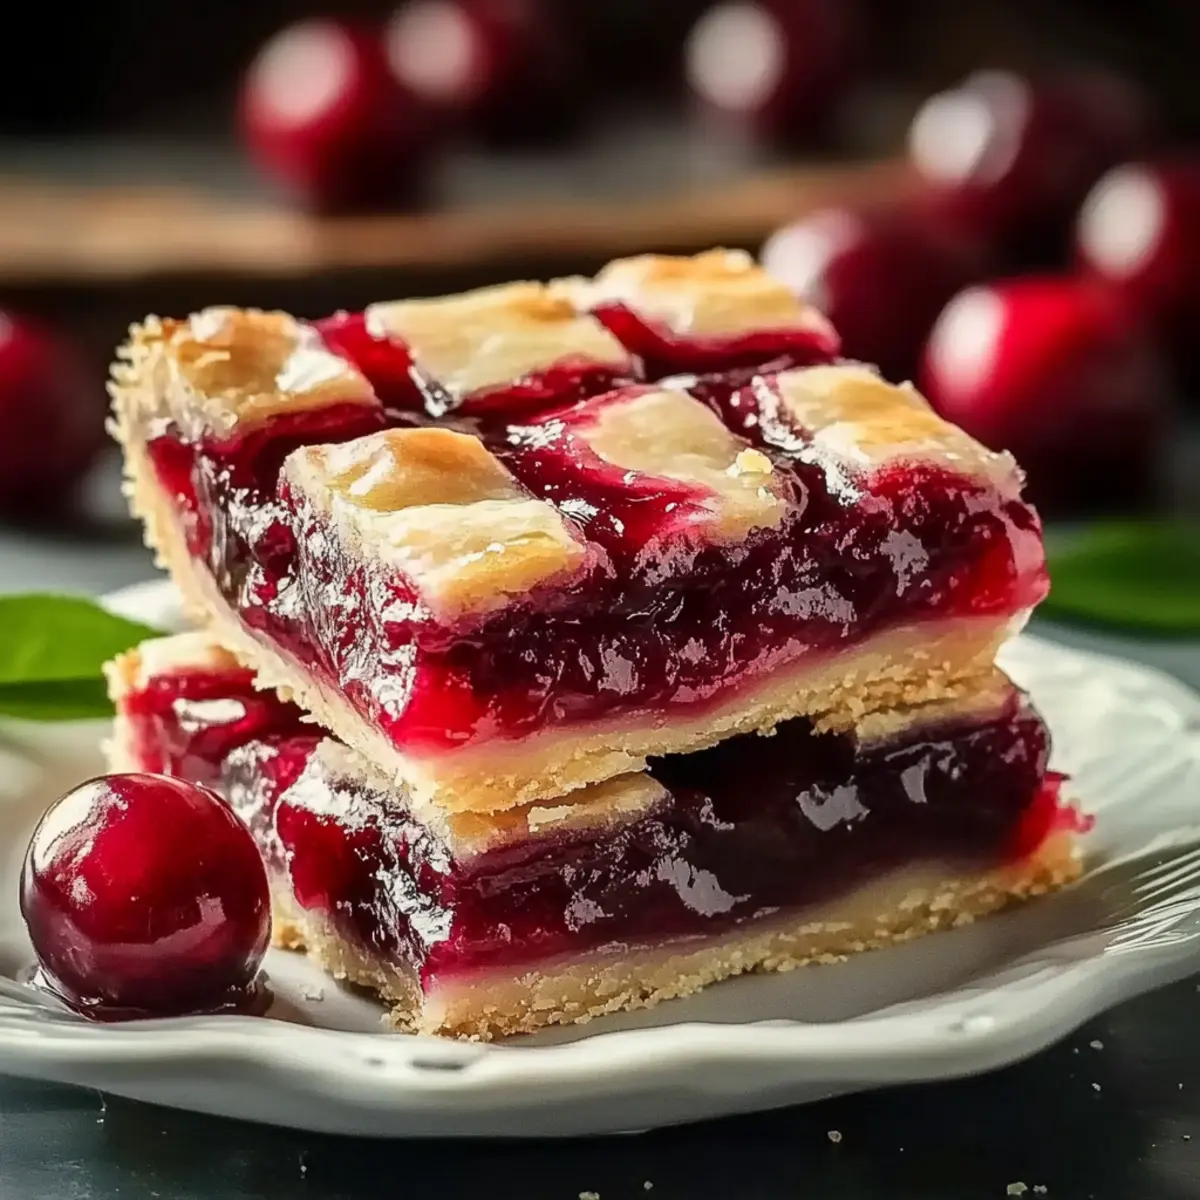
As I strolled through the vibrant farmer’s market last weekend, a vivid splash of ruby-red cherries caught my eye, and I couldn’t resist the urge to bring home a basket. That’s how my obsession with Easy Cherry Pie Bars began—a perfect solution for anyone craving a homemade cherry dessert that strikes the ideal balance of sweet and tart. This beginner-friendly recipe is not just a crowd-pleaser; it’s also a delightful make-ahead treat that’s perfect for gatherings. With simple ingredients and a quick preparation time, you’ll have a comforting dessert ready to enjoy in no time. Who doesn’t love a warm, fruity dessert that can easily be whipped up in a pinch? Join me as we dive into this effortless cherry delight that you’ll want to share with everyone! Ready to grab your apron?
Why Are These Cherry Pie Bars a Must-Try?
Beginner-Friendly: This recipe welcomes novice bakers with open arms, ensuring effortless preparation and delightful results.
Flavor Explosion: The combination of sweet cherries and a hint of almond creates a taste sensation that’s simply irresistible.
Perfect for Any Occasion: Whether it’s a family gathering, picnic, or holiday festivity, these bars are sure to impress everyone.
Make-Ahead Magic: Prep these bars in advance and simply serve them when you’re ready, making your hosting duties a breeze!
Freezer-Friendly: Enjoy them anytime; just freeze and thaw when cravings strike! Treat yourself after whipping up a batch of Iced Cherry Earl or enjoy with a slice of Blueberry Pie Overnight.
Cherry Pie Bars Ingredients
• Get ready for deliciousness!
For the Dough
- Real Butter – Provides richness and flavor: be sure to use softened butter for the best results.
- Sugar – Adds sweetness and helps create a tender crust: you can use brown sugar for a deeper flavor.
- Eggs – Contributes to the structure of the bars: make sure they are at room temperature for even mixing.
- Almond Extract – Enhances flavor with a nutty aroma: feel free to substitute with vanilla if that’s your preference.
- Vanilla Extract – Adds depth to the flavor profile: using pure vanilla extract will elevate the taste.
- All-Purpose Flour – Forms the base of the crust: for a gluten-free version, consider using a suitable blend.
- Salt – Balances sweetness and enhances overall flavors: a pinch can really bring out the taste!
For the Filling
- Cherry Pie Filling – The star ingredient, providing juicy cherry flavor: always opt for a quality brand with real cherries for maximum taste.
For the Glaze
- Confectioners’ Sugar – Used for glazing, adds sweetness: mix with milk to achieve the perfect drizzling consistency.
These Cherry Pie Bars are just a simple treat away. Gather your ingredients and let the baking adventures begin!
Step‑by‑Step Instructions for Easy Cherry Pie Bars
Step 1: Prepare the Dough
In a large mixing bowl, cream together 1 cup of softened real butter and 1 cup of sugar until the mixture is light and fluffy, about 3-5 minutes. This process incorporates air, giving your Easy Cherry Pie Bars a tender texture. Make sure to scrape down the sides of the bowl for even mixing.
Step 2: Add Wet Ingredients
Crack in 2 room temperature eggs, along with 1 teaspoon each of almond and vanilla extracts into the butter-sugar mixture. Beat these additions until well combined, which should take about 1-2 minutes. The mixture should appear smooth and creamy, setting the stage for a deliciously flavored dough.
Step 3: Mix Dry Ingredients
Using a separate bowl, whisk together 2 cups of all-purpose flour and 1/2 teaspoon of salt to ensure even distribution. Gradually add this flour mixture to the wet ingredients, mixing on low speed until a soft dough forms. This should take about 1-2 minutes, and you’ll know it’s ready when it pulls away from the bowl’s edges.
Step 4: Layer the Ingredients
Preheat your oven to 350°F (175°C). Grease a 15×10-inch baking pan with cooking spray or butter. Press half of the dough evenly into the bottom of the prepared pan, creating a solid base for your cherry filling. Make sure to smooth it out as you go, ensuring an even layer.
Step 5: Add Cherry Filling
Open a can of quality cherry pie filling and pour it over the dough base, spreading it evenly with a spatula. This beautiful, ruby-red filling creates the star attraction of your Easy Cherry Pie Bars. Take the remaining dough and dollop it in small pieces over the cherry filling, allowing some of the cherries to peek through for visual appeal.
Step 6: Bake to Perfection
Place the baking pan in the preheated oven and bake for 35-40 minutes, or until the top is golden brown and the filling is bubbling slightly. Keep an eye on the bars as they bake; a golden crust indicates that your Easy Cherry Pie Bars are ready to come out!
Step 7: Cool and Glaze
Once baked, remove the pan from the oven and allow the bars to cool completely in the pan on a wire rack. This cooling step helps the bars set properly. Meanwhile, prepare your glaze by mixing 1 cup of confectioners’ sugar with a splash of milk, almond extract, and vanilla until smooth.
Step 8: Drizzle and Serve
After the bars have cooled, drizzle the glaze generously over the top of your Easy Cherry Pie Bars. Cut into squares and serve them either warmed or at room temperature—both ways showcase the comforting flavors beautifully!
What to Serve with Easy Cherry Pie Bars
These Easy Cherry Pie Bars are a sweet indulgence that calls for delightful companions to elevate your dessert experience.
- Vanilla Ice Cream: A classic pairing that offers creamy sweetness, perfectly balancing the tart cherry filling.
- Whipped Cream: Light and airy, a dollop of fresh whipped cream enhances the flavors and adds a luxurious touch.
- Greek Yogurt: For a tangy contrast, a scoop of Greek yogurt is delightful, making this dessert feel a bit more sophisticated.
- Chocolate Drizzle: A rich drizzle of chocolate adds a decadent layer that complements the cherries beautifully.
- Fresh Berries: Serve with assorted fresh berries for a burst of color and an additional layer of natural sweetness.
- Iced Tea: A refreshing glass of iced tea provides a cool contrast, especially on warm days.
- Coffee: The rich, bold flavor of coffee pairs perfectly with the sweet and tart notes of the cherry bars, ideal for coffee lovers.
- Sparkling Water: Add a hint of citrus to your sparkling water for a refreshing drink that cleanses the palate.
- Pecan Pie Bars: If you’re craving another dessert, these bars offer a crunchy and sweet texture that pairs nicely with the fruitiness of cherry pie bars.
- Berry Cobbler: An additional fruity favorite, a warm berry cobbler can create a comforting dessert spread that feels like a cozy hug.
How to Store and Freeze Cherry Pie Bars
Room Temperature: Store covered at room temperature for up to 3 days to maintain their delightful texture and flavor.
Fridge: If you prefer a chilling effect, you can store the bars in the fridge for up to 5 days, but they may become a bit firmer.
Freezer: Freeze individually wrapped bars for up to 2 months. To enjoy, thaw at room temperature or gently reheat in the microwave for a warm, comforting treat.
Reheating: For best results, if serving warm, pop them in the oven at 350°F (175°C) for about 10 minutes. Enjoy these Cherry Pie Bars fresh out of the oven!
Make Ahead Options
These Easy Cherry Pie Bars are a fantastic choice for meal prep, allowing you to enjoy homemade dessert without the last-minute rush! You can prepare the dough and layer it in the pan up to 24 hours in advance; simply cover it with plastic wrap and refrigerate. For an even quicker option, bake the bars ahead of time and let them cool completely, then store them, tightly wrapped, at room temperature for up to 3 days. To maintain their delightful texture, glaze them just before serving. When you’re ready to delight your family and friends, simply slice and serve—these bars remain just as delicious for day-of enjoyment as they do straight from the oven!
Expert Tips for Easy Cherry Pie Bars
- Butter Matters: Ensure your real butter is softened at room temperature for smooth blending—cold butter can lead to dense bars.
- Room Temperature Eggs: Always add room temperature eggs to your mixture. This helps create a uniform texture in your Easy Cherry Pie Bars.
- Don’t Rush Cooling: Allow the bars to cool completely before glazing. This will ensure that the glaze sets properly and doesn’t soak into the bars.
- Quality Ingredients: Use high-quality cherry pie filling for the best flavor—this star ingredient truly makes a difference in the overall taste.
- Freezing Tips: If you plan to make these cherry pie bars ahead of time, freeze them without glaze. Add the glaze once thawed to keep it fresh and delicious!
- Enhance Flavor: Consider adding a splash of fresh lemon juice to the cherry filling. It brightens the flavor and adds a zesty twist to your cherry pie bars.
Cherry Pie Bars Variations
Feel free to let your creativity shine and customize these bars to suit your taste buds!
- Almond-Free: Swap almond extract for more vanilla for a classic flavor that pleases everyone.
- Zesty Kick: Add a splash of fresh lemon juice to the filling for a delightful tang that balances the sweetness.
- Double Cherry Delight: Use two cans of cherry pie filling for a richer, juicier experience—perfect for true cherry lovers!
- Oat Topping: Mix in 1 cup of rolled oats with the dough for an extra crunchy topping that adds texture and heartiness.
- Chocolate Drizzle: Enhance your glaze with melted chocolate for a decadent twist—chocolate and cherry make a winning combination!
- Nutty Crunch: Stir in chopped walnuts or pecans into the filling for an added crunch; the nutty flavor pairs beautifully with cherries.
- Spicy Cherry: Sprinkle a pinch of cinnamon or a dash of nutmeg into the dough for a warm spice note that elevates the flavor.
- Miniature Bars: Bake in a mini muffin tin for bite-sized treats, perfect for parties or lunchboxes—fun and easily portable!
As you explore these variations, don’t forget to enjoy them alongside a cup of coffee or a glass of milk. And if you’re craving another cherry-inspired treat, consider making an Iced Cherry Earl or a Viral Cherry Vanilla latte!
Easy Cherry Pie Bars Recipe FAQs
How do I know if my cherries are ripe?
Absolutely! For the best cherry flavor, look for bright, plump cherries that are firm to the touch. Avoid cherries with dark spots or wrinkles, as these can indicate overripeness. If you’re using canned cherry pie filling, opt for a quality brand that sources real cherries to maximize taste.
What’s the best way to store leftover Cherry Pie Bars?
Very! Store your delicious Cherry Pie Bars covered at room temperature for up to 3 days. If desired, you can also refrigerate them for up to 5 days, but note they may become a bit firmer in texture.
Can I freeze Cherry Pie Bars?
Absolutely! To freeze, wrap each bar individually in plastic wrap, then place them in an airtight container or freezer bag. They can be frozen for up to 2 months. When you’re ready to enjoy, simply thaw them at room temperature or gently reheat in the oven at 350°F (175°C) for about 10 minutes for a fresh-out-of-the-oven taste.
What should I do if my Cherry Pie Bars are too crumbly?
If your bars turn out crumbly, the most common reason could be under-mixing the dough or using too much flour. To remedy this next time, make sure to measure your flour accurately by spooning it into the measuring cup instead of scooping directly from the bag, which can compact it. Mixing until just combined can help maintain a tender texture as well.
Are Cherry Pie Bars safe for pets?
It’s best to keep these Cherry Pie Bars away from your pets. The ingredients, especially sugar and extracts, may not be safe for them. Always check with your veterinarian if you’re unsure about what human foods are safe for your furry friends.
Can I use a different fruit filling?
Of course! While the recipe features cherry pie filling, you can swap it out with other fruit fillings like blueberry or apple, or even homemade fruit preserves. Just keep the quantity similar for the best results!
Delicious Cherry Pie Bars That Are Super Easy to Make
Ingredients
Equipment
Method
- In a large mixing bowl, cream together butter and sugar until light and fluffy, about 3-5 minutes.
- Add eggs, almond extract, and vanilla extract into the mixture and beat until well combined.
- In a separate bowl, whisk together flour and salt. Gradually add to the wet ingredients until a soft dough forms.
- Preheat your oven to 350°F (175°C) and grease a baking pan. Press half of the dough into the bottom of the pan.
- Pour cherry pie filling over the dough base and dollop remaining dough over the filling.
- Bake for 35-40 minutes until golden brown and filling is bubbling.
- Allow the bars to cool completely, then prepare the glaze by mixing confectioners' sugar with a splash of milk.
- Drizzle the glaze over the cooled bars, cut into squares, and serve.