
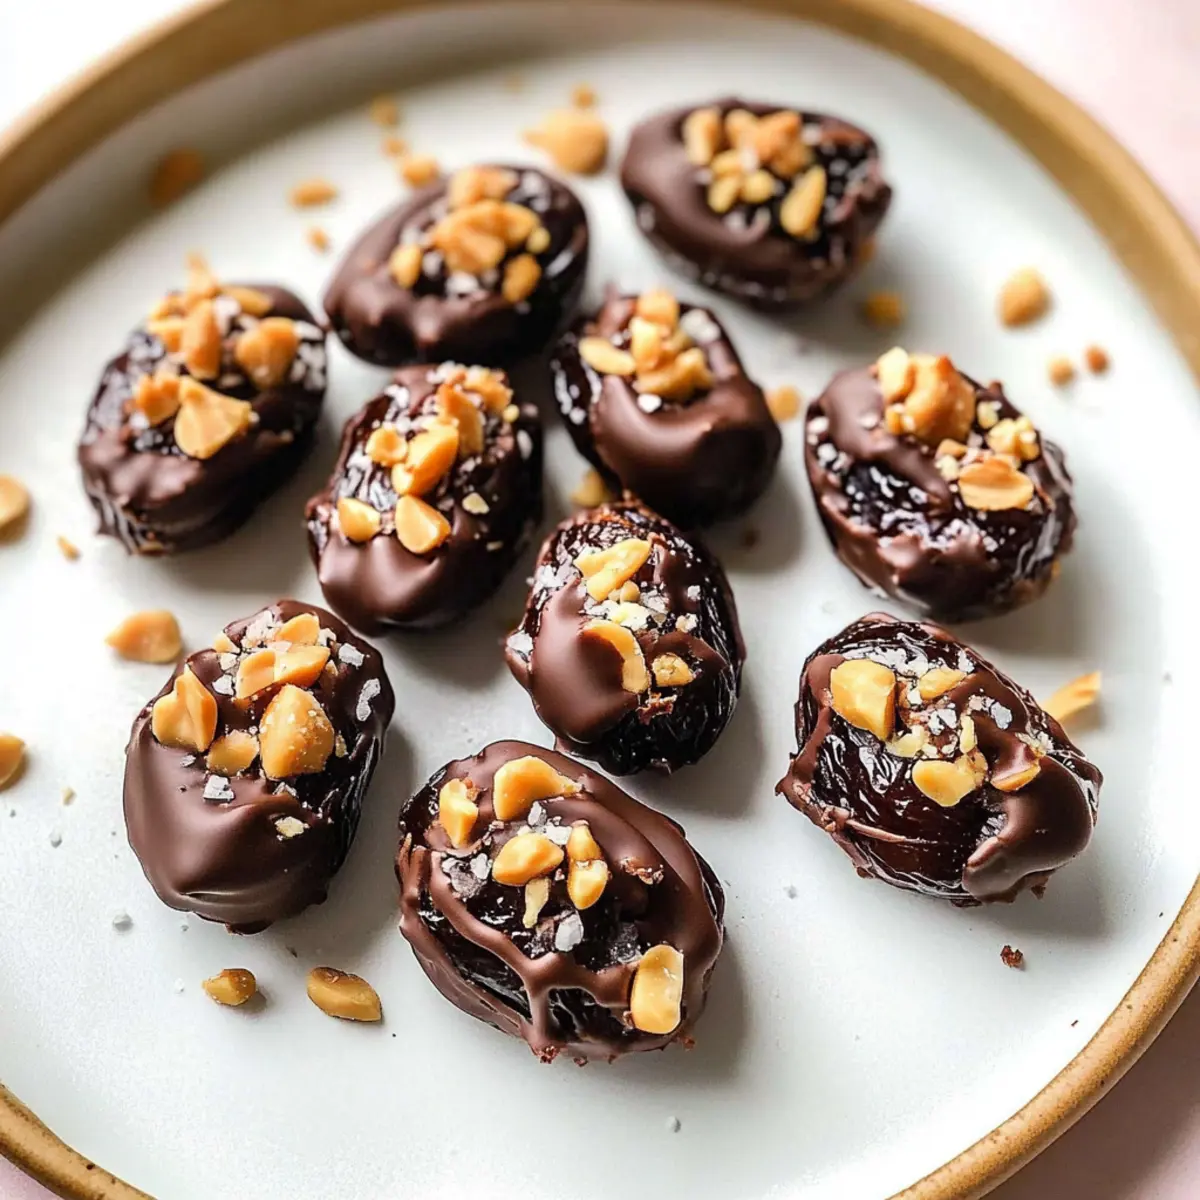
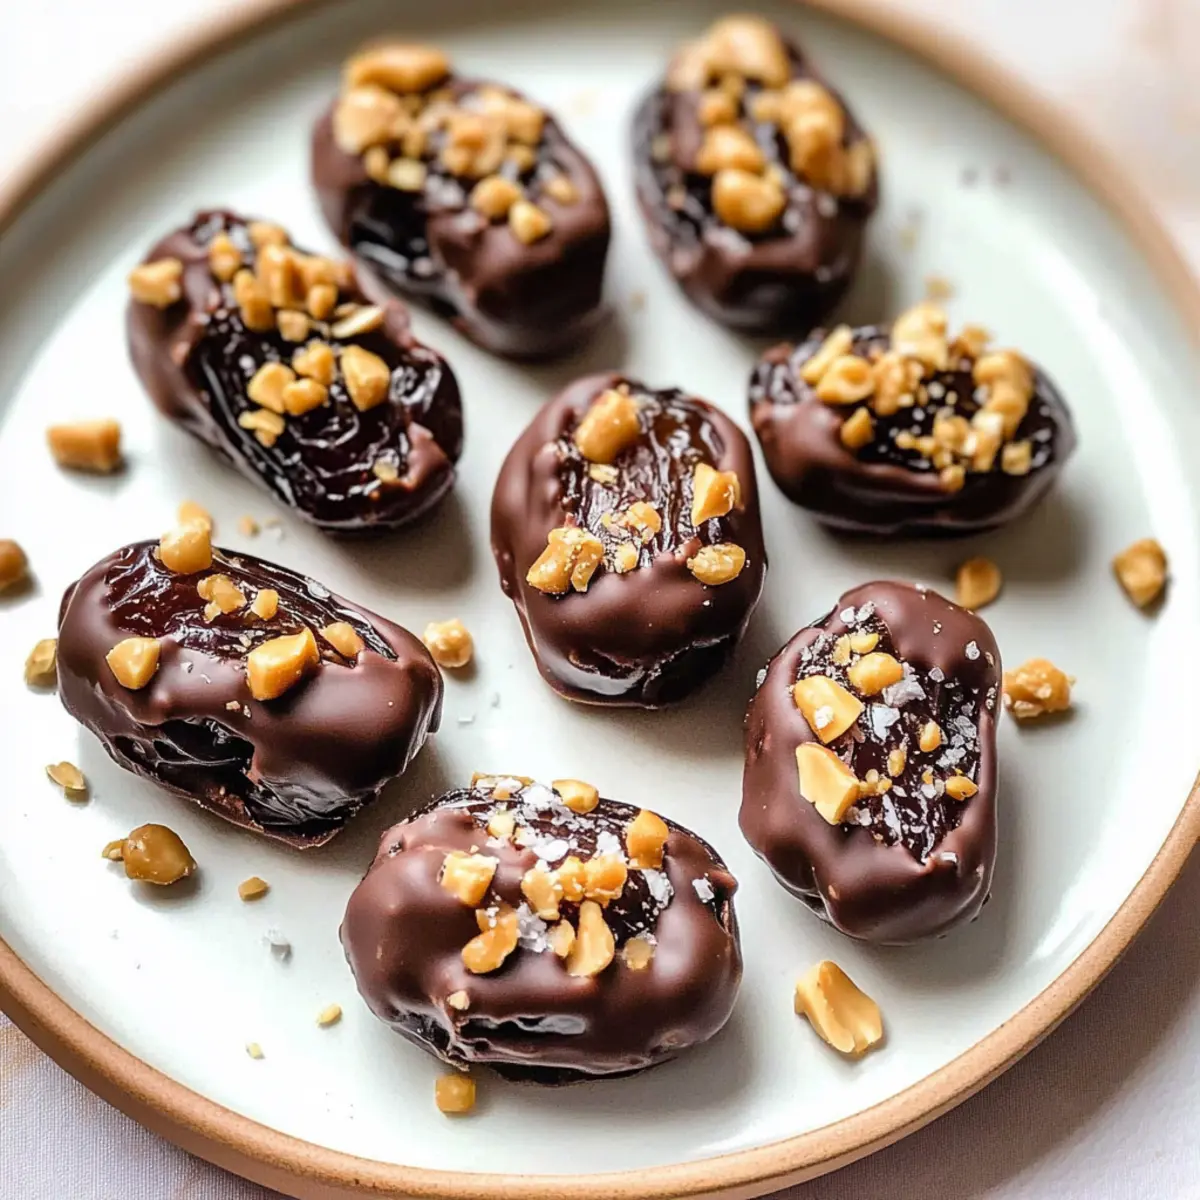
In a delightful twist on classic candy, I recently discovered the joy of making Chocolate Covered Dates Stuffed with Peanut Butter. These little gems are not only a treat for the taste buds but also a wholesome alternative to sugary snacks. Packed with the natural sweetness of Medjool dates and the creamy goodness of peanut butter, they offer a satisfying indulgence without the guilt. Plus, they’re ready in a snap—only 10 minutes of prep! Whether you need a quick pick-me-up or an impressive treat for guests, these no-bake delights deliver both flavor and nutrition in every bite. Curious about how to whip up this healthy, vegan dessert? Let’s dive in!
Why Are Chocolate-Covered Dates Irresistible?
Simplicity: This recipe can be made in just 10 minutes, requiring no baking skills or fancy equipment—you’ll love how easy it is!
Wholesome Ingredients: With natural Medjool dates and creamy peanut butter, you’re treating yourself to a snack that’s both indulgent and healthy.
Crowd-Pleaser: They’re perfect for gatherings or snack time; everyone loves chocolate and peanut butter!
Versatility: Tailor them to your taste—experiment with different nut butters or toppings, like flaky sea salt, for an exciting twist.
Nutrient-Dense: At around 172 calories each, these treats pack in healthy fats and natural sweetness without any refined sugars. Need more delightful ideas? Try the creamy Cheesecake Stuffed Chocolate or the protein-rich Oatmeal Peanut Butter for more guilt-free snacking!
Chocolate Covered Dates Stuffed with Peanut Butter Ingredients
For the Dates
• Medjool Dates – Ensure they are pitted to enjoy the natural sweetness and chewy texture.
For the Filling
• All-Natural Smooth Peanut Butter – Offers a creamy and rich flavor; feel free to substitute with almond or cashew butter for a different twist.
• Chopped Peanuts – Adds a delightful crunch; you can use any nuts or seeds for varied textures and flavors.
For the Chocolate Coating
• Semi-Sweet Chocolate Chips – Provides that luscious chocolatey sweetness; opt for dairy-free chocolate for a vegan version.
• Coconut Oil – Helps melt the chocolate smoothly; if needed, replace it with vegetable or avocado oil, but it’s optional.
For the Finishing Touch
• Flaky Sea Salt (optional) – Enhances the flavor with a salty contrast to sweet; omit if you prefer just the sweetness.
Enjoy creating these delightful Chocolate Covered Dates stuffed with Peanut Butter!
Step‑by‑Step Instructions for Chocolate Covered Dates Stuffed with Peanut Butter
Step 1: Prepare Baking Sheet
Begin by lining a baking sheet with parchment paper to create a non-stick surface for the finished Chocolate Covered Dates. This step is crucial for easy cleanup and will prevent the treats from sticking as they chill. Make sure your parchment paper covers the entire surface of the baking sheet evenly, ready for the delicious treats to come.
Step 2: Prep Dates
Next, take each Medjool date and carefully cut a slit along one side to remove the pit, ensuring not to slice all the way through. This will create a pocket for stuffing while maintaining the date’s shape. As you prep, look for plump and soft dates, which will offer the best texture when you fill them with creamy peanut butter.
Step 3: Stuff Dates
Generously fill each opened date with all-natural smooth peanut butter, using a small spoon or knife to pack it in without overflowing. For a nutty crunch, sprinkle chopped peanuts right on top of the peanut butter filling. This step is where the heavenly combination of flavors begins to come together, making sure to tuck that peanut butter securely inside each date.
Step 4: Melt Chocolate
In a microwave-safe bowl, combine the semi-sweet chocolate chips and coconut oil. Microwave the mixture in 30-second intervals, stirring in between, until the chocolate is completely melted and smooth—this usually takes about 1-2 minutes. Watch closely to avoid burning the chocolate, as a nice glossy finish is essential for coating your Chocolate Covered Dates.
Step 5: Coat Dates
Once the chocolate is melted, dip each stuffed date thoroughly, ensuring it is well coated. You can use a fork for easier handling, allowing excess chocolate to drip back into the bowl. If desired, immediately sprinkle a touch of flaky sea salt on top for an exquisite flavor contrast. This will make your Chocolate Covered Dates extra special, enhancing their rich sweetness.
Step 6: Chill
Transfer the coated dates back to the lined baking sheet and place them in the refrigerator for about 30 minutes. This step allows the chocolate coating to harden, giving your treats a delightful snap. Keep an eye on them; once the chocolate is firm and set, they’re ready to be enjoyed. The anticipation will be worth it when you finally take that first bite!
Make Ahead Options
These Chocolate Covered Dates Stuffed with Peanut Butter are perfect for meal prep enthusiasts looking to save time during busy weeknights! You can easily prepare the stuffed dates—by stuffing them with peanut butter and sprinkling with chopped peanuts—up to 24 hours in advance. Simply cover them tightly and refrigerate to maintain their freshness. When you’re ready to coat them in chocolate, melt the chocolate chips (and coconut oil) just before serving for a smooth coating. This make-ahead approach keeps your treats just as delicious and helps you enjoy a quick, healthy snack or dessert anytime you crave it!
Expert Tips for Chocolate Covered Dates
• Choose Quality Dates: Use soft Medjool dates for the best texture and sweetness; they’re naturally gooey and perfect for stuffing.
• Peanut Butter Consistency: Use all-natural smooth peanut butter for easy stuffing; avoid thick varieties that may be hard to fill into the dates.
• Proper Melting: Melt chocolate in small intervals, stirring in between to prevent burning. Adjust the microwave time based on wattage for best results.
• Chill Time Matters: Ensure to chill the dates long enough for the chocolate coating to harden—30 minutes typically works, but feel free to leave them longer if needed.
• Customize Your Toppings: Get creative by experimenting with different nuts for stuffing or toppings; try crushed almonds or even coconut flakes for added flavor.
• Storage Essentials: Store finished Chocolate Covered Dates in an airtight container in the fridge for up to two weeks—perfect for healthy snacking throughout!
Chocolate Covered Dates Stuffed with Peanut Butter Variations
Feel free to explore your creativity and adjust this delightful recipe to fit your taste buds!
- Nut-Free: Substitute peanut butter with sunflower seed butter to make these treats allergy-friendly for kids and adults alike.
- Flavored Chocolate: Use flavored chocolate, such as dark or white chocolate, for a different taste experience that pleases your palate.
- Dried Fruits: Add a piece of dried fruit, like a cherry or apricot, inside the date for a burst of flavor and a chewy texture.
- Coconut Coating: After coating in chocolate, roll the dates in shredded coconut for a tropical twist that’s truly irresistible.
- Spicy Kick: Drizzle with a bit of sriracha or cayenne-infused chocolate for a surprising kick that enhances the rich flavors.
- Stuffed Variations: Try using delicious almond butter or cashew butter instead of peanut butter for a nutty twist that’s equally creamy.
- Nutty Swap: Substitute chopped peanuts with chopped hazelnuts or walnuts for a unique crunch and flavor profile.
- Sweetener Boost: If you like it sweeter, mix in a little maple syrup or honey with the peanut butter before stuffing.
As you whip up these Chocolate Covered Dates, consider serving them alongside Buttered Lobster Pasta at your next dinner party for a stunning contrast of flavors!
What to Serve with Chocolate Covered Dates Stuffed with Peanut Butter
These delightful bites can be complemented beautifully to create a full and satisfying spread.
-
Fresh Berries: Juicy strawberries or raspberries add a refreshing tartness that balances the sweetness of the dates. Their vibrant color also brings a burst of brightness to your plate.
-
Coconut Yogurt: The creamy texture and subtle sweetness of coconut yogurt offer a refreshing contrast, making it perfect for dipping or drizzling. It adds an exotic twist!
-
Nutty Granola: A sprinkle of crunchy granola provides an added texture that complements the chewiness of the dates while enhancing the nutty flavor. It’s delightful as a topping or on the side.
-
Herbal Tea: Pair your chocolate-covered dates with a warm cup of chamomile or mint tea. The soothing flavors elevate the indulgence, turning your snack into a cozy tradition.
-
Almond Milk: Creamy almond milk is a luscious pairing, softening the richness of the chocolate and peanut butter. Enjoy it chilled for a refreshing drink alongside your snack!
-
Dried Fruit Medley: Serve with a selection of dried apricots or figs for a burst of fruity flavors, enhancing the overall sweetness of the treat. It’s a sweet symphony that creates satisfying contrasts!
How to Store and Freeze Chocolate Covered Dates
Fridge: Keep in an airtight container for up to 2 weeks; place parchment paper between layers to prevent them from sticking.
Freezer: For longer storage, freeze the chocolate-covered dates for up to 3 months. Place them in a single layer in a freezer-safe bag or container.
Reheating: No need to reheat; simply let them thaw in the fridge overnight before enjoying again. These Chocolate Covered Dates Stuffed with Peanut Butter make for a convenient treat at any time!
Chocolate Covered Dates Stuffed with Peanut Butter Recipe FAQs
How do I choose the right dates for this recipe?
Absolutely! Look for soft and plump Medjool dates as they provide the perfect chewy texture and natural sweetness. Avoid dates that are hard or dry, and check for any dark spots all over, which may indicate they are past their prime.
How should I store Chocolate Covered Dates?
These delectable treats can be stored in an airtight container in the fridge for up to 2 weeks. To prevent them from sticking together, place parchment paper between the layers. Enjoy them as a quick, healthy snack any day!
Can I freeze Chocolate Covered Dates for later?
Very! For longer storage, you can freeze your chocolate-covered dates for up to 3 months. Before freezing, arrange them in a single layer on a baking sheet, freeze until solid, and then transfer to a freezer-safe bag or container. When you’re ready to enjoy, simply thaw them in the fridge overnight.
My chocolate didn’t melt smoothly; what can I do?
No worries! If your chocolate didn’t melt as expected, try melting it in smaller increments. Microwave it in 30-second bursts, stirring between each until a smooth consistency is reached. If needed, adding a teaspoon of coconut oil can help achieve that glossy finish.
Are these Chocolate Covered Dates safe for allergies?
Great question! This recipe is naturally vegan and gluten-free. However, if you’re catering to nut allergies, consider using sunflower seed butter in place of peanut butter. Always check labels for possible cross-contamination and adapt the recipe to ensure it’s safe for your guests.
Delicious Chocolate Covered Dates Stuffed with Peanut Butter
Ingredients
Equipment
Method
- Prepare Baking Sheet: Line a baking sheet with parchment paper.
- Prep Dates: Cut a slit along one side of each Medjool date to remove the pit.
- Stuff Dates: Fill each date with peanut butter and sprinkle chopped peanuts on top.
- Melt Chocolate: Combine chocolate chips and coconut oil in a bowl and microwave in intervals until smooth.
- Coat Dates: Dip each stuffed date in melted chocolate and sprinkle with flaky sea salt if desired.
- Chill: Place coated dates on the baking sheet and refrigerate for about 30 minutes.