
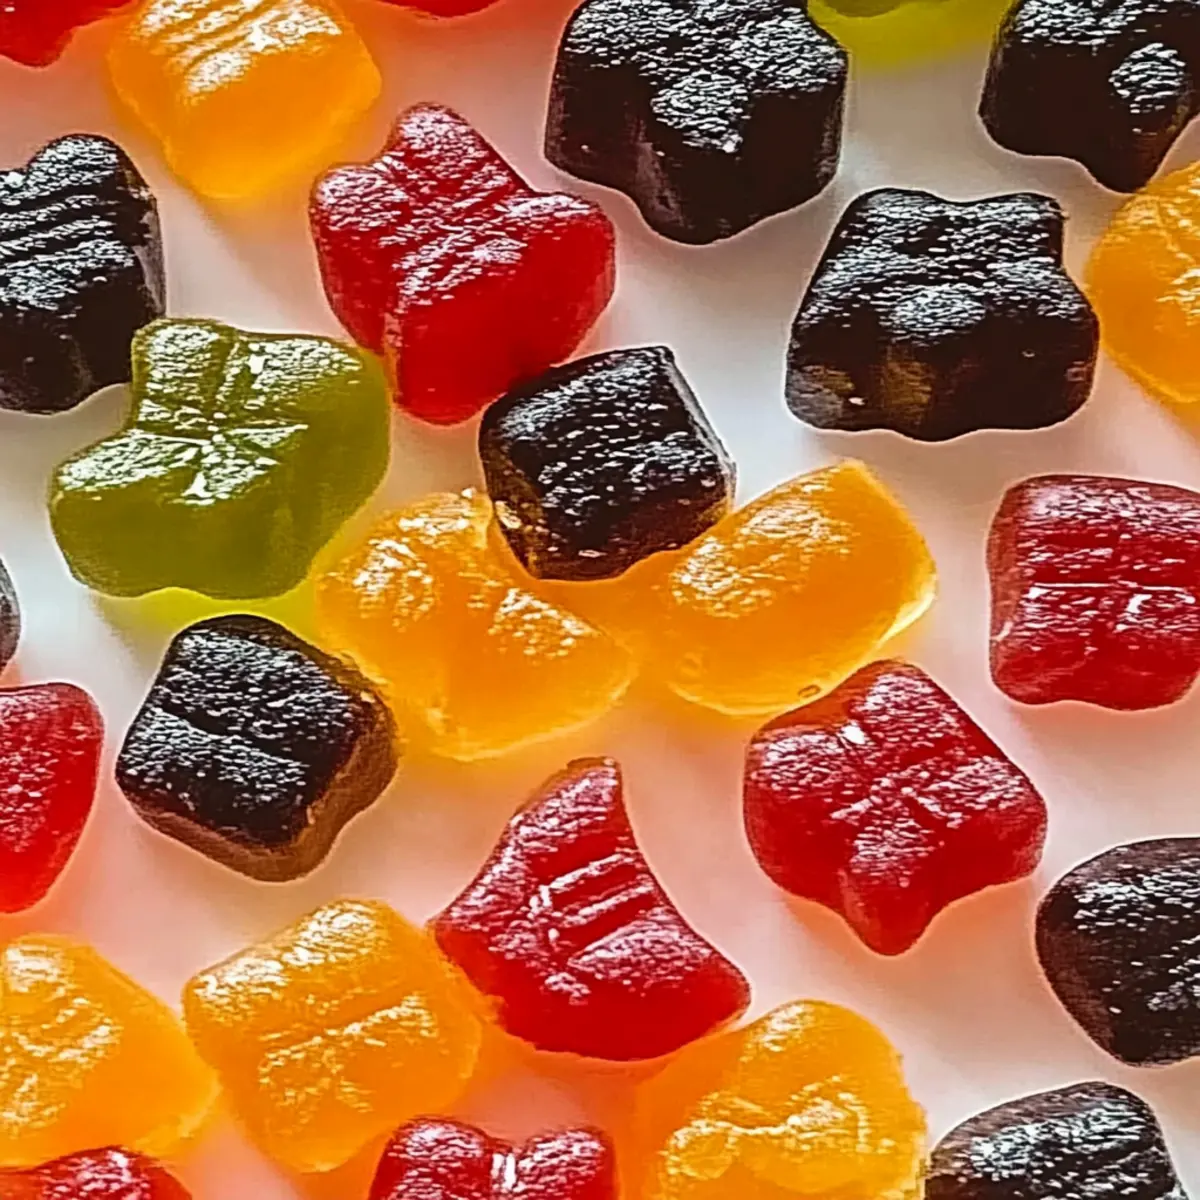
As I stood in my kitchen, surrounded by vibrant fruits bursting with color, I felt the excitement of crafting something wholesome for my family. These Homemade Fruit Snacks are my go-to recipe, offering a delicious way to swap out store-bought junk for a healthier treat that’s easy to make. The best part? They’re completely customizable, allowing you to mix and match your favorite fruits and sweeteners, ensuring everyone from kids to adults will love them. With a chewy texture and natural sweetness, these snacks also pack a nutritious punch—perfect for school lunches, afternoon cravings, or even a picnic delight! Curious to learn how to whip up these chewy, fruity bites? Let’s dive into the recipe!
Why Make Homemade Fruit Snacks?
Healthy and guilt-free: These snacks are crafted from wholesome ingredients, providing a nutritious alternative to sugary store-bought options.
Customizable flavor: Mix and match your favorite seasonal fruits or experiment with sweeteners like honey or maple syrup to suit your taste.
Kid-friendly fun: Involve children in the preparation process for a delightful family activity that promotes healthy eating habits.
Versatile snack: Perfect for lunchboxes, after-school cravings, or picnics, these chewy bites fit seamlessly into any occasion.
Quick and easy: With simple steps and minimal prep time, you can have a batch ready in no time! Indulge in these delightful treats that boost energy and satisfy cravings—all while being kinder to your body.
Fruit Snacks Ingredients
For the Base
• Fruits (fresh or frozen) – They provide the essential flavor and natural sweetness, so feel free to substitute with seasonal options or convenient frozen varieties.
• Honey or Maple Syrup – This natural sweetener enhances flavors beautifully, but you can swap it out for agave syrup if you’re looking for a vegan-friendly alternative.
For the Texture
• Gelatin – It thickens the mixture and gives the fruit snacks their chewy texture; agar-agar is a great substitute for those wanting a vegetarian option.
Get ready to embark on a delightful journey of homemade fruit snacks, where every ingredient plays a role in creating a delicious treat that’s as healthy as it is delicious!
Step‑by‑Step Instructions for Homemade Fruit Snacks
Step 1: Prep Your Ingredients
Begin by gathering all your ingredients for the homemade fruit snacks. Ensure you have fresh or frozen fruits, honey or maple syrup, and gelatin at hand. If using frozen fruits, allow them to thaw and drain any excess moisture. This will help achieve a smooth consistency in your fruit puree, setting the foundation for delicious, chewy snacks.
Step 2: Make Your Fruit Puree
Blend your chosen fruits in a food processor or blender until they reach a smooth, consistent texture. You can mix different fruits to create unique flavor profiles—think vibrant strawberries with ripe bananas or sunny mangoes with tart raspberries. The fruit puree should be well-blended and free of chunks, creating a beautiful base for your homemade fruit snacks.
Step 3: Sweeten the Deal
In a medium saucepan, combine your fruit puree with honey or maple syrup over low heat. Stir the mixture gently as you warm it, allowing the sweetener to dissolve and infuse into the fruit puree. This should take about 3-5 minutes; keep an eye on the mixture to ensure it doesn’t bubble or scorch. The aroma of sweetness will fill your kitchen as you create this luscious blend.
Step 4: Incorporate Gelatin
Once the fruit mixture is warm, gradually sprinkle gelatin over the top while continuously stirring. This will prevent clumping and ensure even distribution. Let the mixture simmer gently for about five minutes, stirring frequently until the gelatin has completely dissolved. The fruit puree will thicken slightly, enhancing the chewy texture that makes these homemade fruit snacks so delightful.
Step 5: Pour Into Molds
Carefully pour the warm fruit mixture into silicone molds or a flat dish lined with parchment paper. Use a spatula to spread it evenly, ensuring all corners are filled. Allow the mixture to cool at room temperature for about 30 minutes, then transfer it to the refrigerator. Chill for at least two hours, or until set, preparing you for a delightful snacking experience.
Step 6: Enjoy Your Creation
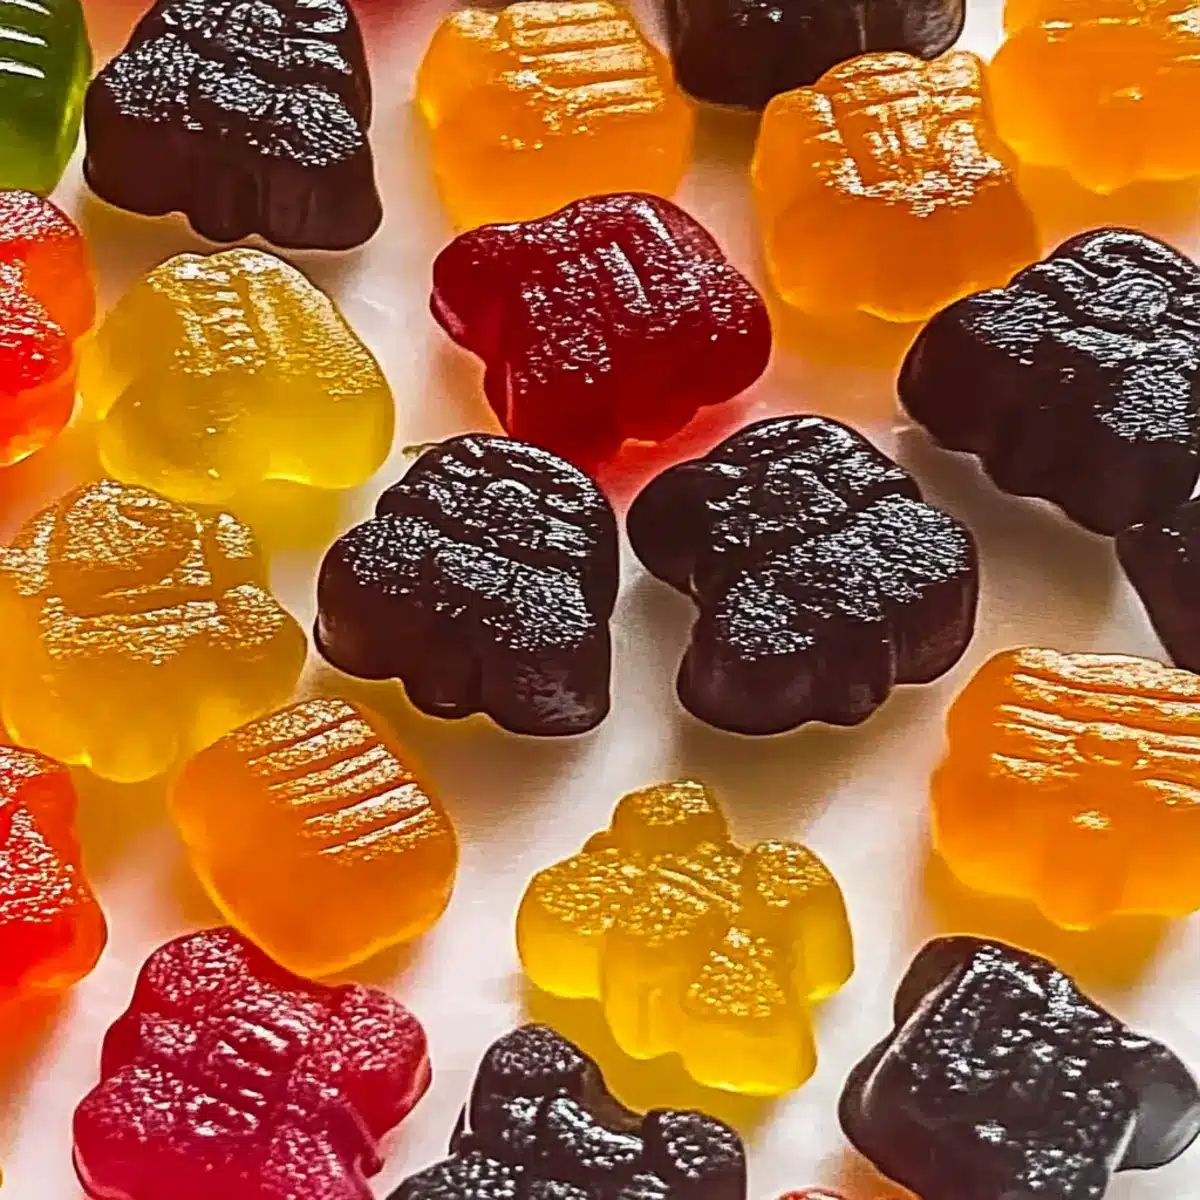
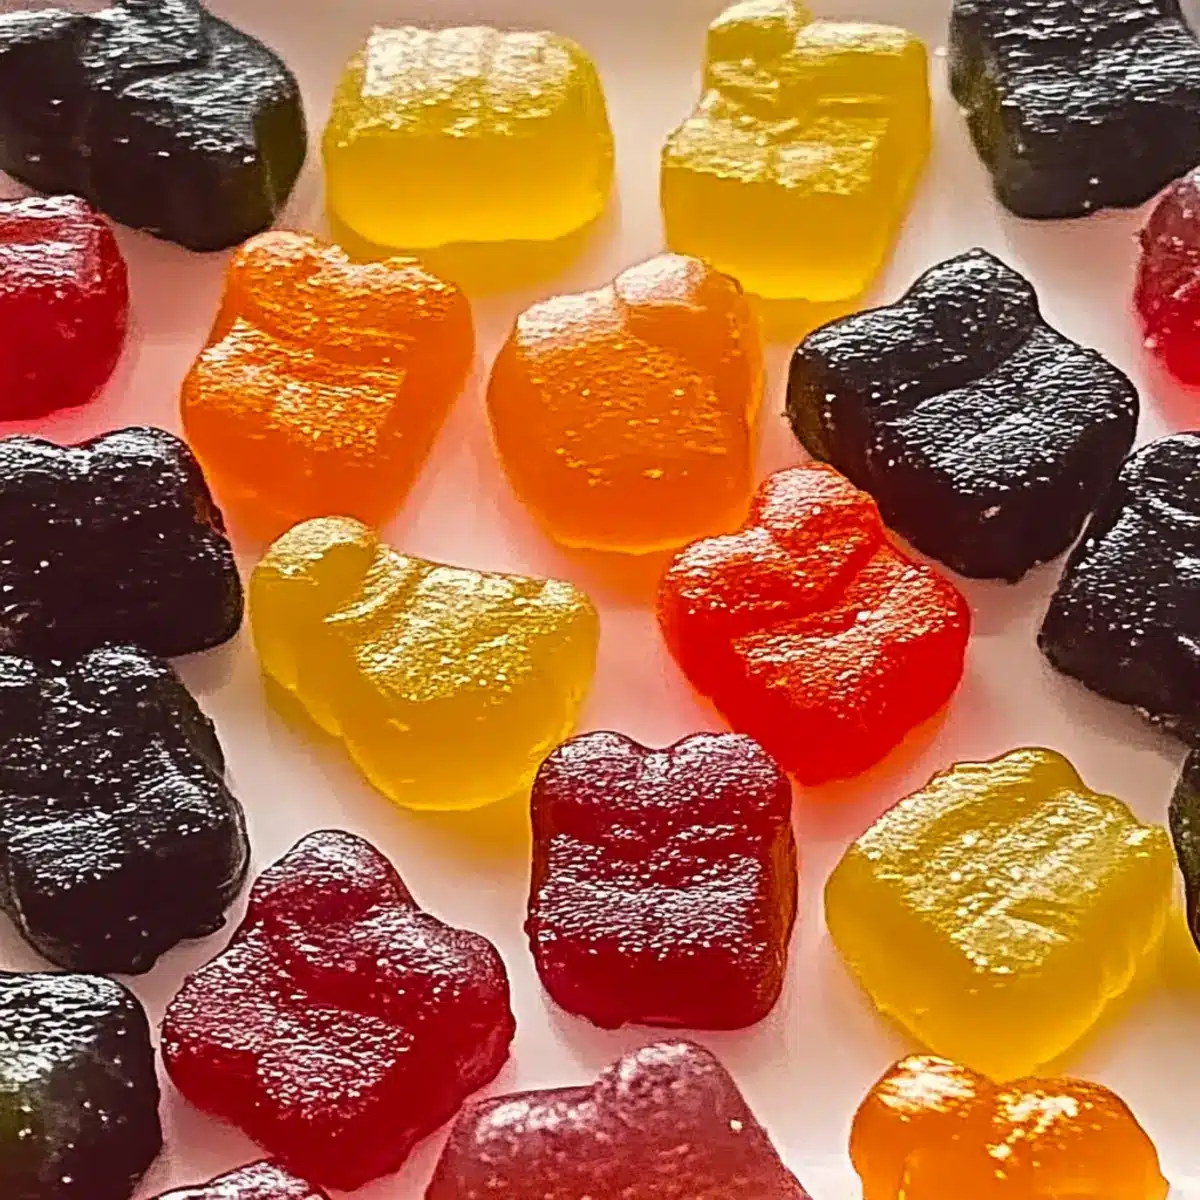
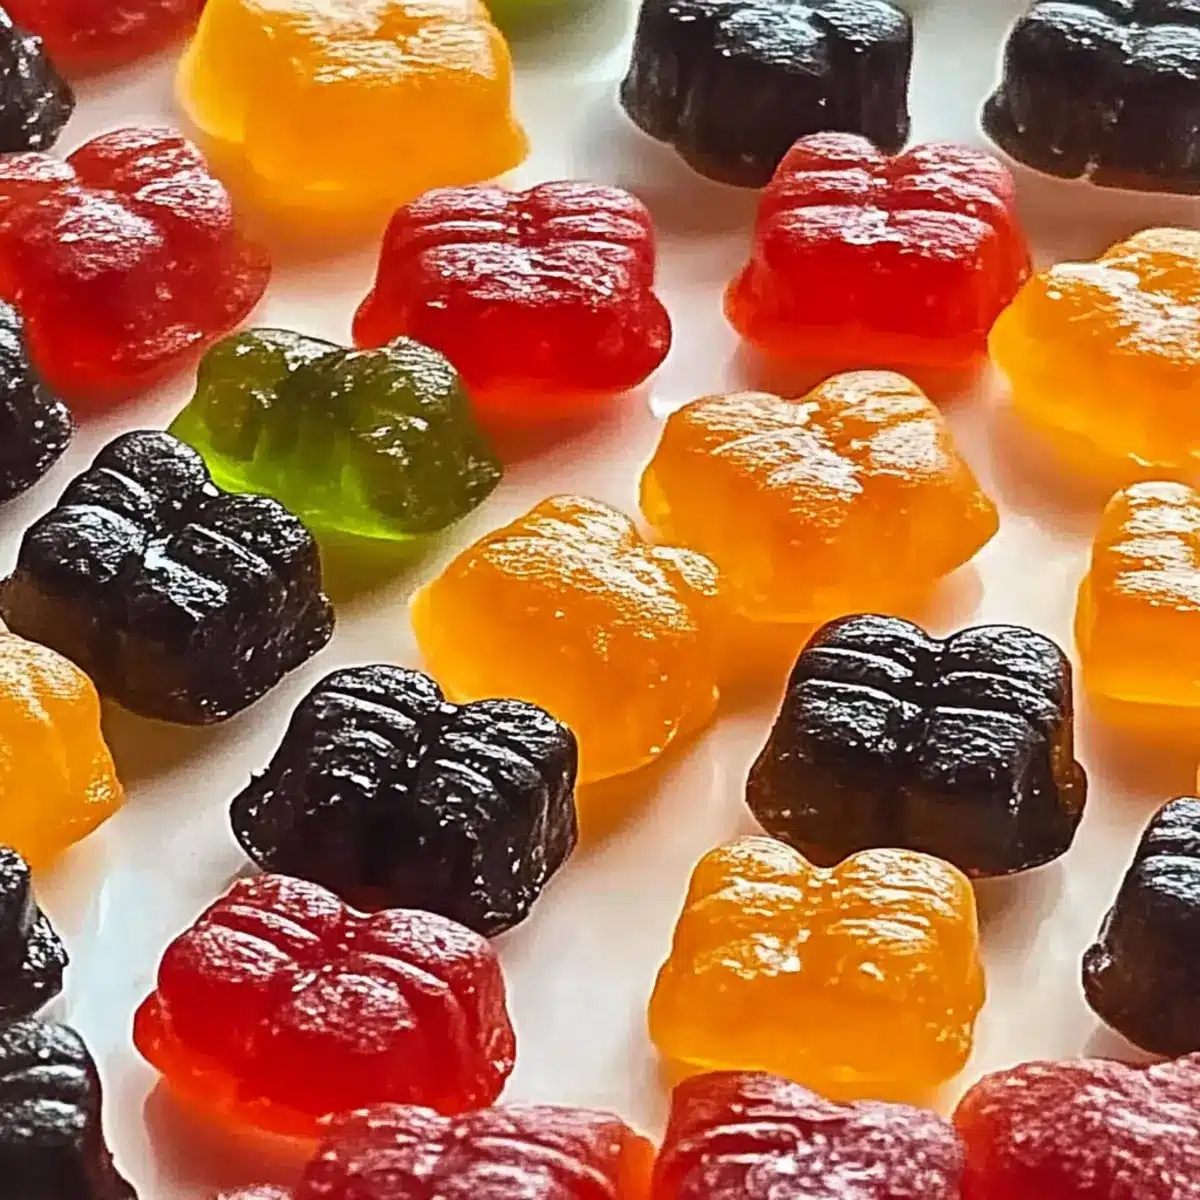
Once the homemade fruit snacks have set, remove them gently from the molds or cut them into desired shapes if using a flat dish. Admire the vibrant colors and chewy texture before indulging in these scrumptious treats! Perfect as healthy snacks for school lunches, picnics, or a mid-afternoon pick-me-up, each bite is a celebration of wholesome, fruity goodness.
Storage Tips for Homemade Fruit Snacks
- Fridge: Store your homemade fruit snacks in an airtight container to maintain freshness, and enjoy them for up to two weeks. This ensures those delicious chewy bites stay delightful for snacking anytime!
- Freezer: For longer storage, freeze the fruit snacks in individual portions. They can last up to three months, making it easy to pull out a healthy treat whenever cravings strike.
- Defrosting: When ready to enjoy, simply take them out of the freezer and let them thaw at room temperature for about 30 minutes. This keeps their chewy texture intact.
- Avoid Moisture: Ensure fruit snacks are completely cool before sealing them in containers. Excess moisture can lead to a sticky texture, compromising your tasty fruit snacks!
Expert Tips for Homemade Fruit Snacks
• Fruit Selection: Choose vibrant, ripe fruits for the best flavor. Avoid overly mushy fruits as they can alter the texture of your fruit snacks.
• Sweetness Balance: Adjust sweetness to your liking; taste the fruit puree before adding sweeteners to prevent overly sugary snacks.
• Gelatin Gradual Addition: Always sprinkle gelatin slowly into the warm mixture while stirring constantly to avoid clumping, ensuring smooth fruit snacks.
• Cooling Duration: Allow sufficient cooling time; be patient as the snacks need to fully set in the fridge for that perfect chewy texture.
• Storage Savvy: Store your fruit snacks in an airtight container in the fridge for up to two weeks, or freeze individual portions for long-lasting goodness.
• Kids Involvement: Get the kids involved in the process—they’ll love making their own fruit snacks, creating a fun and educational cooking experience together!
What to Serve with Homemade Fruit Snacks?
Delight in a tasty pairing that complements the vibrant flavors of your chewy fruit snacks—a true feast for the senses!
- Creamy Yogurt: A dollop of Greek yogurt adds a luscious creaminess, perfectly balancing the chewy texture and enhancing the fruity flavor.
- Nut Butter Dip: Serve with a side of almond or peanut butter for a nutty contrast that provides added protein and healthy fats.
- Granola Crunch: Sprinkle some crunchy granola on top for a delightful textural contrast, adding both flavor and an extra pop of nutrition.
- Fresh Fruit Variety: Pair with a medley of sliced fresh fruits like apples or berries for a refreshing taste experience that mirrors your homemade treats.
- Herbal Tea: A warm cup of chamomile or mint tea creates a soothing harmony, balancing the sweetness while adding an aromatic flair to your snack time.
- Cheese Platter: Include mild cheeses like mozzarella or cream cheese for a savory touch, enhancing your snack table with its creamy richness.
- Chocolate Drizzle: For a special treat, lightly drizzle dark chocolate on top of your fruit snacks, bringing a touch of indulgence to your wholesome bites.
- Sparkling Water: Opt for a bubbly beverage like sparkling water infused with citrus or berries, giving your snacking experience a refreshing lift!
Make Ahead Options
These Homemade Fruit Snacks are an excellent choice for meal prep! You can make the fruit puree up to 24 hours in advance, storing it in an airtight container in the refrigerator to maintain freshness. Once you’re ready to finish, simply warm the puree, mix in your sweetener and gelatin, and proceed as directed. Additionally, after pouring the mixture into molds, you can refrigerate them for up to 3 days before serving. To keep the quality intact, ensure they are well-covered to prevent drying out. When ready to enjoy, just remove them from the molds and savor these delicious fruit snacks whenever you need a nutritious treat!
Fruit Snacks: Fun Variations Await
Invite your creativity to shine as you customize these fruit snacks with exciting twists and substitutions!
-
Seasonal Fruits: Use whatever is in season for the freshest flavors. Think juicy peaches in summer or crisp apples in fall!
-
Spicy Kick: Add a dash of cayenne or chili powder for a surprising heat element. This twist can elevate the taste profile and wake up your taste buds.
-
Flavor Infusions: Infuse your fruit puree with herbal elements like mint or basil for a refreshing change. This aromatic addition can transform your snacks into a gourmet experience.
-
Nutty Texture: Mix in finely chopped nuts or seeds for added crunch. This provides not only texture but also a healthy dose of protein, making the snacks even more satisfying.
-
Chocolate Drizzle: Drizzle melted dark chocolate on top for a decadent touch. What a delightful surprise for those chocolate lovers in your family!
-
Health Boost: Consider adding superfoods like spirulina or acai powder. They not only amp up nutritional value but also bring unique flavors to your snacks.
This recipe can truly be a canvas for your culinary creativity! Give yourself permission to explore flavors and textures, like with these healthy snacks or other dairy-free options. Remember, the only limit is your imagination!
Homemade Fruit Snacks Recipe FAQs
What types of fruits work best for these snacks?
Absolutely, you can use any fresh or frozen fruits! I often recommend berries like strawberries or blueberries for their vibrant flavors, but mangoes or peaches are fantastic too. Just ensure they are ripe and sweet—avoid any overly mushy ones as they could affect the texture of your fruit snacks.
How should I store the homemade fruit snacks?
You can store your homemade fruit snacks in an airtight container in the fridge for up to two weeks. For longer storage, I suggest freezing them in individual portions; they can last for about three months. This way, you can enjoy healthy snacks any time the craving hits!
Can I freeze these fruit snacks?
Yes, you can! To freeze, first let the snacks cool completely. Then, cut them into individual pieces and place them in a single layer on a baking sheet. Freeze for about 1-2 hours. Once they’re firm, transfer them to a freezer bag or airtight container. This helps avoid sticking together.
What if the gelatin doesn’t dissolve properly?
If your gelatin isn’t dissolving, don’t worry! Just keep the mixture over low heat and stir continuously until fully dissolved. If you notice clumping, remove it from heat and whip it vigorously to break up any lumps. The key here is the gradual addition of gelatin, so sprinkle it slowly while stirring.
Are these snacks safe for children with allergies?
Good question! These fruit snacks are generally safe for most kids, but it’s crucial to consider food allergies. Always check for sensitivities to specific fruits or ingredients like honey or gelatin. If you are making these for kids with dietary restrictions, opt for agave syrup instead of honey, and use agar-agar if you’re avoiding gelatin.
How can I adjust the sweetness for different tastes?
The more the merrier! You can easily tweak the sweetness by tasting the fruit puree before adding any sweeteners. If you’d like it sweeter, gradually mix in your choice of honey, maple syrup, or agave to suit your preferences without overwhelming the natural fruit flavors.
Delicious Homemade Fruit Snacks for Guilt-Free Snacking
Ingredients
Equipment
Method
- Begin by gathering all your ingredients for the homemade fruit snacks. Ensure you have fresh or frozen fruits, honey or maple syrup, and gelatin at hand.
- Blend your chosen fruits in a food processor or blender until they reach a smooth, consistent texture.
- In a medium saucepan, combine your fruit puree with honey or maple syrup over low heat. Stir gently as you warm it, allowing the sweetener to dissolve.
- Once the fruit mixture is warm, gradually sprinkle gelatin over the top while continuously stirring.
- Carefully pour the warm fruit mixture into silicone molds or a flat dish lined with parchment paper. Spread it evenly.
- Once set, remove the fruit snacks gently from the molds or cut them into desired shapes.