
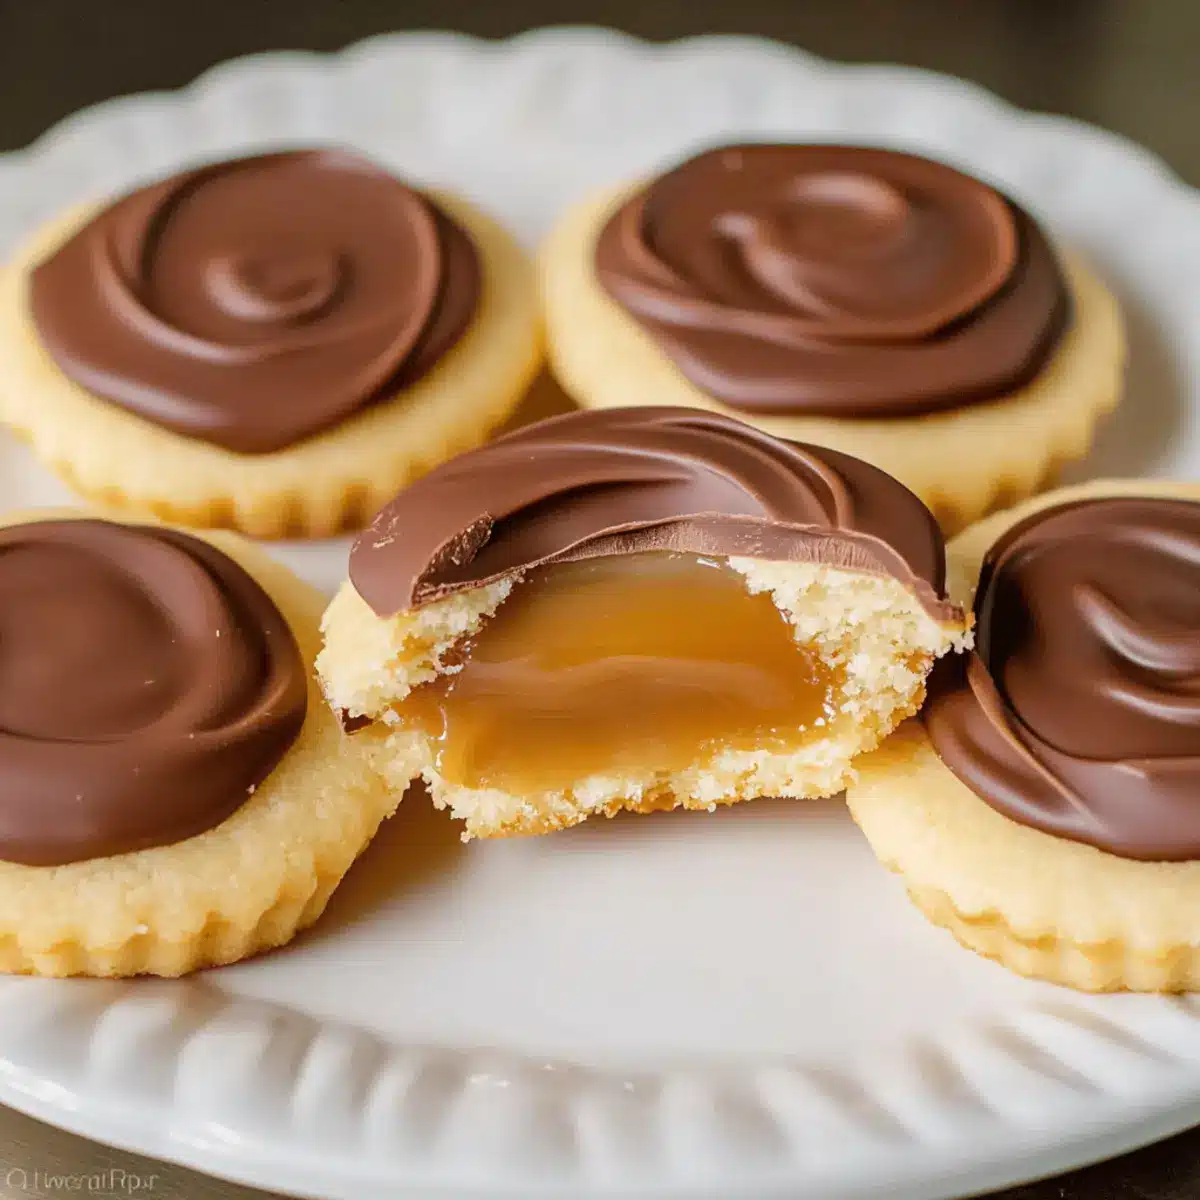
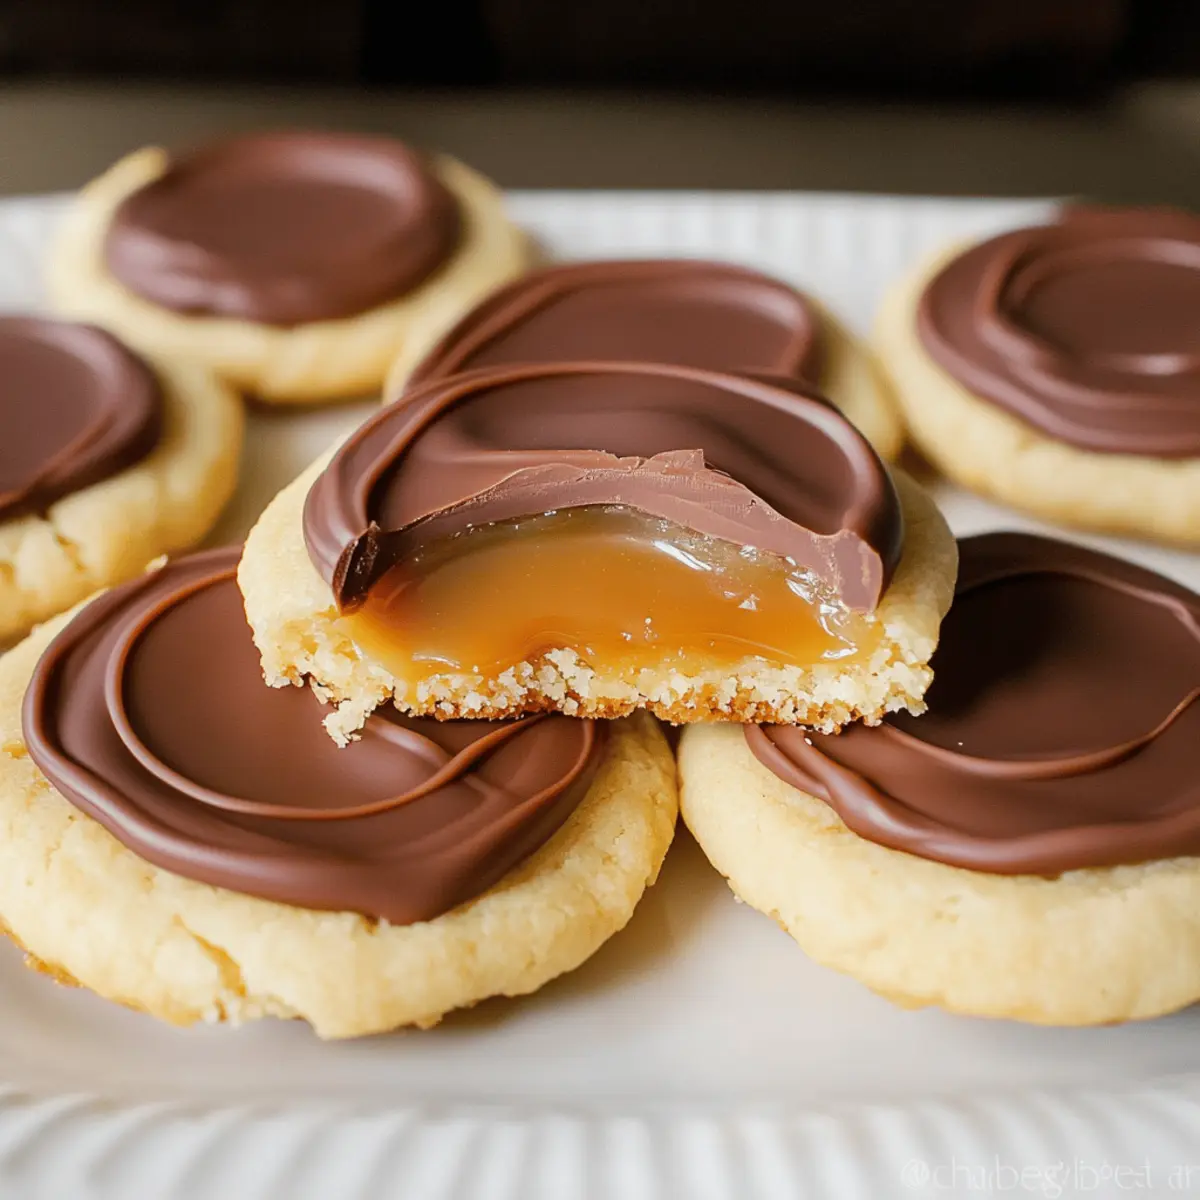
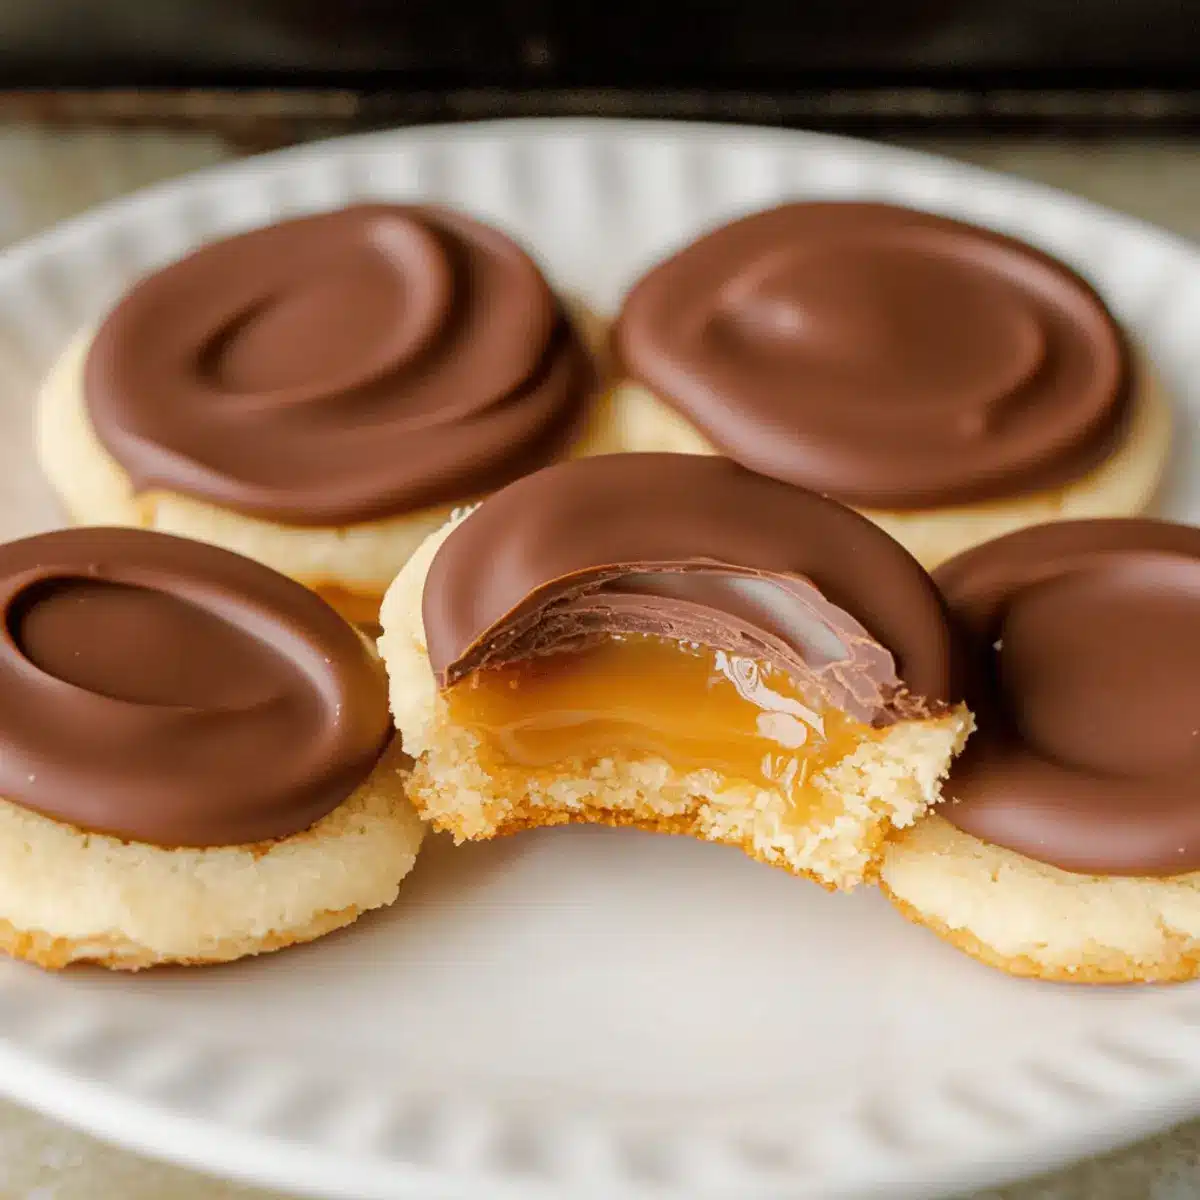
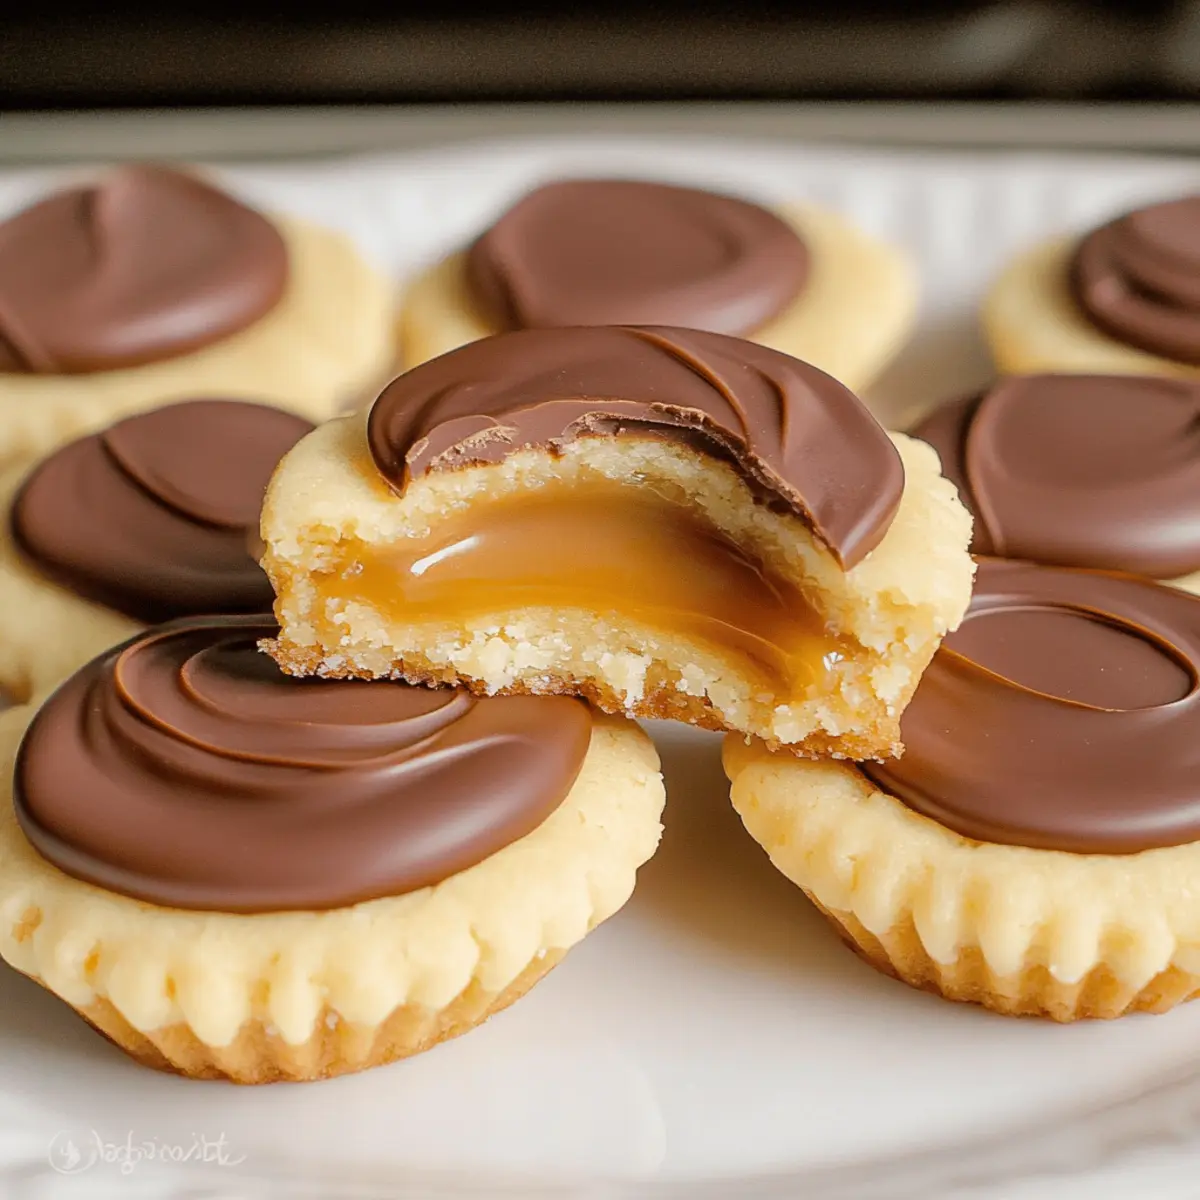
As I stood in my kitchen, the aroma of melting chocolate and rich caramel wafted through the air, instantly bringing back memories of my favorite candy bar—Twix. With the hustle of life often steering us toward quick fixes, I decided to make a treat that would elevate my dessert game without the fuss: Twix Cookie Cups. These delightful little wonders boast a soft and buttery cookie base, topped with ooey-gooey caramel and finished with a luscious layer of chocolate. Best of all, they come together in no time, making them the perfect crowd-pleaser for any gathering. Whether you’re treating yourself or trying to impress friends at your next get-together, Twix Cookies promise to capture hearts and taste buds alike. Curious to see how simple it is to whip these up? Let’s dive into the sweet world of homemade indulgence!
Why You’ll Crave Twix Cookies?
Irresistible Flavor: These Twix Cookie Cups blend buttery cookie, gooey caramel, and smooth chocolate for a decadent treat that tantalizes your taste buds.
Quick to Make: In just a few steps, you can create a crowd-pleasing dessert that’s ready for any occasion—perfect for last-minute gatherings!
Customizable Options: Want to switch things up? Try adding crushed peanuts or pecans for a different twist, just like in my Oreo Cheesecake Cookies for another unique treat.
Elevated Comfort Food: They’re not just cookies; they’re a celebration of your favorite candy bar, bringing nostalgic joy with every bite.
Make-Ahead Friendly: Prepare the dough in advance and refrigerate for a hassle-free baking experience—you’ll be thanking yourself later!
Enjoy sweet moments with these delightful cookie cups, guaranteed to brighten your day!
Twix Cookies Ingredients
For the Cookie Base
- Salted Butter – Provides richness and moisture; you can use unsalted butter and adjust the salt in the recipe accordingly.
- Granulated Sugar – This sweetens and structures the cookie—while brown sugar can be a delicious alternative for a hint of molasses flavor.
- Vanilla Extract – Enhances the overall flavor; pure vanilla extract is preferred, but imitation works in a pinch.
- Egg White – Binds everything together; if you’re looking for a vegan option, consider using a flax egg (1 tbsp flaxseed meal + 2.5 tbsp water).
- All-Purpose Flour – The backbone of the cookie; it ensures they hold their shape and can be substituted with a gluten-free blend if needed.
- Baking Powder – Gives the cookies a slight rise; always check it’s fresh for the best results.
For the Caramel Topping
- Caramels (unwrapped) – This delivers that signature creamy Twix topping; feel free to swap in homemade caramel sauce for a personalized touch.
- Milk – Thins the caramel for easier spreading; any milk alternative like almond or oat milk can work if you favor plant-based options.
For the Chocolate Coating
- Milk Chocolate Chips – Adds sweetness and that irresistible chocolate finish; dark chocolate chips are an excellent substitute for a richer flavor.
Dive into your baking adventure with these essential ingredients and whip up some delightful Twix Cookies that are sure to impress!
Step‑by‑Step Instructions for Twix Cookie Cups
Step 1: Preheat the Oven
Begin by preheating your oven to 350°F (175°C). This essential step ensures that your Twix Cookie Cups bake evenly and achieve that perfect golden-brown color. Make sure to give the oven enough time to reach the right temperature before you place the cookies inside.
Step 2: Prepare Dough
In a mixing bowl, cream together 1 cup of salted butter and 1 cup of granulated sugar until it’s light and fluffy. Add in 1 egg white and 2 teaspoons of vanilla extract, mixing until fully incorporated. Gradually incorporate 2 ½ cups of all-purpose flour and 1 teaspoon of baking powder until the dough comes together smoothly, resembling a soft cookie batter.
Step 3: Shape Cookies
Once your dough is ready, turn it out onto a floured surface and roll it out to about ¼ to ½ inch thick. Using a 2.5-inch cookie cutter, cut out circles and place them onto ungreased cookie sheets, spacing them about 2 inches apart to allow for spreading as they bake, creating the perfect base for your Twix Cookie Cups.
Step 4: Bake Cookies
Place your cookie sheets in the preheated oven and bake for 6-8 minutes, or until the cookies are puffy and no longer glossy. Keep an eye on the time, as they can quickly go from perfect to overdone. Once baked, remove them from the oven and transfer the cookies to a wire rack to cool completely.
Step 5: Prepare Caramel
While your cookies cool, it’s time to make the caramel topping. In a microwave-safe bowl, combine unwrapped caramels (about 11-12) with 1 tablespoon of milk. Microwave for about 1 minute, stirring every 20 seconds, until the mixture becomes smooth and creamy—a rich, gooey layer that will add decadence to your Twix Cookie Cups.
Step 6: Assemble Cookies
Spoon the warm caramel onto each cooled cookie, spreading it almost to the edge for a generous layer. Once all cookies are topped with caramel, chill them in the fridge for about 10-15 minutes, allowing the caramel to set and become even more deliciously chewy.
Step 7: Melt Chocolate
In another microwave-safe bowl, measure out 1 cup of milk chocolate chips. Melt them in the microwave in 30-second intervals, stirring in between until you have a smooth and glossy chocolate sauce. This melted chocolate will be the final touch that makes your Twix Cookie Cups irresistible.
Step 8: Cool Again
After the caramel has set, drizzle or spread the melted chocolate over the caramel on each cookie, ensuring a lovely, even coating. Allow the chocolate to cool and set at room temperature or place the cookies in the fridge for a few minutes to speed up the process. Your Twix Cookie Cups are now ready to impress!
Twix Cookies Variations & Substitutions
Feel free to get creative with these Twix Cookie Cups and make them your own with delightful twists and substitutions!
-
Nutty Delight: Add crushed peanuts or pecans on top of the chocolate for a satisfying crunch and a “Snickers” inspired variation. This simple addition brings a burst of flavor and texture that everyone will love.
-
Gluten-Free Option: Use a gluten-free flour blend in place of all-purpose flour for a delightful treat that accommodates dietary needs. You won’t lose the deliciousness; it will be just as tasty!
-
Flavor Boost: Incorporate flavored extracts (like almond or hazelnut) into the dough to add a unique twist that takes these cookie cups to a whole new level. Imagine the aromatic experience!
-
Caramel Swaps: For a creamy topping, swap store-bought caramels for homemade caramel sauce. This personal touch adds a beautiful richness, elevating your dessert even further.
-
Chocolate Choices: Substitute milk chocolate chips with dark chocolate or semi-sweet chips if you prefer a more intense chocolate flavor. The richness will beautifully contrast with the sweetness of the caramel.
-
Fruity twist: Add a sprinkle of dried fruit, such as cranberries or cherries, into the dough for a playful, tart contrast to the sweet components. This fruity twist brightens each bite!
-
Spicy Kick: If you enjoy a hint of heat, sprinkle a little cayenne pepper into the chocolate after melting. This unexpected pop will leave everyone curious about your secret ingredient!
-
Bite-Sized Treats: Make mini versions of these cookie cups using smaller cookie cutters for bite-sized delights that are perfect for parties or gatherings. Everyone loves a smaller treat that satisfies!
Feel inspired? Don’t forget to check out my recipes for Cheesecake Stuffed Cookies and Oreo Cheesecake Cookies for more delicious ideas to indulge your sweet tooth!
How to Store and Freeze Twix Cookies
Room Temperature: Store your Twix Cookies in an airtight container at room temperature for up to 4-5 days to keep them fresh and delicious.
Fridge: If you prefer a firmer texture, you can refrigerate them in a sealed container for up to a week. Just allow them to come to room temperature before enjoying.
Freezer: For longer storage, freeze cookies in a single layer on a baking sheet until solid, then transfer to a freezer bag. They’ll stay fresh for up to 3 months—perfect for future cravings!
Reheating: To enjoy them warm, simply microwave the cookies for about 10-15 seconds. This will soften the caramel and chocolate, making them even more irresistible!
Expert Tips for Twix Cookies
-
Don’t Overmix Dough: Ensure the cookie dough is mixed just until combined after adding flour to maintain a tender texture in your Twix Cookies.
-
Watch the Baking Time: Keep a close eye on the cookies while baking; they can quickly turn from perfectly puffy to overdone, ruining their delightful chewiness.
-
Cool Completely: Allow the baked cookies to cool fully before adding the caramel to prevent it from melting into the cookie, ensuring the perfect layered experience.
-
Experiment with Toppings: Try adding crushed nuts or a sprinkle of sea salt on top of the chocolate for an extra burst of flavor and texture that complements the sweetness.
-
Chill for Best Results: After assembling, chilling the cookies for a little while allows the caramel to set perfectly, making them easier to serve and eat!
What to Serve with Twix Cookie Cups?
Indulging in these delightful cookie cups opens up a world of pairing possibilities that will elevate your dessert experience.
-
Vanilla Ice Cream: A creamy scoop of vanilla complements the rich flavors beautifully, creating a classic dessert combination.
-
Fresh Berries: The tartness of strawberries or raspberries balances the sweetness of the cookies, providing a refreshing contrast to each bite.
-
Espresso: A strong cup of espresso cuts through the rich sweetness, making for a sophisticated pairing that awakens the senses.
-
Milk: A glass of cold milk is the ultimate comfort and goes hand in hand with the chocolate and caramel indulgence.
-
Chocolate Drizzle: Enhance the chocolate flavor with a drizzle of warm chocolate sauce over the cookie cups for extra decadence.
-
Caramel Sauce: Serve with an extra side of caramel for dipping, amplifying that luscious texture and satisfying your sweet tooth.
-
Nutty Granola: Sprinkle some crunchy granola for added texture and a nutty flavor that complements the cookie cups’ softness.
-
Salted Pretzels: The salty crunch of pretzels adds a unique twist, providing a fun contrast to the gooey, sweet layers of the cookie cups.
Make Ahead Options
These Twix Cookie Cups are perfect for meal prep, allowing you to savor delicious homemade dessert without the last-minute rush! You can prepare the cookie dough up to 24 hours in advance; simply wrap it tightly in plastic wrap and refrigerate. Additionally, you can make the caramel topping ahead and store it in an airtight container for up to 3 days, keeping its rich, gooey texture. When you’re ready to bake, just roll out the chilled dough, assemble your cookies with the prepared caramel, and complete the final steps of melting and drizzling the chocolate. These make-ahead options ensure that your Twix Cookie Cups are just as delightful as if they were made fresh that day!
Twix Cookies Recipe FAQs
How do I choose ripe ingredients for Twix Cookies?
Absolutely! The quality of your ingredients is key. For the butter, choose a fresh, creamy one; it should be soft but not melted. Granulated sugar and flour should be stored in a cool, dry place, and check the baking powder expiration date to ensure it’s still active. If you’re using caramels, pick ones that are soft and easily meltable, as they will create that gooey topping you love.
What is the best way to store Twix Cookies, and how long do they last?
Twix Cookies can be stored in an airtight container at room temperature for up to 4-5 days. For an even fresher taste, you might consider refrigerating them in a sealed container for about a week, letting them sit at room temperature before enjoying. If the weather is particularly warm or humid, refrigeration can help maintain that dreamy texture.
Can I freeze my Twix Cookies? How do I do it?
Very! Freezing these delightful treats is a great option if you want to keep them longer. Start by placing them in a single layer on a baking sheet, allowing them to freeze until solid—this takes about 2-3 hours. Once frozen, transfer them into a freezer bag or an airtight container, separating layers with parchment paper to prevent sticking. They can be stored this way for up to 3 months. When you’re ready to enjoy, just thaw them at room temperature or warm them in the microwave for about 10-15 seconds!
What should I do if my cookies spread too much while baking?
No worries! If your Twix Cookies spread excessively, it might be because the butter was too warm when mixed in or the dough was overmixed after adding the flour. To remedy this, try chilling the dough for at least 30 minutes before shaping and baking. This will help firm up the butter and reduce spreading. Also, make sure your baking powder is fresh, as stale baking powder can lead to uneven rising.
Are there any dietary considerations for making Twix Cookies?
The more the merrier! If you have dietary restrictions, consider substitutions like using a vegan butter alternative and a flax egg (1 tbsp flaxseed meal plus 2.5 tbsp water) instead of the egg white to make these cookies vegan-friendly. For nut allergies, ensure you avoid any toppings or chocolate brands that might contain traces of nuts. Additionally, using gluten-free flour in place of all-purpose flour can make this recipe suitable for those with gluten sensitivities. Enjoy customizing these cookies to fit your dietary needs!
Can I add other toppings to my Twix Cookies?
Absolutely! You can experiment with various toppings to create unique flavor profiles. Try adding crushed peanuts or pecans for a “Snickers” twist, or a sprinkle of sea salt on top to balance the sweetness. Flavor extracts such as almond or hazelnut in the cookie dough can also elevate the taste experience. The possibilities are endless!
Twix Cookies: Irresistibly Chewy Cookie Cups to Indulge in
Ingredients
Equipment
Method
- Preheat your oven to 350°F (175°C) to ensure even baking.
- Cream together butter and sugar until light and fluffy. Add egg white and vanilla, mix well. Gradually add flour and baking powder until combined.
- Roll out dough to ¼ to ½ inch thick and cut into circles. Place on ungreased cookie sheets, spacing apart.
- Bake for 6-8 minutes until puffy and no longer glossy. Transfer to wire rack to cool.
- In a bowl, combine caramels and milk. Microwave, stirring until smooth.
- Spoon caramel onto cooled cookies, chilling in the fridge for 10-15 minutes to set.
- Melt chocolate chips in microwave until smooth. Drizzle or spread over the caramel on each cookie.
- Allow chocolate to cool and set before serving. Your Twix Cookie Cups are ready to enjoy!