
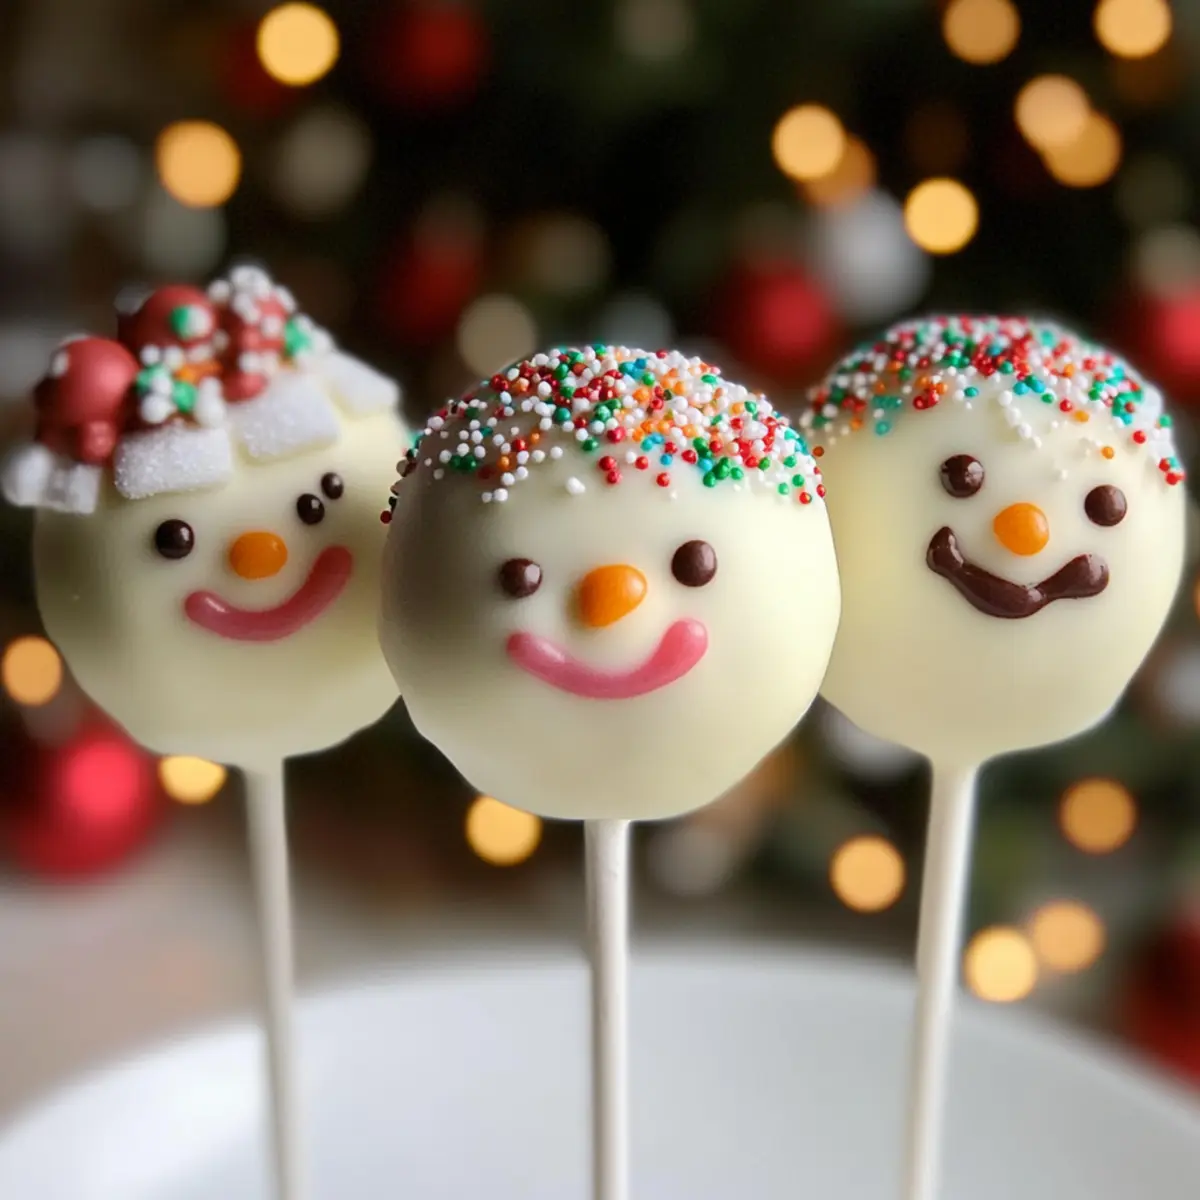
As I wandered through the bustling holiday market, the sweet scent of vanilla wafted through the air, igniting my festive spirit. It was there that I stumbled upon the most adorable Christmas Cake Pops, each one a little edible ornament, just waiting to be devoured. Imagine bringing that magic into your own kitchen with my Affordable and Easy Christmas Cake Pops recipe. This crowd-pleaser is not only incredibly budget-friendly but also a delightful project that’ll make you the star of any holiday gathering. The soft, moist vanilla center coated in smooth white chocolate is perfect for sharing, and the best part? You can customize them to your heart’s content! Whether you’re decorating for a party or treating yourself to a sweet moment, these cake pops embody the joy of the season. Ready to create your own festive treats? Let’s dive into this delicious adventure!

Why Are These Christmas Cake Pops a Must-Try?
Unforgettable Flavor: Each bite delivers a soft and moist vanilla center enveloped in luscious white chocolate. Your taste buds will dance with delight!
Budget-Friendly Joy: These cake pops are easy on your wallet, allowing you to create stunning treats without draining your bank account.
Versatile and Customizable: Unleash your creativity! Decorate them with themed sprinkles, edible glitter, or even crushed peppermint for a personal touch that wows.
Perfect for Any Occasion: Not just for Christmas! These are great for all celebrations, making them a go-to recipe for parties, gift exchanges, or cozy gatherings.
Time-Saving Fun: Spend less time in the kitchen and more time enjoying the festivities. Bake the cake in advance and assemble later for effortless entertaining.
Whether you’re making these delightful treats for a cookie swap or just to satisfy your sweet tooth, these Christmas Cake Pops will surely become a festive favorite! Don’t forget to check out Apple Pancake Cozy for another delicious treat to spread the holiday cheer!
Christmas Cake Pops Ingredients
Get ready to create festive treats!
For the Cake
• Vanilla Cake Mix – A classic base flavor that simplifies your baking process. Look for budget-friendly options!
• Eggs – Essential for moisture and structure; follow the cake mix box instructions.
• Oil – Adds richness to the cake; can be substituted with applesauce for a lighter version.
• Water – Complements the cake mix and helps achieve a perfect texture.
For the Coating
• Vanilla Frosting – Acts as a binder for crumbled cake; store-bought makes this step easy! You can use cream cheese frosting for extra tang.
• White Chocolate or Vanilla Candy Melts – Indulge in a smooth coating; milk or dark chocolate can add a delightful twist.
For Toppings
• Cake Pop Sticks – Vital for easy serving; lollipop sticks or bamboo skewers work perfectly!
• Sprinkles or Other Toppings – Elevate your cake pops with crushed peppermint or themed decor. Let your creativity shine!
With these Christmas Cake Pops ingredients, you’re well on your way to creating sweet, festive memories!
Step‑by‑Step Instructions for Christmas Cake Pops
Step 1: Bake the Cake
Preheat your oven to 350°F (175°C) and prepare the vanilla cake mix according to package instructions. Bake in a greased cake pan for the specified time until a toothpick inserted in the center comes out clean. Once done, let the cake cool completely on a wire rack before moving on to the next step, ensuring it’s ready for crumbling.
Step 2: Crumble the Cake
Once the cake has cooled, carefully break it into fine crumbs using your hands or a food processor. In a large mixing bowl, combine the crumbled cake with vanilla frosting until it reaches a dough-like consistency that holds together without being too sticky. This mixture will be the base for your delightful Christmas Cake Pops.
Step 3: Form the Cake Balls
Using your hands, roll the cake mixture into approximately 24 uniform balls, about the size of a golf ball. Place each ball onto a parchment-lined baking sheet, ensuring they are spaced apart. Once you have formed all the cake balls, this is the perfect time to prepare for the next step that involves chilling.
Step 4: Insert the Sticks
Melt a small amount of white chocolate or candy melts in the microwave, heating in 30-second intervals until smooth. Dip the tip of each cake pop stick into the melted coating, then gently insert it into the center of each cake ball. Refrigerate the cake pops for at least 1 hour or freeze for 20 minutes to help them firm up for coating.
Step 5: Coat the Pops
Once chilled, melt the remaining white chocolate or candy melts until smooth. Dip each cake pop into the melted coating, ensuring it’s fully covered, and let any excess chocolate drip off. For an even coating, hold each pop upside down for a moment before decorating with your choice of festive toppings.
Step 6: Let Set
After coating, place the cake pops upright in a foam block or a designated cake pop stand. Allow them to sit until the chocolate coating is completely set, which should take about 30 minutes at room temperature. This step is crucial for ensuring your Christmas Cake Pops maintain a beautiful finish and are easy to handle.
How to Store and Freeze Christmas Cake Pops
Refrigerator: Keep your Christmas Cake Pops in an airtight container in the fridge for up to 1 week. This helps maintain their freshness while avoiding any drying out.
Freezer: For longer storage, place the cake pops in an airtight container or freezer bag, separating layers with parchment paper. They can be frozen for up to 2 months.
Thawing: To enjoy, simply take the frozen cake pops out and let them thaw in the fridge for a few hours before serving. This prevents condensation from forming on the chocolate coating.
Reheating: If you’ve stored uncoated cake balls, you can gently microwave them for a few seconds if needed, before dipping into chocolate for that fresh-baked taste!
Expert Tips for Christmas Cake Pops
-
Keep it Cool: Ensure your cake balls are chilled properly before dipping. This helps them hold their shape and prevents them from falling off the sticks.
-
Chocolate Consistency: If your coating becomes too thick or lumpy, melt it in short bursts and stir well. Smooth chocolate ensures beautiful, shiny Christmas Cake Pops!
-
Use Quality Toppings: Invest in good-quality sprinkles or edible glitter. This adds that extra festive flair and makes your treats visually appealing.
-
Avoid Overmixing: When combining crumbled cake with frosting, mix just until moistened. Overmixing can lead to a dense texture instead of light, airy pops.
-
Creative Handling: Decorate using various techniques! Try drizzling different colored coatings over your pops for a stunning presentation that’s sure to impress.
-
Perfect Storage: Store your finished Christmas Cake Pops in an airtight container at room temperature for up to a week. This keeps them fresh and delicious for holiday enjoyment!
What to Serve with Easy Christmas Cake Pops
As you prepare these charming treats, consider how to craft a magical meal that perfectly pairs with their festive spirit.
-
Rich Hot Chocolate: A warm, creamy beverage that enhances the sweetness of the cake pops, making for a cozy combination on chilly evenings. Enjoy it topped with whipped cream and a sprinkle of cocoa for an extra touch.
-
Festive Cheeseboard: Include assorted cheeses, seasonal fruits, and nuts to balance the sweetness. This savory option encourages guests to mingle while offering a beautiful presentation.
-
Gingerbread Cookies: These classic holiday favorites bring a spicy contrast to the sweet cake pops, creating a delightful medley of flavors on your dessert table.
-
Candy Cane Milkshake: A refreshing peppermint shake, creamy and delicious, this drink adds a whimsical touch that complements the cake pops’ festive vibe.
-
Sparkling Apple Cider: Bubbly and light, this non-alcoholic drink brings a celebratory feel that pairs well with the cheerful, sweet flavor of your Christmas Cake Pops.
-
Mini Fruit Tarts: These refreshing desserts provide a lighter option alongside the cake pops, featuring a crisp crust filled with creamy custard and sweet seasonal fruits.
-
Merry Meringue Kisses: Light and airy, meringue cookies offer a delightful textural contrast that balances the richness of the cake pops while adhering to your festive theme.
-
Caramel Popcorn: Sweet and crunchy, it adds a playful touch to your dessert spread, offering varied textures to make every bite exciting.
Each of these pairing options elevates your holiday experience, creating a delightful culinary journey alongside your Christmas Cake Pops!
Christmas Cake Pops: Variations & Substitutions
Feel free to explore a world of delicious possibilities with these adaptable cake pops that will bring warmth and joy to your kitchen!
-
Flavor Swaps: Substitute chocolate cake mix for a rich chocolate flavor, or add peppermint extract for an extra festive zing.
-
Frosting Alternatives: Try using strawberry or cream cheese frosting to give your cake pops a twist. Each option adds a delightful depth of flavor!
-
Chocolate Variants: Replace white chocolate with milk or dark chocolate for different taste profiles. Dark chocolate pairs beautifully with peppermint toppings!
-
Dairy-Free: Use dairy-free baking substitutes like almond or coconut milk, and opt for vegan chocolate to create a delicious treat for everyone.
-
Nutty Delight: Incorporate crushed nuts or almond extract into the cake mixture for extra texture and a lovely crunch. It adds a cozy warmth to each bite!
-
Healthier Option: Swap out some of the frosting for Greek yogurt to lighten the treat. This gives you a little protein boost without sacrificing flavor.
-
Themed Decorations: Customize the look with various holiday-themed sprinkles or edible glitter. From Halloween to birthdays, your creativity will shine through every season!
-
Serving Suggestions: Try pairing them with a warm cup of hot cocoa or serve alongside Lemon Ricotta Pancakes for a delightful dessert spread.
With these variations, your Christmas Cake Pops will be a hit, no matter the gathering! The joy is not just in making them; it’s in reimagining them each time you do!
Make Ahead Options
These Easy Christmas Cake Pops are perfect for meal prep enthusiasts! You can bake the cake up to 24 hours in advance, letting it cool completely before crumbling. Once crumbled, combine the cake with frosting and form your cake balls; these can be stored in the refrigerator for up to 3 days. Just make sure to cover them tightly to maintain freshness. When you’re ready to serve, insert the sticks and proceed with dipping and decorating. With these make ahead options, you’ll save precious time on busy days while still impressing your guests with delicious, festive treats that are just as delightful fresh!

Christmas Cake Pops Recipe FAQs
How do I choose the right cake mix for my Christmas Cake Pops?
Absolutely! When selecting a cake mix for your Christmas Cake Pops, opt for a vanilla mix that fits your budget and taste preferences. Look for a brand without preservatives for the best flavor. You can also try a chocolate cake mix if you’re feeling adventurous!
What is the best way to store leftover Christmas Cake Pops?
Very simple! Keep your Christmas Cake Pops in an airtight container at room temperature for up to a week. If you want to enjoy them later, they can be stored in the refrigerator to maintain freshness. Just be sure to allow them to come to room temperature before serving.
Can I freeze my Christmas Cake Pops? If so, how?
Yes, you can! For longer storage, place the cake pops in a single layer in an airtight container or freezer bag, separating layers with parchment paper to prevent sticking. They can be frozen for up to 2 months. To thaw, just transfer them to the fridge a few hours before serving—this keeps the chocolate coating nice and smooth!
What should I do if my chocolate coating is too thick or lumpy?
No worries! If your chocolate becomes thick, melt it in 30-second intervals in the microwave, stirring well between bursts. This will help regain its smooth consistency. You can also add a small amount of vegetable oil or shortening to thin it out as necessary.
Are there any dietary considerations I should keep in mind for my Christmas Cake Pops?
Very important! If you’re concerned about allergies, be sure to check the labels of your ingredients. Common allergens include eggs, dairy, and gluten. If you’re making them for pets, remember that chocolate is toxic to dogs and should be avoided. You can look for vegan-friendly cake mixes and frosting alternatives to cater to different dietary needs.
Can I make these cake pops in advance?
Absolutely! You can bake the cake a day before and store it covered at room temperature. On the day you plan to serve, follow the steps to crumble, form into balls, and coat them. This makes for delightful, stress-free holiday preparations!

Delightful Christmas Cake Pops That Everyone Will Love
Ingredients
Equipment
Method
- Preheat your oven to 350°F (175°C). Prepare the vanilla cake mix according to package instructions. Bake in a greased cake pan until a toothpick comes out clean. Let cool completely.
- Crumble the cooled cake into fine crumbs in a mixing bowl. Combine crumbled cake with vanilla frosting until it reaches a dough-like consistency.
- Roll the mixture into approximately 24 uniform balls. Place on a parchment-lined baking sheet.
- Melt a small amount of white chocolate in the microwave. Dip the tip of each cake pop stick into the melted coating and insert into each cake ball. Refrigerate for at least 1 hour.
- Melt the remaining white chocolate until smooth. Dip each cake pop into the melted coating, letting excess drip off before decorating.
- Place the coated cake pops upright in a foam block or stand until the coating is completely set, about 30 minutes.