
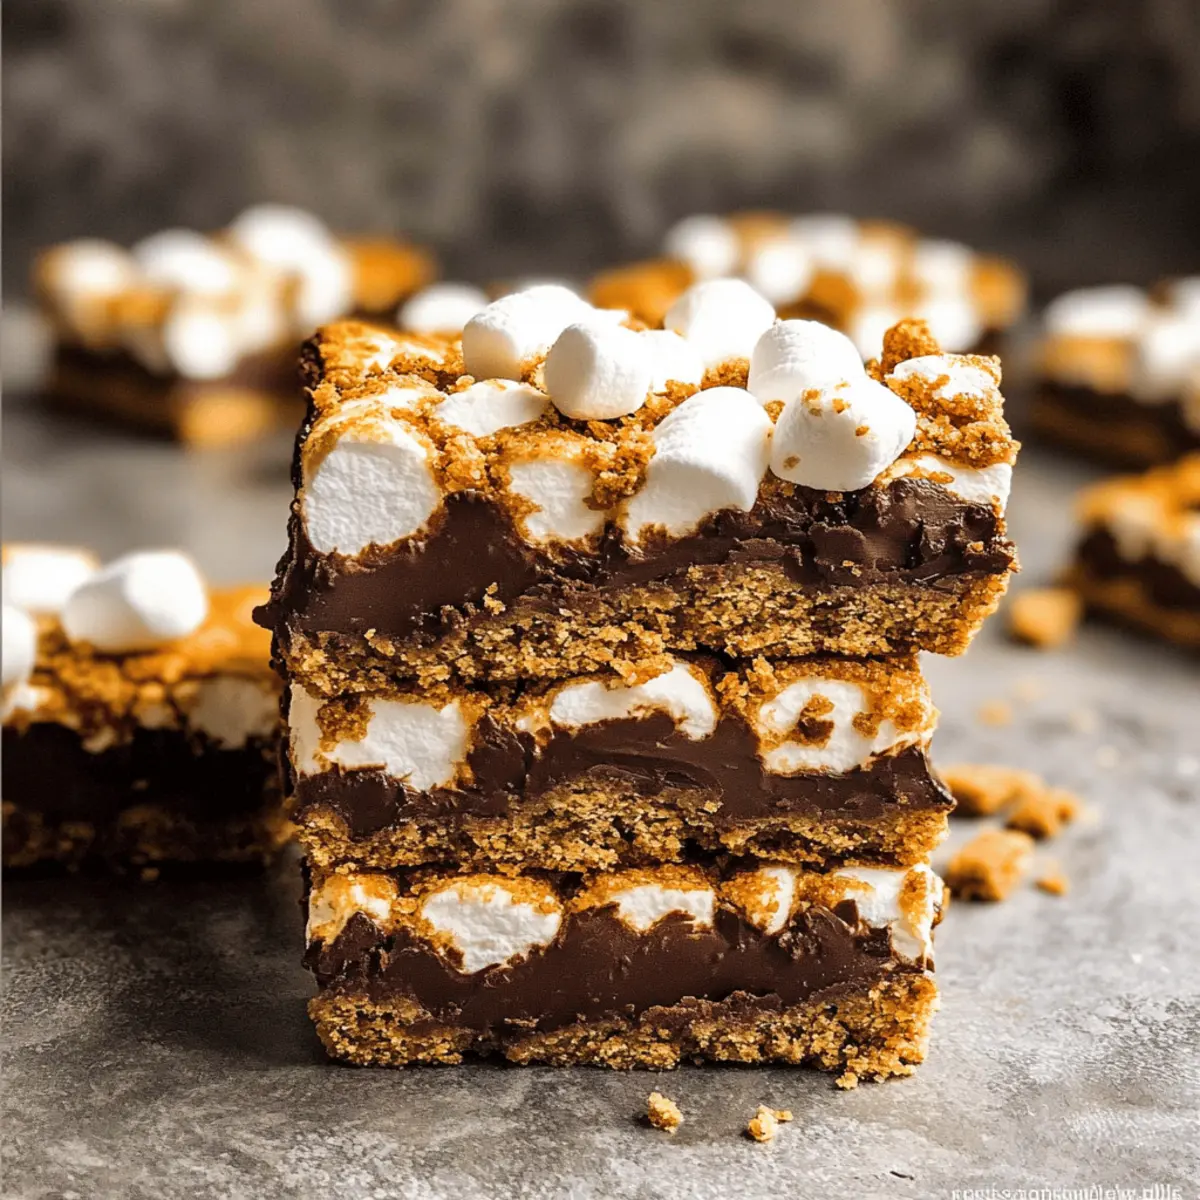
As I rummaged through my pantry, I stumbled upon an old bag of graham cracker crumbs, invoking memories of summer campfires and sweet indulgences. That’s how these 4-Ingredient S’more Bars were born—a delightful twist on a classic favorite, bringing that beloved flavor straight to your kitchen without the fuss of a campfire. This easy dessert merges crunchy graham crackers, rich chocolate, and fluffy marshmallows into a treat that’s not only kid-friendly but also perfect for busy weeknights. Quick to prepare and fun to whip up with little hands, these S’more Bars serve as a nostalgic reminder that comfort food can be a breeze. Ready to see how effortlessly delicious they can be? Let’s dive into the heart of this sweet creation!
Why are S’more Bars the ultimate treat?
Simplicity at its Finest: With only 4 ingredients, whipping up these S’more Bars is a breeze, requiring minimal prep time.
Kid-Friendly Fun: Involve little ones in the no-bake process for a delightful family activity!
Nostalgic Flavor: Enjoy the comforting taste of classic s’mores, but without the hassle of a campfire.
Versatile Options: Customize these bars by adding crushed nuts or using flavored marshmallows for a unique twist.
Perfect for Any Occasion: Whether it’s a quick dessert on a busy weeknight or a crowd-pleaser at gatherings, these bars shine. Want a lighter option? Try adapting them into Free Cheesecake Bars instead!
Dive into this easy recipe and bring summertime cheer to your kitchen today!
S’more Bars Ingredients
• Simple, must-have components await!
For the Base
- Graham Cracker Crumbs – Essential for that delightful crunch; you can also crush whole graham crackers for a fresher flavor.
- Melted Butter – Binds everything together and adds richness; swap with coconut oil for a healthier twist.
For the Filling
- Chocolate Chips – The key to rich, chocolaty goodness; choose semi-sweet or milk chocolate depending on your sweetness preference.
- Mini Marshmallows – These provide that classic gooey texture; if you only have large marshmallows, just cut them down to size.
Create your delicious S’more Bars with these simple ingredients and enjoy a nostalgic treat made easy!
Step‑by‑Step Instructions for S’more Bars
Step 1: Preheat the Oven
Start by preheating your oven to 350°F (175°C). This temperature is essential for achieving a perfectly golden crust. While the oven heats up, gather your ingredients and equipment: a mixing bowl, a 9×13 inch baking pan, and cooking spray for easy clean-up.
Step 2: Grease the Baking Pan
Once the oven is preheated, generously grease your 9×13 inch baking pan with cooking spray. This will help the S’more Bars easily release from the pan once they’ve set. A well-greased pan ensures that every delicious bite comes out intact and looks beautiful.
Step 3: Mix the Graham Cracker Crust
In a mixing bowl, combine your graham cracker crumbs with melted butter. Stir until the crumbs are thoroughly coated and resemble wet sand. This mixture will form the base of your S’more Bars. It should have a slightly moist texture, making it easy to press into the baking pan.
Step 4: Press the Mixture into the Pan
Pour the crumb mixture into your greased baking pan and use your hands or a spatula to press it firmly into the bottom. Aim for an even layer that goes slightly up the sides of the pan. This solid base will hold all the delicious layers together. Bake for 8 minutes until it’s lightly golden and fragrant.
Step 5: Add Chocolate Chips
Remove the crust from the oven and immediately sprinkle chocolate chips evenly over the baked crust. Allow them to melt slightly, which should take about 1-2 minutes. The melted chocolate will serve as the rich, gooey layer that complements the graham cracker crust beautifully.
Step 6: Top with Mini Marshmallows
After letting the chocolate soften, sprinkle mini marshmallows generously over the melted chocolate. Make sure to cover the entire surface for the classic S’mores experience. The mini marshmallows will expand and toast up beautifully in the oven, providing a delightful sweet contrast to the chocolate.
Step 7: Bake Again
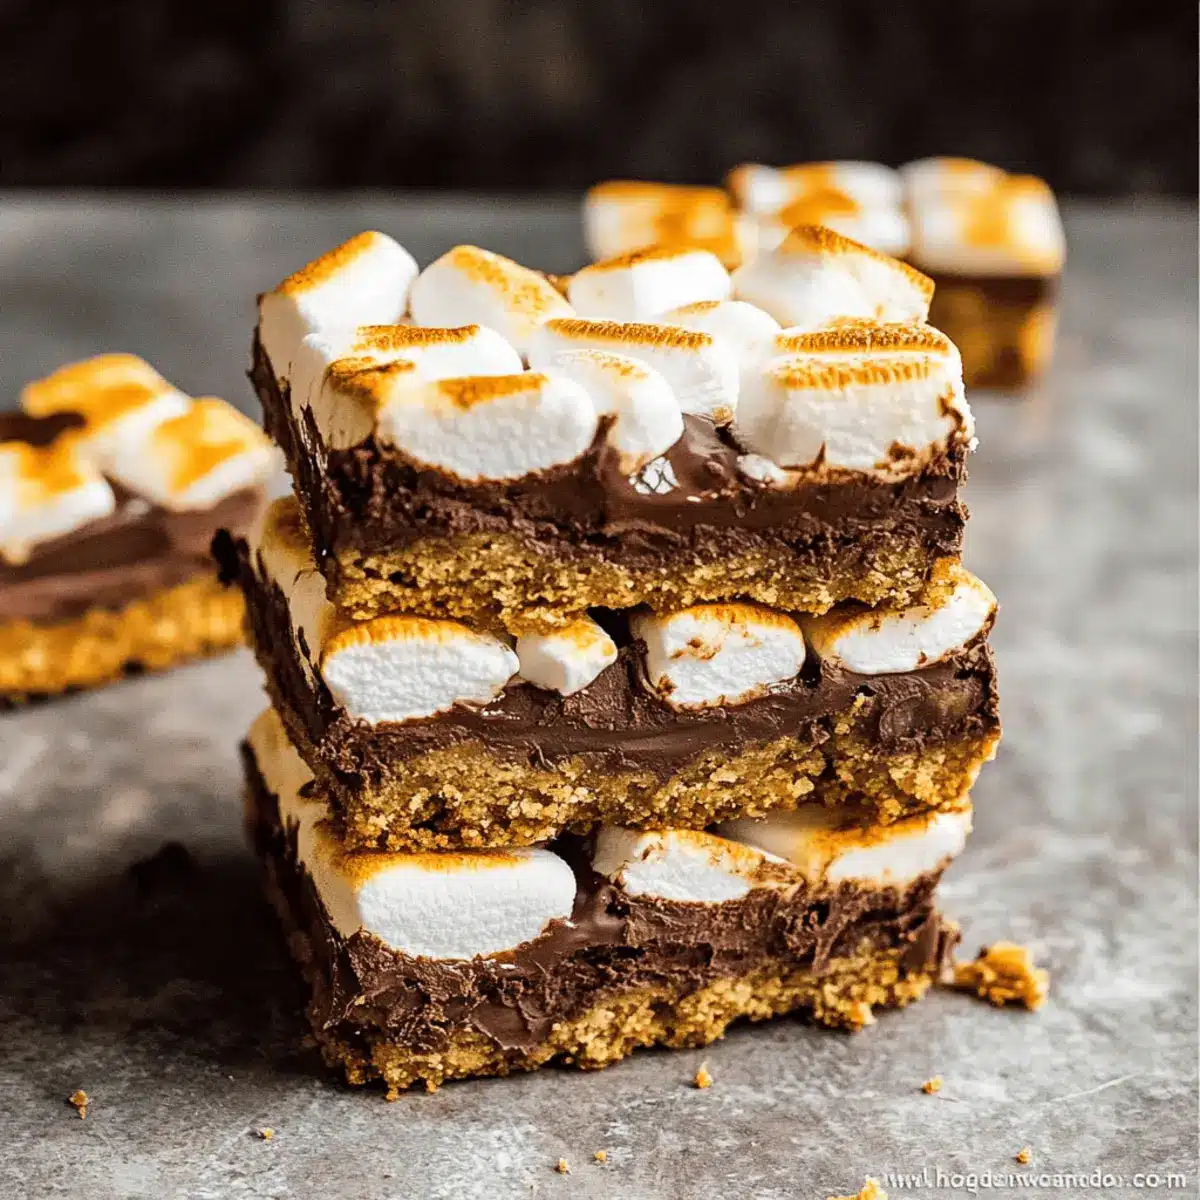
Return the pan to the oven and bake for an additional 20 minutes. Keep an eye on the S’more Bars, watching for the marshmallows to turn golden brown and puffy. This will ensure that they achieve that perfect toasted look while the chocolate beneath melts further.
Step 8: Cool and Refrigerate
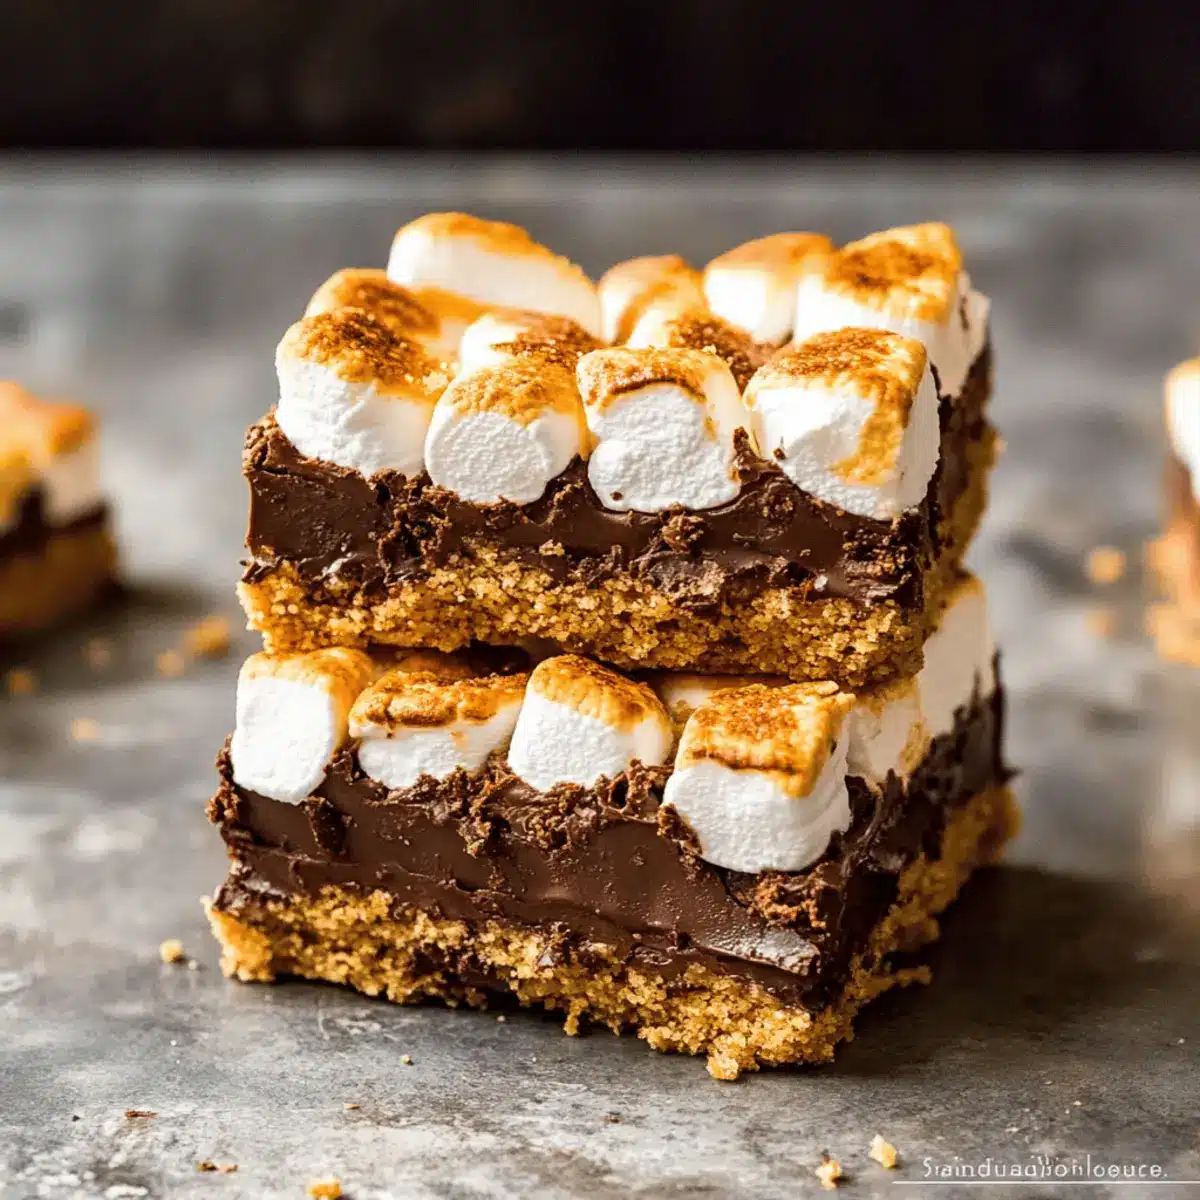
Once they are golden, remove the pan from the oven and allow the S’more Bars to cool at room temperature for about 10 minutes. Then, place them in the refrigerator for 45-60 minutes to set properly. Chilling helps solidify the layers, making cutting them into neat squares much easier.
Step 9: Slice and Serve
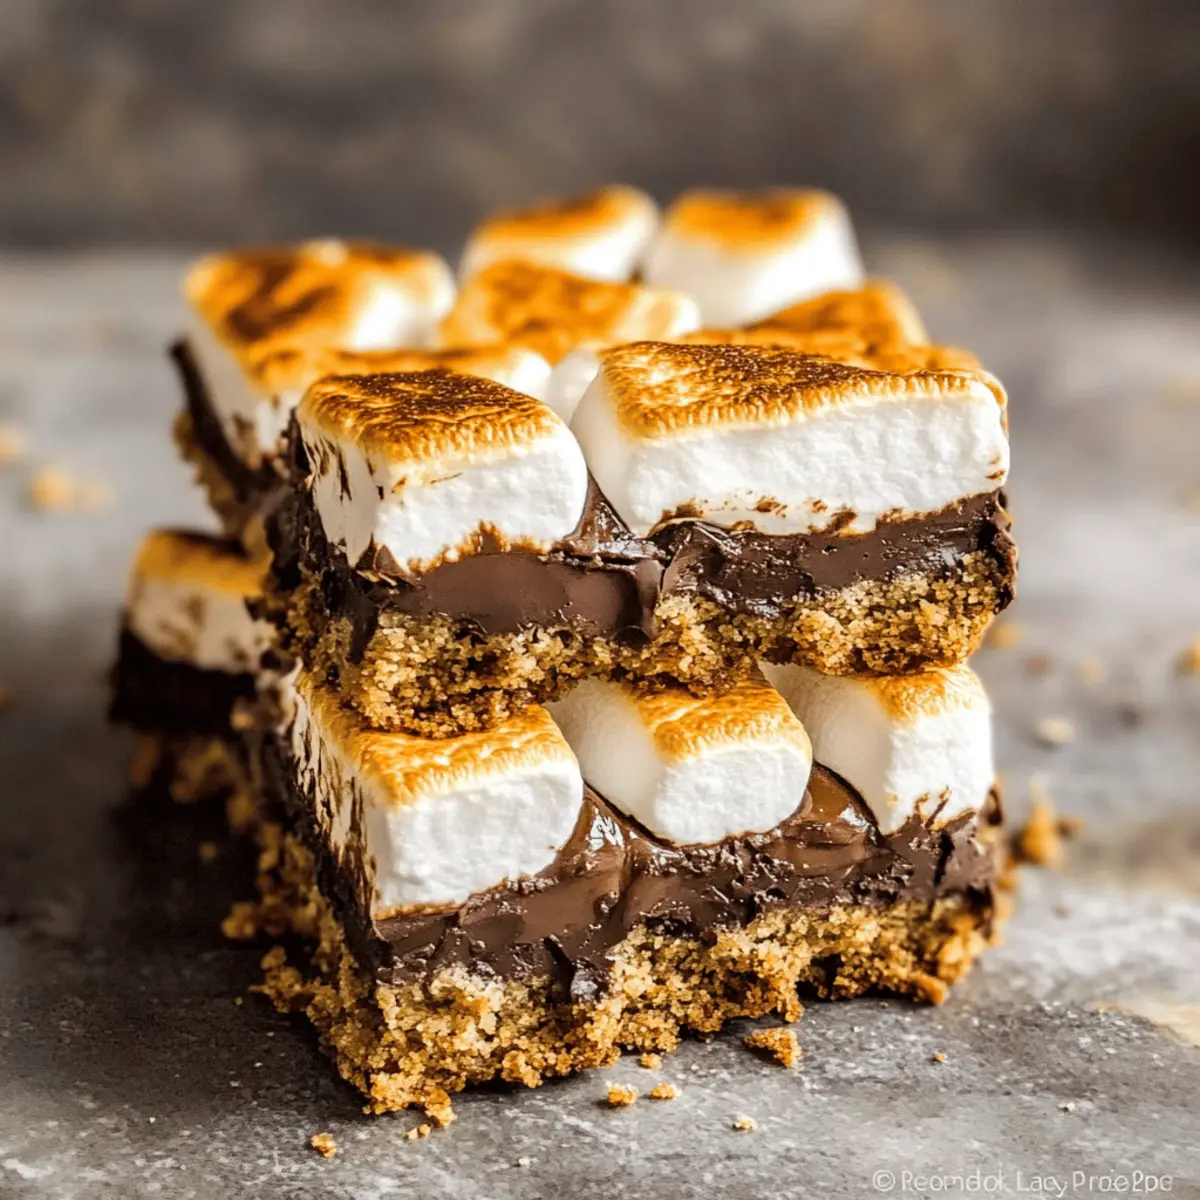
After chilling, remove the S’more Bars from the fridge. Use a sharp knife to cut them into squares or rectangles, depending on your preferred size. Serve them as a delightful dessert at home or at gatherings, and enjoy the smiles they bring!
Expert Tips for S’more Bars
Press Firmly: Make sure to press the graham cracker mixture down firmly. This ensures your S’more Bars maintain their shape and don’t crumble.
Chill Time Matters: For the best cutting experience, refrigerate your bars longer than 1 hour. Chilling them helps slice clean edges without making a mess.
Storage Solutions: Keep S’more Bars in an airtight container at room temperature for up to 3 days. For longer freshness, refrigerate them for 4-5 days instead.
Watch the Oven: Keep an eye on the baking time during the second bake. Overbaking can lead to hard marshmallows instead of soft, gooey perfection.
Customization Options: Feel free to substitute dark chocolate chips for a richer flavor or add nuts for added crunch. Make it your own while sticking to the classic S’more Bars spirit!
How to Store and Freeze S’more Bars
Room Temperature: Store S’more Bars in an airtight container at room temperature for up to 3 days. This keeps them deliciously soft and satisfying for every sweet tooth.
Fridge: For added freshness, refrigerate the bars in an airtight container for 4-5 days. The cool environment maintains their chewy texture and flavor.
Freezer: You can freeze S’more Bars for longer storage! Wrap them tightly in plastic wrap and then place in a freezer-safe bag. They can last up to 2 months in the freezer.
Reheating: When ready to enjoy, thaw the bars in the fridge overnight. For a gooey treat, microwave them for 10-15 seconds, or until warmed through.
What to Serve with S’more Bars
These delightful treats evoke warm memories and pair beautifully with a variety of sweet and savory options to create a full meal experience.
- Vanilla Ice Cream: A scoop of ice cream adds a creamy, cold contrast that complements the chewy, warm bars perfectly.
- Fresh Fruit Salad: Bright, juicy fruits like strawberries and blueberries will balance the sweetness and add a refreshing crunch.
- Chocolate Dipped Strawberries: Enhance the chocolatey goodness of S’mores with these decadent bites that are always a hit!
- Whipped Cream: Fluffy whipped cream drizzled over the bars elevates their indulgence, making each bite even richer.
- Coffee: A warm cup of coffee resonates with the chocolate flavors and provides a comforting touch, perfect for evening gatherings.
- Nut Butter: Drizzling a little peanut or almond butter atop the bars brings a savory nutty flavor that contrasts beautifully with sweet marshmallows.
- Chocolate Milk: Sipping on a chilled glass of chocolate milk brings back childhood nostalgia and complements the S’more Bars splendidly.
- Marshmallow Milkshake: Blend up a frosty treat by mixing marshmallow fluff with vanilla ice cream and milk for a fun, thematic drink!
- Caramel Sauce: A drizzle of warm caramel sauce adds a rich, buttery taste that pairs wonderfully with the gooey and crunchy textures of the bars.
- S’mores Parfaits: Layer S’more Bars with whipped cream and crushed graham crackers in cups for individual desserts that are visually appetizing!
S’more Bars: Endless Possibilities
Feel free to get creative with these delightful S’more Bars, transforming them to suit your taste or dietary needs!
-
Nutty Crunch: Add chopped nuts like walnuts or pecans for an extra layer of texture and flavor. Incorporating nuts brings a lovely crunch that elevates the traditional S’more experience.
-
Peanut Butter Delight: Swirl in some creamy or crunchy peanut butter before adding the chocolate chips. The rich, nutty flavor complements the chocolate beautifully, creating a sweet and salty treat.
-
Flavored Marshmallows: Opt for flavored marshmallows like chocolate or strawberry for a fun twist. They add an unexpected but delightful taste that can delight kids and adults alike!
-
Coconut Flair: Substitute regular chocolate chips with coconut-flavored ones or sprinkle shredded coconut on top. This tropical addition transports your taste buds to sunny beaches.
-
S’mores Mini Bites: Use mini muffin tins to create bite-sized bars. Adjust baking time to about 10 minutes for these adorable little treats that are perfect for snacking or parties.
-
Dark Chocolate Indulgence: Switch out semi-sweet chocolate for dark chocolate chips for a richer flavor. Dark chocolate pairs beautifully with the sweetness of marshmallows and gives a more sophisticated taste.
-
Spicy Kick: If you’re adventurous, add a dash of cayenne pepper to the chocolate layer for a sweet and spicy experience. This twist gives a nice surprise with each bite!
If you’re ever in the mood for a different sweet treat, these S’more Bars can also inspire you to try out some delicious Free Cheesecake Bars for a light and creamy dessert! Enjoy the flexibility of making these bars uniquely yours.
Make Ahead Options
These S’more Bars are perfect for meal prep enthusiasts! You can prepare the graham cracker crust and layer it with chocolate chips up to 24 hours in advance; simply cover the pan tightly with plastic wrap and refrigerate to maintain that fresh taste. The mini marshmallows can be added just before baking, ensuring they stay fluffy and delicious. When you’re ready to serve, bake the assembled bars as directed. The result? Just as scrumptious and satisfying, saving you precious time on busy weeknights or at gatherings. Enjoy the nostalgia of homemade S’more Bars with minimal fuss!
S’more Bars Recipe FAQs
What type of graham crackers should I use for S’more Bars?
You can use either store-bought graham cracker crumbs or crush whole graham crackers yourself for a fresher flavor. Make sure they’re finely crushed to provide a stable base for your bars.
How should I store my S’more Bars?
For storage, place your S’more Bars in an airtight container at room temperature for up to 3 days. If you prefer them a bit fresher, refrigerate them for up to 4-5 days. Just remember to keep them covered to avoid drying out!
Can I freeze S’more Bars?
Absolutely! To freeze S’more Bars, individually wrap each bar in plastic wrap and then place them in a freezer-safe bag. They’ll stay fresh for up to 2 months. When you’re ready to indulge, let them thaw in the fridge overnight, then enjoy them cold or warm them in the microwave for a few seconds.
What should I do if my marshmallows are hard after baking?
If your marshmallows turn hard while baking, it might be due to overbaking or not keeping an eye on them during the second bake. To avoid this, remove the bars from the oven once the marshmallows reach a golden brown and are puffy. If they do harden, try warming them back up in the microwave for a few seconds to soften them again.
Are S’more Bars safe to eat for someone with nut allergies?
Yes! The original recipe for S’more Bars is nut-free, but make sure to check the labels on all packages, especially your chocolate chips and any optional ingredients, to confirm there are no hidden allergens. If you’re uncertain, you can swap in chocolate alternatives that are nut-free.
Can I modify the recipe for dietary preferences?
Definitely! You can swap the chocolate chips for dairy-free or dark chocolate chips for a richer flavor. Additionally, using coconut oil in place of melted butter can cater to those seeking a dairy-free treat. It’s fantastic how versatile S’more Bars can be while still remembering their comforting roots!
S’more Bars Recipe FAQs
S'more Bars: Easy 4-Ingredient No-Bake Delight for All
Ingredients
Equipment
Method
- Preheat your oven to 350°F (175°C). Gather your ingredients and equipment.
- Grease your 9x13 inch baking pan with cooking spray.
- Combine graham cracker crumbs and melted butter in a mixing bowl until coated.
- Press the crumb mixture firmly into the bottom of the baking pan.
- Bake for 8 minutes until lightly golden.
- Sprinkle chocolate chips evenly over the baked crust.
- Top with mini marshmallows, covering the surface.
- Bake again for 20 minutes until marshmallows are golden brown.
- Cool at room temperature for 10 minutes, then refrigerate for 45-60 minutes.
- Slice into squares and serve.