
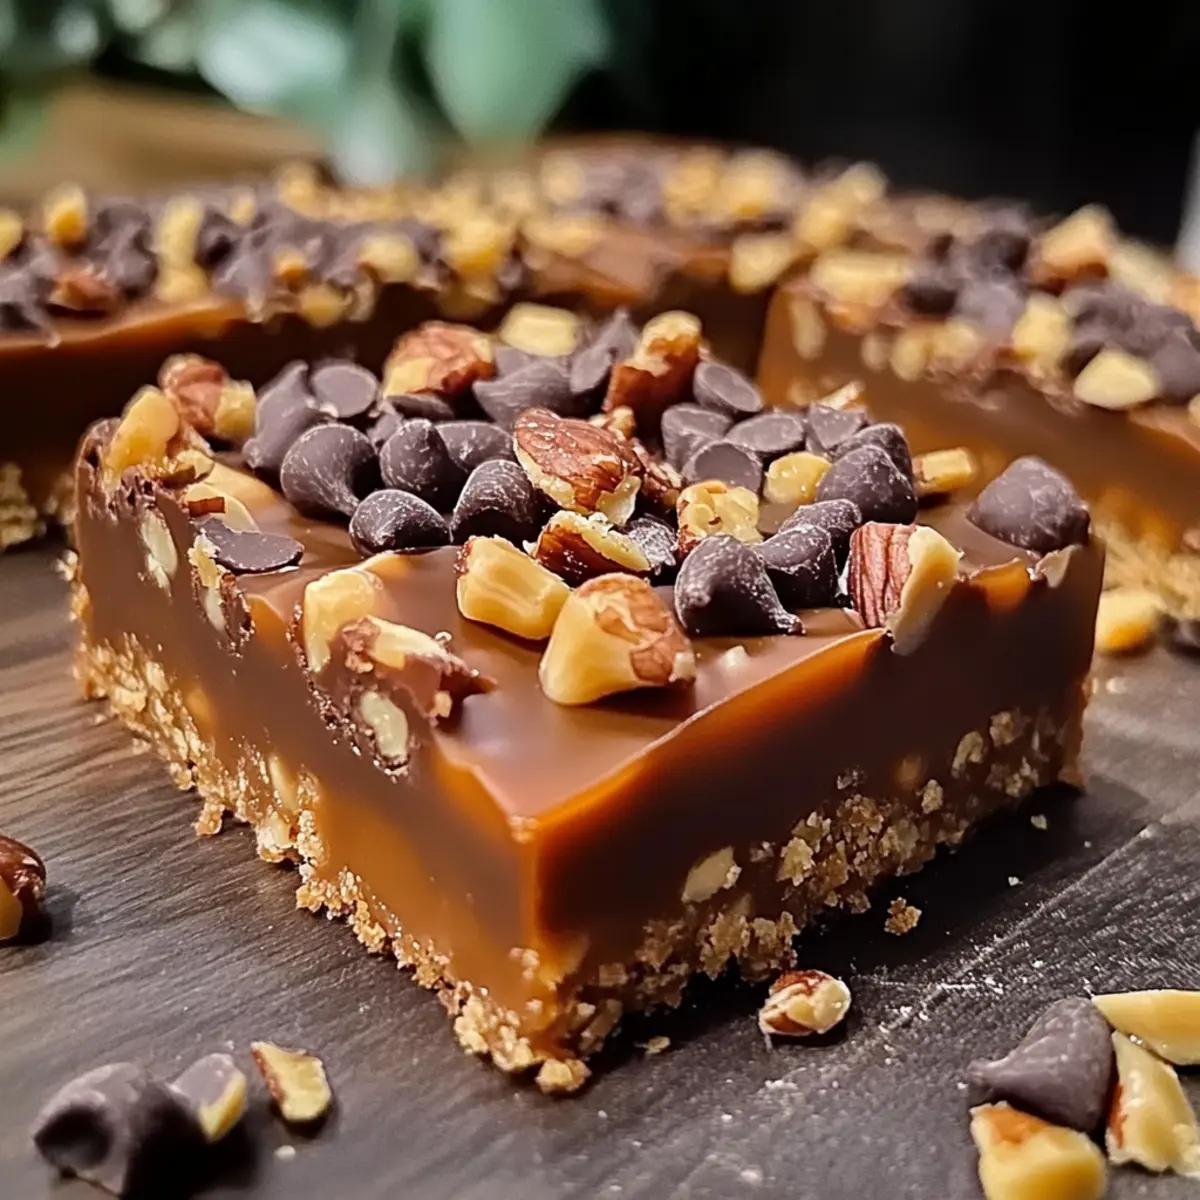
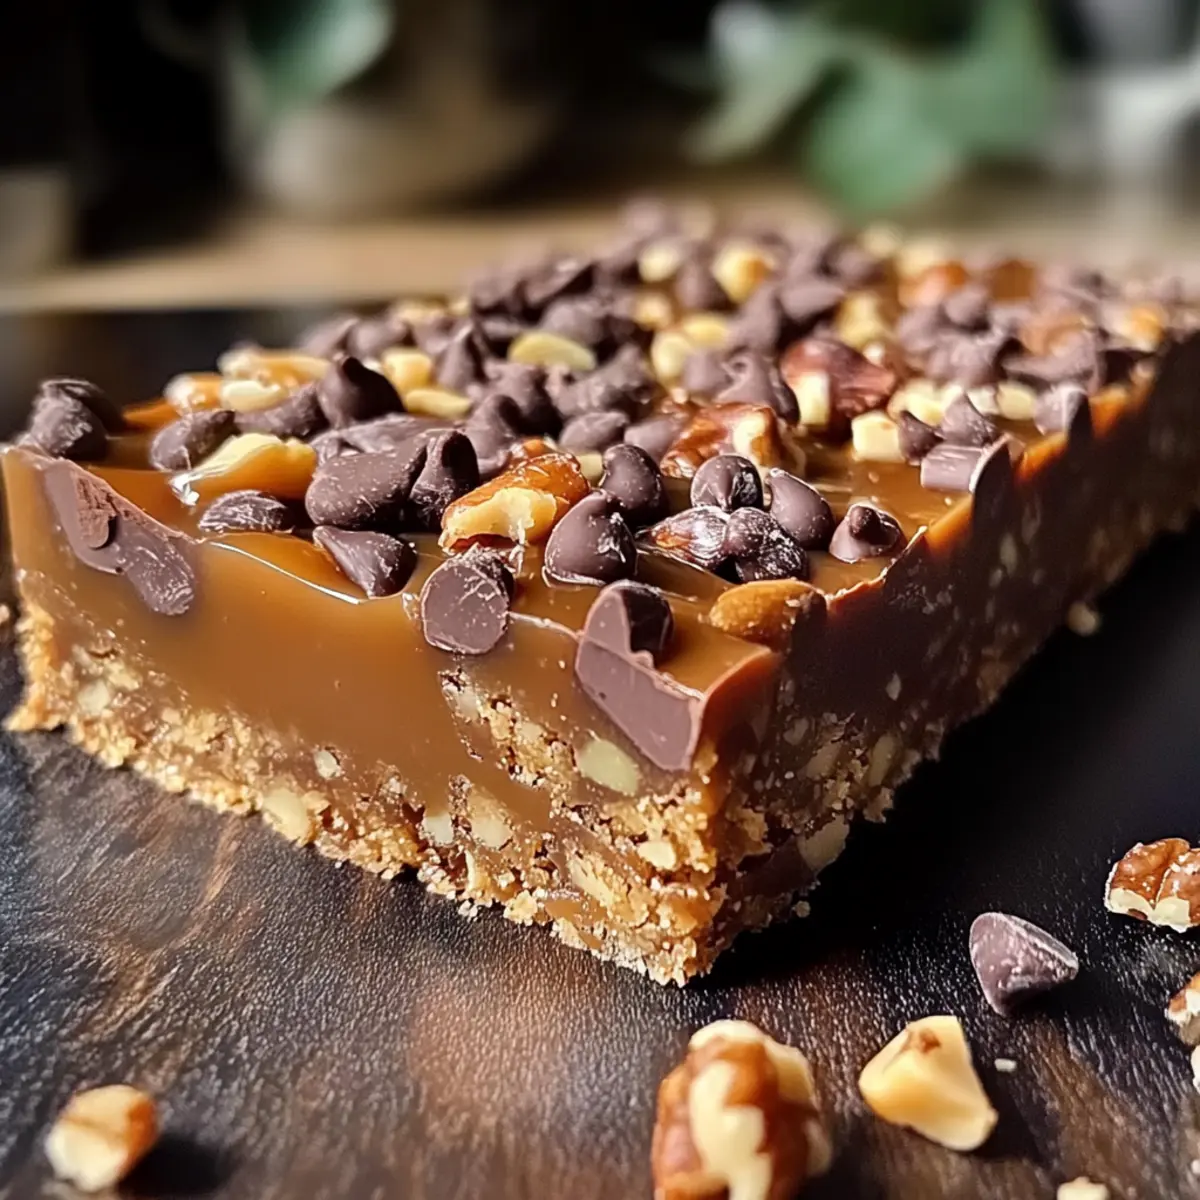
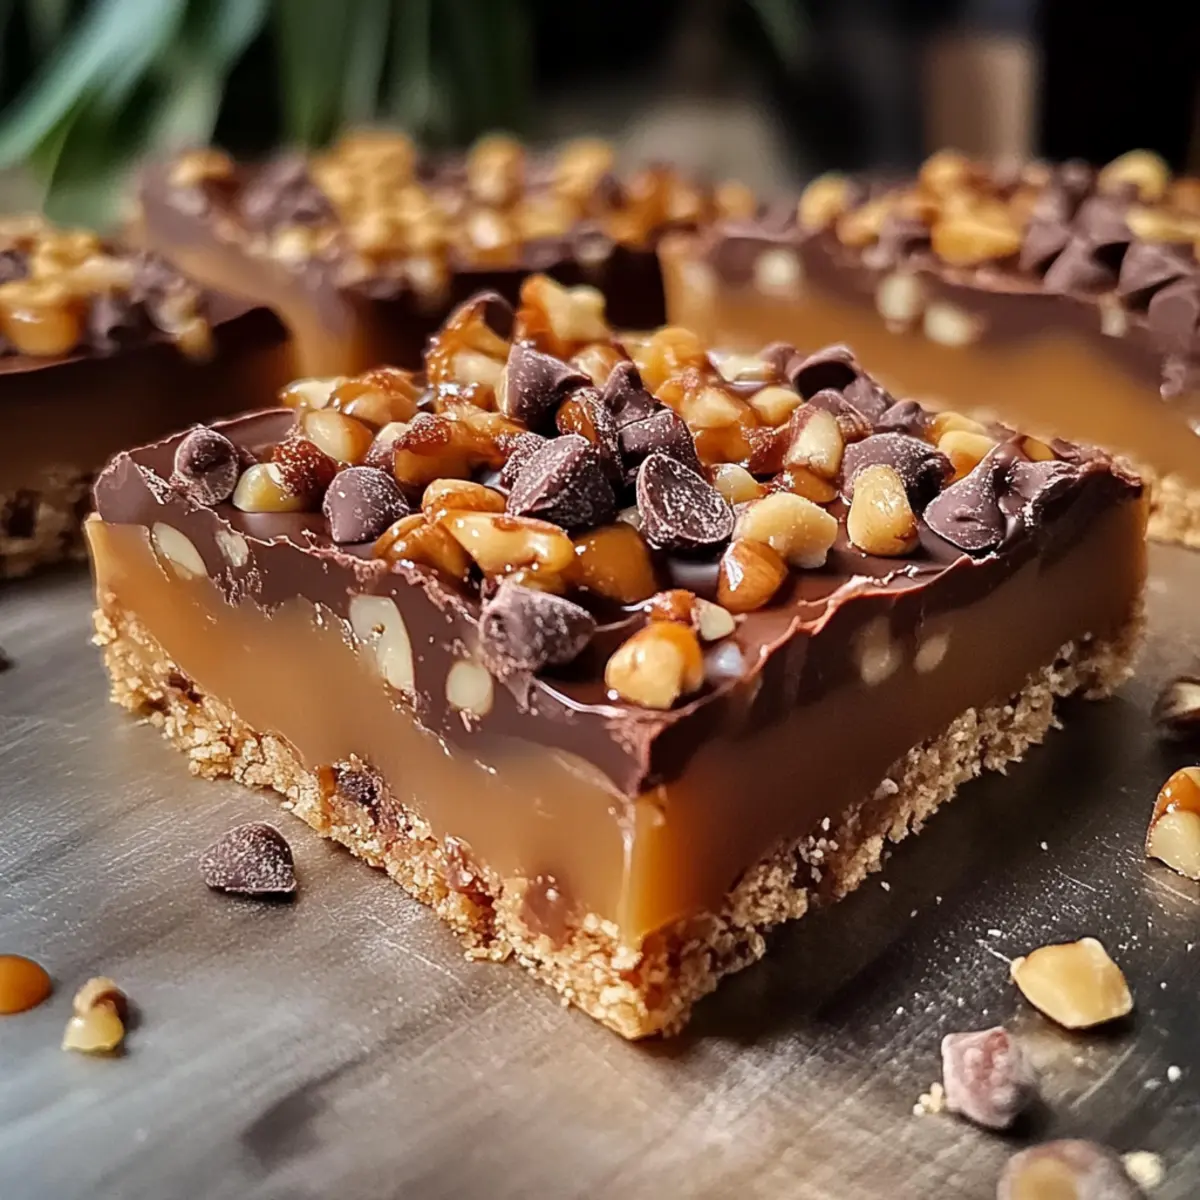
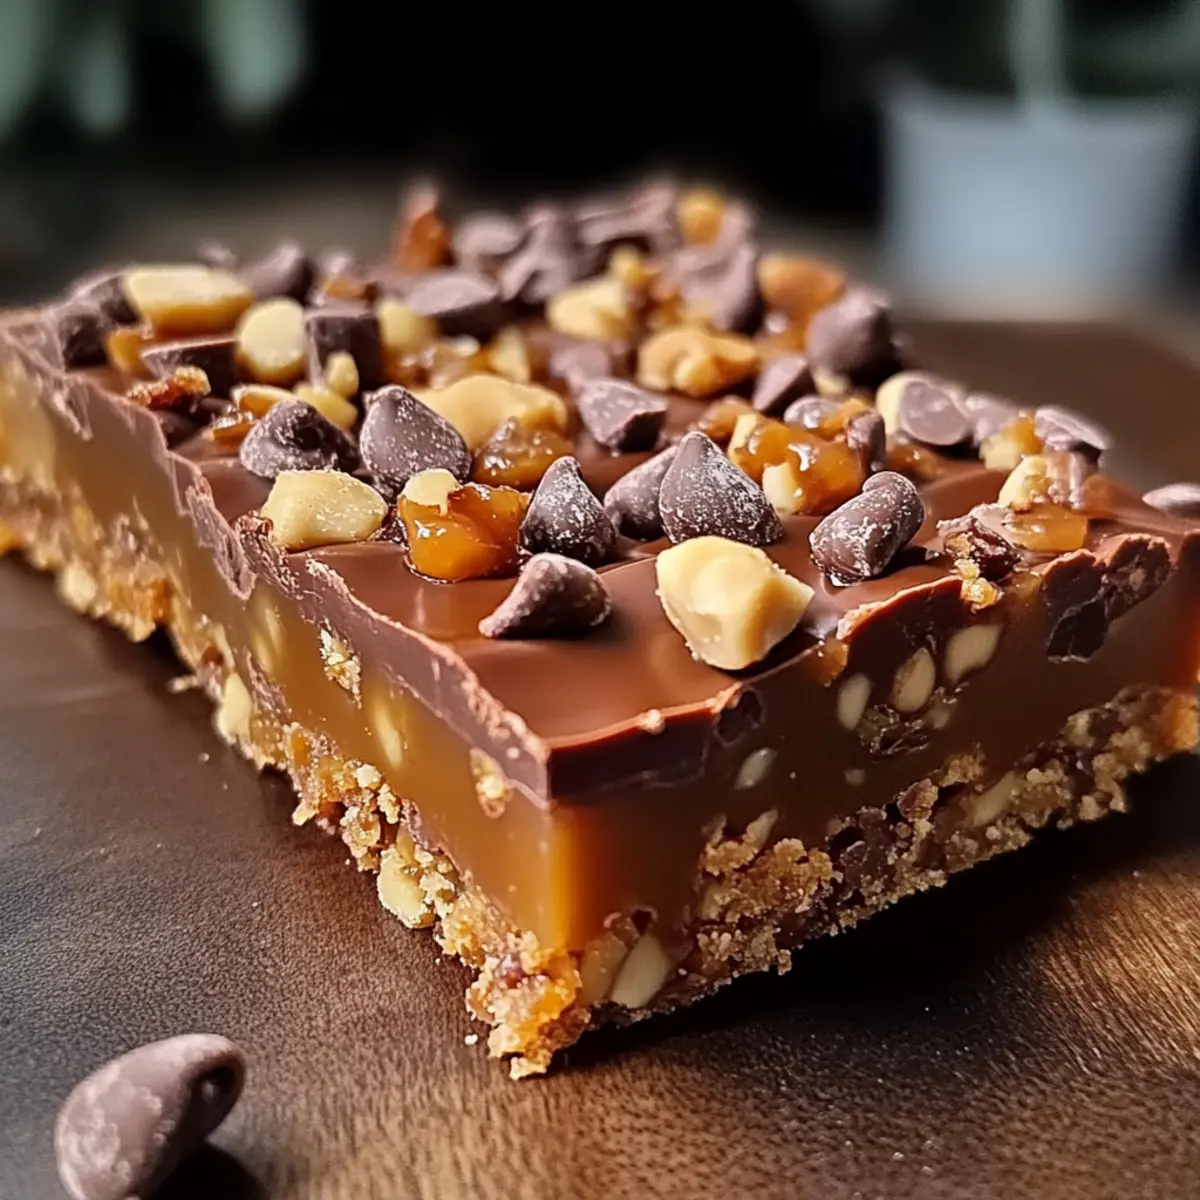
In a bustling kitchen, as I melted butter and stirred together graham crackers, I felt an undeniable excitement filling the air. Then came the magic—rich caramel bubbling away, begging to be poured onto a crispy base. These Caramel Chocolate Crunch Bars are a delightful blend of textures and flavors, featuring a buttery crunch, gooey caramel, and silky chocolate on top. Not only are these bars irresistibly easy to whip up, but they also make for an impressive dessert at your next gathering or a simple sweet snack for a cozy movie night. Best of all, they require no baking, allowing you to create a homemade treat with pantry staples in no time. Are you ready to transform your kitchen into a sweet haven?
Why Are These Crunch Bars Irresistible?
Decadent flavors come together in these Caramel Chocolate Crunch Bars, ensuring every bite is heavenly. No-bake convenience means you can whip them up quickly, making them perfect for a last-minute treat. Versatile options allow for customization—try swapping in gluten-free crackers or your favorite chocolate varieties! Crowd-pleaser appeal ensures they’ll be a hit at gatherings. And if you’re curious about more delicious variations, check out these Cheesecake Stuffed Chocolate bars or explore our Blueberry Cheesecake Bars for more sweet inspiration!
Caramel Chocolate Crunch Bars Ingredients
For the Base
- Graham Crackers or Saltines – These create a crispy, buttery base and balance out the sweetness; swap with gluten-free crackers if needed.
- Butter – Adds richness and binds the crust together; go for unsalted for the best flavor control.
For the Caramel Layer
- Sweetened Condensed Milk – This ingredient gives you that sticky, gooey caramel; if you prefer a lighter touch, you can use evaporated milk, but it will alter the texture.
For the Chocolate Topping
- Chocolate Chips (Milk/Dark/Semi-Sweet) – These provide a luscious, glossy top layer; choose your favorite type based on your personal taste.
For the Crunch Toppings
- Crunch Toppings (e.g., chopped nuts, pretzels) – These add delightful texture and versatility; feel free to customize them to your liking.
Embrace the joy of making these Caramel Chocolate Crunch Bars that are not only delicious but also a breeze to prepare!
Step‑by‑Step Instructions for CARAMEL CHOCOLATE CRUNCH BARS
Step 1: Preheat the Oven
Begin by preheating your oven to 350°F (175°C). This ensures that your baking dish is prepped and ready to go when you create the crispy base for your Caramel Chocolate Crunch Bars. It’s important to get your oven nice and hot, so the crust can achieve that golden hue.
Step 2: Create the Base
In a medium bowl, melt ½ cup of unsalted butter until bubbly, then mix in approximately 2 cups of crushed graham crackers or saltines. Stir until the crumbs are well coated and resemble wet sand. This rich buttery mixture forms the deliciously crunchy base for your bars, which will hold all the scrumptious layers together.
Step 3: Press and Bake the Crust
Transfer the cracker mixture into a parchment-lined 9×13 baking dish. With clean hands or a spatula, firmly press the mixture into an even layer across the bottom. Bake in the preheated oven for 10-12 minutes, or until the edges are lightly golden and the aroma of buttery goodness fills your kitchen.
Step 4: Prepare the Caramel Layer
While the crust is baking, grab a saucepan and heat up 1 cup of sweetened condensed milk with ½ cup of butter on medium heat. Stir continuously to prevent burning until the mixture thickens and turns a lovely golden color, about 8-10 minutes. This gooey caramel layer will add that signature richness to your CARAMEL CHOCOLATE CRUNCH BARS.
Step 5: Layer the Caramel
Once your crust is baked and still warm, carefully pour the thickened caramel evenly over it. Use a spatula to smooth it out, ensuring every corner is covered with that rich, sticky goodness. Allow the caramel to cool slightly, so it sets just a bit before adding the chocolate layer.
Step 6: Melt the Chocolate
In a microwave-safe bowl, combine 1 ½ cups of chocolate chips (your choice of milk, dark, or semi-sweet) and melt in 30-second intervals, stirring in between, until smooth and glossy. This will create a luscious topping for your CARAMEL CHOCOLATE CRUNCH BARS. Make sure not to overheat; the chocolate should just be melted, not boiling.
Step 7: Spread the Chocolate
Once melted, pour the chocolate over the caramel layer, using a spatula to spread it evenly. This creates a beautiful, glossy finish on top of your bars. You can add any crunch toppings, such as chopped nuts or pretzels, immediately while the chocolate is still warm, so they stick nicely.
Step 8: Chill and Set
Place the entire dish in the refrigerator and let it chill for at least 2 hours or until firm. This allows the layers to set perfectly, making it easier to slice into bars later. You’ll know it’s ready when the topping is firm and the bars hold their shape well.
Step 9: Slice and Serve
Once chilled, remove the dish from the fridge. Use a sharp knife to cut into squares or rectangular bars, wiping the knife with a warm cloth between cuts for clean edges. Serve these delightful CARAMEL CHOCOLATE CRUNCH BARS at gatherings, or savor them during a cozy movie night at home.
Storage Tips for Caramel Chocolate Crunch Bars
Fridge: Store your Caramel Chocolate Crunch Bars in an airtight container for up to 1 week. This keeps them fresh and maintains their delicious texture.
Freezer: For longer storage, these bars can be frozen for up to 2 months. Wrap them individually in plastic wrap, then place them in a freezer-safe container to prevent freezer burn.
Reheating: To enjoy later, thaw the bars in the fridge overnight. For a warm treat, pop them in the microwave for about 10-15 seconds before serving.
Serving Suggestion: Consider serving with a drizzle of extra chocolate or caramel sauce for an extra touch of indulgence right after thawing.
CARAMEL CHOCOLATE CRUNCH BARS Variations
Feel free to unleash your creativity and make these delicious bars distinctly yours with these delightful twists!
-
Gluten-Free: Swap graham crackers for gluten-free options like almond flour or gluten-free crackers.
-
Nut-Free: Use sunflower seeds or pumpkin seeds as a crunchy topping instead of nuts for a nut-free variation.
-
Flavor Infusion: Add a teaspoon of vanilla extract to the caramel for an extra layer of flavor.
-
Heat it Up: Sprinkle crushed red pepper flakes on top for a surprising touch of heat that complements the sweetness.
-
Chocolate Lover’s Dream: Use a mix of chocolate chips—milk, dark, and white—for a colorful, multi-chocolate experience.
-
Coconut Bliss: Toasted coconut flakes can be added either to the chocolate topping or as a layer for a tropical vibe. The creamy coconut sets off the chocolate beautifully!
-
Salted Caramel Twist: Drizzle sea salt over the caramel layer before topping with chocolate for an irresistible sweet-and-salty combo.
-
Switching Toppings: Feeling adventurous? Try substituting pretzel bits for a salty crunch, or use crumbled cookies for a different texture.
These variations make for an exciting way to discover new favorites, and if you’re in the mood for more sweet treats, why not explore these Sugar-Free Cheesecake Bars or dive into the gooey goodness of S’more Bars for your next dessert adventure?
What to Serve with Caramel Chocolate Crunch Bars
Transform your dessert table into a feast of flavors that beautifully complements the richness of these indulgent bars.
-
Vanilla Ice Cream: A scoop of creamy vanilla ice cream provides a soothing contrast to the sweet, rich crunch bars, adding a delightful creaminess.
-
Fresh Berries: Juicy strawberries or raspberries offer a bright burst of flavor and acidity that cuts through the sweetness, enhancing the overall experience.
-
Coconut Whipped Cream: Light and airy, this vegan whipped cream adds a tropical touch that pairs perfectly with the chocolate and caramel layers.
-
Coffee or Espresso: A warm cup of coffee or a shot of espresso complements the sweetness brilliantly, balancing flavors while providing a comforting touch.
-
Chocolate Drizzle: For those who want an extra indulgence, a drizzle of melted chocolate over each bar enhances the dessert experience and adds a touch of elegance.
-
Nutty Granola: Serve alongside a crunchy nutty granola for a contrasting texture that adds an extra layer of delight to every bite while maintaining a slightly healthy edge.
-
Caramel Sauce: For the ultimate treat, serve with a side of warm caramel sauce for dipping, intensifying the luscious caramel flavor in each bite.
Make Ahead Options
These Caramel Chocolate Crunch Bars are perfect for busy home cooks looking to save time during hectic weeks! You can prepare the crust and caramel layer up to 24 hours in advance. Simply bake the crust and allow it to cool before layering the caramel and chocolate; refrigerate until you’re ready to serve. If making ahead, store the assembled bars in an airtight container in the fridge for up to 3 days to maintain their delicious texture. Just before serving, cut into squares and, if desired, sprinkle with fresh toppings for a finishing touch. This simple strategy ensures your dessert remains just as delightful, saving you precious moments when you’re short on time.
Expert Tips for Caramel Chocolate Crunch Bars
-
Chill Time Matters: Allow the bars to chill adequately for at least 2 hours. This ensures they firm up perfectly for clean slicing without crumbling.
-
Use Parchment Paper: Line your baking dish with parchment paper to make removing the bars a breeze. It also helps with easy cleanup!
-
Watch the Chocolate: Melt chocolate slowly in the microwave, stirring frequently. Overheating can cause it to seize, ruining your smooth topping for the caramel chocolate crunch bars.
-
Customize the Crunch: Experiment with different crunch toppings, like toffee bits or toasted coconut, to add flavors and textures that suit your palate.
-
Balance the Sweetness: If you prefer a less sweet treat, try using dark chocolate or sprinkling a touch of sea salt on top for a delightful contrast.
-
Storage Solutions: Store bars in an airtight container in the fridge for up to a week. They also freeze well for up to 2 months—perfect for future cravings!
Caramel Chocolate Crunch Bars Recipe FAQs
How do I choose the best graham crackers or saltines?
Absolutely! When selecting graham crackers, look for those that are golden brown with no dark spots—this indicates freshness. For saltines, choose ones that are crisp and dry. If gluten-free, opt for certified gluten-free crackers that have a similar texture to ensure your crust turns out just right!
How should I store my Caramel Chocolate Crunch Bars?
To keep your bars fresh, store them in an airtight container in the fridge for up to 1 week. This helps maintain their texture and flavor. If you want to extend their shelf life, layer the bars with parchment paper and freeze them for up to 2 months. Just remember to thaw in the fridge overnight before enjoying!
Can I freeze the Caramel Chocolate Crunch Bars?
Very much! To freeze, wrap each bar individually in plastic wrap, then place them into a freezer-safe container. This prevents freezer burn and keeps them delicious for up to 2 months. When you’re ready to enjoy, simply thaw them in the fridge overnight, or if you’re craving warmth, microwave for 10-15 seconds until just warmed.
What if my caramel doesn’t thicken properly?
Sometimes, caramel can be finicky! If your caramel doesn’t thicken, return it to medium heat, stirring constantly. Continue heating for another 2-5 minutes until it reaches a golden hue and a syrupy consistency. This step is crucial for that gooey texture! Be cautious not to overcook, as it can lead to hard caramel.
Are these bars safe for my pets?
No, unfortunately, the ingredients in the Caramel Chocolate Crunch Bars, particularly chocolate and sweetened condensed milk, can be harmful to pets. It’s best to keep these treats away from your furry friends. Also, check for any nut allergies among your guests if you’re using nuts as toppings. Always prioritize safety and health!
Can I substitute ingredients for dietary restrictions?
Absolutely! If you want to make them gluten-free, use gluten-free graham crackers or a crust made from almond flour. For a dairy-free option, try using coconut oil instead of butter and sweetened condensed coconut milk for the caramel. Play around with the toppings to suit your family’s needs; enjoy the flexibility of these delicious Caramel Chocolate Crunch Bars!
Irresistible Caramel Chocolate Crunch Bars You’ll Love
Ingredients
Equipment
Method
- Preheat your oven to 350°F (175°C).
- Melt 1/2 cup of unsalted butter and mix in 2 cups of crushed graham crackers or saltines until well coated.
- Press the cracker mixture into a parchment-lined 9x13 baking dish and bake for 10-12 minutes.
- Heat 1 cup of sweetened condensed milk with 1/2 cup of butter in a saucepan, stirring until thickened, about 8-10 minutes.
- Pour the caramel over the baked crust and allow to cool slightly.
- Melt 1 1/2 cups of chocolate chips in a microwave-safe bowl until smooth.
- Spread the melted chocolate over the caramel layer while still warm.
- Chill the dish in the refrigerator for at least 2 hours until firm.
- Slice into squares or bars and serve.