
As I stirred the creamy chocolate pudding, the haunting aroma filled my kitchen, instantly sparking visions of Halloween magic. This year, I’m excited to delight my friends with 12 Spooky Halloween Desserts that transform ordinary sweets into whimsical creations. Among them, the Halloween Dirt Cups stand out as a fun, no-bake option that’s perfect for kids and adults alike. These devilishly delightful treats not only offer a nostalgic crunch from crushed Oreos, but they also come together in a breeze, allowing you to focus on the festivities rather than slaving away in the kitchen. With colorful gummy worms peeking through like a ghastly surprise, they are sure to be a hit at any Halloween gathering. Are you ready to impress your guests with these enchanting recipes?
Why Are Halloween Dirt Cups So Special?
Kid-Friendly Fun: These delightful dirt cups bring out the inner child with their playful presentation, making dessert a blast for kids and adults alike.
No-Bake Simplicity: Enjoy the ease of no-bake preparation, allowing you to whip these up in a flash and spend more time enjoying the festivities.
Versatile Flavor: With an option to switch the pudding flavors or toppings, these cups can easily be customized to suit your taste preferences.
Crunchy Texture: The combination of creamy chocolate pudding and crunchy Oreos creates a texture contrast that adds a satisfying element to each bite.
Crowd Favorite: They are guaranteed to attract attention and smiles, making them the perfect show-stopper at your Halloween gathering. If you’re also looking for a fun, edible treat, check out these Peanut Butter Spider cookies!
Halloween Dirt Cups Ingredients
For the Pudding Layer
- Chocolate Pudding – Adds a rich, creamy texture that forms the base of these delightful dirt cups.
- Milk – Essential for preparing the pudding; try using almond milk for a dairy-free option.
- Vanilla Extract – Enhances the flavor of the pudding; can be omitted for a simpler taste.
For the Crunchy Layer
- Crushed Oreos – Provides a crunchy, realistic dirt appearance; swap with graham cracker crumbs if desired.
- Butter – Binds the Oreo crumbs together for easy layering; ensure it’s melted before mixing.
For the Toppings
- Gummy Worms – Adds a fun, colorful element that’s a hit with kids; consider using candy spiders for a spooky twist!
- Edible Decorations – Edible eyes or Halloween-themed sprinkles make the cups visually engaging and festive.
Optional Variations
- Flavored Pudding – Substitute chocolate pudding with butterscotch or vanilla for a twist on the classic Halloween dirt cups.
- Whipped Cream – A dollop on top adds a light, creamy finish, creating a delightful contrast to the crunchy layers.
Dive into the spooky fun of these Halloween Dirt Cups—they’re sure to be a favorite at your Halloween party!
Step‑by‑Step Instructions for Halloween Dirt Cups
Step 1: Prepare the Pudding
In a mixing bowl, combine 2 cups of milk with the chocolate pudding mix. Whisk vigorously for about 2 minutes until the mixture thickens and becomes creamy. Allow it to sit for 5 minutes to set properly while you gather your cups for assembly. This rich pudding layer forms the delicious base for your Halloween Dirt Cups.
Step 2: Crush the Oreos
While the pudding is setting, place 15 Oreos in a sealed plastic bag and crush them into fine crumbs using a rolling pin or your hands. Aim for a texture resembling dirt; this will create an enticing crunchy layer in the dirt cups. Once crushed, combine the Oreo crumbs with 3 tablespoons of melted butter in a bowl. Mix until evenly coated for easy layering.
Step 3: Layer Ingredients
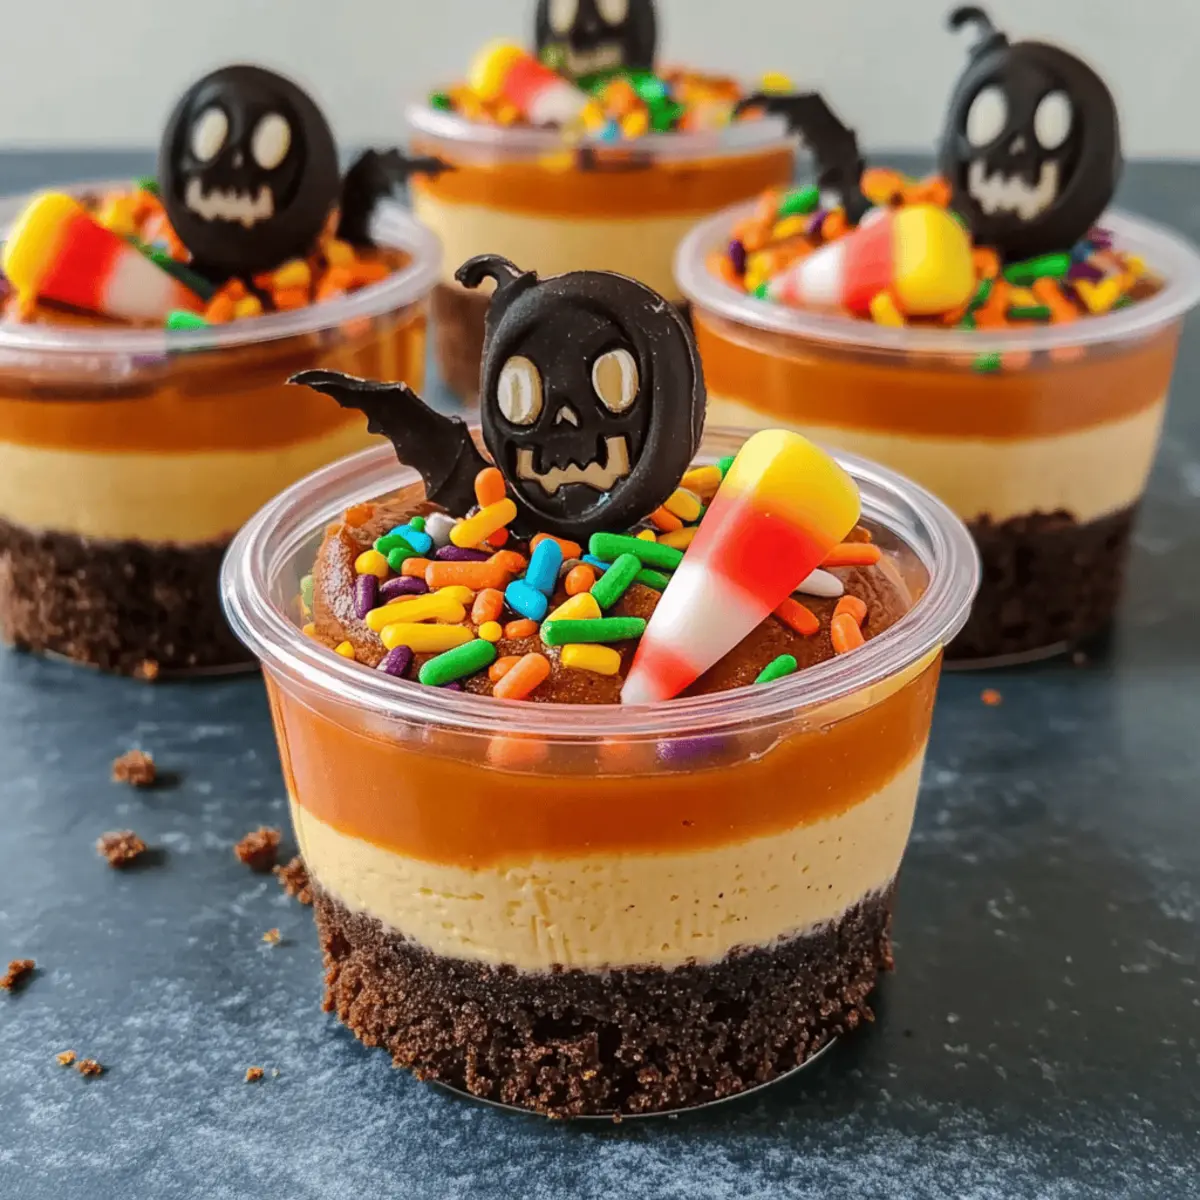
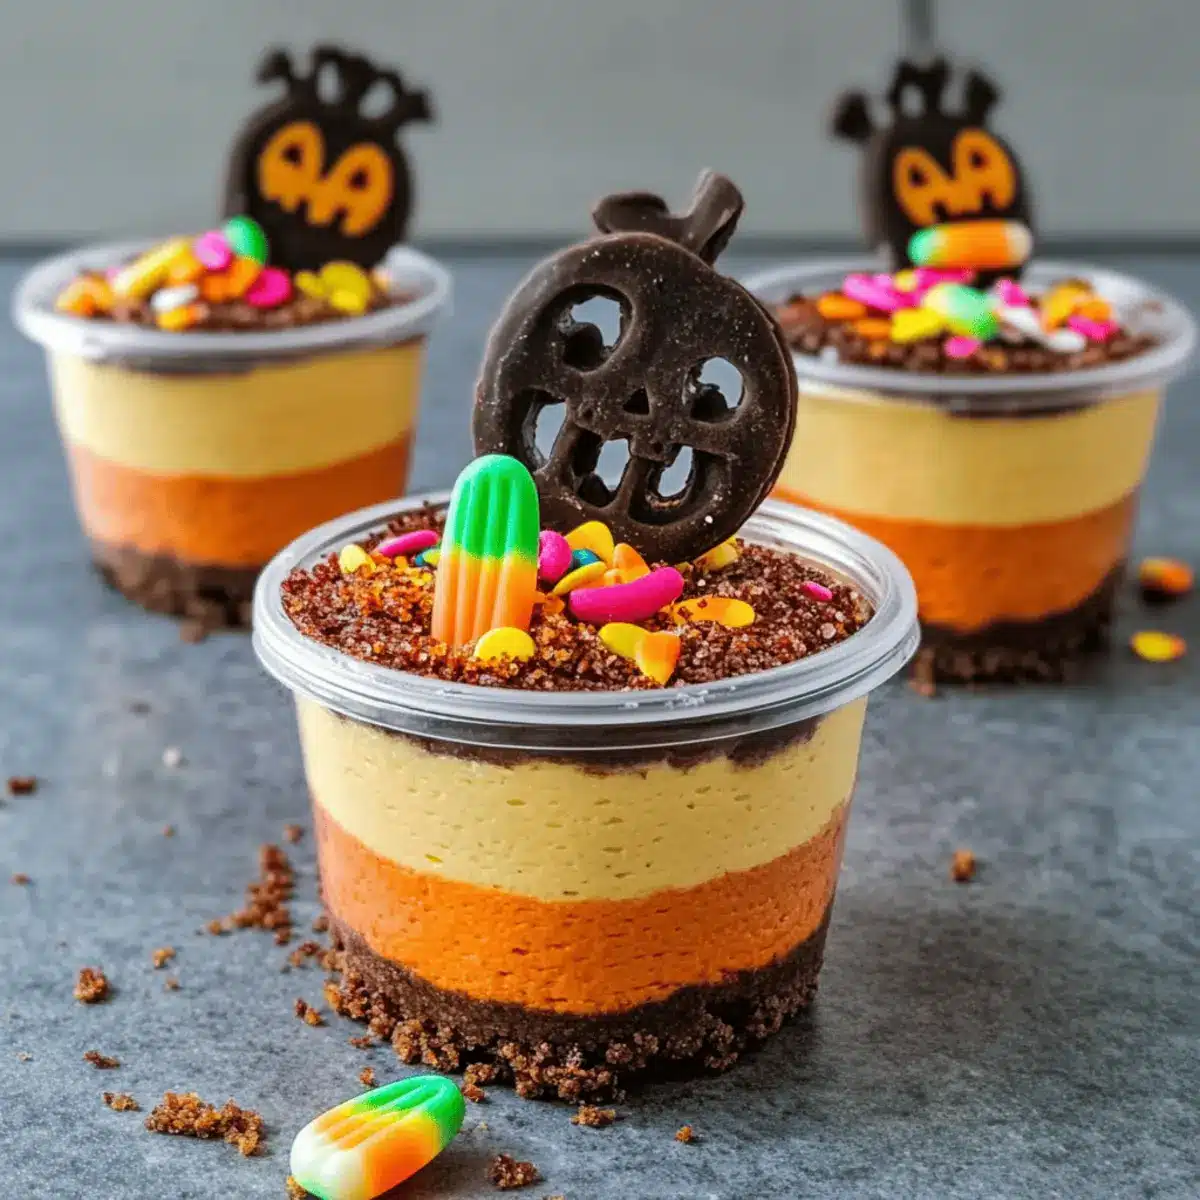
Start layering your dirt cups by adding a generous spoonful of the chocolate pudding at the bottom of each cup. Use clear plastic or glass cups to showcase the beautiful layers. Follow this with a layer of the crushed Oreo mixture, pressing it gently to create a sturdy base. Repeat the layers until the cups are filled, finishing with a layer of crushed Oreos to resemble the topsoil.
Step 4: Add the Toppings
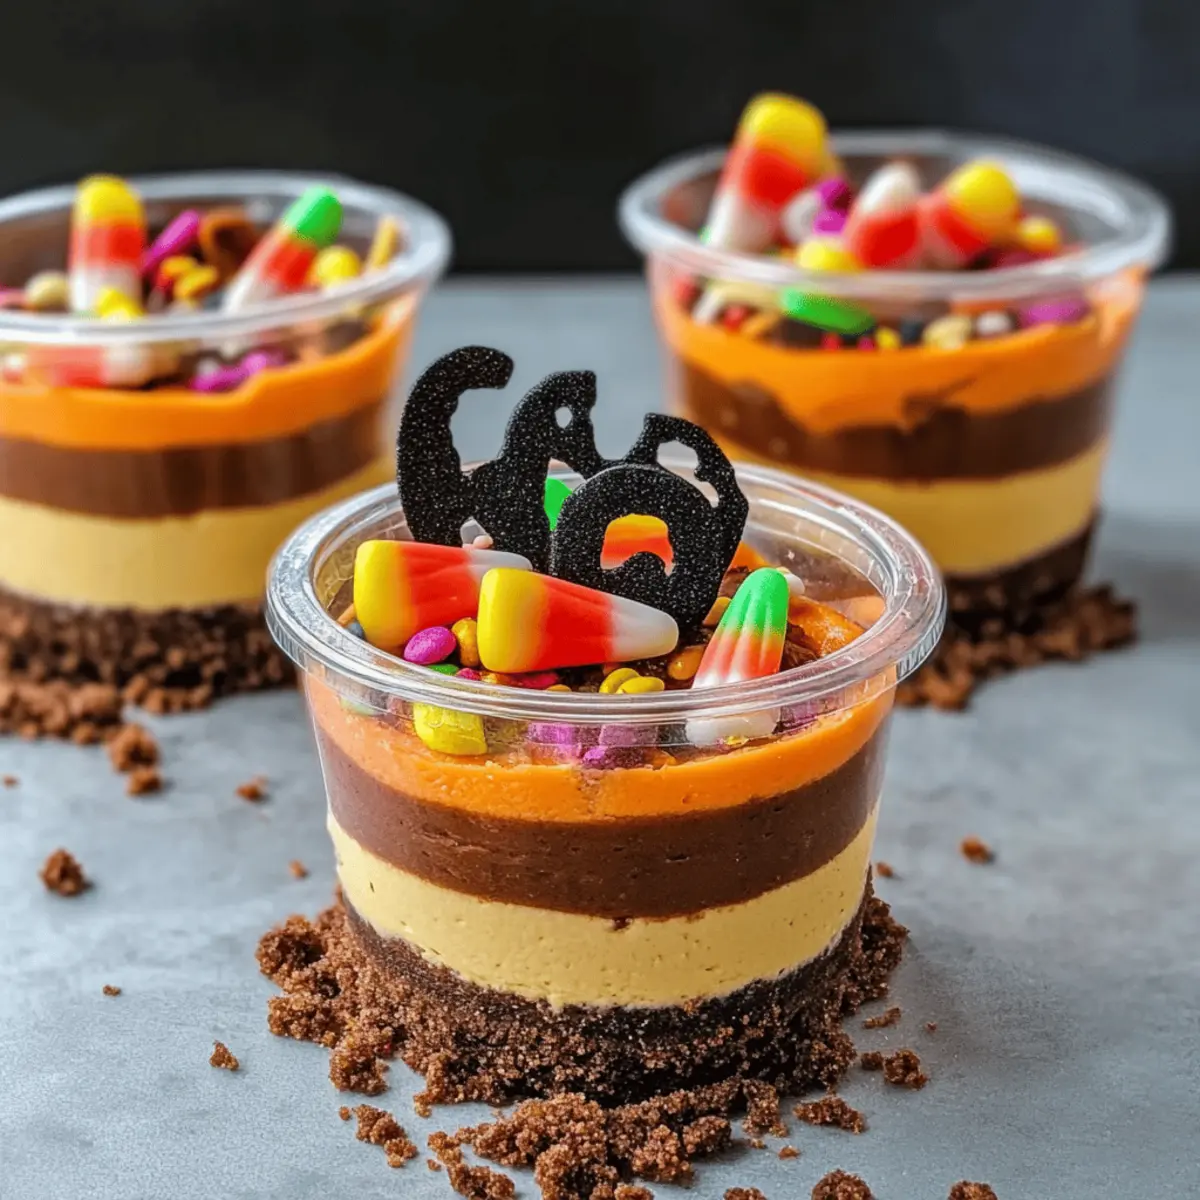
Now it’s time to make your Halloween Dirt Cups festive! Decorate the top layer of Oreos by placing gummy worms in a playful arrangement, with some half-buried in the “dirt” for an added spooky effect. You can also sprinkle edible decorations like Halloween-themed sprinkles for a touch of color and fun. This final touch will definitely impress both kids and adults alike.
Step 5: Chill and Serve
Place the layered cups in the refrigerator to chill for at least 30 minutes. This will help the flavors meld together and make the pudding firmer, making it easier to enjoy. When you’re ready to serve your Halloween Dirt Cups, take them out and allow your guests to dive into the ghoulish treat that combines creamy, crunchy, and colorful elements!

What to Serve with 12 Spooky Halloween Desserts
Creating an enchanting Halloween feast goes beyond delightful treats; it’s about balancing flavors and textures for a truly festive celebration.
- Witch’s Brew Punch: A vibrant green beverage that adds a whimsical touch, perfect for complementing the spooky desserts.
- Bone-Shaped Cheese Crackers: Savory bites to contrast the sweetness of the desserts, providing a delightful crunch between treats.
- Roasted Pumpkin Seeds: These offer a nutty flavor that pairs well with the sweetness of desserts while adding a healthy touch.
- Caramel Apple Slices: Juicy apple slices drizzled with caramel bring a fresh and sweet balance to the rich desserts.
- Creepy Crawly Veggie Platter: Serve a colorful mix of veggies arranged as a Halloween scene; it’s refreshing and fun!
- Chocolate Milk or Almond Milk: A creamy drink option that Merges perfectly with the chocolatey flavors of the Halloween Dirt Cups.
- Spiced Hot Chocolate: Warm, comforting, and a festive twist on traditional chocolate, it enhances the cozy Halloween vibe.
- Ghostly Marshmallow Treats: Keep the theme going with extra sweet treats, fun, and gooey for all ages to enjoy.
- Pumpkin Pie Bites: A seasonal favorite that adds a classic flavor alongside the playful creations you’ve prepared.
- Alien Fruit Skewers: Colorful fruits on skewers make for a fun, healthy option for kids and adults, adding a fruity burst to the table.
Halloween Dirt Cups Variations & Substitutions
Get ready to unleash your creativity in the kitchen and make these delightful treats even more fun and customizable!
- Flavored Pudding: Swap chocolate for butterscotch or vanilla pudding for a scrumptious twist that adds a unique flair.
- Gluten-Free Option: Use gluten-free cookies instead of Oreos, ensuring everyone can enjoy these spooky delights at your gathering.
- Vegan Delight: Replace the chocolate pudding with a vegan option made from almond or coconut milk for a plant-based treat everyone will love.
- Whipped Topping: Add a lovely layer of whipped cream on top for a fluffy texture, giving your dirt cups a creamy finish.
- Crunchy Toppings: Instead of Oreos, try mixing in crushed Nutter Butter cookies for a nutty flavor that complements the chocolate beautifully.
Looking for something extra? Check out these Twix Cookies Chewy that pair wonderfully with Halloween Dirt Cups. Also, don’t forget to make those cute Peanut Butter Spider treats for an added spooky layer of fun!
- Spicy Twist: Mix in a touch of chili powder or cayenne into crushed cookie crumbs for a surprising kick that will thrill adventurous eaters.
- Fruit Fun: Add in chopped fresh fruits such as strawberries or bananas to bring a fresh and fruity aspect that contrasts the rich pudding.
- Candy Mix-In: Toss in some mini chocolate candies or seasonal M&Ms for a pop of color and additional sweetness throughout the cups.
Let your imagination run wild! These variations will ensure that your Halloween Dirt Cups are not just a treat, but a fun experience for everyone involved.
Expert Tips for Halloween Dirt Cups
• Quality Ingredients: Use high-quality chocolate pudding and fresh gummy worms to enhance the flavors and overall appeal of your Halloween Dirt Cups.
• Chill Time Matters: Let the cups chill for at least 30 minutes to ensure the pudding sets properly, enhancing the texture and making them easier to serve.
• Layer Smartly: Make even layers when assembling to create a beautiful presentation. The visual appeal is as important as the taste, especially for festive treats!
• Fun Edible Decorations: Add contrasting colors with edible eyes or Halloween sprinkles on top, giving the cups a lively finish that will entice both kids and adults.
• Avoid Soggy Layers: Keep the crushed Oreos separate until just before serving to prevent them from getting soggy and losing that delightful crunchy texture.
Make Ahead Options
These Halloween Dirt Cups are perfect for meal prep enthusiasts! You can prepare the chocolate pudding and crushed Oreo layers up to 24 hours in advance. Simply make the pudding, layer it in your cups, and refrigerate; keep the crushed Oreos separate to maintain their crunch. You can also arrange the gummy worms and decorations right before serving to ensure they look fresh and vibrant. When it’s time to delight your guests, just finish assembling the layers and add your playful toppings for a spectacular presentation. This way, you save precious time on the day of your Halloween gathering while ensuring they remain just as delicious!
How to Store and Freeze Halloween Dirt Cups
Fridge: Store your Halloween Dirt Cups in airtight containers in the refrigerator for up to 3 days. This keeps them fresh and ready for your next spooky gathering.
Freezer: While not recommended for freezing, if needed, you can freeze the pudding layer in an airtight container for up to 1 month. Just remember, the crushed Oreos and toppings should be added fresh before serving.
Reheating: If you’ve prepared a large batch, simply take out the cups from the fridge and enjoy straight away. No reheating is necessary as these delicious Halloween Dirt Cups are best served chilled.
Make-Ahead Tips: These treats can be made a day in advance! Assemble the dessert but keep the toppings separate until serving to maintain the crunchy texture.
Halloween Dirt Cups Recipe FAQs
How do I choose the right chocolate pudding?
Absolutely! When selecting chocolate pudding, look for brands that boast a rich, creamy texture. If you’re aiming for a lighter dessert, you can use vanilla pudding instead, which pairs wonderfully with the crunch of Oreos. For either type, ensure you peak the ingredients for any allergenic components.
How long can I store Halloween Dirt Cups?
You can keep your Halloween Dirt Cups fresh in airtight containers in the refrigerator for up to 3 days. Just make sure to keep the crushed Oreos separate until you’re ready to serve to maintain their delightful crunch!
Can I freeze Halloween Dirt Cups?
While it’s not the best option for these delights, you can freeze the pudding layer for up to 1 month. Simply place it in an airtight container. However, always add the crushed Oreos and toppings fresh before serving to keep the beautiful texture intact.
What should I do if my pudding isn’t thickening properly?
If you find your pudding mixture isn’t thickening after whisking for the recommended time, check to see if you used the right pudding mix-to-milk ratio. Ensure you’re whisking vigorously, as this helps to activate the thickening agents. Let it sit for an additional 5 minutes, and if it still isn’t right, consider using a bit more pudding mix according to package instructions.
Can Halloween Dirt Cups be made vegan?
Very! You can create a vegan version by using a plant-based pudding mix made from almond or oat milk. Instead of crushed Oreos, look for vegan cookies. Keep an eye out for gummy worms too, as traditional ones may contain gelatin. There are plenty of plant-based alternatives available now!
Are these treats safe for kids with allergies?
When it comes to allergies, it’s essential to consider every ingredient. Look for gluten-free Oreos if gluten is a concern, and check the labels on any candies for potential allergens like nuts or dairy. Additionally, it’s a good practice to ask guests ahead of time about their allergy concerns to ensure a safe and enjoyable treat for everyone!
Ghoulishly Fun Halloween Dirt Cups That Kids Will Love
Ingredients
Equipment
Method
- In a mixing bowl, combine 2 cups of milk with the chocolate pudding mix. Whisk for about 2 minutes until creamy. Let sit for 5 minutes to set.
- Crush 15 Oreos in a sealed bag until fine. Mix with 3 tablespoons of melted butter until evenly coated.
- Layer the pudding and crushed Oreos in clear cups, finishing with crushed Oreos on top.
- Decorate with gummy worms and edible sprinkles.
- Refrigerate for at least 30 minutes before serving.