
As I prepared for my annual Halloween movie night, a wave of nostalgia washed over me. The scent of popcorn mingling with scary movie classics had always set the perfect stage for spine-tingling fun. This year, I’m thrilled to share my recipe for Mummy Brownies, a spooky twist that’s sure to intrigue and excite both kids and adults alike. These easy Halloween snacks not only bring a festive flair to your gathering but also promise a delightful combination of rich flavors and gooey goodness. With minimal prep time required, you can enjoy the chills of the night without getting trapped in the kitchen. Ready to elevate your Halloween festivities with these eerie but delicious treats? Let’s dive in!
Why Are Mummy Brownies a Must-Try?
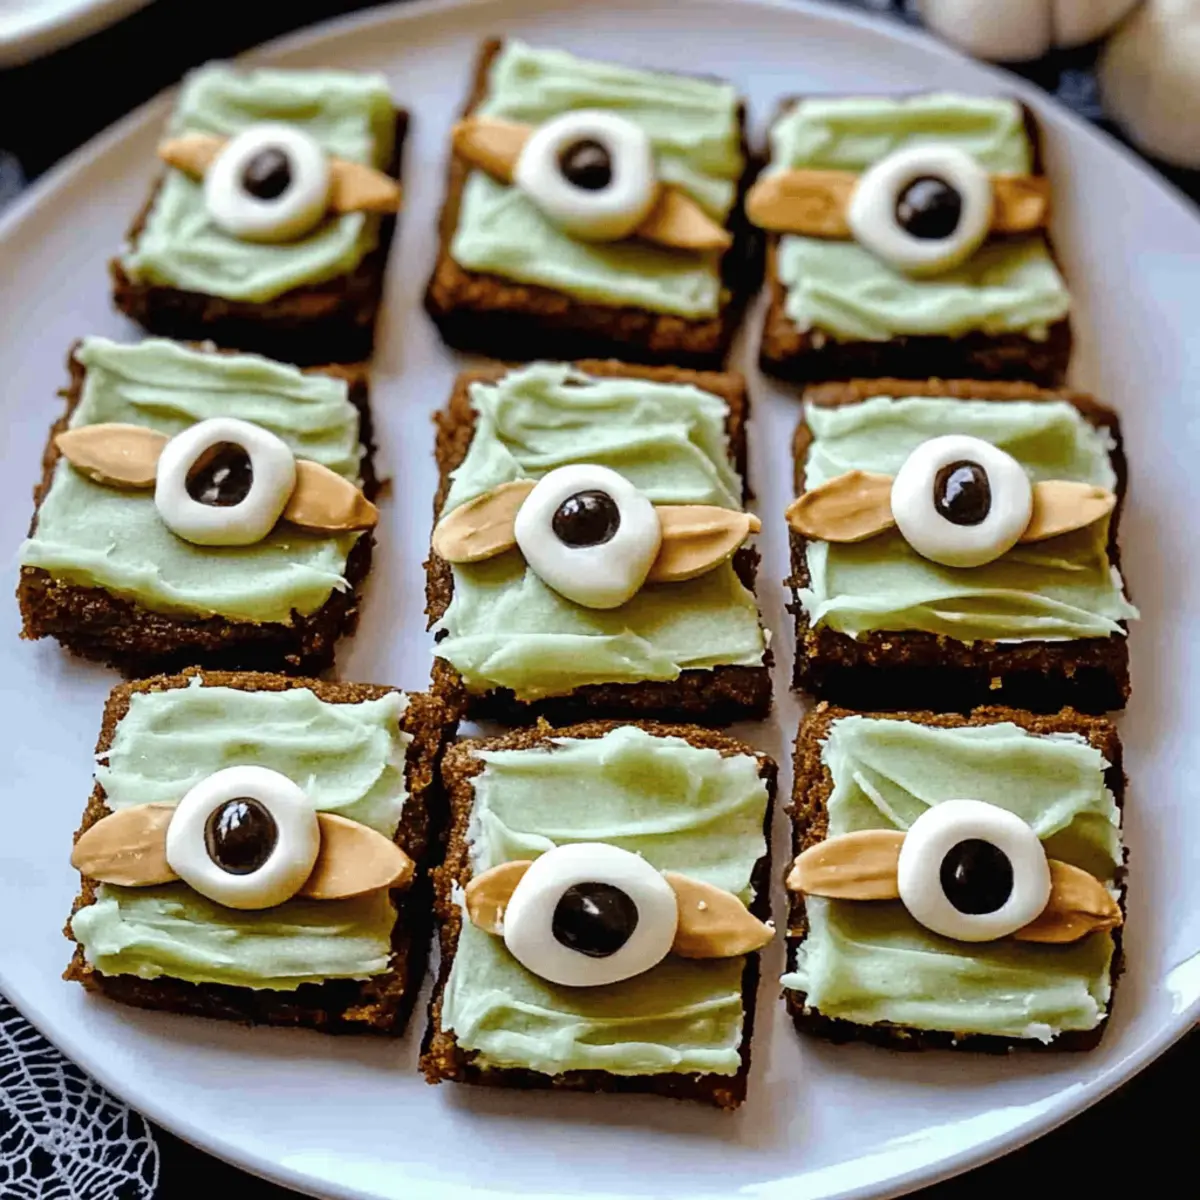
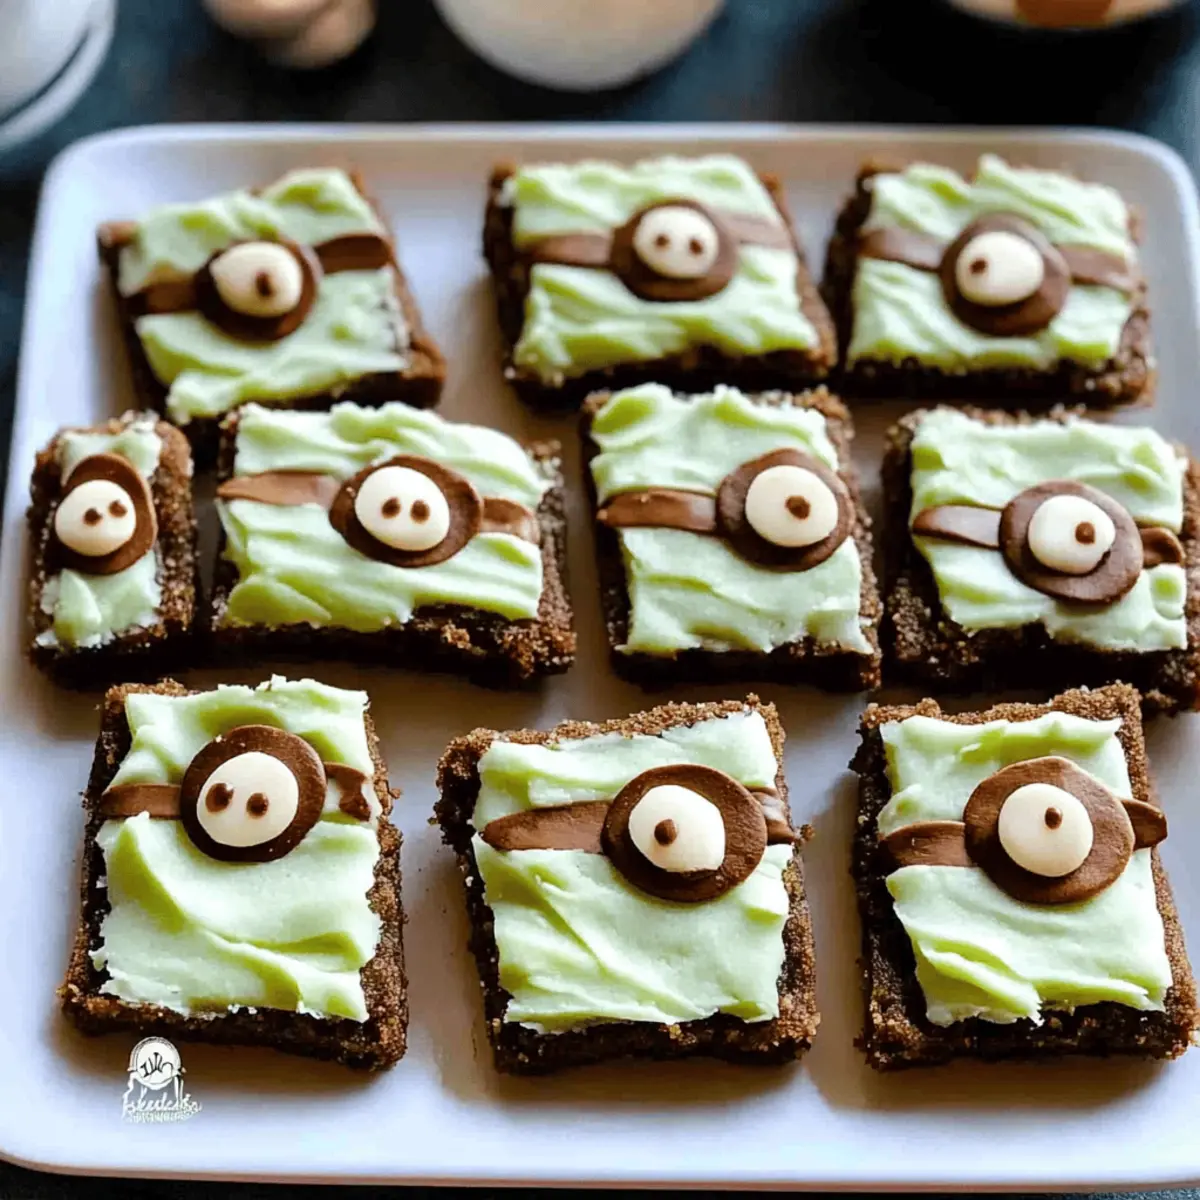
Eerie Appeal: These Mummy Brownies bring Halloween spirit to your table with their playful design that will captivate both kids and adults alike.
Decadent Delight: Indulge in the rich, fudgy brownie base that offers an incredible texture, paired with a sweet, gooey topping that elevates your snacking experience.
Quick and Easy: With minimal prep time and simple ingredients, you can whip up these spooky treats without spending hours in the kitchen. Perfect for last-minute Halloween gatherings!
Versatile Decor: Feel free to get creative with the mummy wrapping and eyes—turn them into a personalized masterpiece that showcases your Halloween spirit.
Crowd Pleaser: These snacks are sure to impress your guests and keep them coming back for more, making them a fantastic addition to your Halloween spread alongside other spooky options like Marshmallow Brownies Fudgy.
Mummy Brownies Ingredients
For the Brownie Base
• Unsweetened Cocoa Powder – adds rich chocolate flavor; opt for high-quality brands for the best taste.
• Granulated Sugar – balances the cocoa’s bitterness and provides sweetness to your brownies.
• Brown Sugar – brings a hint of moisture and enhances the fudgy texture.
• Butter – helps create that irresistible soft and gooey base; use unsalted for better control over salt levels.
• Eggs – bind all ingredients together, providing structure; ensure they are at room temperature for easier mixing.
• Vanilla Extract – enhances the overall flavor; pure vanilla is always recommended.
• All-Purpose Flour – provides structure but keep it minimal for that gooey brownie effect.
• Salt – balances the sweetness and enhances the chocolate flavor.
For the Mummy Wrapping
• White Chocolate Chips – perfect for creating the mummy bandages; can be melted down easily for drizzling.
• Candy Eyes – adds a festive spooky touch; you can substitute with mini chocolate chips if needed.
These Mummy Brownies are sure to be a standout treat at your Halloween movie night, beckoning both sweet lovers and spooky seekers to indulge!
Step‑by‑Step Instructions for Mummy Brownies
Step 1: Preheat the Oven
Begin by preheating your oven to 350°F (175°C). This ensures your Mummy Brownies bake evenly and achieve that gooey, fudgy texture everyone loves. While the oven warms up, grab a 9×13-inch baking dish and line it with parchment paper for easy removal later.
Step 2: Mix the Brownie Batter
In a large mixing bowl, combine 1 cup of granulated sugar, 1 cup of brown sugar, and 1 cup of melted butter. Stir in two eggs and 1 teaspoon of vanilla extract until smooth. Gradually add in 1 cup of unsweetened cocoa powder, 1 cup of all-purpose flour, and a pinch of salt, mixing until just combined. You’ll know it’s ready when the batter is thick and glossy, inviting a taste!
Step 3: Bake the Brownies
Pour the brownie batter into your prepared baking dish, spreading it evenly with a spatula. Bake in the preheated oven for 25–30 minutes, or until a toothpick inserted into the center comes out with moist crumbs. Be careful not to overbake; you want that fudgy consistency that makes Mummy Brownies a treat to remember.
Step 4: Cool the Brownies
Once baked, remove the brownies from the oven and let them cool in the pan for about 10 minutes. This cooling period is crucial—it makes the brownies easier to cut without crumbling. After that, transfer them to a wire rack to cool completely, allowing time for those rich flavors to meld together.
Step 5: Melt the White Chocolate
While the brownies cool, set up a double boiler or a microwave-safe bowl to melt 1 cup of white chocolate chips. If using a microwave, heat in 30-second intervals, stirring frequently until smooth and glossy. This melted chocolate will be your “mummy wrapping,” giving that creepy bandage effect.
Step 6: Decorate the Brownies
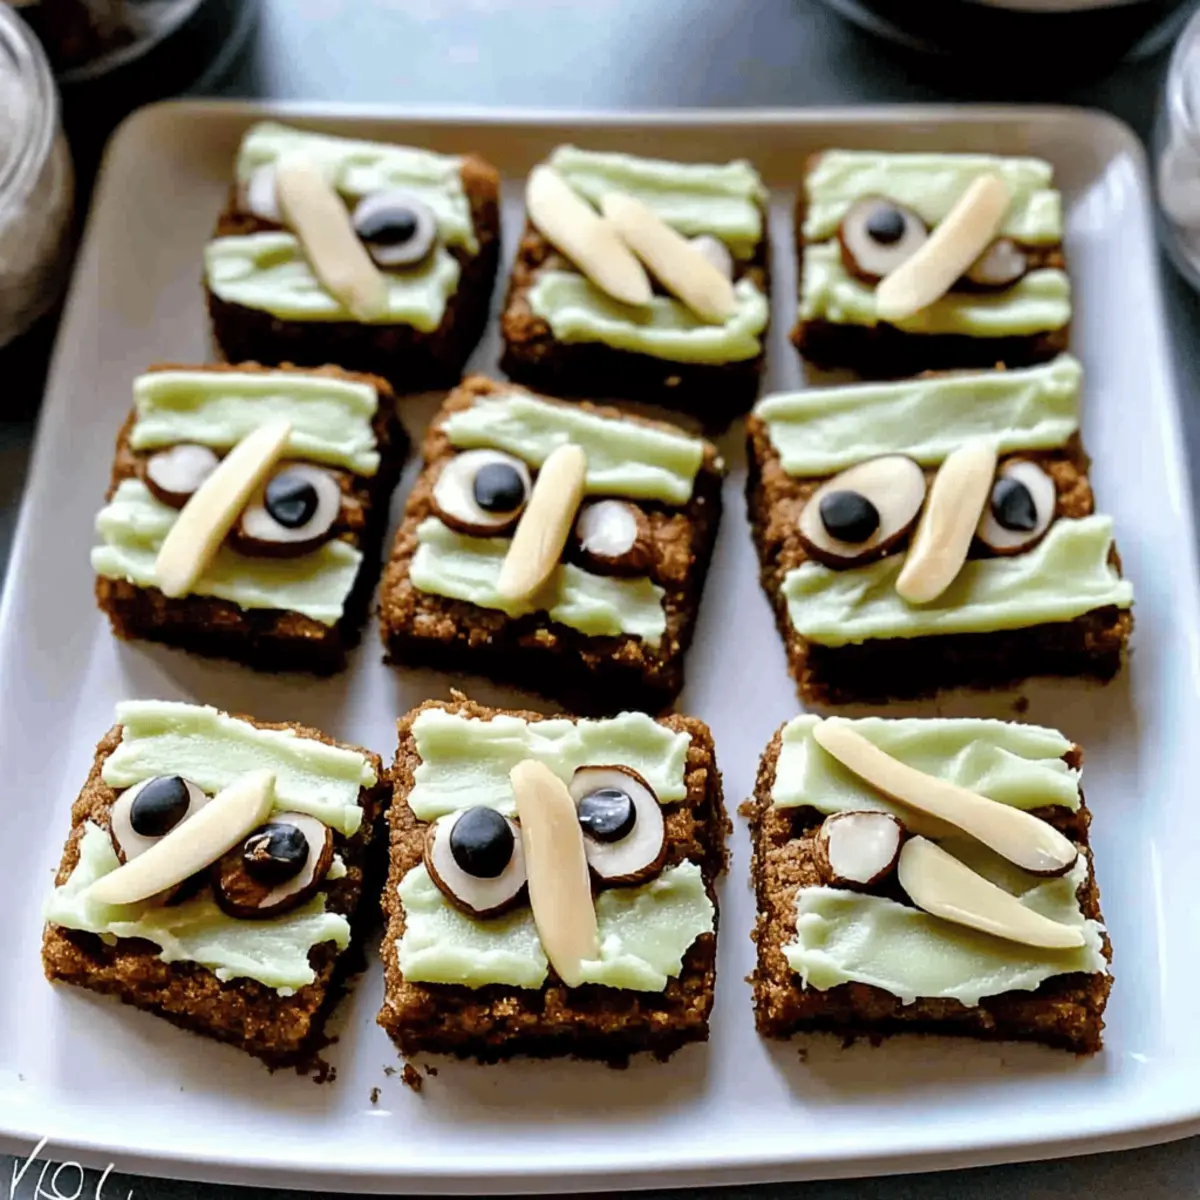
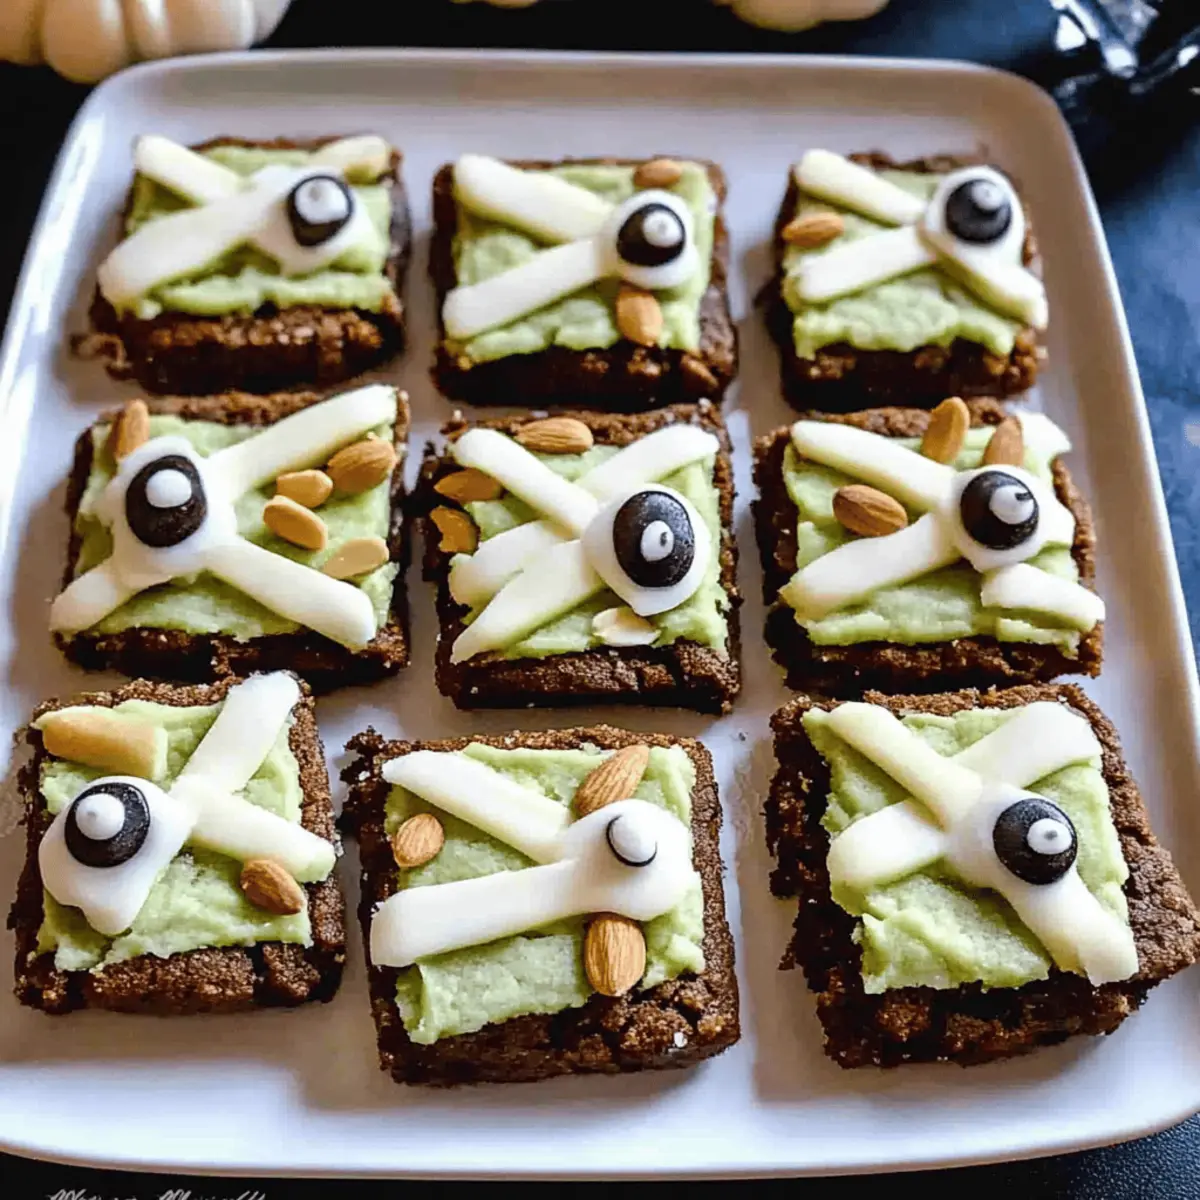
Once cooled, cut the brownies into generous rectangles. Drizzle the melted white chocolate over each piece in a crisscross pattern, mimicking mummy bandages. Be playful with the design—no two Mummy Brownies need to look the same!
Step 7: Add the Candy Eyes
While the white chocolate is still soft, gently place two candy eyes on each brownie to give your spooky treats some personality. These little touches make all the difference, turning your brownies into delightful Mummy Brownies that are sure to impress.
Step 8: Serve and Enjoy
Allow the chocolate to set slightly before serving. Arrange your Mummy Brownies on a festive platter, alongside other Halloween treats for a visually stunning display. With their rich flavor and fun design, these brownies will be a hit at your Halloween movie night!
Mummy Brownies Variations & Substitutions
Feel free to get creative with these Mummy Brownies and tailor them to fit your festive needs!
- Dark Chocolate: Switch white chocolate for dark to create a richer, more intense flavor and a wickedly delightful contrast. What an eerie twist while still remaining delicious!
- Nut Allergies: Use sunflower seed butter in place of butter for a nut-free version that doesn’t sacrifice taste. These Mummy Brownies will still be a hit!
- Gluten-Free: Substitute all-purpose flour with a 1:1 gluten-free flour blend to make them suitable for gluten sensitivity while maintaining that fudgy bliss.
- Fun Add-ins: Mix chocolate chips or crushed candy bars into your brownie batter for an extra layer of sweetness and surprise in every bite. Every creature will be left craving more!
- Minty Mummies: Add a drop of peppermint extract to the melted white chocolate for a fresh, minty twist that adds an unexpected yet delightful flavor. Think of those hauntingly good combinations!
- Colorful Wrapping: Use colored candy melts instead of white chocolate to create vibrant mummies that bring an extra level of festivity to your Halloween table. Invite your imagination to take flight!
- Skip the Eyes: If candy eyes are difficult to find, consider using mini marshmallows or pipe chocolate dots for eyes instead; it’s an easy swap that keeps the spooky charm intact.
- Layered Mummies: For a more decadent treat, add a layer of frosting between the brownie and the chocolate wrap to amplify the sweetness and texture, creating an ultra-indulgent delight!
Embrace these variations to enhance your Halloween movie night, and for an encore treat, why not whip up some delightful Marshmallow Brownies Fudgy? The spooky fun will be endless!
Helpful Tricks for Mummy Brownies
• Perfecting Texture: Use room temperature eggs for a smoother brownie batter, ensuring that the Mummy Brownies have that rich, gooey consistency everyone loves.
• Prevent Overbaking: Keep an eye on your brownies during the last few minutes of baking; they should come out with moist crumbs to maintain their fudgy goodness.
• Melt with Care: When melting white chocolate, use low heat and stir frequently to avoid burning, ensuring your mummy wrapping is beautifully smooth.
• Creative Wrapping: Embrace the spooky theme—vary the patterns when drizzling melted chocolate to give each of your Mummy Brownies a unique, festive flair.
• Chill Time: Allow brownies to cool completely before cutting to achieve clean edges and prevent crumbling; this makes decorating much easier and more visually appealing.
• Storage Note: Keep leftovers in an airtight container at room temperature for up to 3 days to enjoy your Mummy Brownies fresh and fudgy!
What to Serve with Mummy Brownies?
Transform your spooky movie night into a full-on Halloween feast with these delightful pairings that will leave everyone screaming for more.
-
Spooky Fruit Punch: A refreshing and eerie drink with floating “eyeballs,” perfect to complement your rich brownies. The sweet and fruity flavors keep your palate excited.
-
Ghostly Marshmallows: Dip marshmallows in white chocolate and stick on mini chocolate chips for eyes. These adorable treats add a light, fluffy texture and fun design.
-
Chocolate-Covered Pretzels: The salty crunch of pretzels coated in chocolate balances the sweetness of your brownies beautifully. They’re savory with a touch of festive flair!
-
Graveyard Dirt Cups: A fun dessert made with chocolate pudding, crushed cookies, and gummy worms. Their playful look will resonate with your Mummy Brownies while adding different textures.
-
Mini Pumpkin Pies: Inviting and flavorful, these mini pies add a seasonal taste that resonates with fall; their spiced filling beautifully contrasts with the chocolate desserts.
-
Whipped Cream Ghosts: Simple yet delightful, this light topping can be a playful addition to your brownies, creating a creamy companion that enhances each bite.
-
Cider Spiced with Cinnamon: Warm up your movie night with hot apple cider, perfectly spiced. It adds a comforting warmth that pairs well with sweet treats like Mummy Brownies.
-
Caramel Popcorn Bites: Sweet and salty, the drizzled caramel over popcorn adds delightful crunch and makes for a whimsical snack to enjoy during the movie.
-
Eyeball Cake Pops: A fun addition decorated like creepy eyes, making them a conversation starter while echoing the spirit of your Mummy Brownies in a playful way.
Make Ahead Options
These Mummy Brownies are fantastic for meal prep, allowing you to enjoy your Halloween movie night without the last-minute rush! You can bake the brownies up to 3 days in advance; simply let them cool completely before storing them in an airtight container at room temperature to maintain their fudginess. For the mummy wrap, melt the white chocolate and store it separately in the fridge for no more than 24 hours; when you’re ready to serve, just reheat it gently until smooth. Drizzle the chocolate over the brownies and add the candy eyes just before serving for that fresh, spooky appeal. This way, you can set up a festive spread with minimal effort and maximum delight!
How to Store and Freeze Mummy Brownies
Room Temperature: Store Mummy Brownies in an airtight container at room temperature for up to 3 days to maintain their freshness and gooey texture.
Fridge: If you prefer, Mummy Brownies can be stored in the refrigerator for up to a week; just allow them to come to room temperature before serving for the best flavor.
Freezer: For longer storage, freeze Mummy Brownies wrapped tightly in plastic wrap and then in aluminum foil for up to 3 months. Thaw in the fridge before enjoying.
Reheating: If you love them warm, microwave individual brownies for about 10-15 seconds until heated through. This will revive that delectable fudginess!
Mummy Brownies Recipe FAQs
How do I select the best cocoa powder for Mummy Brownies?
Absolutely! Choosing high-quality unsweetened cocoa powder is crucial for that rich, chocolatey flavor in your brownies. Look for brands that are 100% cocoa and have a deep, dark color. The freshness often also impacts the flavor; check the expiration date to ensure you’re getting the best quality.
How should I store leftover Mummy Brownies?
I recommend storing Mummy Brownies in an airtight container at room temperature for up to 3 days. This keeps them fresh and maintains that gooey texture we all love. If you’d like to make them last longer, you can also refrigerate them for up to a week. Just remember to let them sit out for a while to reach room temperature before diving in for the best taste experience!
Can I freeze Mummy Brownies for later?
Very! Freezing Mummy Brownies is a great option. Wrap them tightly in plastic wrap, followed by aluminum foil, and place them in the freezer for up to 3 months. When you’re ready to enjoy them, thaw the brownies in the fridge overnight. If you prefer them warm, microwave individual brownies for about 10-15 seconds to bring back that irresistible fudginess!
What if my brownies turn out dry or undercooked?
Oh no! If your brownies are dry, it might mean they were overbaked. Keep an eye on them towards the end of the baking time; you want that toothpick to come out with moist crumbs for a gooey texture. If they’re undercooked, just return them to the oven for a few more minutes, ensuring they are fully set before pulling them out again.
Are Mummy Brownies safe for kids with nut allergies?
Absolutely! The Mummy Brownies recipe, as presented, contains no nuts, making them safe for kids with nut allergies. However, always be sure to check your cocoa powder, chocolate chips, and any other ingredients to confirm they are manufactured in a nut-free facility if there’s any concern. It’s always best to err on the side of caution!
What can I substitute for white chocolate in the mummy wrapping?
If you’re not a big fan of white chocolate, you can use almond bark or candy melts instead! They both melt easily and offer similar results. Additionally, you could try using a dark chocolate drizzle, which would add a richer flavor profile while still giving that mummy effect. Enjoy the spooky crafting!
Mummy Brownies That Steal the Halloween Show with a Treat!
Ingredients
Equipment
Method
- Preheat your oven to 350°F (175°C) and line a 9x13-inch baking dish with parchment paper.
- In a large mixing bowl, combine granulated sugar, brown sugar, melted butter, eggs, and vanilla extract until smooth.
- Gradually add cocoa powder, flour, and a pinch of salt, mixing until just combined.
- Pour the brownie batter into the prepared baking dish and bake for 25-30 minutes.
- Remove from the oven and let cool in the pan for about 10 minutes, then transfer to a wire rack.
- Melt the white chocolate chips in a double boiler or microwave until smooth.
- Cut the brownies into rectangles and drizzle the melted white chocolate over each piece.
- Place two candy eyes on each brownie while the white chocolate is still soft.
- Allow chocolate to set slightly before serving, then enjoy your spooky treats!