
As I rummaged through my pantry one afternoon, a swirl of juicy apricots caught my eye, whispering to me to create something special. That’s when these Easy 3-Ingredient Vegan Fruit Bars were born—an effortless blend of flavor and health, with no added sugar! Not only are they a guilt-free indulgence, but their simplicity makes them the perfect quick snack for on-the-go lifestyles, and kids adore them too. You’ll be surprised just how easy it is to transform soft fruits and nuts into delightful, chewy bars. Whether you opt for the luscious apricots or the tangy plum-cranberry combo, these fruit bars are bound to satisfy your cravings for something wholesome. So, are you ready to elevate your snacking game with this delightful treat?
Why are fruit bars your new favorite snack?
Simplicity, with just three ingredients, these bars offer unbeatable ease for anyone, from seasoned chefs to busy parents! No added sugar means you can indulge guilt-free while enjoying natural sweetness from fruits. Versatile flavors let you choose between soft apricots or a zingy plum-cranberry mix—perfect for every palate. Nutritious and packed with fiber and healthy fats, they’re a smart alternative to store-bought snacks. Crowd-pleaser status guaranteed, as kids will love them and adults will appreciate the wholesome ingredients! Want to explore more delightful bars? Check out our More Bars Ingredient for more inspiration!
Fruit Bars Ingredients
• Create your own delightful fruit bars with these simple ingredients!
For the Base
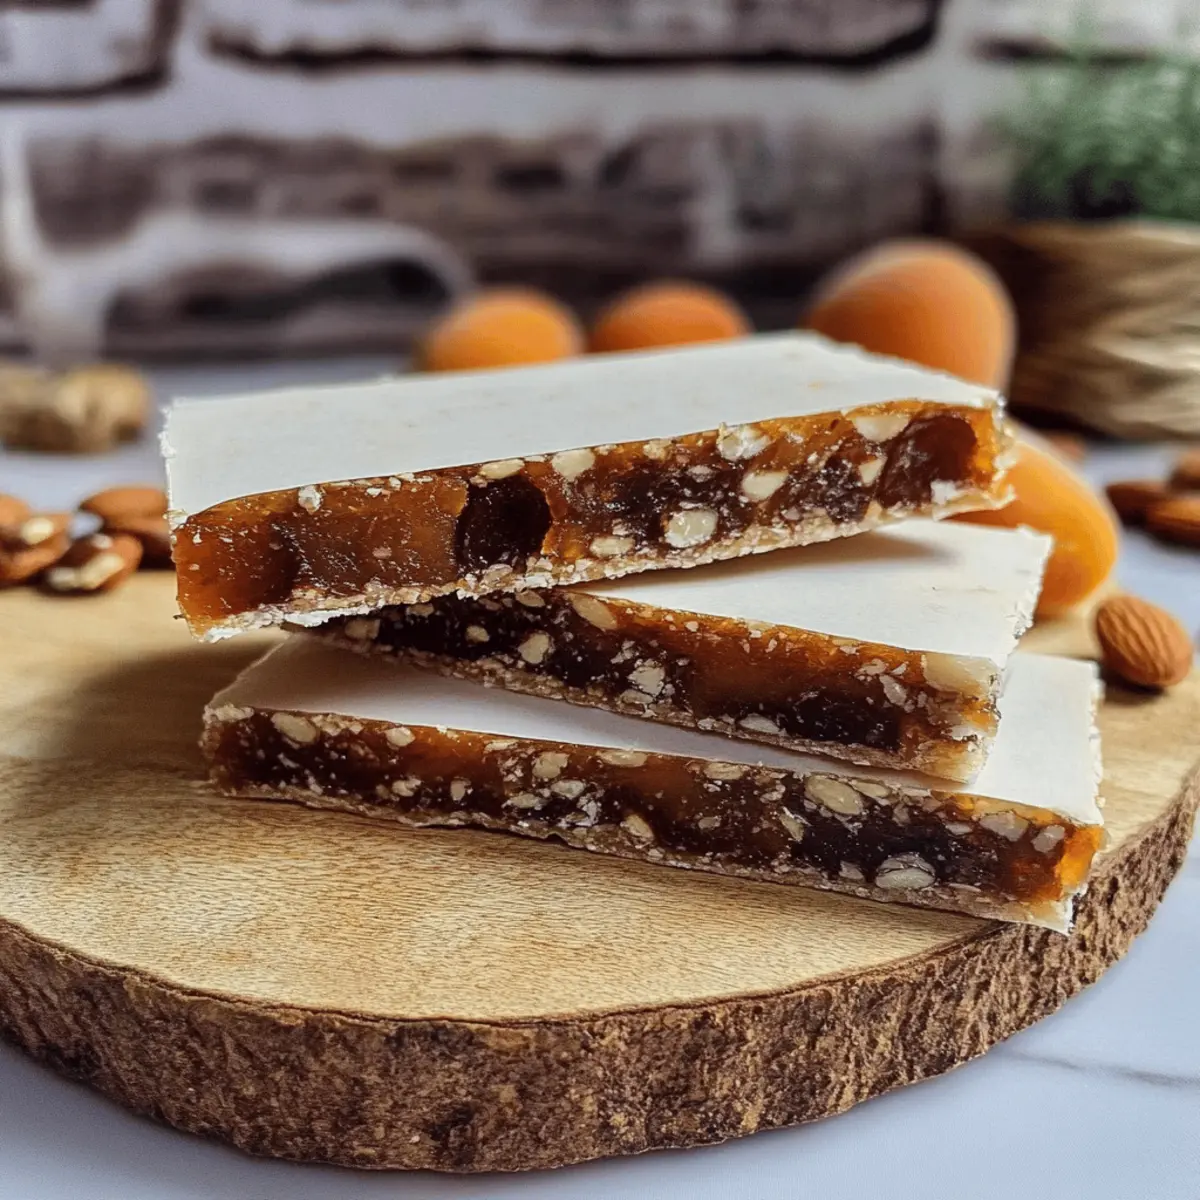
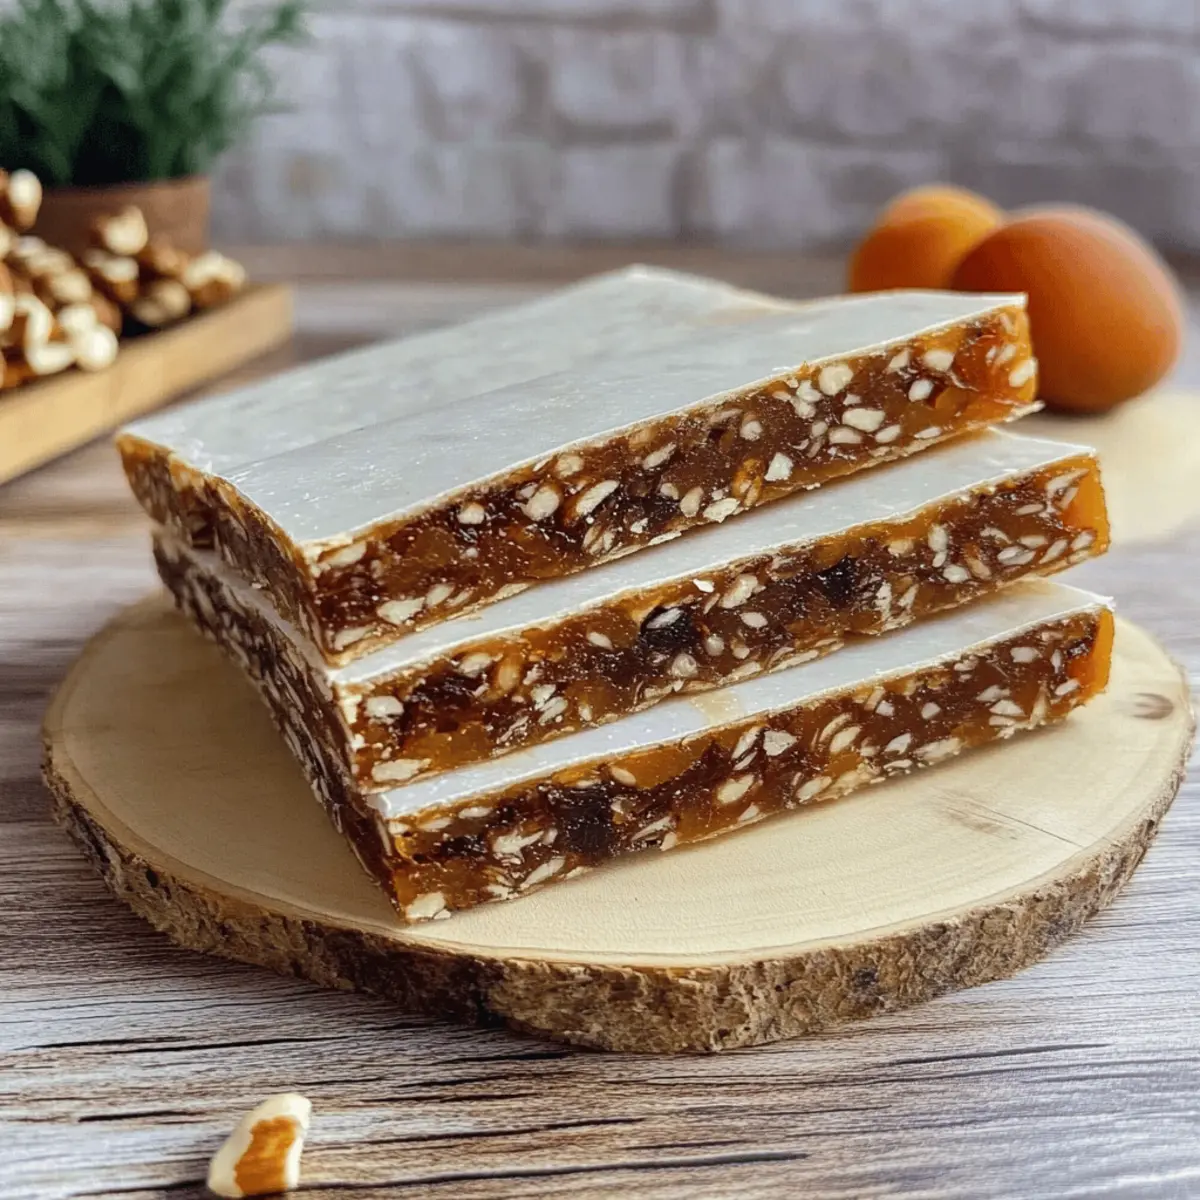
- Soft-Apricots – Adds natural sweetness and fruity flavor; ensure they are soft for easy blending.
- Datteln (Pitted Dates) – Provides natural sweetness and a sticky texture essential for binding the bars; do not substitute.
- Cashewkerne (Cashew Nuts) – Adds crunch and a nutty flavor; can be swapped with almonds or sunflower seeds for variety.
Optional Structure
- Oblaten (Wafers) – Used to give structure and prevent sticking; optional but recommended for easier handling.
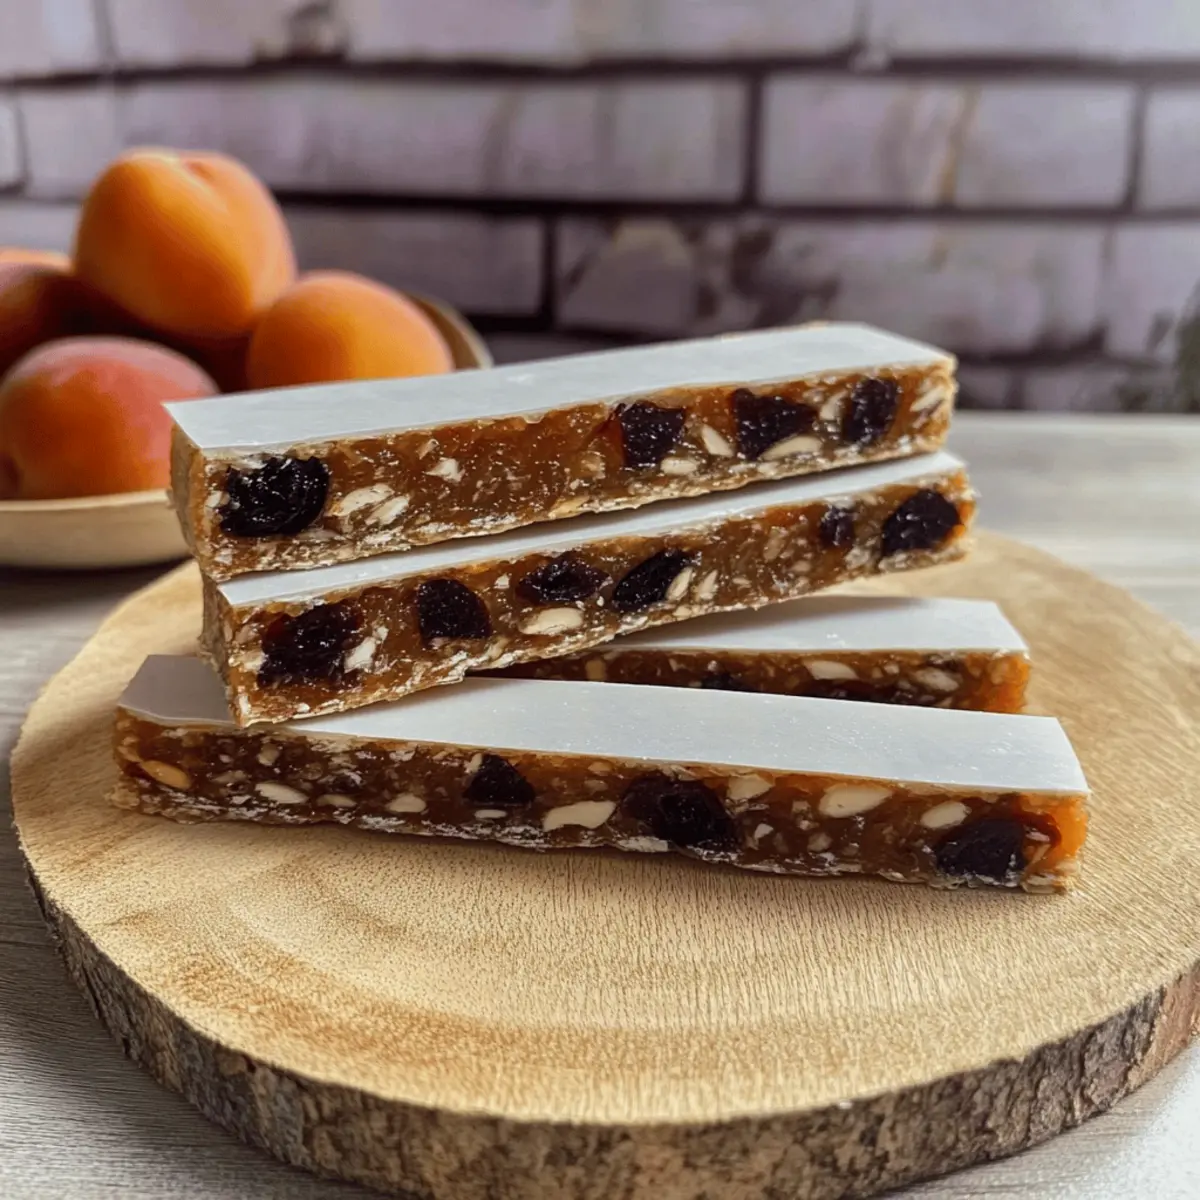
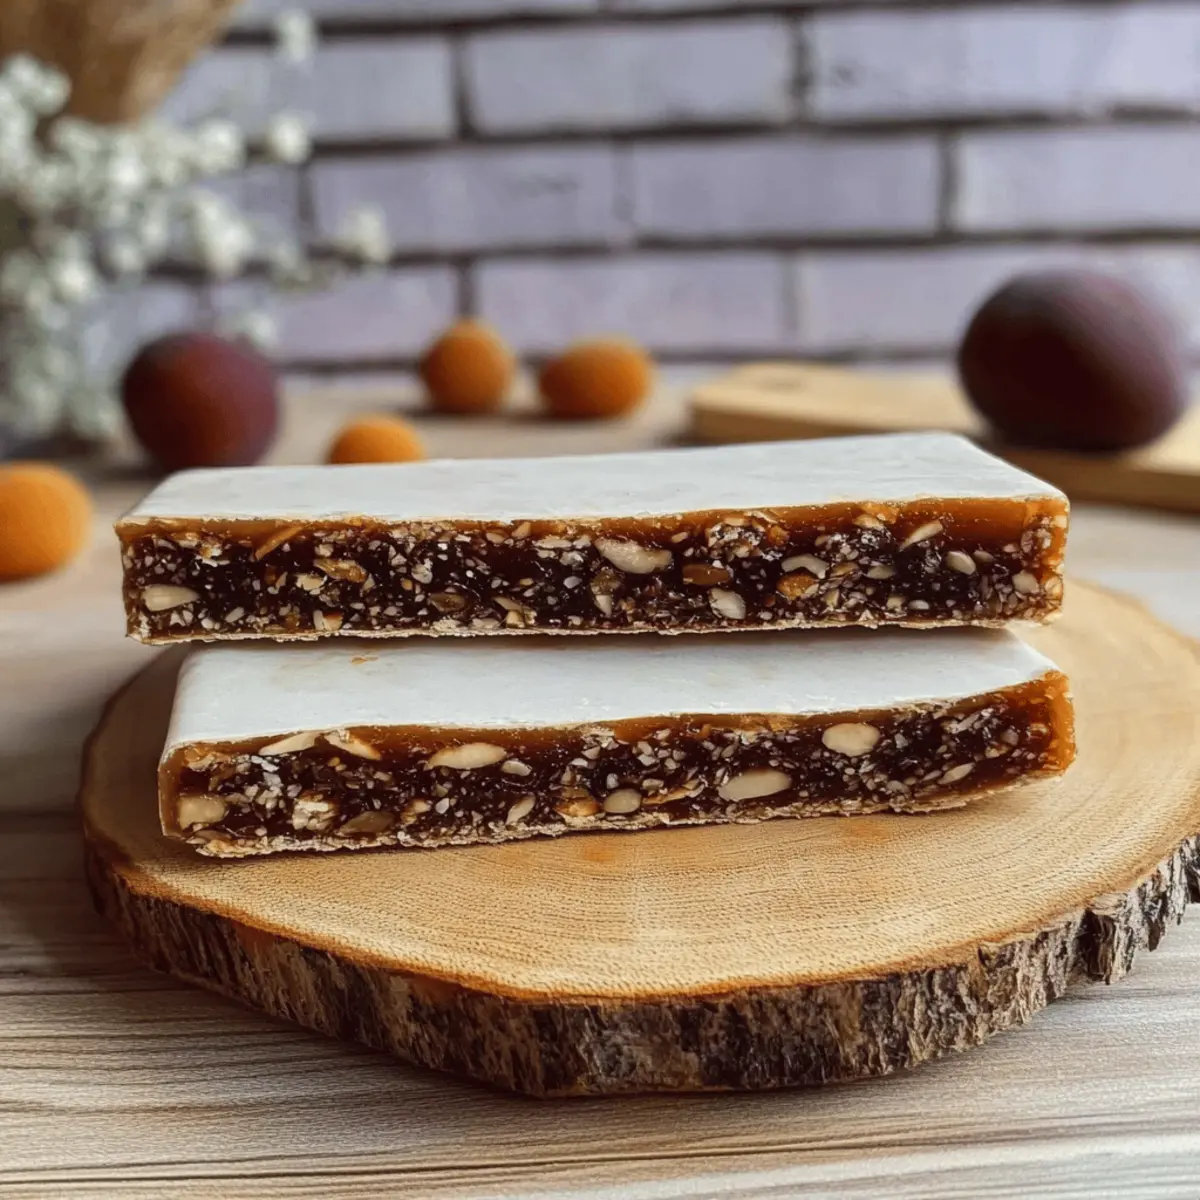
For the Plum Variation
- Soft-Pflaumen (Soft Plums) – Provides a sweet, rich taste in the second version of the fruit bars.
- Cranberries – Adds tartness and contrast to the sweetness of the dates in the second version of the bars.
With just these few ingredients, you can make your own nutritious fruit bars that are not only delightful but also healthy!
Step‑by‑Step Instructions for Easy 3-Ingredient Vegan Fruit Bars
Step 1: Prepare the Pan
Begin by lining a 25 cm x 20 cm rectangular baking pan with cling film, ensuring it hangs over the edges for easy removal later. This step is crucial for easily lifting out the delicious fruit bars once they’re set. Make sure the cling film is smooth and taut against the pan to avoid any wrinkles.
Step 2: Chop the Nuts
In a high-performance mixer, add the cashew nuts and blend on high until finely chopped, which should take about 1-2 minutes. Keep an eye on the mixture; you want it to have a crumbly texture without turning into nut butter. This crunchy element will provide a delightful contrast to your chewy fruit bars.
Step 3: Blend the Fruits
Next, add your choice of soft apricots and pitted dates for the first version or soft plums and cranberries for the second version of the fruit bars. Blend until you achieve a homogeneous, sticky mass, which should take approximately 2-3 minutes. Scraping down the sides of the mixer halfway through ensures an even blend of all ingredients.
Step 4: Combine and Press
Once blended, evenly spread the fruit mixture into the prepared baking pan. Use a small cutting board or your hands to press down firmly and ensure an even layer. It’s important to make the mixture compact, so your fruit bars hold together nicely when cut. Aim for a uniform thickness across the entire pan.
Step 5: Let it Set
Place the baking pan in the refrigerator and let the mixture chill for at least 2 hours, or ideally overnight. This chilling period helps the fruit bars set, making them easier to slice. You’ll know they are ready when the mixture feels firm to the touch and holds its shape well.
Step 6: Slice and Serve
After they’ve set, remove the fruit bars from the pan using the overhanging cling film. Slice them into bars of your desired size, using a sharp knife to get clean edges. For added structure, you can press wafer sheets onto the top and bottom of the bars if you choose to use them, making them easy to handle and store.
What to Serve with Easy 3-Ingredient Vegan Fruit Bars
Indulging in homemade fruit bars opens the door to a world of delightful pairings that transform ordinary snacking into an extraordinary experience.
- Creamy Yogurt: A dollop of yogurt adds a tangy creaminess that perfectly balances the sweetness of the fruit bars.
- Nutty Granola: Sprinkle some crunchy granola over yogurt for a satisfying crunch that complements the chewy texture of the bars.
- Fresh Berries: Juicy berries bring a burst of freshness and vibrant color, perfect for pairing with the fruity flavors in your bars.
- Nuts and Seeds: A handful of mixed nuts or seeds enhances the bars’ natural nuttiness while adding extra crunch and nutrition.
- Herbal Tea: A warm cup of chamomile or mint tea creates a soothing contrast to the sweet bars, making for an inviting afternoon snack.
- Almond Milk: Enjoy your fruit bars with a refreshing glass of unsweetened almond milk for a light and smooth accompaniment.
These choices not only elevate your snack time but also make it a moment to savor together with family or friends. Mix and match these pairings for a delightful spread that brings joy with every bite!
Expert Tips for the Best Fruit Bars
-
Choose Perfect Fruit: Use soft apricots or plums for a sweeter taste; their ripeness is key to achieving that chewy texture in your fruit bars.
-
Essential Dates: Always include pitted dates, as they provide the necessary stickiness for binding. If the mixture feels too dry, add more dates gradually until just right.
-
Strong Blender Needed: Ensure your blender can handle the mixture; if not, blend in smaller batches to achieve a smooth blend without overworking the machine.
-
Compact Mixture: When pressing the fruit mixture into the pan, be sure to compact it well. This step ensures your fruit bars hold together perfectly when sliced.
-
Storage Matters: Keep your fruit bars in an airtight container in the refrigerator to maximize freshness. They can also be frozen for up to three months for long-term storage!
How to Store and Freeze Fruit Bars
Fridge: Keep your fruit bars in an airtight container for up to one week; this helps maintain their chewy texture and freshness.
Freezer: For longer storage, wrap the fruit bars tightly in plastic wrap or aluminum foil, then place them in a freezer-safe bag. They can be stored frozen for up to three months.
Thawing: When ready to enjoy, thaw the fruit bars overnight in the fridge or at room temperature for a couple of hours. They make a perfect on-the-go snack!
Reheating: While these fruit bars are best enjoyed chilled, you can warm them slightly in the microwave for a soft treat. Aim for 10-15 seconds for the best results.
Make Ahead Options
These Easy 3-Ingredient Vegan Fruit Bars are perfect for meal prep enthusiasts! You can prepare the mixture up to 24 hours in advance. Simply follow the recipe instructions until the blending step and then cover the mixture in an airtight container, refrigerating it until you’re ready to assemble. This way, your fruit bars will remain just as delicious, and the flavor will meld beautifully overnight! When ready to serve, spread the mixture evenly in a lined baking pan, press down firmly, and let it chill in the refrigerator for at least 2 hours or until it sets. Enjoy having a healthy, homemade snack ready to go during those busy weeknights!
Fruit Bars Variations & Substitutions
Feel free to customize your fruit bars to match your taste buds and dietary needs!
- Nut-Free: Substitute cashews with sunflower seeds or pumpkin seeds for a crunchy texture without nuts.
- Slightly Sweet: Add a drizzle of maple syrup or agave nectar to the fruit mixture for extra sweetness.
- Chocolate Boost: Mix in a tablespoon of cocoa powder for a chocolatey twist that will satisfy your sweet cravings.
- Herbal Infusion: Add a pinch of dried mint or basil to the fruit blend for a refreshing herbal note that brightens the flavor.
- Fruit Swap: Try using dried figs or raisins in place of dates for a different flavor profile; just ensure they’re soft for blending.
- Spicy Kick: Incorporate a dash of cayenne pepper or red pepper flakes for a surprising heat that contrasts beautifully with the sweet fruits.
- Oat Fiber: Mix in rolled oats to give the bars a heartier texture and increase fiber content. Oats also make a tasty base for countless variations!
- Nut Butter Layer: Spread a thin layer of your favorite nut butter between two fruit layers for a delicious and decadent twist!
With these delightful, easy variations, you can keep your fruit bar creations exciting and fresh. If you’re looking for more inspiration for healthy snacks, don’t miss our delightful Free Cheesecake Bars or the tangy Blueberry Cheesecake Bars. Happy snacking!
Easy 3-Ingredient Vegan Fruit Bars Recipe FAQs
What ripeness of fruit should I use for the bars?
Absolutely! Use soft, ripe apricots or plums for the best results. They should feel slightly squishy to the touch, which ensures they blend smoothly into the mixture, creating that delightful chewy texture. If the fruit has dark spots or feels overly mushy, it’s best to skip it.
How do I store the fruit bars?
To keep your fruit bars fresh, store them in an airtight container in the refrigerator for up to one week. This prevents them from drying out and helps maintain that chewy texture. Just make sure they are completely chilled before sealing them away!
Can I freeze the fruit bars?
Very! You can freeze the fruit bars for up to three months. To do this, wrap each bar tightly in plastic wrap or aluminum foil, and then place them in a freezer-safe bag. When you want to enjoy a bar, simply thaw it overnight in the fridge or let it sit at room temperature for a couple of hours.
What should I do if my fruit mixture is too dry?
If your mixture feels too dry and crumbly, don’t worry! Just add more pitted dates, one at a time, blending between additions until you reach the desired sticky consistency. This is a crucial step to ensure the bars hold together beautifully.
Are these fruit bars suitable for people with nut allergies?
If nut allergies are a concern, you can easily swap out the cashew nuts for sunflower seeds or oats. They’ll add crunch and a different flavor profile without compromising the healthiness or texture of the bars.
Can I use different fruits or add extras to the bars?
The more the merrier! Feel free to experiment with other dried fruits like figs or apricots alongside your chosen base fruits. Adding spices such as cinnamon or vanilla can also elevate the flavors, making them truly your own.
Deliciously Chewy Fruit Bars with No Added Sugar
Ingredients
Equipment
Method
- Line a 25 cm x 20 cm baking pan with cling film.
- Add cashew nuts to the blender and blend until crumbly.
- Blend soft apricots and pitted dates until smooth, or use plums and cranberries for variation.
- Spread blended mixture into the baking pan and press down firmly.
- Chill in the refrigerator for at least 2 hours, preferably overnight.
- Remove from pan using cling film and slice into bars.