
As I stood in my kitchen, balancing a busy schedule with a craving for something nutritious, I had an epiphany: why not whip up a batch of No-Bake Protein Balls? These little gems are not just a quick snack but also a protein-packed gem, ideal for meal prep or a post-workout pick-me-up. With minimal fuss and maximum delight, they come together in mere minutes, giving you time back in your day without sacrificing flavor or health. Plus, they’re incredibly versatile; you can customize them with your favorite nut butter or sweetener. Whether you’re fueling a workout or just need a wholesome treat for the kids, these no-bake wonders have got you covered. Curious about how to make them? Let’s dive into the recipe!
Why Make No-Bake Protein Balls?
Convenience at Its Finest: These protein balls require no oven and only a few minutes of your time, making them perfect for busy individuals.
Nutritious & Wholesome: Packed with natural ingredients, they provide a satisfying boost of energy and protein, ideal for a healthy lifestyle.
Versatile Customization: Swap ingredients like nut butter or sweeteners to cater to your taste buds. Try variations similar to my delicious High Protein Frozen for even more options!
Kid-Friendly Treat: These snacks are a hit with kids, making them an excellent choice for lunchboxes or after-school snacks.
Meal Prep Made Easy: Prepare a batch ahead of time and enjoy them throughout the week, like my convenient High Protein Pancake that simplifies breakfast prep as well!
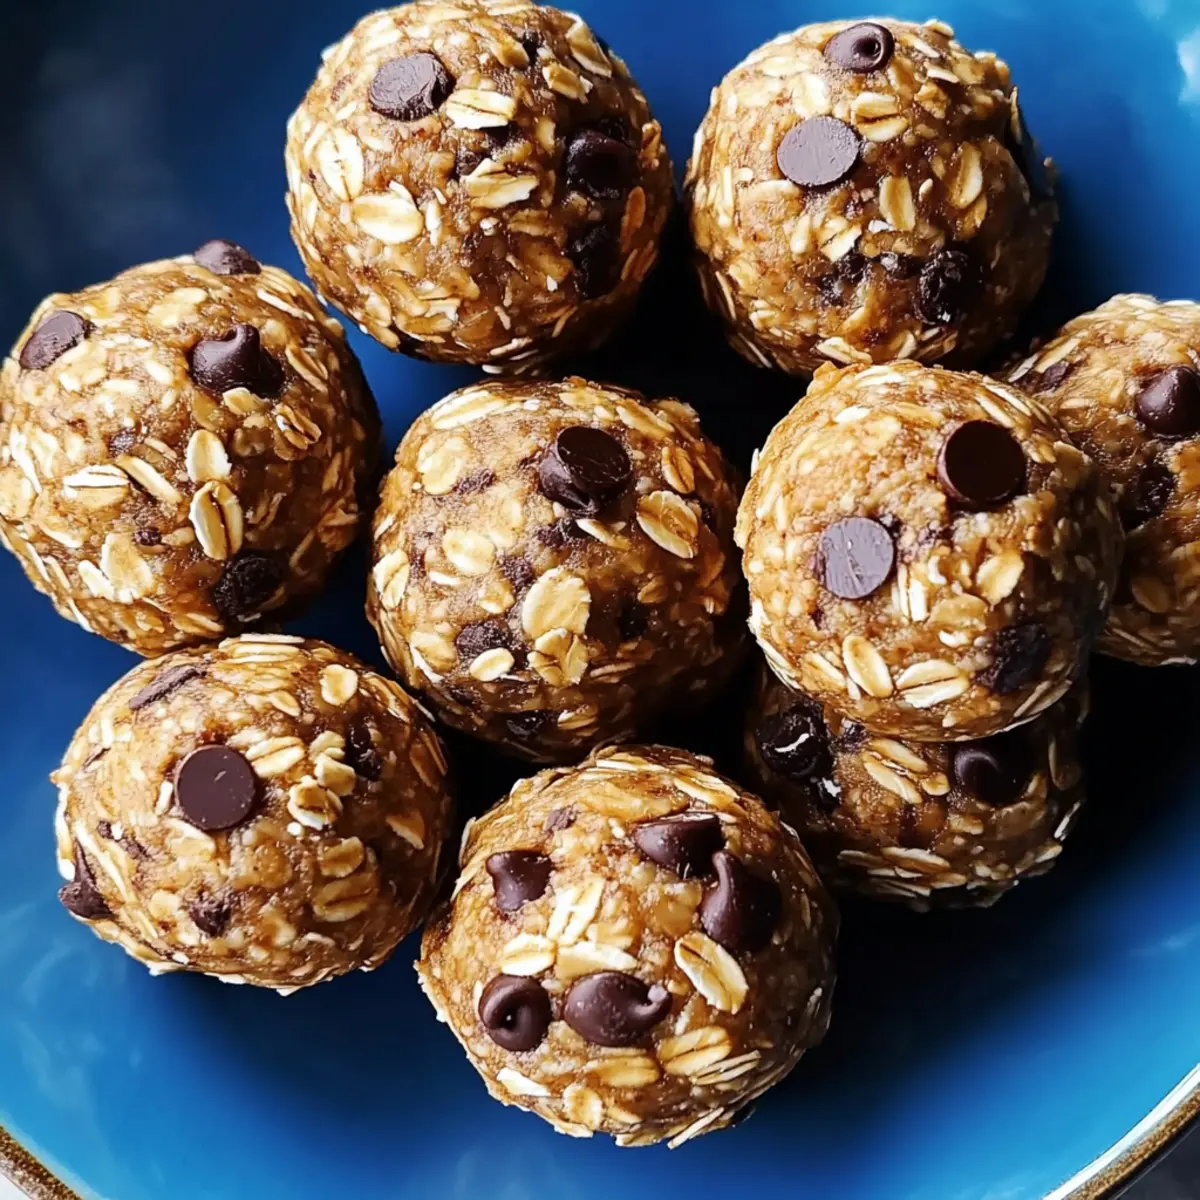
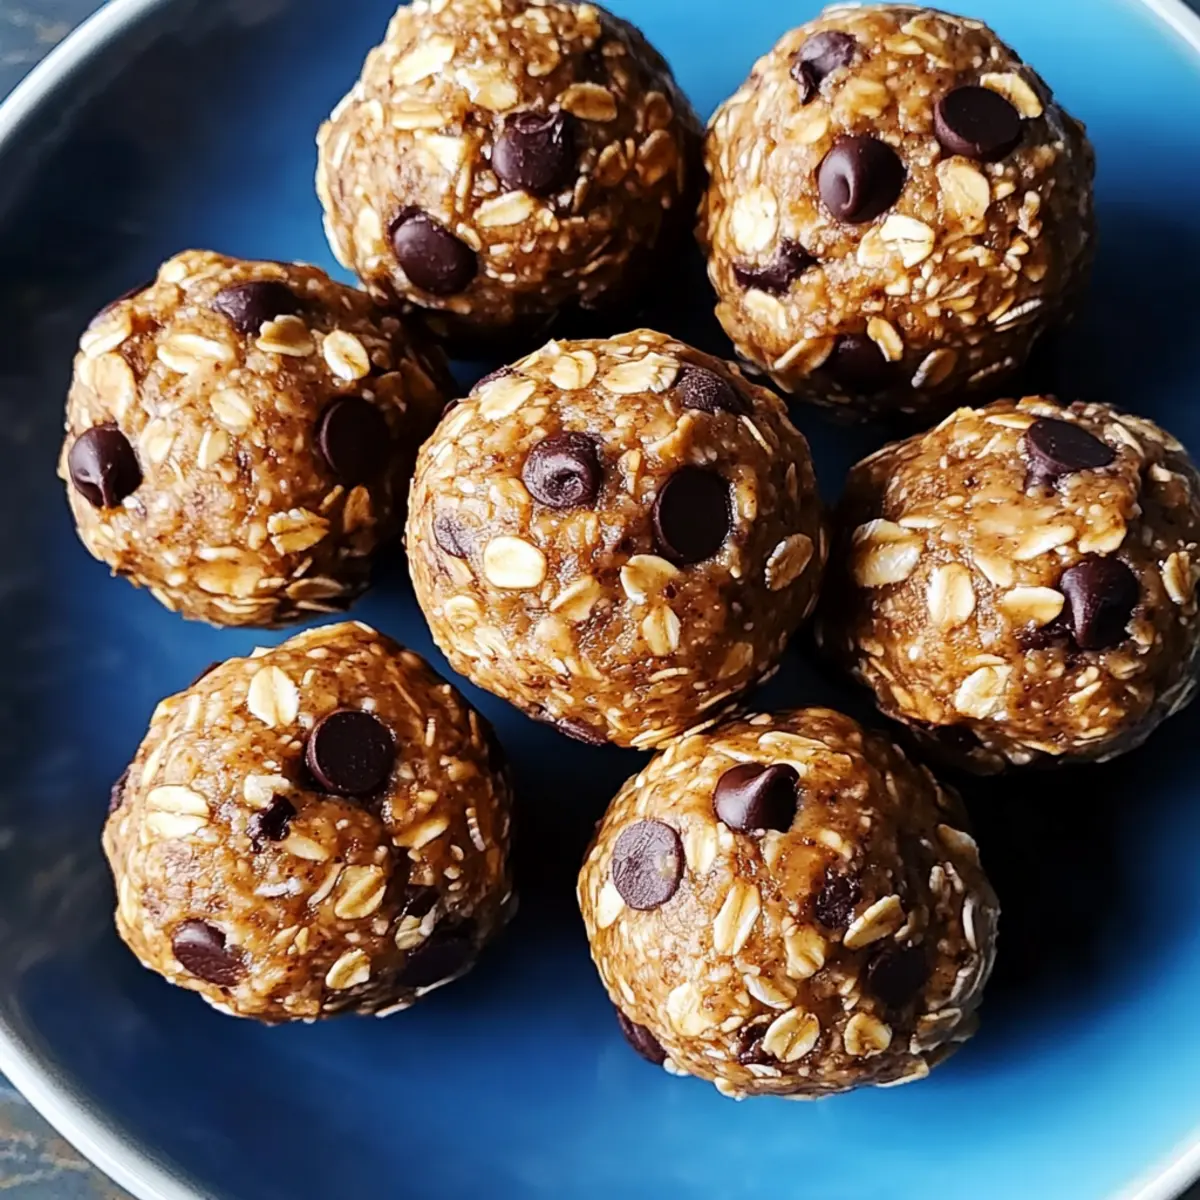
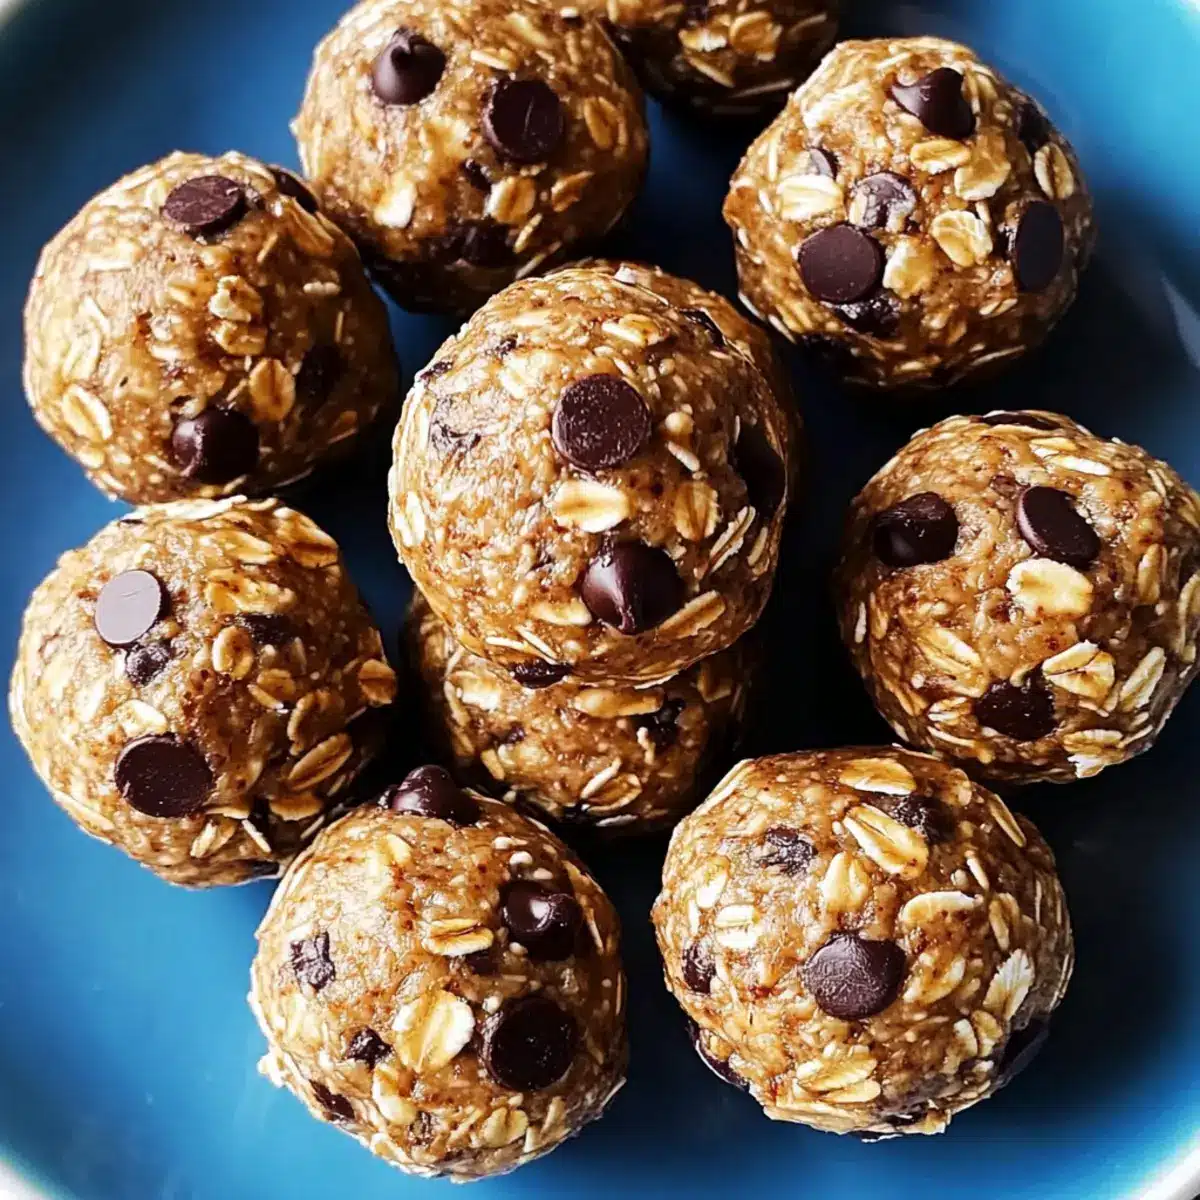
No-Bake Protein Balls Ingredients
• Get ready to fuel your day!
For the Base
- Rolled Oats – Provides structure and fiber for a healthy base.
- Natural Peanut Butter – Adds creaminess and healthy fats; can substitute with almond butter for a nut-free version.
- Honey or Maple Syrup – Acts as a natural sweetener; maple syrup serves as a vegan alternative to honey.
For the Protein Boost
- Vanilla Protein Powder – Boosts protein content; can use unflavored or chocolate for variations.
- Chia Seeds – Adds nutrition and thickness; flax seeds can be used instead for a similar effect.
For the Sweetness and Flavor
- Mini Chocolate Chips – For a touch of sweetness and indulgence; substitute with dried fruits for a healthier option.
- Vanilla Extract – Enhances flavor; optional but recommended for a richer taste.
- Pinch of Salt – Balances sweetness and enhances flavor.
Step‑by‑Step Instructions for No-Bake Protein Balls
Step 1: Combine Dry Ingredients
In a large mixing bowl, start by adding 1 cup of rolled oats, 1 scoop of vanilla protein powder, 2 tablespoons of chia seeds, and a pinch of salt. Use a whisk to mix these dry ingredients together thoroughly, ensuring there are no clumps. The mixture should be evenly combined and ready to hold the wet ingredients.
Step 2: Add Wet Ingredients
Next, scoop in 1/2 cup of natural peanut butter, 1/3 cup of honey (or maple syrup for a vegan option), and 1 teaspoon of vanilla extract. Using a spatula, stir the mixture well until it forms a thick and sticky dough. If it feels too dry, add a little more peanut butter or honey to achieve the desired consistency.
Step 3: Fold in Chocolate Chips
Carefully fold in 1/2 cup of mini chocolate chips, mixing until they are evenly distributed throughout the dough. This step adds a sweet surprise to each bite of your No-Bake Protein Balls. Ensure that the chocolate chips are well-integrated before moving on to the next step.
Step 4: Shape the Protein Balls
Using your hands or a small cookie scoop, portion the mixture into tablespoon-sized balls. Roll each portion gently between your palms to form smooth and uniform balls. Aim to make about 12-15 protein balls, depending on the size you prefer, ensuring they are compact enough to hold their shape.
Step 5: Chill for Firmness
Place the protein balls on a parchment-lined baking sheet, leaving some space between each one. Refrigerate them for at least 30 minutes, allowing the balls to firm up and achieve a chewy texture. This chilling step enhances their bite and makes them much easier to enjoy.
Step 6: Store and Enjoy!
Once chilled, transfer the No-Bake Protein Balls to an airtight container. They can be stored in the refrigerator for up to a week or frozen for up to three months. This makes them perfect for meal prep or quick snack options on busy days.

Make Ahead Options
These No-Bake Protein Balls are perfect for meal prep, saving you time and hassle on busy weeknights! You can prepare the mixture up to 24 hours in advance; simply combine all the ingredients and store the dough in an airtight container in the refrigerator. When you’re ready to enjoy, roll the mixture into balls and chill for at least 30 minutes to firm them up. For even longer storage, you can freeze the protein balls for up to 3 months; just ensure they’re tightly packed in a freezer-safe container. This way, you’ll have a nutritious snack ready at your fingertips, just as delicious as when freshly made!
What to Serve with Easy No-Bake Protein Balls
Looking to elevate your snack game and create a satisfying spread that complements these delightful bites?
- Fresh Fruit Platter: A colorful mix of berries, oranges, and apples adds a refreshing burst of flavor that balances the richness of the protein balls.
- Nutty Yogurt Parfait: Layer creamy Greek yogurt with granola and nuts for a hearty treat, providing a creamy contrast and extra protein to fuel your day.
- Egg Muffins: These fluffy baked egg treats bring a savory touch to your snack time, perfectly complementing the sweetness of the protein balls.
- Hummus and Veggies: Crisp, crunchy vegetables dipped in creamy hummus create a healthy balance for the chewy texture of the protein balls, making for a satisfying snack.
- Homemade Trail Mix: Combine nuts, seeds, and dried fruit for a customizable snack option that enhances energy levels, ideal for pairing with your no-bake delights.
- Green Smoothie: A refreshing green smoothie packed with spinach, banana, and almond milk offers a nutrient-rich drink to wash down those protein-packed balls.
- Chia Seed Pudding: Creamy, sweet, and rich in nutrients, this pudding adds a fun texture that’s perfect for a mid afternoon boost alongside the protein balls.
Expert Tips for No-Bake Protein Balls
-
Mix Thoroughly: Ensure all ingredients are well-combined to avoid crumbly texture; if too dry, add a little more honey or nut butter.
-
Uniform Size: Use a cookie scoop to portion the protein balls evenly, ensuring consistent serving size for better meal planning.
-
Chill First: Refrigerating the balls for at least 30 minutes allows them to firm up and enhances the chewy texture, making them more enjoyable.
-
Storage Know-How: Keep your No-Bake Protein Balls in an airtight container; they stay fresh for up to one week in the fridge or three months in the freezer.
-
Customizations Galore: Feel free to swap in your favorite nut butters or add-ins like dried fruits, ensuring each batch meets your taste preferences!
No-Bake Protein Balls Variations & Substitutions
Ready to make your No-Bake Protein Balls even more delicious? Let your creativity shine with these fun twists!
- Nut-Free: Substitute peanut butter with sunflower seed butter for a nut-free delight.
- Vegan Sweetener: Use agave syrup instead of honey or maple syrup for a completely vegan-friendly option.
- Chocolate Lovers: Switch mini chocolate chips for dark chocolate chunks for an intense chocolate experience.
- Fiber Boost: Add in a tablespoon of ground flaxseed for extra fiber and omega-3s.
- Spice it Up: Incorporate a dash of cinnamon or cocoa powder for a warm flavor twist.
- Fruit Flavors: Fold in dried cranberries or cherries for a fruity burst in each ball. These can really brighten your day!
- Nutty Crunch: Mix in chopped nuts like almonds or walnuts to add a satisfying crunch and texture. Your taste buds will thank you!
- Protein Variation: Try different protein powders such as chocolate or even plant-based varieties to customize the flavor to your liking.
These variations can turn an already fantastic snack into something uniquely yours, much like my delightfully simple Tiramisu Balls Bake or nutritious High Protein Frozen treats! Enjoy experimenting!
How to Store and Freeze No-Bake Protein Balls
Fridge: Store your No-Bake Protein Balls in an airtight container for up to 1 week. This ensures they stay fresh and ready for snacking whenever you need a quick energy boost.
Freezer: For longer storage, freeze the protein balls in an airtight container or freezer bag for up to 3 months. Individual portions can be wrapped and stacked for easy access.
Thawing: When you’re ready to indulge, simply remove the desired number of no-bake protein balls from the freezer and let them thaw in the fridge for about 30 minutes before enjoying.
Prep Ahead: Make a double batch and freeze extras to have a variety of healthy snacks at your fingertips, perfect for busy days or after workouts!
No-Bake Protein Balls Recipe FAQs
How do I select ripe ingredients for No-Bake Protein Balls?
Absolutely! When choosing your ingredients, especially for nut butter, opt for natural, creamy varieties that aren’t overly processed or contain added sugars. For sweeteners like honey or maple syrup, look for organic options without preservatives for the best flavor. Check your oats to ensure they’re fresh—avoid any packaging with a lot of dust or clumping.
How should I store No-Bake Protein Balls, and how long do they last?
Very! Store your No-Bake Protein Balls in an airtight container in the refrigerator for up to 1 week. I often place parchment paper between layers to keep them from sticking together. If you’re planning to save them longer, moving them to the freezer is a great option, where they can last up to 3 months.
Can I freeze No-Bake Protein Balls for later use?
Absolutely! To freeze them, place the No-Bake Protein Balls in a single layer on a parchment-lined baking sheet and freeze until solid. Once frozen, transfer them to an airtight freezer bag or container. This way, they won’t stick together and are easily accessible when you need a quick snack.
What should I do if my protein ball mixture is too dry?
No worries! If you find that your mixture is too crumbly and not holding together, simply add additional moisture. Start by gradually mixing in more honey or nut butter, one tablespoon at a time, until the consistency feels thick and sticky. Remember, a little moisture goes a long way, so mix thoroughly after each addition!
Can my dog eat No-Bake Protein Balls?
Great question! The peanut butter in these protein balls is usually safe for dogs, but make sure it’s xylitol-free, as this sweetener is toxic to pets. As for other ingredients, the honey might be okay in small amounts, but be cautious with the chocolate chips. It’s always best to check with your veterinarian before sharing human snacks with your furry friends.
Are there any common allergies I should consider with this recipe?
Of course! The primary allergens in No-Bake Protein Balls are nuts (from the peanut butter) and gluten (if you’re using oats that aren’t gluten-free). For nut allergies, consider using sunflower seed butter as a delightful substitute, and ensure you choose certified gluten-free oats if that’s a concern. Always read labels to ensure all ingredients meet your dietary needs!
No-Bake Protein Balls: Quick, Chewy Fuel for Your Day
Ingredients
Equipment
Method
- In a large mixing bowl, add rolled oats, protein powder, chia seeds, and salt. Whisk together thoroughly to combine.
- Add peanut butter, honey (or maple syrup), and vanilla extract. Stir until a thick, sticky dough forms.
- Fold in mini chocolate chips until evenly distributed in the dough.
- Portion the mixture into tablespoon-sized balls, rolling gently between your palms.
- Place balls on a parchment-lined baking sheet and refrigerate for at least 30 minutes to firm up.
- Transfer chilled protein balls to an airtight container for storage.