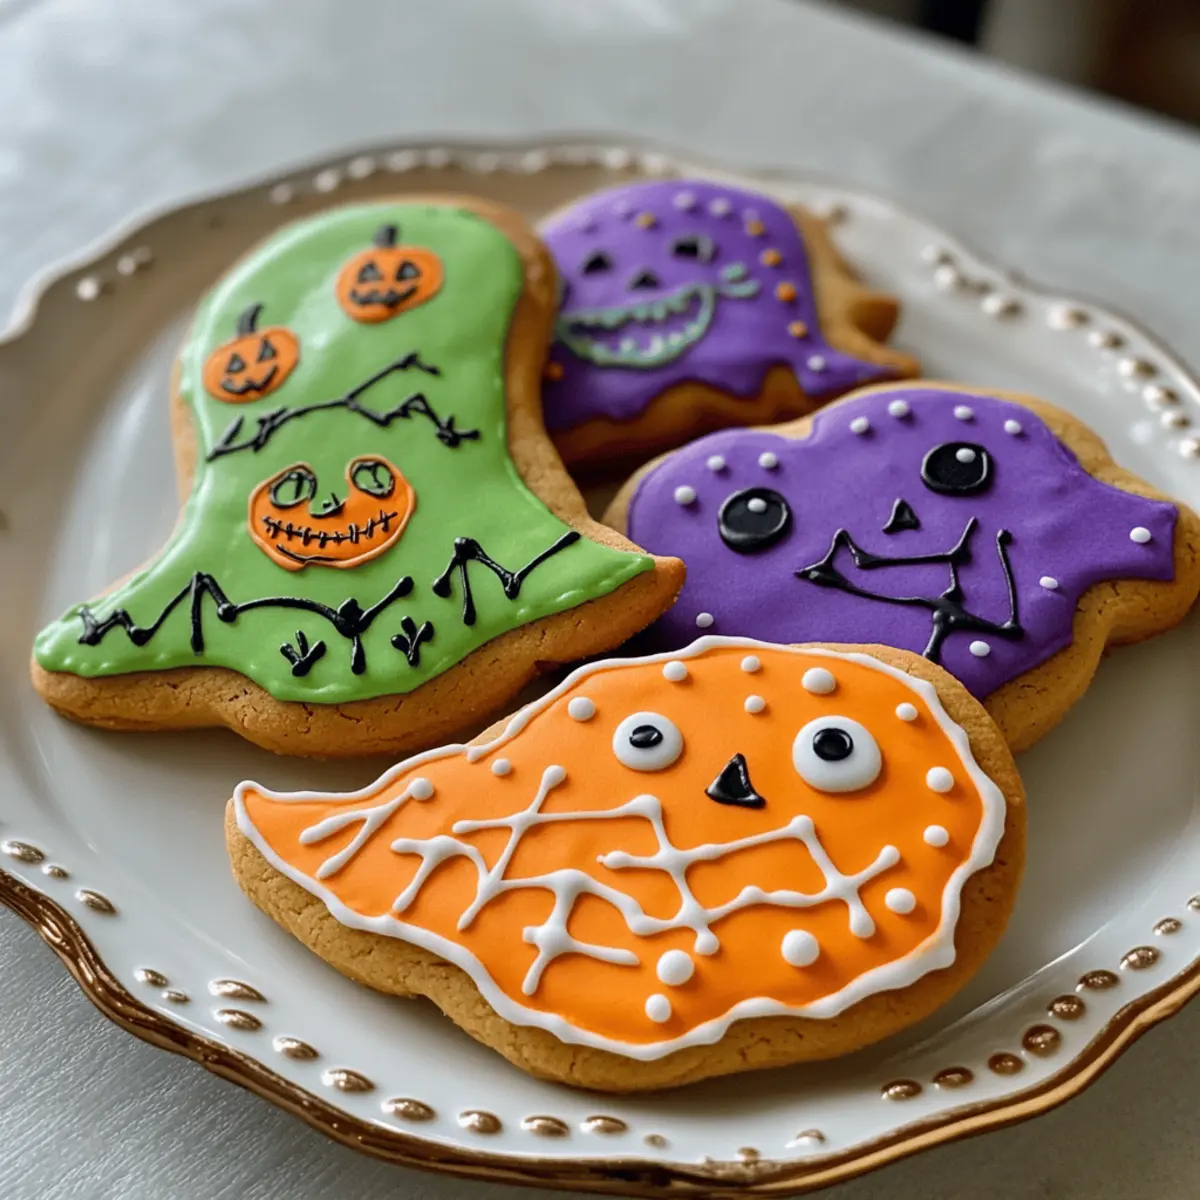
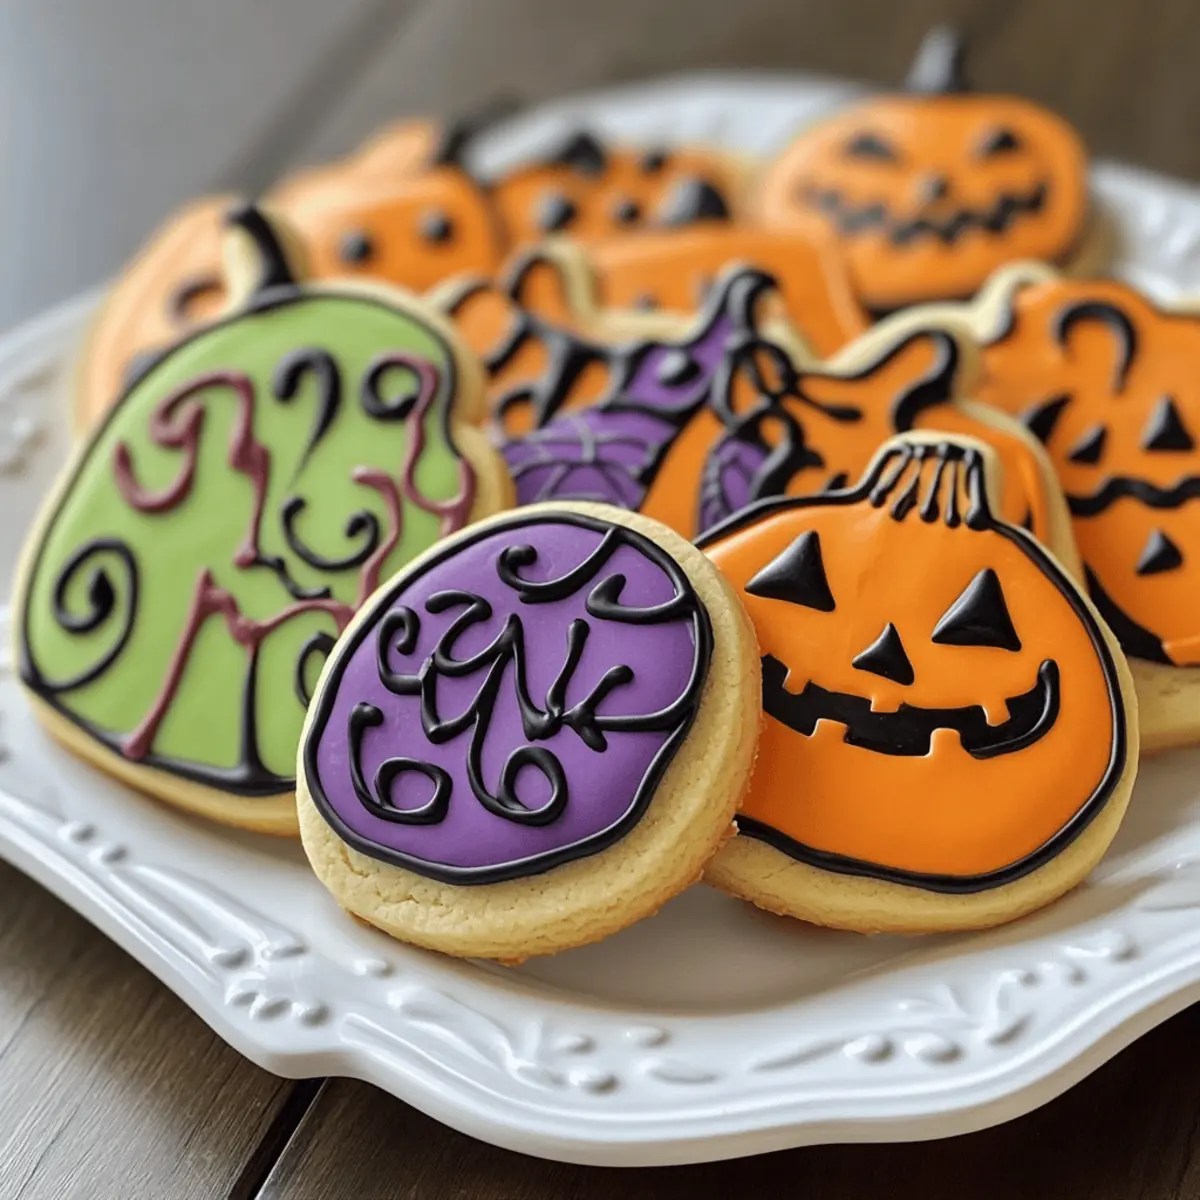
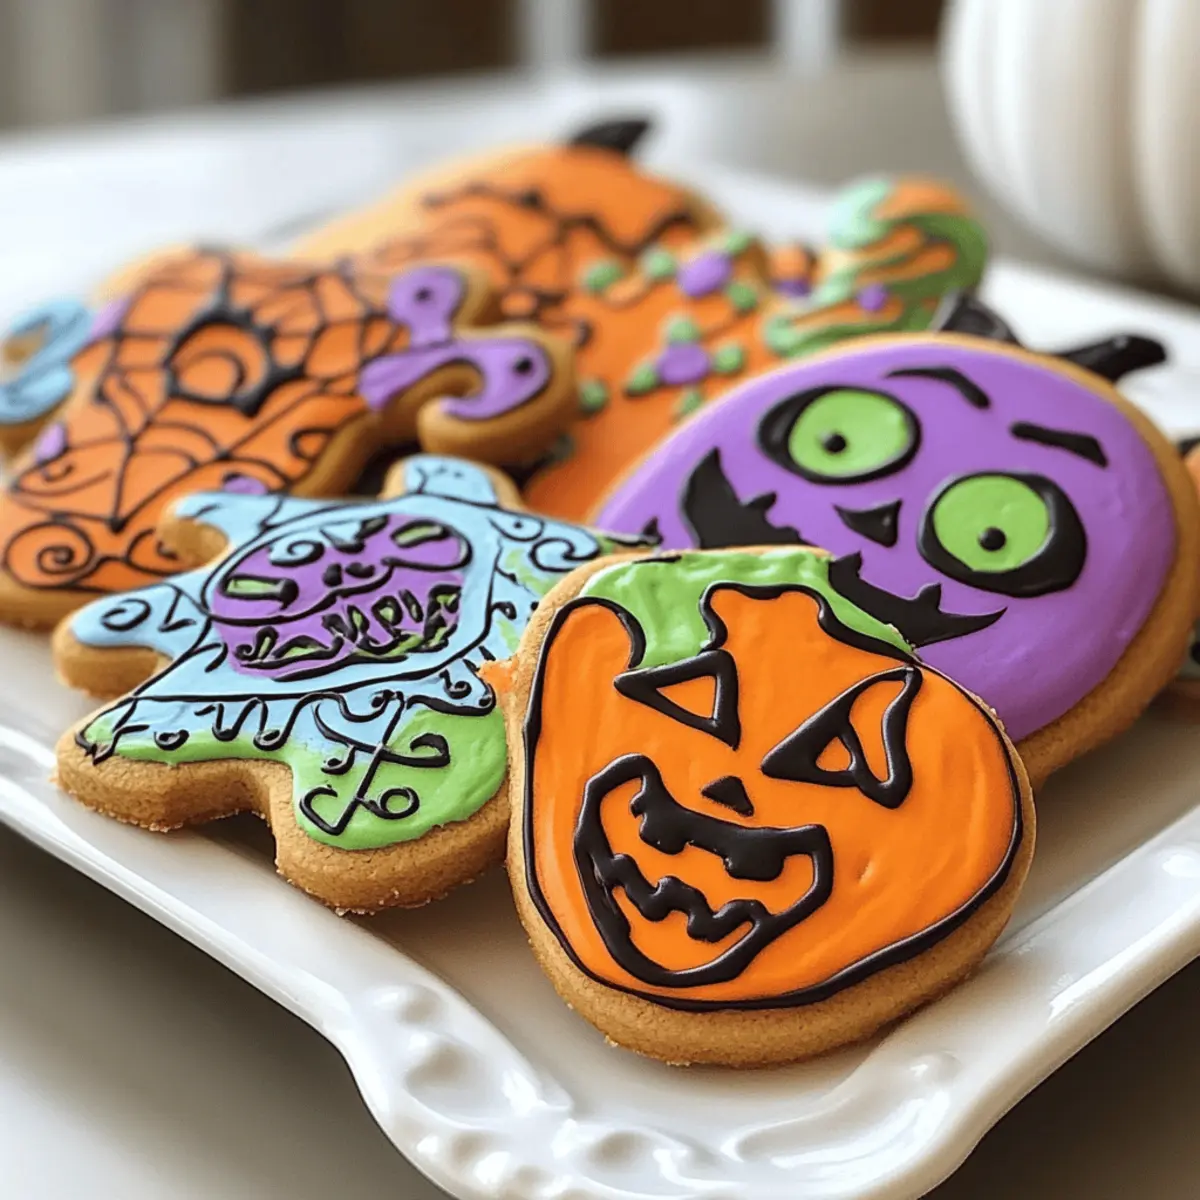
As the crisp autumn air sets in, thoughts of Halloween baking beckon, and I can’t help but be enchanted by the idea of Hand-Painted Hocus Pocus Cookies. Inspired by the beloved movie, these delightful cut-out cookies not only capture the spirit of the season but also promise to be a fun family activity you’ll cherish. With their striking colors and whimsical designs, they transform ordinary gatherings into magical moments—making them a sure hit for both young and old at your Halloween parties. Plus, this recipe requires only simple ingredients, ensuring a quick prep so that you can spend more time enjoying the festivities. Curious about how to create these visually stunning cookies while reminiscing about your favorite witchy tales? Let’s dive right in!

Why Make Hocus Pocus Cookies?
Enchanting Designs: Each cookie transforms into a quirky member of the Hocus Pocus cast, making decorating a blast for all ages.
Easy to Create: The recipe is straightforward, perfect for novice bakers yet enjoyable for seasoned chefs.
Festive Flavor: With a perfectly balanced sweetness, these cookies capture the essence of Halloween in every bite.
Family Fun: Get everyone involved in painting the cookies—it’s a great bonding experience that sparks creativity.
Perfect for Sharing: Serve them at your Halloween party or alongside warm apple cider to wow your guests! For more amazing cookie ideas, don’t miss out on Cheesecake Stuffed Cookies or Oreo Cheesecake Cookies.
Hocus Pocus Cookies Ingredients
• Make enchanting cookies with these delightful ingredients!
For the Cookie Dough
• All-Purpose Flour – Forms the structure of the cookies; do not substitute with bread or cake flour.
• Salt – Balances sweetness and enhances flavor; essential for cookie recipes.
• Baking Powder – Provides a slight lift without spreading the cookies.
• Unsalted Butter – Adds richness; be sure it’s softened to the right consistency—don’t over-soften!
• Granulated Sugar – Sweetens the cookie and contributes to a crispy texture.
• Large Eggs – Binds the dough together; use room temperature eggs for better incorporation.
• Pure Vanilla Extract – Infuses essential flavor; can be substituted with vanilla bean paste.
• Almond Extract – Magnifies flavor; can be swapped for lemon, peppermint, or butter rum extract.
For Painting the Cookies
• Egg Yolks – Used for creating edible paint; be sure to set aside the egg whites.
These Hocus Pocus Cookies will not only thrill your taste buds but also unleash your creative spirit while decorating this Halloween!
Step‑by‑Step Instructions for Hocus Pocus Cookies
Step 1: Prep Dough
In a large mixing bowl, cream together 1 cup of softened unsalted butter and 1 cup of granulated sugar until the mixture is light and fluffy, about 2-3 minutes. Gradually mix in 2 large eggs, one at a time, ensuring each is fully incorporated before adding the next. Stir in 2 teaspoons of pure vanilla extract and 1 teaspoon of almond extract, creating a rich flavor base for your Hocus Pocus Cookies.
Step 2: Mix Dry Ingredients
In a separate bowl, whisk together 3 cups of all-purpose flour, 1 teaspoon of baking powder, and ½ teaspoon of salt. Gradually add this dry mixture to your wet ingredients, mixing until everything is just combined. Avoid overmixing, as this could lead to tougher cookies. The dough should be soft yet workable, ready for rolling out to create your festive cookie shapes.
Step 3: Roll & Cut
On a lightly floured surface, roll out the dough to a thickness of about ¼ inch. Use a Hocus Pocus cookie cutter to cut out shapes, ensuring you press firmly to achieve clean edges. Gather any scraps and re-roll as needed to maximize your dough use. The vibrant shapes you create will bring Halloween magic to life!
Step 4: Chill Cookies
Once you have cut out all your cookie shapes, place them on a baking sheet lined with parchment paper. Freeze the cut-out cookies for 5-10 minutes to help them retain their shape during baking. This crucial step will ensure your Hocus Pocus Cookies come out perfectly formed and ready for the oven.
Step 5: Bake
Preheat your oven to 350°F (177°C). Once ready, bake the chilled cookies for 12-16 minutes, checking for visual cues like set edges and a dry surface on top. The cookies should have a slight golden edge but remain pale overall. Allow the cookies to cool slightly on the baking sheet before carefully transferring them to a wire rack to cool completely.
Step 6: Cool
Allow your freshly baked Hocus Pocus Cookies to cool completely on wire racks. This step is essential for achieving the perfect texture before you embark on the fun decorating process. The cookies will be soft on the inside with a delightful crispness on the edges, ideal for showcasing your artistic flair.
Step 7: Prepare Paint
In a small bowl, mix the desired food coloring with egg yolks to create your edible paint. This colorful mixture will bring your Hocus Pocus designs to life. Adjust the intensity of the colors as needed, ensuring your artistic vision shines through. With this magical paint ready, you’re all set for the next step!
Step 8: Decorate
Using food-safe brushes, carefully paint whimsical designs inspired by the Hocus Pocus characters onto your cooled cookies. Let your creativity run wild as you transform these cookies into delightful Halloween masterpieces. This interactive process not only makes for stunning treats but also creates magical moments to cherish with family and friends.

Storage Tips for Hocus Pocus Cookies
Room Temperature: Store cookies in an airtight container at room temperature for up to 3 days to maintain freshness and flavor.
Freezer: For longer storage, freeze the cookies in an airtight container or zip-top bag. They can stay fresh for up to 6 months—perfect for preserving your Halloween spirit!
Reheating: If you prefer warm cookies, reheat them in the microwave for about 10-15 seconds, ensuring they stay soft and delightful for your next gathering.
Decoration Care: Painted cookies should be stored flat to prevent smudging or damage to your enchanting designs—handle them with care!
Hocus Pocus Cookies Variations & Substitutions
Feel free to let your imagination take flight and customize these cookies to fit your style!
-
Flavor Swap: Replace almond extract with lemon or peppermint for a refreshing twist. Each option can bring a new brightness that will surprise your taste buds.
-
Vegan Option: Use a vegan butter substitute and flaxseed meal mixed with water in place of eggs to accommodate a plant-based diet. With these substitutions, you can still create delicious cookies that everyone can enjoy!
-
Gluten-Free: Substitute all-purpose flour with a 1:1 gluten-free blend. This simple swap maintains the cookie’s delightful texture while catering to gluten-intolerant friends.
-
Added Spice: Toss in a sprinkle of cinnamon or nutmeg to the dough for an extra warm spice kick. The aroma of cinnamon during baking will instantly awaken your kitchen!
-
Textural Twist: Fold in mini chocolate chips or chopped nuts for added crunch and richness. The delightful contrast in texture will elevate each bite to another level of yum!
-
Sprinkle Joy: Decorate with Halloween-themed sprinkles or edible glitter in addition to painting for that final festive touch. Let the colors bloom on your cookies for true Halloween magic!
-
Heat it Up: Add a pinch of cayenne pepper to the dough for a surprisingly delightful kick. This twist will intrigue spice lovers and take these cookies to a new realm of flavor.
If you enjoy trying different cookie styles, I recommend checking out my delightful Twix Cookies Chewy or the deliciously soft Panko Cookies Chewy. Keeping the spirit of creativity alive is the key to a fun baking experience!
What to Serve with Hocus Pocus Cookies?
As Halloween festivities approach, complement your enchanting Hocus Pocus Cookies with delightful pairings that sustain the magical spirit of the season.
-
Warm Apple Cider: This spiced treat brings a comforting sweetness that pairs beautifully with the buttery cookies, enhancing the fall flavors. The aroma alone evokes cozy autumn memories.
-
Pumpkin Spice Hot Chocolate: Rich and creamy, this seasonal drink accentuates the sweetness of the cookies while embracing the essence of Halloween.
-
Ghostly Marshmallow Treats: Light and fluffy, these treats add a whimsical touch, making them perfect companions for decorating and sharing joy during Halloween gatherings.
-
Caramel Dipped Apples: The crunchy texture and rich caramel balance the soft cookies, elevating your dessert spread and adding a fun, festive touch.
-
Halloween Fruit Platter: Fresh fruit like oranges, grapes, and blackberries brings brightness and contrast to your dessert table while keeping things light.
-
Spooky Vanilla Ice Cream: This classic treat melts into the cookies, creating a velvety combination that adds a delightful chill to your Halloween celebration.
-
Candy Corn Mix: A sweet crunch of candy corn adds color and excitement, making it a fun, nostalgic pairing that harkens back to childhood Halloweens.
Expert Tips for Hocus Pocus Cookies
-
Perfect Dough Texture: Ensure your butter is softened but not overly melted; this prevents spreading and ensures a fluffy texture.
-
Avoid Overmixing: Mix your dry ingredients until just combined with the wet, as overmixing can lead to tough Hocus Pocus Cookies.
-
Chill for Success: Don’t skip the chilling step! Freezing the cut-out cookies for 5-10 minutes helps them maintain their shape while baking.
-
Bake One Tray at a Time: For even baking, bake cookies one tray at a time and rotate halfway through to avoid any uneven coloring.
-
Creative Decoration: Use a variety of food-safe brushes for painting—this allows for intricate designs that truly bring your Hocus Pocus Cookies to life!
-
Experiment with Flavors: Consider swapping out almond extract for lemon or peppermint to create new flavor profiles while keeping the cookie’s festive spirit intact.
Make Ahead Options
These Hocus Pocus Cookies are perfect for busy home cooks looking to save time during the Halloween festivities! You can prepare the cookie dough and refrigerate it for up to 24 hours before you roll and cut it. Alternatively, freeze the rolled cookie shapes for up to 2 months; just wrap them in plastic wrap and place them in an airtight container. To maintain quality, chill the dough overnight to prevent excessive spreading during baking. When ready to bake, simply preheat your oven and bake from frozen without thawing, adding an extra minute or two if needed. With this preparation, you’ll have deliciously magical cookies with minimal last-minute effort!

Hocus Pocus Cookies Recipe FAQs
How do I select the best butter for my Hocus Pocus Cookies?
Absolutely! For the best results, choose unsalted butter that is at room temperature and slightly soft but not melted. This consistency allows for better mixing with sugar, ensuring a light and airy cookie dough. Avoid using margarine, as it doesn’t provide the same rich flavor and texture.
What is the best way to store my Hocus Pocus Cookies?
To keep your cookies fresh, store them in an airtight container at room temperature for up to 3 days. If you want to preserve their magical taste for longer, freeze them! Place the cookies in a zip-top bag or airtight container, and they can last for up to 6 months. Just remember to let them cool completely before freezing!
Can I freeze the dough for Hocus Pocus Cookies?
Absolutely! Freezing the cookie dough is a great way to prepare ahead. After mixing the dough, wrap it tightly in plastic wrap or place it in an airtight container. You can freeze it for up to 3 months. When you’re ready to bake, simply thaw it in the refrigerator overnight, roll out, cut your shapes, and proceed with the chilling and baking steps as usual.
What should I do if my cookie dough is too sticky?
Not a problem! If your dough feels overly sticky, simply add a little more flour, one tablespoon at a time, until it’s manageable. Keep in mind that if you add too much flour, it can lead to tougher cookies. Aim for a soft but not overly sticky consistency that holds its shape when rolled out. A light dusting of flour on your work surface can also help!
Are Hocus Pocus Cookies safe for pets?
No, they are not. Ingredients like sugar and butter are not healthy for pets, and certain extracts like almond can be toxic to dogs. It’s best to share these delightful Halloween treats with your family and friends, keeping them away from your furry companions to ensure their safety!
How can I make my painted designs more vibrant?
To achieve more vibrant colors in your decorations, use gel food coloring as it tends to be more concentrated than liquid coloring. Mix in additional gel coloring until you reach your desired shade, and remember to paint on cooled cookies to prevent the colors from running!

Deliciously Magical Hocus Pocus Cookies for Halloween Fun
Ingredients
Equipment
Method
- In a large mixing bowl, cream together 1 cup of softened unsalted butter and 1 cup of granulated sugar until light and fluffy, about 2-3 minutes. Gradually mix in 2 large eggs, one at a time, then stir in 2 teaspoons of pure vanilla extract and 1 teaspoon of almond extract.
- In a separate bowl, whisk together 3 cups of all-purpose flour, 1 teaspoon of baking powder, and ½ teaspoon of salt. Gradually add this to your wet ingredients, mixing until just combined.
- On a lightly floured surface, roll out the dough to ¼ inch thick and use a Hocus Pocus cookie cutter to cut out shapes.
- Place the cut shapes on a baking sheet lined with parchment paper and freeze for 5-10 minutes.
- Preheat your oven to 350°F (177°C) and bake the chilled cookies for 12-16 minutes.
- Allow the cookies to cool slightly on the baking sheet before transferring them to a wire rack.
- Prepare your edible paint by mixing the desired food coloring with egg yolks.
- Using food-safe brushes, paint whimsical designs inspired by the Hocus Pocus characters onto your cooled cookies.
