
As I stood in the kitchen, the sweet aroma of vanilla wafted through the air, wrapping me in warmth like a cherished memory from childhood. That’s when I knew it was time to whip up a batch of homemade vanilla custard, a traditional stovetop delight that never fails to please. This recipe brings two irresistible perks to your table: it’s surprisingly quick to prepare and offers a comforting taste that elevates any meal. Whether you choose to serve it warm, topped with a drizzle of fresh berries, or chilled for a refreshing treat, this classic vanilla custard promises to be a hit at both casual family dinners and festive gatherings. Curious to find out just how easy it is to create this velvety dessert? Let’s dive in!
Why is Vanilla Custard a Must-Try?
Timeless Comfort: There’s nothing quite like the creamy richness of homemade vanilla custard to evoke nostalgia and warm memories.
Quick Prep: With just a few simple ingredients and minimal time needed, you’ll have a decadent dessert that feels special.
Versatile Delight: Serve it warm for a cozy treat or chill it for a refreshing finish to any meal.
Crowd-Pleaser: Perfect for family gatherings or dinner parties, this classic dessert never fails to impress guests. For more delicious inspiration, check out our Iced Vanilla Cinnamon or Viral Cherry Vanilla recipes!
Personal Touch: Make it your own by adding toppings like fresh fruit or a hint of chocolate—each bite is an opportunity to innovate.
Vanilla Custard Ingredients
For the Custard Base
- Whole Milk – Provides the custard’s creamy base. Substitution: Use 2% milk for a lighter version, though texture may differ.
- Vanilla Extract – Infuses the custard with classic vanilla flavor. Substitution: Use vanilla bean for a more aromatic and speckled appearance.
- Butter – Adds richness and depth. Note: Unsalted butter is preferred for better control of sweetness.
- Eggs – Essential for the custard structure, providing creaminess and a luscious mouthfeel. Tip: Use fresh eggs for the best texture.
- Sugar – Provides sweetness to balance the flavors. Substitution: Reduce sugar for a less sweet dessert or use a sugar alternative like stevia.
- Cornstarch – Thickens the custard smoothly without lumps. Note: Ensure it’s well incorporated to prevent clumping.
Step‑by‑Step Instructions for Vanilla Custard
Step 1: Prepare the Egg Mixture
In a large mixing bowl, combine the eggs, sugar, and cornstarch. Use a whisk to beat the mixture until it’s completely smooth and homogenous, about 2 minutes. This step is crucial as it creates the foundation of your vanilla custard that will ensure the final texture is silky and creamy.
Step 2: Heat the Milk Mixture
In a medium saucepan, pour in the whole milk, vanilla extract, and add the butter. Place the saucepan over medium heat and warm the mixture until it starts to simmer, which should take around 5–7 minutes. Stir gently to help the butter melt and to ensure the milk doesn’t scorch or form a skin.
Step 3: Combine Egg and Milk Mixtures
Once the milk mixture is simmering, remove it from the heat. Gradually drizzle the hot milk into the egg mixture while whisking continuously — this prevents the eggs from scrambling. Keep whisking until everything is well combined and the mixture is smooth, forming the base for your vanilla custard.
Step 4: Thicken the Custard
Return the combined mixture to the saucepan over low heat. Stir constantly with a wooden spoon or heat-resistant spatula for about 10–15 minutes. You’ll know it’s ready when the custard thickens enough to coat the back of a spoon, achieving that luscious consistency that defines a perfect vanilla custard.
Step 5: Cool the Custard
Once thickened, pour the vanilla custard into individual serving cups or a larger bowl. Allow it to cool to room temperature for about 30 minutes. This step is essential as it prevents condensation from forming when placed in the refrigerator, ensuring your custard remains smooth and creamy.
Step 6: Refrigerate and Serve
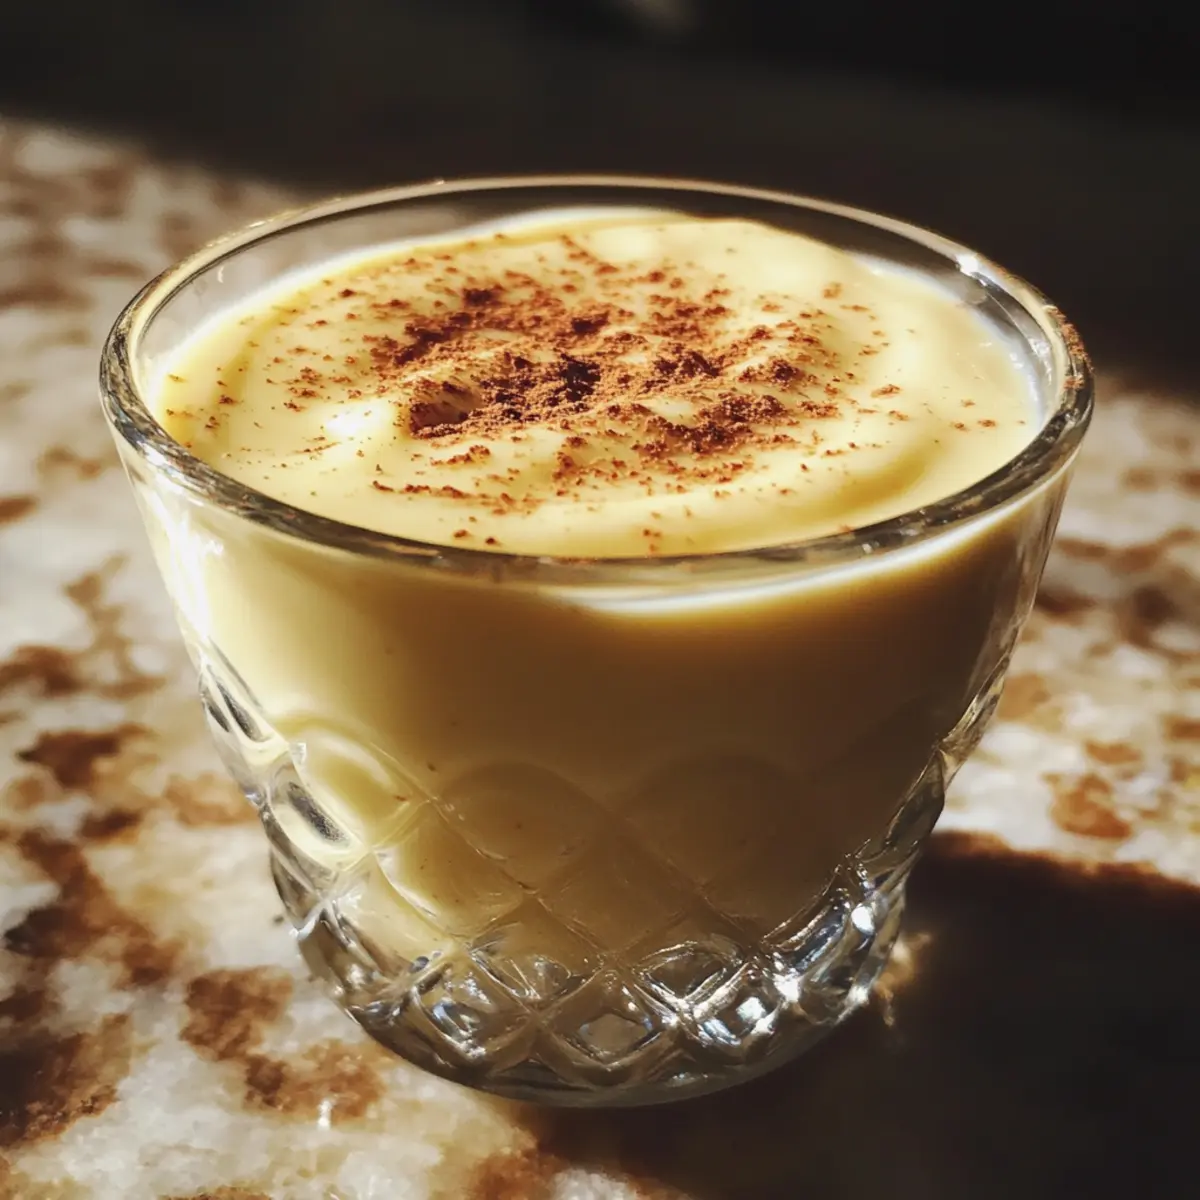
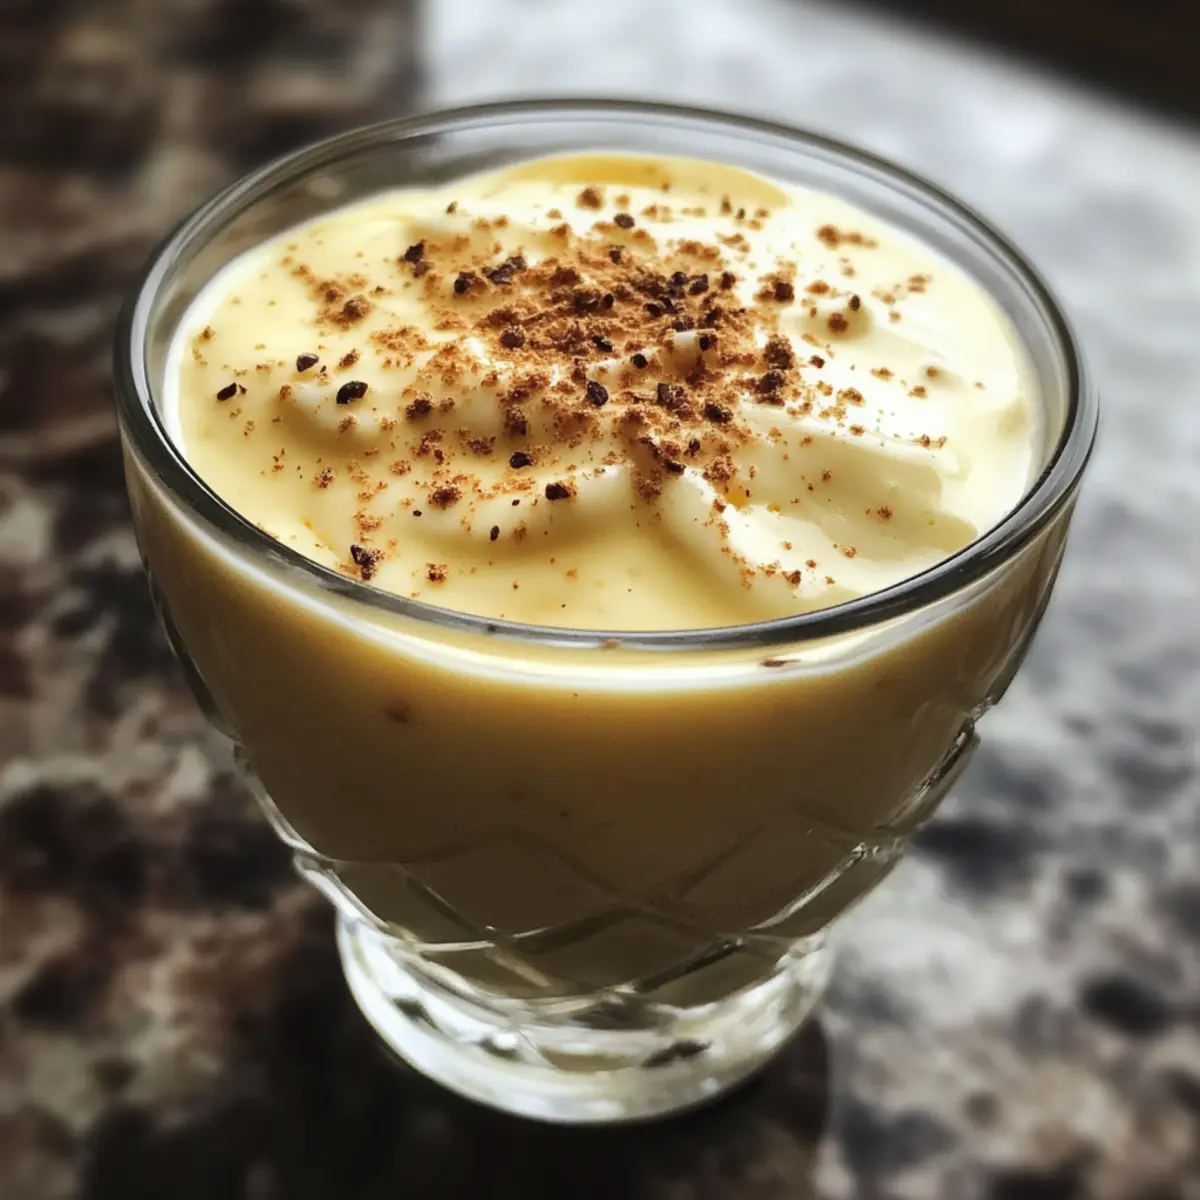
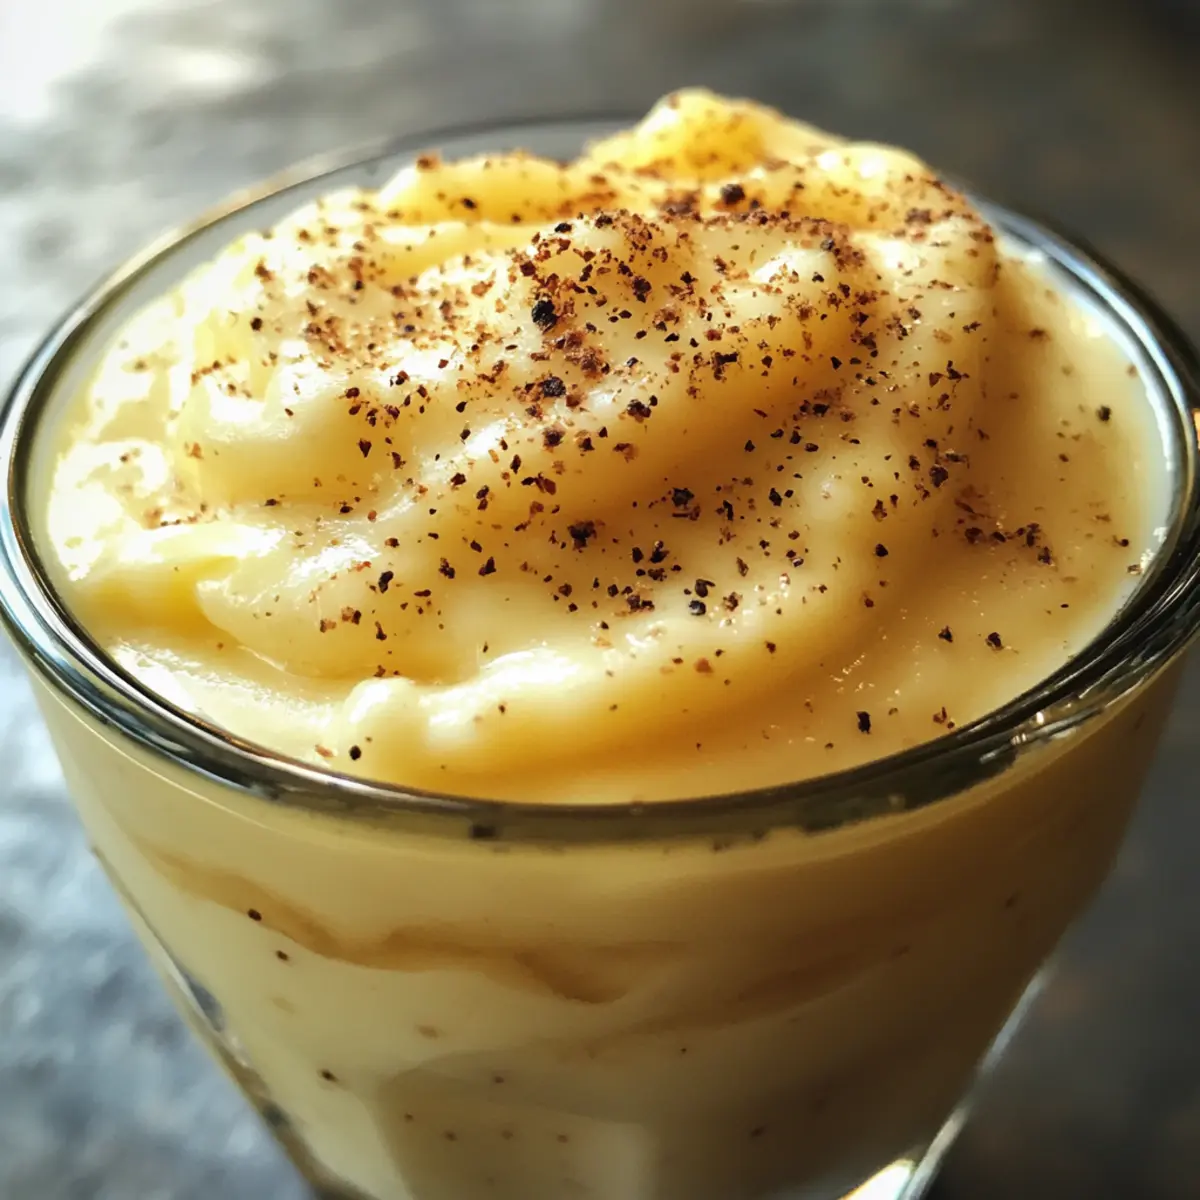
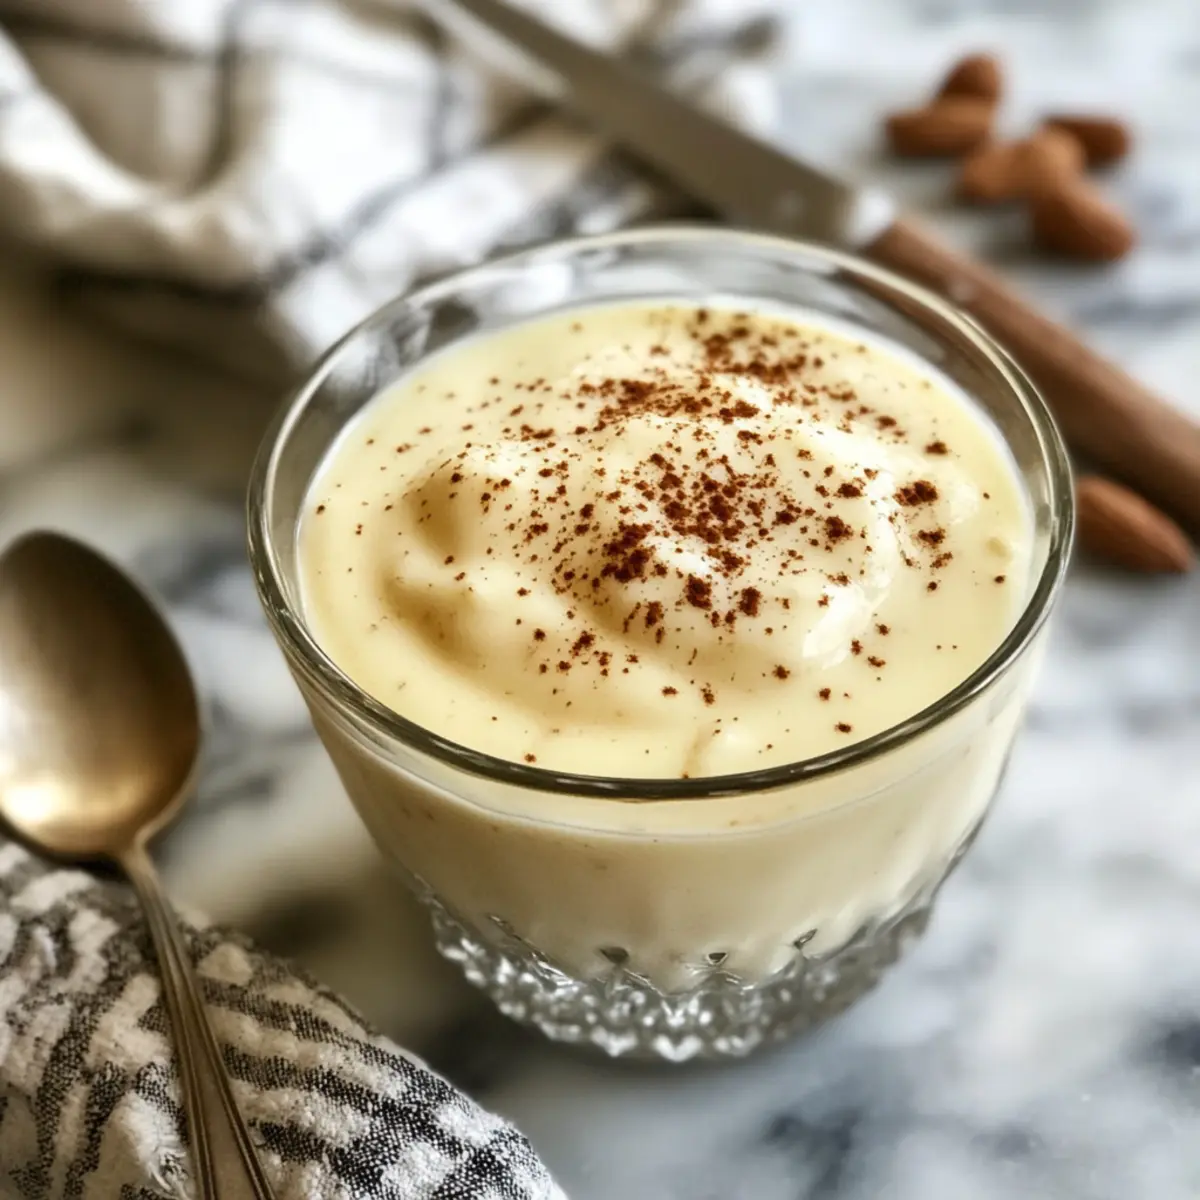
After cooling, cover the vanilla custard with plastic wrap, pressing it directly onto the surface to prevent a skin from forming. Refrigerate for at least 4 hours, or until fully chilled. Before serving, give it a gentle stir and enjoy this scrumptious custard either on its own or topped with your favorite fruits or sauces.
Vanilla Custard Variations & Substitutions
Customize this classic dessert to suit your tastes and pantry with these delightful twists!
-
Dairy-Free: Replace whole milk with almond or coconut milk for a creamy, dairy-free version. The subtle nutty flavors add an interesting dimension!
-
Sugar-Free: Use a sugar substitute like erythritol or stevia if you’re looking for a lower-calorie treat. Just keep in mind that flavor intensity may vary slightly.
-
Chocolate Lover’s Dream: Stir in melted dark chocolate after thickening for a rich chocolate custard. This twist is perfect for special occasions!
-
Seasonal Spices: Add a pinch of cinnamon or nutmeg to the mixture for a warm, spiced flavor that brings comfort during the colder months.
-
Fruit-Infused: Mix in pureed strawberries or raspberries before chilling for a fruity custard that’s both refreshing and vibrant. Each fruit variation offers a unique burst of flavor.
-
Caramel Twist: Drizzle caramel sauce over the top before serving for a decadent touch. The combination of smooth vanilla and sweet caramel is heavenly, perfect for sweetening up any gathering.
-
Nutty Elegance: Incorporate ground almonds or hazelnuts into the custard for a lovely nutty flavor and texture. You can also garnish with toasted nuts for a satisfying crunch!
-
Gourmet Toppings: Elevate your custard by topping it with a dollop of whipped cream, fresh mint, or your favorite chocolate shavings. This adds a touch of sophistication.
Whichever variation you choose, your vanilla custard is bound to be a crowd-pleaser. And don’t forget to explore more delicious options, like our Iced Vanilla Cinnamon or Viral Cherry Vanilla recipes! Enjoy the delightful journey of customization!
Expert Tips for the Best Vanilla Custard
- Avoid Overheating: Keep the milk mixture below a boil to prevent curdling. Simmer gently after adding the egg mixture for smooth results.
- Whisk Continuously: Stirring constantly while combining the hot milk with the eggs is key to achieving that creamy vanilla custard texture without scrambling.
- Temperature Control: Allow the custard to cool at room temperature before refrigerating. This helps maintain its silky smoothness and prevents excess moisture from forming.
- Prevent a Skin: Cover the custard with plastic wrap, pressing it directly onto the surface to prevent a film from forming as it chills.
- Fresh Ingredients Matter: Use fresh eggs and high-quality vanilla extract or vanilla beans for an authentic, rich flavor that enhances your vanilla custard experience.
How to Store and Freeze Vanilla Custard
Fridge: Store freshly made vanilla custard in airtight containers in the refrigerator for up to 3 days. Ensure the custard has cooled to room temperature before covering to avoid condensation.
Freezer: For longer storage, freeze the custard in freezer-safe containers for up to 2 months. To prevent freezer burn, ensure it’s well sealed.
Thawing: Thaw frozen vanilla custard overnight in the refrigerator. Gently stir after thawing to regain its creamy consistency.
Reheating: If you prefer warm custard, gently reheat it on the stovetop over low heat, stirring continuously until warmed through. Avoid boiling to maintain smoothness.
What to Serve with Classic Stovetop Vanilla Custard?
Elevate your dessert experience with delightful pairings that enhance the creamy richness of homemade custard.
-
Fresh Berries: The tartness of strawberries or raspberries contrasts beautifully with the sweet vanilla, adding a refreshing burst.
-
Caramel Sauce: Drizzling homemade caramel over your custard brings a deeper sweetness, creating a luscious combination that’s hard to resist.
-
Chocolate Shavings: A sprinkle of dark chocolate shavings introduces an elegant touch, balancing the creamy texture with a hint of bitterness.
-
Whipped Cream: Light and airy, a dollop of whipped cream adds a sumptuous creaminess that complements the smooth custard perfectly.
-
Light Almond Biscotti: A crunchy side that offers a delightful contrast to the soft custard, providing a satisfying texture in every bite.
-
Mint Infusion: Chopped fresh mint adds a surprising, vibrant freshness that brightens up the custard’s rich flavor, often overlooked but incredibly refreshing.
-
Coffee or Espresso: A small cup served alongside provides a bold, energizing flavor that contrasts beautifully with the sweetness of the custard and enhances the overall experience.
-
Chocolate Sauce: Pouring a warm, rich chocolate sauce over your custard can make this dessert feel decadent and indulgent, transforming it into a sublime treat.
-
Homemade Shortbread Cookies: Perfect for dipping, these buttery cookies contrast with the custard’s texture while offering a hint of sweetness to complement the creamy vanilla.
Make Ahead Options
These delicious vanilla custards are perfect for meal prep, saving you time on busy weeknights! You can prepare the custard base up to 24 hours in advance without compromising quality. Simply follow the recipe through the cooling step, then pour the custard into individual cups or a large bowl. Cover with plastic wrap directly on the surface to prevent a skin from forming. Refrigerate for up to 3 days before serving. When you’re ready to enjoy, give the custard a gentle stir and serve chilled or warmed with your favorite toppings. This way, you can savor the rich flavors of homemade vanilla custard without the last-minute hassle!
Classic Stovetop Vanilla Custard Recipe FAQs
How do I choose the right milk for my vanilla custard?
I recommend using whole milk for the creamiest texture, but if you’re looking for a lighter alternative, you can use 2% milk. Just keep in mind that this may alter the custard’s richness slightly. If you love a more decadent version, try adding cream or using a combination of milk and cream for an ultra-rich custard.
How should I store leftover vanilla custard?
You can store your homemade vanilla custard in airtight containers in the refrigerator for up to 3 days. Make sure it has cooled down to room temperature before sealing it tight to avoid condensation that can form inside the container, which may affect texture.
Can I freeze vanilla custard?
Absolutely! To freeze vanilla custard, pour it into freezer-safe containers, leaving some space at the top because it will expand when frozen. Make sure it’s well-sealed to prevent freezer burn, and it should last up to 2 months. When you’re ready to enjoy it again, simply thaw it overnight in the fridge.
What if my vanilla custard doesn’t thicken properly?
No worries! If your custard hasn’t thickened, it may need a little more time on low heat. Just return it to the stovetop and keep stirring until it reaches the desired consistency. Remember, the custard will thicken further as it cools, so be patient. If you’re still having trouble, you can whisk in a bit more cornstarch dissolved in a spoonful of cold milk to help it along.
Are there any dietary concerns when making vanilla custard?
Yes, it’s important to be mindful of allergies, especially since this recipe contains eggs and dairy. For a dairy-free version, you can substitute whole milk with almond or coconut milk and use a plant-based butter. If eggs are a concern, consider a vegan custard recipe that uses alternatives like cornstarch or silken tofu for binding.
How do I prevent a skin from forming on my custard while it chills?
To prevent a skin from forming, cover the surface of the custard with plastic wrap, pressing it down so that it directly touches the custard. This creates a barrier that stops air from contacting the surface, keeping your custard smooth and inviting.
Creamy Homemade Vanilla Custard for Timeless Delight
Ingredients
Equipment
Method
- In a large mixing bowl, combine the eggs, sugar, and cornstarch. Use a whisk to beat the mixture until it's completely smooth and homogenous, about 2 minutes.
- In a medium saucepan, pour in the whole milk, vanilla extract, and add the butter. Place the saucepan over medium heat and warm the mixture until it starts to simmer, which should take around 5–7 minutes.
- Once the milk mixture is simmering, remove it from the heat. Gradually drizzle the hot milk into the egg mixture while whisking continuously to prevent the eggs from scrambling.
- Return the combined mixture to the saucepan over low heat. Stir constantly for about 10–15 minutes until the custard thickens enough to coat the back of a spoon.
- Once thickened, pour the vanilla custard into individual serving cups or a larger bowl. Allow it to cool to room temperature for about 30 minutes.
- Cover the vanilla custard with plastic wrap, pressing it directly onto the surface to prevent a skin from forming. Refrigerate for at least 4 hours.