
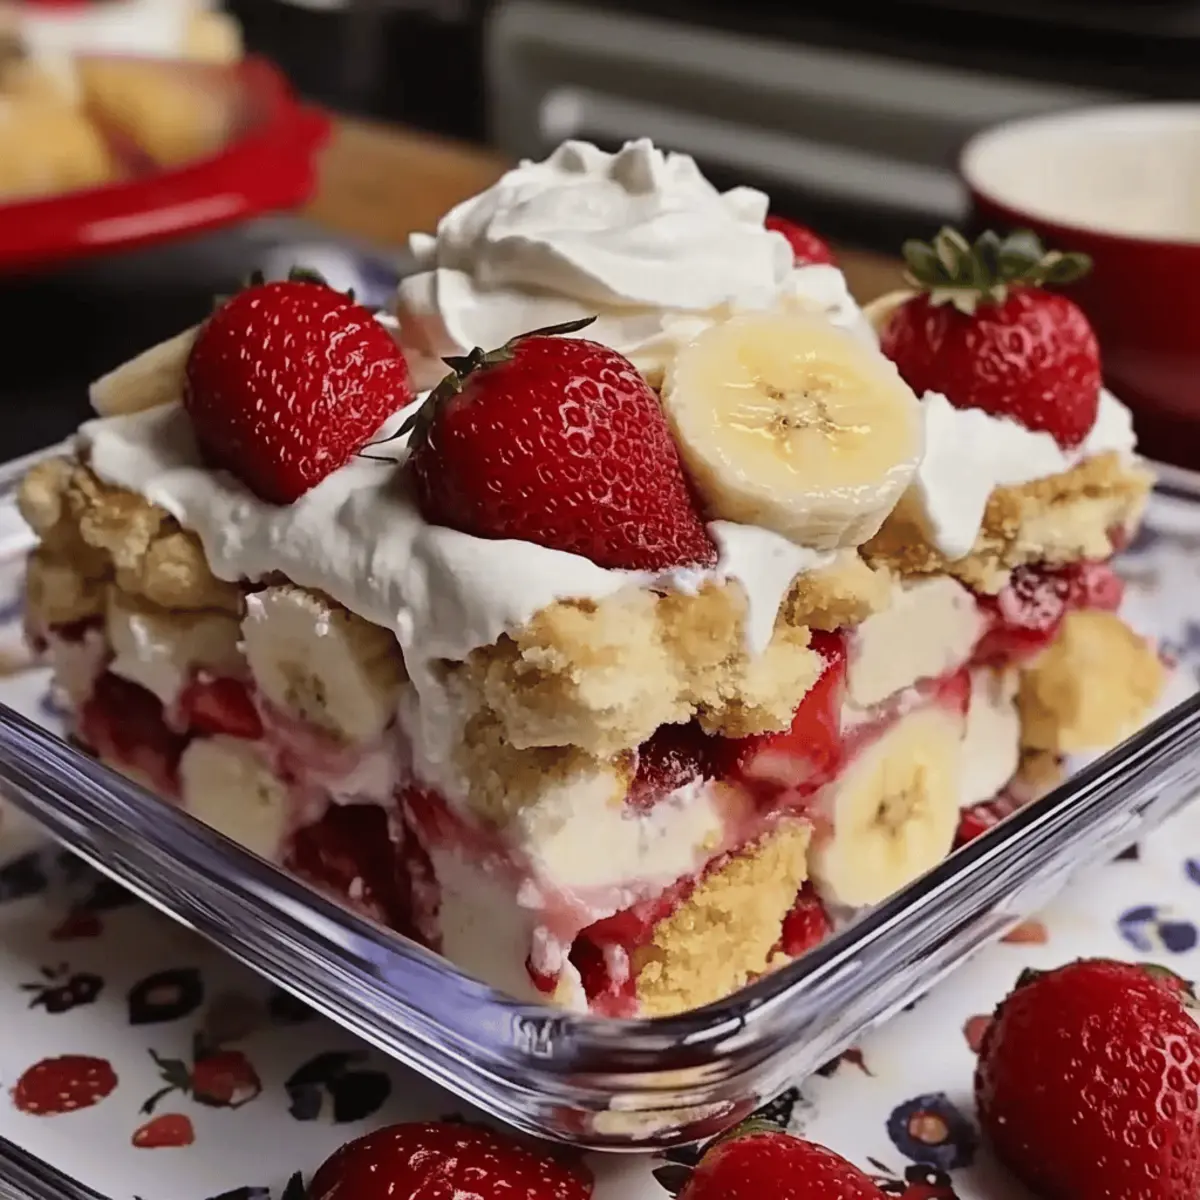
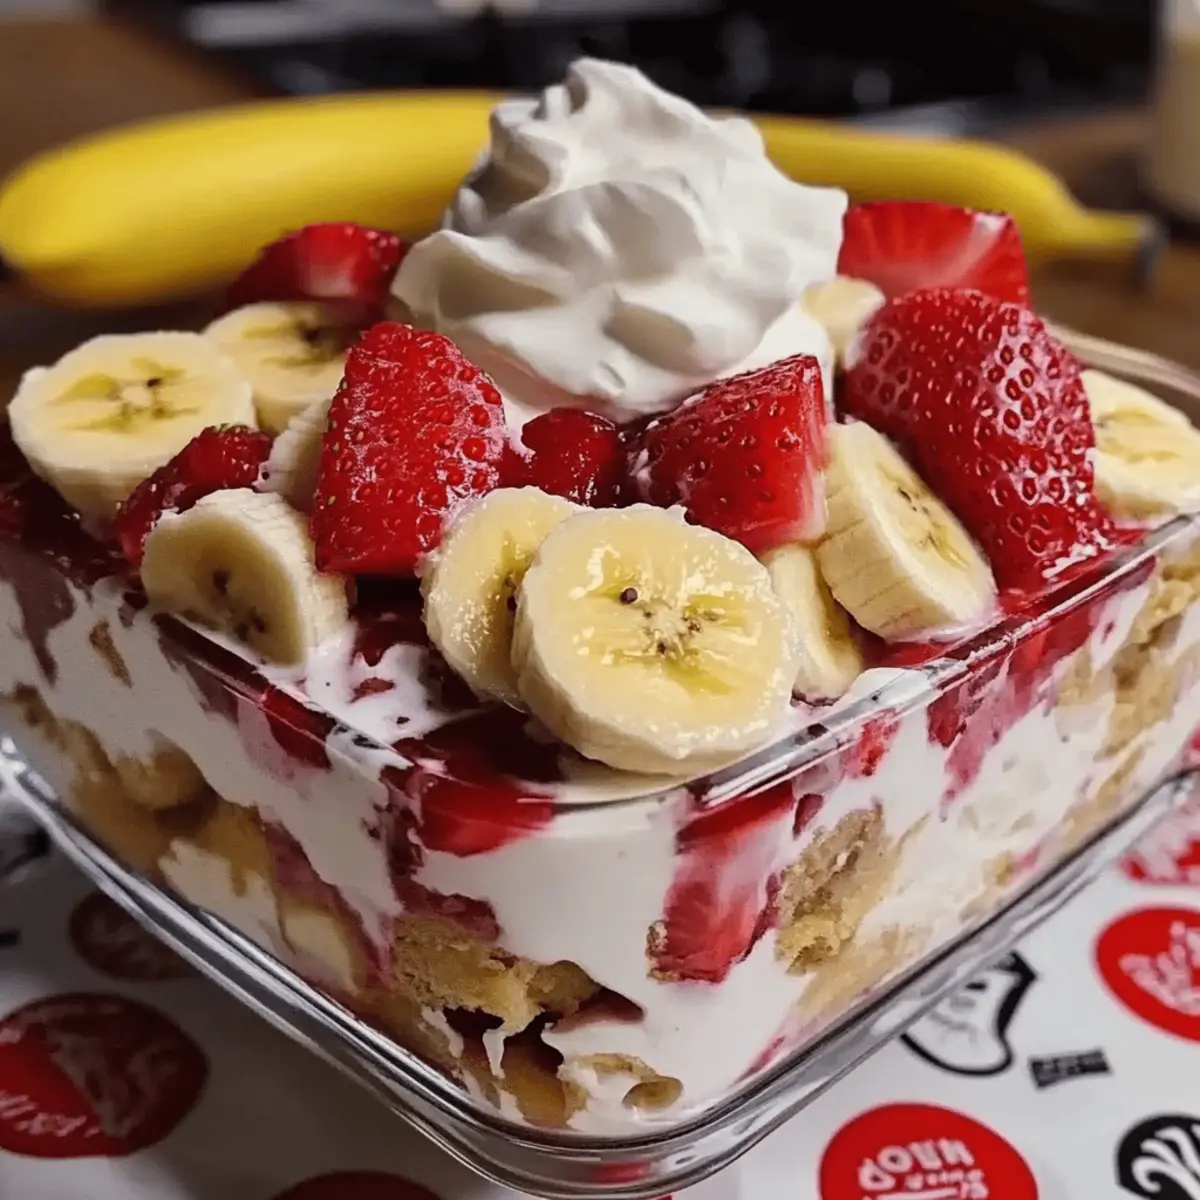
As the sun warms those early summer days, I find myself reaching for a dessert that perfectly captures the season’s sweetness, and that’s when my No-Bake Strawberry Banana Pudding Dream comes into play. This delightful treat brings together the juicy flavors of fresh strawberries and ripe bananas, all nestled in a rich, creamy pudding that all ages adore. What I love most is how effortlessly this recipe comes together in just 20 minutes—ideal for busy families looking to replace overpriced takeout with something truly homemade. Plus, it’s a crowd-pleaser that’s vegetarian and easily made gluten-free! Are you ready to indulge in a summery dessert that’s both delicious and a breeze to whip up?

Why is this dessert a must-try?
Quick and Easy: With just a 20-minute prep time, you can create this extraordinary treat without turning on the oven.
Refreshing Flavor: The combination of fresh strawberries and bananas provides a burst of fruity goodness that truly shines in every bite.
Family-Friendly: Kids will love the sweet pudding layers, while adults appreciate the taste – perfect for all ages!
Versatile Delight: Easily swap ingredients to accommodate dietary needs—try gluten-free wafers or plant-based milk for a customized experience.
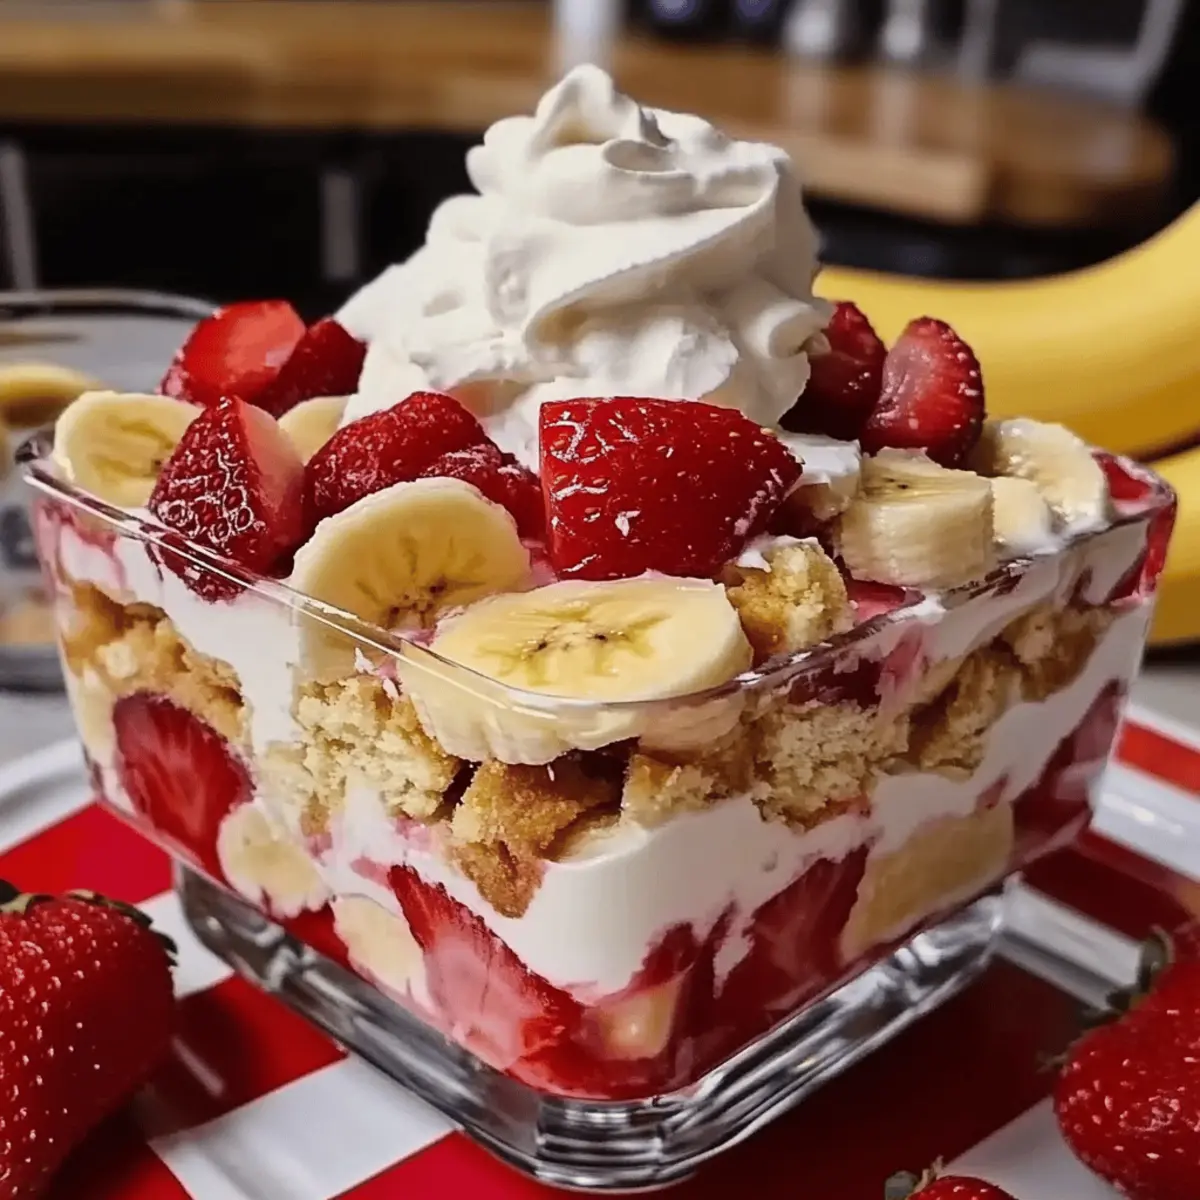
Impressive Presentation: Layered beautifully, this dessert makes a stunning centerpiece for any gathering, ensuring it becomes the star of the show!
Whether you’re hosting friends or simply enjoying a quiet evening, this Strawberry Banana Pudding Dream will not disappoint!
Strawberry Banana Pudding Dream Ingredients
For the Pudding Base
- Cream Cheese – Adds richness and creaminess to the pudding. Ensure it’s softened for smooth blending.
- Sweetened Condensed Milk – Contributes sweetness and creaminess; it’s key to the pudding’s texture.
- French Vanilla Pudding Mix – Forms the creamy base of the dessert; mix well to avoid lumps.
- Milk – Hydrates the pudding mix for a smooth consistency; any milk variety can be used (dairy or plant-based).
For the Layering
- Vanilla Wafers – Provides structure and crunch to the pudding layers; substitute with gluten-free wafers for a gluten-free option.
- Bananas – Adds natural sweetness and creamy texture; use ripe bananas for optimal flavor.
- Strawberries – Infuses fresh flavor and vibrant color; fresh strawberries provide the best taste.
For the Topping
- Whipped Topping – The finishing touch for lightness and decor; homemade whipped cream can be used as a substitute.
This Strawberry Banana Pudding Dream offers a delicious balance of flavors and textures that’s too good to resist!
Step‑by‑Step Instructions for Strawberry Banana Pudding Dream
Step 1: Prepare the Creamy Base
In a mixing bowl, blend the softened cream cheese and sweetened condensed milk until you achieve a smooth and creamy mixture, which should take about 2-3 minutes using an electric mixer. Make sure there are no lumps, as this will affect the texture of your Strawberry Banana Pudding Dream. Set this delightful base aside for the next step as you gather the other ingredients.
Step 2: Mix the Pudding Ingredients
Next, carefully add the French vanilla pudding mix and milk to the cream cheese mixture, stirring continuously for 1-2 minutes until the pudding is lump-free and thickened. The mixture should feel velvety and rich—this is the heart of your no-bake Strawberry Banana Pudding Dream. Ensure your bowl is sufficiently large to accommodate the volume as it thickens.
Step 3: Begin Layering the Dessert
Grab a large serving dish and lay down a layer of vanilla wafers on the bottom, ensuring they are spread evenly. This will add a crunchy foundation to your pudding. Layering these wafers is crucial for adding structure to your dessert. Next, freshly slice your ripe bananas and arrange them evenly atop the wafers, followed by a vibrant layer of strawberries to enhance the freshness.
Step 4: Add the Pudding Mixture
Pour half of your luscious pudding mixture over the fruit and wafers, using a spatula to gently spread it into an even layer. Take care to cover all the fruit, allowing the creamy goodness to seep into the layers below. The visual of the creamy pudding against the colorful fruit should entice your senses, signaling that you’re nearing the finish line of your Strawberry Banana Pudding Dream.
Step 5: Repeat the Layering Process
Repeat the process by layering the remaining vanilla wafers, followed by another layer of sliced bananas and strawberries. Pour the remaining pudding mixture over the top, ensuring that it is spread evenly once again. The dessert should be beautifully layered, showcasing the colorful fruits and creamy pudding peeking through the glass dish.
Step 6: Finish with Whipped Topping
Finally, top the dessert with a generous layer of whipped topping for a light and airy finish. You can use a spatula to smooth it out or create a decorative swirl. Cover the dish with plastic wrap and refrigerate your Strawberry Banana Pudding Dream for at least 4 hours, preferably overnight. This chilling time allows flavors to meld beautifully, ensuring a refreshing treat awaits when served.
Expert Tips for Strawberry Banana Pudding Dream
-
Softened Cream Cheese: Ensure the cream cheese is softened before mixing; cold cream cheese can create lumps and disrupt your pudding’s texture.
-
Chill Time Matters: Refrigerate the dessert for at least 4 hours, preferably overnight, to allow flavors to meld and the pudding to set for that perfect creamy consistency.
-
Use Ripe Bananas: Opt for ripe bananas to enhance natural sweetness and creaminess—underripe bananas can add an undesirable texture.
-
Proper Layering: Layer ingredients carefully for visual appeal and structural integrity. Uneven layers can lead to a messy presentation during serving.
-
Customize Wisely: If making a gluten-free Strawberry Banana Pudding Dream, be sure to substitute only with verified gluten-free wafers or other ingredients to maintain the dessert’s integrity.
What to Serve with Strawberry Banana Pudding Dream
Elevate your dessert game by pairing this luscious creation with delightful accompaniments that enhance its charm and flavor.
-
Fresh Berries: A mix of blueberries or raspberries brightens the plate and adds a burst of tartness that contrasts beautifully with the sweetness of the pudding.
-
Mint Leaves: Garnish with fresh mint for a refreshing touch. The herb’s cool flavor enhances the dessert’s fruity notes while adding an appealing pop of green.
-
Chocolate Drizzle: A light drizzle of melted chocolate provides richness and decadence. It’s an elegant way to dress up your dessert and satisfy chocolate lovers.
-
Coconut Whipped Cream: Use coconut cream for a dairy-free twist that amplifies the dessert’s tropical vibes. It’s a delicious alternative that marries nicely with the fruit.
-
Nutty Granola: For added crunch, serve with a side of nutty granola. The texture contrast creates an exciting experience when layered with the creamy pudding.
-
Iced Tea or Sparkling Lemonade: Refresh your palate with a glass of iced tea or sparkling lemonade. Both drinks provide a crisp, rejuvenating balance to this indulgent treat.
These offerings not only enhance the enjoyment of your Strawberry Banana Pudding Dream but also create a full and satisfying meal that everyone will love!
Make Ahead Options
These delightful Strawberry Banana Pudding Dreams are perfect for meal prep, allowing you to save time during busy weeknights! You can prepare the pudding base (cream cheese, sweetened condensed milk, pudding mix, and milk) up to 24 hours in advance—just make sure to cover it tightly to keep it fresh. Additionally, slice the bananas and strawberries ahead of time, storing them in separate airtight containers to maintain their vibrancy and prevent browning. When you’re ready to serve, simply layer your prepared fruit with the pudding mixture and top with whipped topping. This will ensure your dessert is just as delicious and perfectly layered as when freshly made!
How to Store and Freeze Strawberry Banana Pudding Dream
Fridge: Keep your Strawberry Banana Pudding Dream covered in the refrigerator for up to 3 days. This ensures it remains fresh and the flavors meld beautifully.
Freezer: For longer storage, you can freeze individual servings. Just be sure to wrap them tightly in plastic wrap and then in aluminum foil to prevent freezer burn. Consume within 2 months for best quality.
Thawing: When ready to enjoy, thaw in the refrigerator overnight. Note that the texture may be slightly altered, so serve chilled and enjoy with a light garnish.
Make-Ahead: Prepare this delightful dessert a day in advance; just cover it well and store it in the fridge until serving time for optimal flavor and freshness.
Strawberry Banana Pudding Dream Variations
Feel free to let your creativity shine as you customize this delicious dessert to suit your taste preferences!
- Fruit Mix-Up: Use bold fruits like blueberries or peaches for a delightful twist. Just keep the layering technique in mind!
- Chocolatey Delight: Swap vanilla wafers for chocolate cookies to give your pudding a rich, indulgent flavor. This variation is perfect for chocolate lovers!
- Vegan Version: Replace cream cheese with a plant-based alternative and use almond or oat milk for a guilt-free dessert that everyone can enjoy.
- Sugar-Free Option: Opt for sugar-free pudding mix and sweetened condensed milk to create a lighter version that still satisfies those sweet tooth cravings.
- Nutty Crunch: Add chopped nuts like pecans or almonds in between the layers for a delightful crunch that contrasts with the creamy pudding.
- Coconut Cream: Replace half the cream cheese with coconut cream for a tropical flair that pairs beautifully with the fruit.
- Spice It Up: Sprinkle a pinch of cinnamon or nutmeg between layers for an unexpected flavor boost that adds warmth to the dessert.
Explore your creativity in the kitchen, and you’ll discover wonderful variations of this classic Strawberry Banana Pudding Dream that will have your family coming back for more!
Strawberry Banana Pudding Dream Recipe FAQs
What type of bananas should I use for the best flavor?
Absolutely, for the best flavor in your Strawberry Banana Pudding Dream, I recommend using ripe bananas. Ripe bananas have that perfect balance of sweetness and creamy texture that enhances the overall taste of the dessert. Look for bananas with no green skin and just a few brown spots for optimal ripeness.
How should I store leftovers of the pudding?
Very good question! To enjoy your Strawberry Banana Pudding Dream at its finest, store any leftovers covered in the refrigerator for up to 3 days. Make sure to use plastic wrap or a lid to keep it fresh, as this prevents it from drying out and helps maintain the creamy texture.
Can I freeze this dessert for later enjoyment?
Yes, you can freeze individual portions of the Strawberry Banana Pudding Dream! Wrap each serving tightly in plastic wrap, followed by aluminum foil to guard against freezer burn. This way, you can enjoy a sweet treat up to 2 months later. Just remember to thaw it in the refrigerator overnight before serving for the best results.
What are some common troubleshooting tips for the pudding mix?
If your pudding mixture ends up lumpy, don’t panic! This can happen if the cream cheese isn’t softened enough or if the pudding mix is added too quickly. To avoid lumps, always ensure the cream cheese is at room temperature before combining it. Mix the pudding ingredients slowly and thoroughly; using a hand mixer can help achieve that velvety texture you want!
Is this dessert suitable for people with gluten allergies?
Yes, the Strawberry Banana Pudding Dream can easily be made gluten-free! Simply substitute the vanilla wafers with gluten-free wafers. Always check labels of your ingredients to ensure they are gluten-free, especially the pudding mix and sweetened condensed milk, to accommodate dietary needs safely.
Can I prepare this dessert in advance?
Definitely! I often prepare this Strawberry Banana Pudding Dream a day in advance. It’s actually better because the flavors meld together beautifully when refrigerated overnight. Just make sure it’s well-covered in the fridge, and you’ll have a delicious, ready-to-serve dessert that’s perfect for any occasion!
Creamy Strawberry Banana Pudding Dream for Easy Chill Treats
Ingredients
Equipment
Method
- In a mixing bowl, blend the softened cream cheese and sweetened condensed milk until smooth, about 2-3 minutes.
- Add French vanilla pudding mix and milk to the cream cheese mixture; stir continuously for 1-2 minutes until lump-free and thickened.
- Lay down a layer of vanilla wafers in a large serving dish, followed by a layer of sliced bananas and strawberries.
- Pour half of the pudding mixture over the fruit and wafers; spread evenly to cover all layers.
- Repeat layering with remaining vanilla wafers, bananas, strawberries, and then the remaining pudding mixture.
- Top with whipped topping before covering with plastic wrap and refrigerating for at least 4 hours or overnight.