
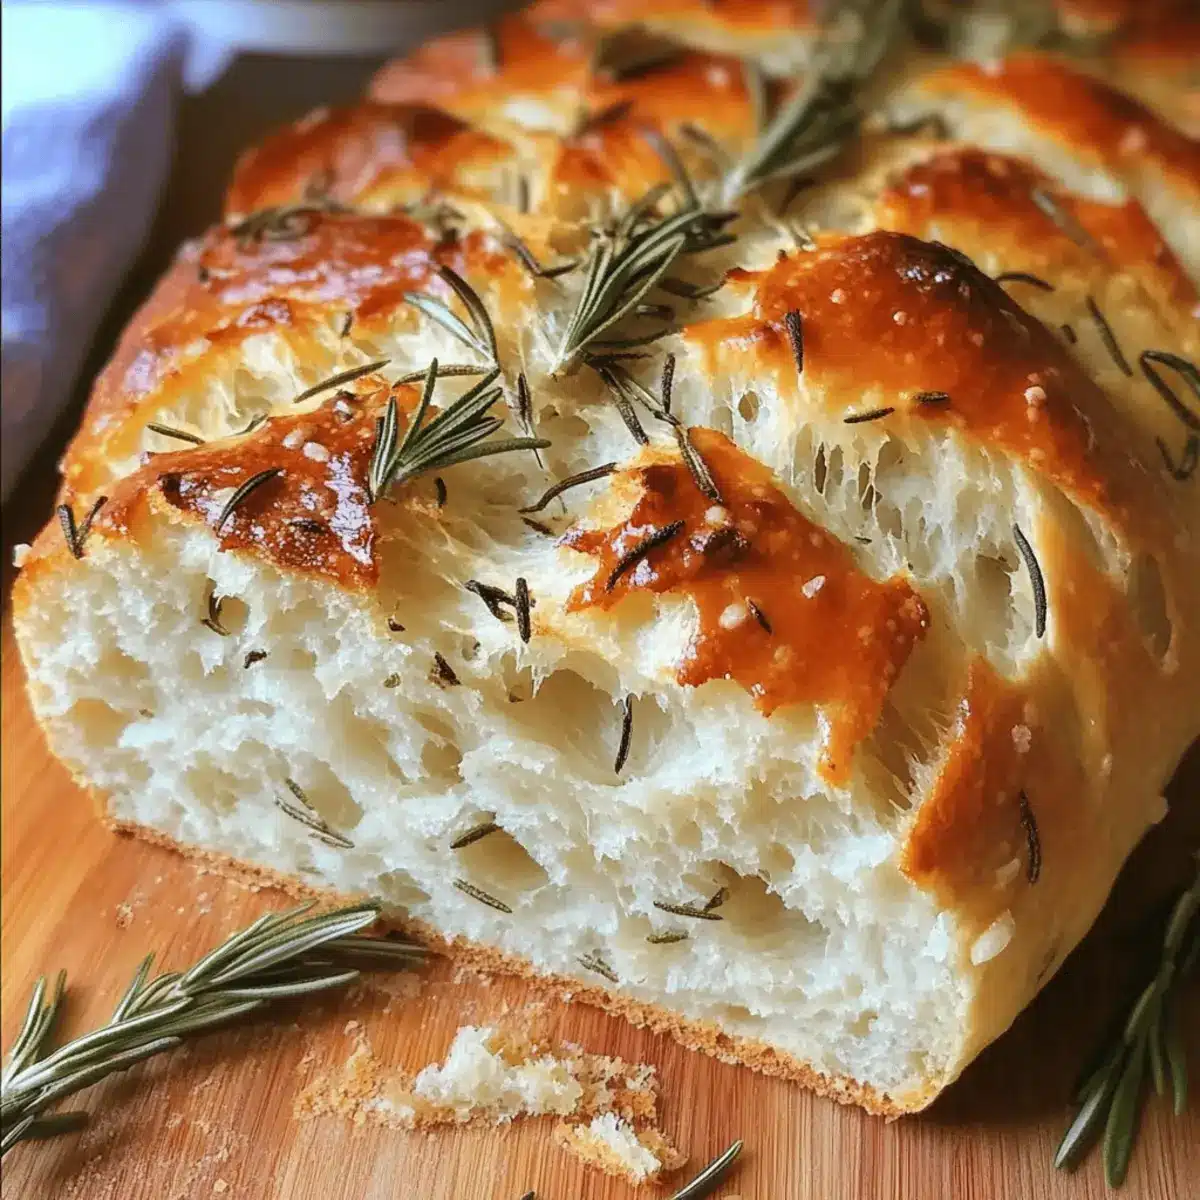
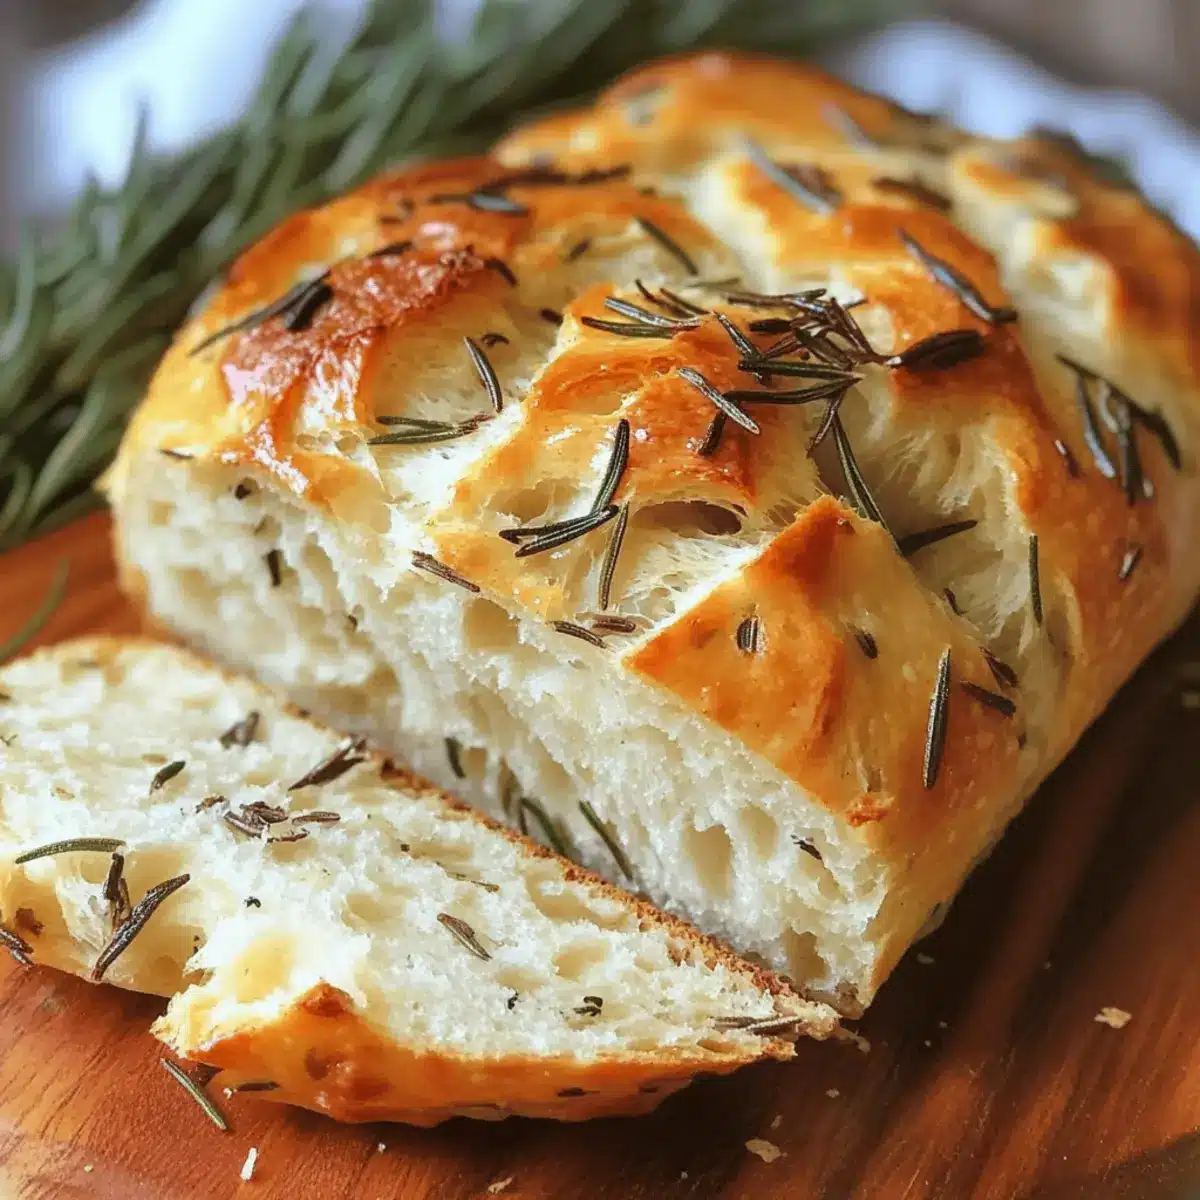
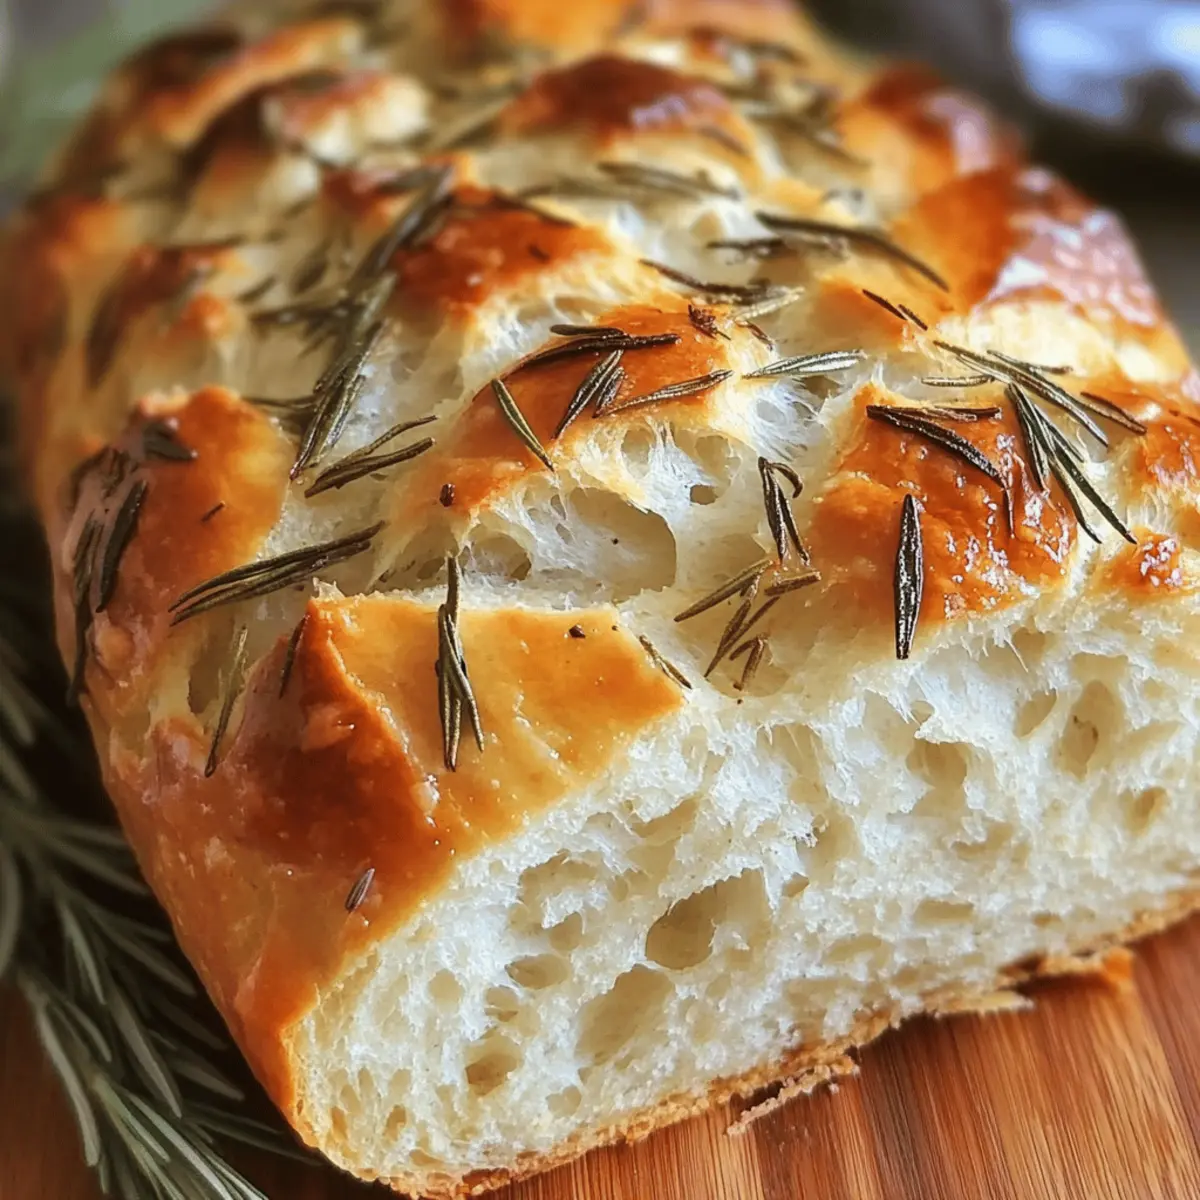
As I stood in my kitchen, the rich scent of fresh rosemary wafted through the air, instantly transporting me to an Italian herb garden. There’s something magical about baking Homemade Rosemary Bread that makes you feel both accomplished and comforted. This recipe delivers a crispy crust and a tender, airy crumb—perfect for those who want a rustic touch to their dining experience. Not only is it easy enough for beginners to tackle, but it’s also a fantastic way to impress friends and family at your next gathering. Plus, this aromatic bread is vegetarian-friendly, making it a great addition to nearly any meal. Are you ready to fill your home with the irresistible fragrance of homemade bread? Let’s dive in!

Why is Homemade Rosemary Bread so special?
Irresistible Aroma: The moment you pull this bread from the oven, your kitchen fills with the delightful scent of fresh rosemary, creating a warm and inviting atmosphere.
Beginner-Friendly: Even if you’re new to baking, this recipe is straightforward, ensuring a delicious loaf with minimal fuss.
Versatile Pairing: This bread perfectly complements a variety of dishes—enjoy it with a hearty soup or as a flavorful side with salads. Try pairing it with Fudge Brownie Bread for a diverse spread!
Customizable Options: Want a twist? Add olives or cheese to personalize your loaf and suit your taste.
Crowd-Pleasing Delight: Whether served at a family dinner or a casual gathering, this Homemade Rosemary Bread is sure to impress your guests. Its rustic charm and fresh flavors make it a memorable addition to any occasion!
Homemade Rosemary Bread Ingredients
• Explore these essential ingredients to create your own delightful loaf!
For the Bread
- All-Purpose Flour – This flour provides structure; consider using bread flour for a chewier bite.
- Active Dry Yeast – A vital leavening agent—ensure it’s fresh for the best rise in your Homemade Rosemary Bread.
- Warm Water – Activates the yeast; keep it between 100°F to 110°F to avoid killing the yeast.
- Fresh Rosemary – Adds fragrant flavor; dried rosemary can work too, just use half the amount for a great taste.
- Salt – Enhances flavor while controlling yeast fermentation; missing this step can alter your loaf’s success.
- Olive Oil – Contributes moisture and richness; feel free to swap with melted butter if you prefer a buttery flavor.
For Added Flavor (Optional)
- Chopped Olives – For a Mediterranean twist, fold in some olives to your dough.
- Grated Parmesan Cheese – Adds a savory punch; the cheesy goodness blends beautifully with rosemary.
- Honey – Drizzle a bit on top before baking for a subtle sweetness in each bite.
Step‑by‑Step Instructions for Homemade Rosemary Bread
Step 1: Activate the Yeast
In a large mixing bowl, combine 1 cup of warm water (between 100°F to 110°F) with 2 teaspoons of active dry yeast. Stir gently and let it sit for about 5 minutes until it becomes frothy, signaling that the yeast is active. This crucial first step ensures your Homemade Rosemary Bread will rise beautifully.
Step 2: Mix the Dough
Once the yeast has bubbled, add 3 cups of all-purpose flour, 1 teaspoon of salt, and 2 tablespoons of olive oil to the mixture. Chop about 2 tablespoons of fresh rosemary and sprinkle it in as well. Mix everything together until a shaggy dough forms, ensuring that all ingredients are well incorporated for the best flavor.
Step 3: Knead the Dough
Turn the dough out onto a lightly floured surface and knead it for approximately 10 minutes. Use the heel of your hand to push the dough away and then fold it back over itself. Continue this process until the dough becomes smooth and elastic, with a soft, slightly tacky texture—this is key for your Homemade Rosemary Bread.
Step 4: First Rise
Place the kneaded dough in a greased bowl, and cover it with a clean kitchen towel. Allow it to rise in a warm, draft-free area for about 1 hour, or until it has doubled in size. Keep an eye on it, as the rising stage plays a vital role in developing the bread’s airy texture.
Step 5: Shape the Loaf
Once the dough has risen, gently punch it down to release any excess air. Turn it onto a clean surface and shape it into a round loaf. Place the shaped dough onto a baking sheet lined with parchment paper. Cover again with the towel and let it rise for another 30 minutes, allowing it to puff up for that delightful rustic touch.
Step 6: Preheat and Slash
While your loaf is rising, preheat your oven to 400°F (200°C). Once the dough has completed its second rise, use a sharp knife to make a few slashes on the top of the loaf—this allows the bread to expand beautifully while baking, enhancing both its appearance and texture for your Homemade Rosemary Bread.
Step 7: Bake the Bread
Carefully place the loaf in the preheated oven and bake for about 30–35 minutes. Keep an eye on it; you’ll know it’s done when the crust is golden brown and sounds hollow when tapped on the bottom. This final step transforms the dough into the aromatic Homemade Rosemary Bread you’ve been waiting for.
Step 8: Cool and Slice
Once baked, take the bread out of the oven and let it cool on a wire rack for at least 10 minutes before slicing. This resting period allows the crumb to set, ensuring each slice reveals the tender, fluffy interior filled with the enchanting aroma of rosemary.
What to Serve with Homemade Rosemary Bread
There’s nothing quite like a warm slice of freshly baked bread to make any meal feel special.
-
Hearty Vegetable Soup: The earthy flavors of the soup pair beautifully with the aromatic bite of rosemary, creating a comforting dish that warms the soul.
-
Mixed Green Salad: A fresh salad with crisp vegetables adds a crunchy contrast to the soft texture of the bread. Drizzle with a light vinaigrette to elevate both flavors.
-
Garlic Herb Butter: Slather some homemade garlic herb butter on your warm slices for a decadent twist that enhances the rosemary’s aromatic notes while adding richness.
-
Cheese Platter: Pairing your bread with a selection of cheeses, such as brie or aged cheddar, creates a delightful combination that pleases the palate and makes for an elegant appetizer.
-
Olive Tapenade: The bursts of saltiness and flavor from olive tapenade create a beautiful harmony with the rosemary. It’s perfect for creating a Mediterranean-inspired snack.
-
Grilled Vegetable Skewers: Charred seasonal vegetables with a touch of olive oil complement the rustic textures in the bread, offering a delicious, wholesome experience for your taste buds.
-
Red Wine: A glass of red wine, especially a hearty cabernet or a smooth merlot, rounds out the meal, enhancing the richness of both the bread and the accompanying dishes.
Expert Tips for Homemade Rosemary Bread
-
Choose Fresh Herbs: Using fresh rosemary will provide a vibrant flavor. For best results, avoid using dried rosemary, as it lacks the depth.
-
Test Your Yeast: Always make sure your yeast is fresh by checking for bubbles in the warm water. A good rise is crucial for light and airy Homemade Rosemary Bread.
-
Proper Kneading: Knead the dough well for about 10 minutes; it’s essential for developing gluten, which gives your bread that irresistible structure.
-
Draft-Free Rising: Let the dough rise in a warm area away from drafts. This prevents it from slowing down, ensuring a perfect rise.
-
Slash with Care: When slashing the top of the loaf, make shallow cuts to allow the bread to expand without tearing, enhancing your Homemade Rosemary Bread’s appearance.
Make Ahead Options
These Homemade Rosemary Bread options are perfect for busy home cooks looking to save time! You can prepare the dough and let it rise for up to 24 hours in the refrigerator, which helps develop flavor. Simply mix all the ingredients, knead the dough, and allow it to rise before covering it tightly with plastic wrap and placing it in the fridge. When you’re ready to bake, take it out, let it come to room temperature for about 30 minutes, shape it into a loaf, and allow it to rise again for about 30 minutes before slashing and baking. This method ensures that your bread will be just as delicious, with a crispy crust and airy crumb, while saving you precious time on busy days!
How to Store and Freeze Homemade Rosemary Bread
Room Temperature: Store the bread in an airtight container or tightly wrapped in plastic to keep it fresh for up to 3-4 days at room temperature.
Fridge: If you need to prolong freshness beyond 4 days, you can store the Homemade Rosemary Bread in the refrigerator, but it may dry out. Aim to consume within a week.
Freezer: For longer storage, wrap the cooled loaf in plastic wrap, then place it in an airtight freezer bag. It can be frozen for up to 3 months while retaining its delightful flavors.
Reheating: To enjoy frozen bread, thaw it in the fridge overnight, then warm in a preheated oven at 350°F (175°C) for about 10-15 minutes for that freshly-baked feel.
Homemade Rosemary Bread: Variations & Substitutions
Feel free to explore these delightful twists and substitutions that will make your Homemade Rosemary Bread truly your own!
- Olive-Studded: Add chopped olives for a Mediterranean flair that complements the rosemary beautifully. The briny flavor elevates each bite!
- Cheesy Delight: Stir in grated Parmesan cheese for rich, savory goodness. The melted cheese adds a delightful creaminess, making this bread extra special.
- Herb Swaps: Exchange rosemary for other fresh herbs like thyme, oregano, or basil for a whole new flavor profile. Each herb brings its own unique taste, creating a fun variety for your bread-making adventures!
- Honey Glaze: Drizzle honey over the dough before baking for a subtle sweetness. This mouthwatering glaze caramelizes, adding a lovely finish to your loaf.
- Seed Topping: Top with sesame or poppy seeds before baking for added texture and crunch. These tiny seeds not only enhance the look but give a delightful bite.
- Garlic Infusion: Mix in minced garlic or garlic powder for a fragrant, savory touch. This robust flavor perfectly complements the rosemary, creating a deliciously aromatic bread.
- Spicy Kick: Incorporate a pinch of red pepper flakes for a subtle heat. This unexpected twist dances on the palate, making each bite exciting!
- Nutty Texture: Add chopped nuts, such as walnuts or pecans, for a satisfying crunch. The nuttiness balances the herb flavors, making your bread a nourishing treat.
You’ll love how these variations let you personalize your Homemade Rosemary Bread. Pair your creation with a hearty soup or enjoy it alongside a salad for a satisfying meal. For a lovely sweet treat, don’t forget to explore the delights of Banana Nut Bread for dessert!
Homemade Rosemary Bread Recipe FAQs
What is the best way to choose fresh rosemary for my Homemade Rosemary Bread?
Absolutely! When selecting fresh rosemary, look for vibrant green leaves that are fragrant and flexible. Avoid any sprigs with dark spots or dryness, as these indicate past their prime. If fresh rosemary isn’t available, dried rosemary can be used; just reduce the amount to half for the best flavor in your bread.
How should I store my Homemade Rosemary Bread?
The best way to store this delightful bread is in an airtight container or wrapped tightly in plastic wrap. At room temperature, it will stay fresh for about 3 to 4 days. Just remember, keeping it sealed helps maintain its moisture and flavor!
Can I freeze my Homemade Rosemary Bread, and what’s the best method?
Certainly! To freeze, wrap the cooled loaf tightly in plastic wrap, then place it in an airtight freezer bag. This double-wrapping method prevents freezer burn and keeps your bread fresh for up to 3 months. When you’re ready to enjoy it again, thaw in the fridge overnight and then warm it in a 350°F (175°C) oven for about 10-15 minutes for that straight-out-of-the-oven taste.
What if my dough didn’t rise?
Very! If your dough didn’t rise, there could be a couple of reasons. First, check if the yeast was fresh—old yeast won’t activate properly. If the water was too hot, it might have killed the yeast. For next time, ensure the water temperature is between 100°F to 110°F. If the dough is still dense, try again by gently warming your kitchen and allowing more time for the rise.
Is this Homemade Rosemary Bread suitable for pets, or does it contain any allergens?
Always a good question! While rosemary is safe for most dogs in small amounts, it’s advisable to keep this bread away from pets due to other ingredients like salt and yeast. For those with allergies, be cautious about gluten from wheat flour. You can consider using gluten-free flour alternatives if necessary, but the rising and texture will change significantly.
Homemade Rosemary Bread That Fills Your Kitchen with Aroma
Ingredients
Equipment
Method
- In a large mixing bowl, combine warm water with active dry yeast. Stir gently and let it sit for about 5 minutes until frothy.
- Once the yeast has bubbled, add all-purpose flour, salt, and olive oil. Sprinkle in chopped rosemary and mix until a shaggy dough forms.
- Turn the dough out onto a lightly floured surface and knead for about 10 minutes until smooth and elastic.
- Place the kneaded dough in a greased bowl, cover with a towel, and let it rise for about 1 hour until doubled in size.
- Gently punch down the risen dough, shape it into a round loaf, and place on a baking sheet lined with parchment paper. Let it rise for another 30 minutes.
- Preheat your oven to 400°F (200°C). Slash the top of the loaf with a sharp knife.
- Bake the loaf in the preheated oven for 30-35 minutes until golden brown and sounds hollow when tapped.
- Let the bread cool on a wire rack for at least 10 minutes before slicing.