
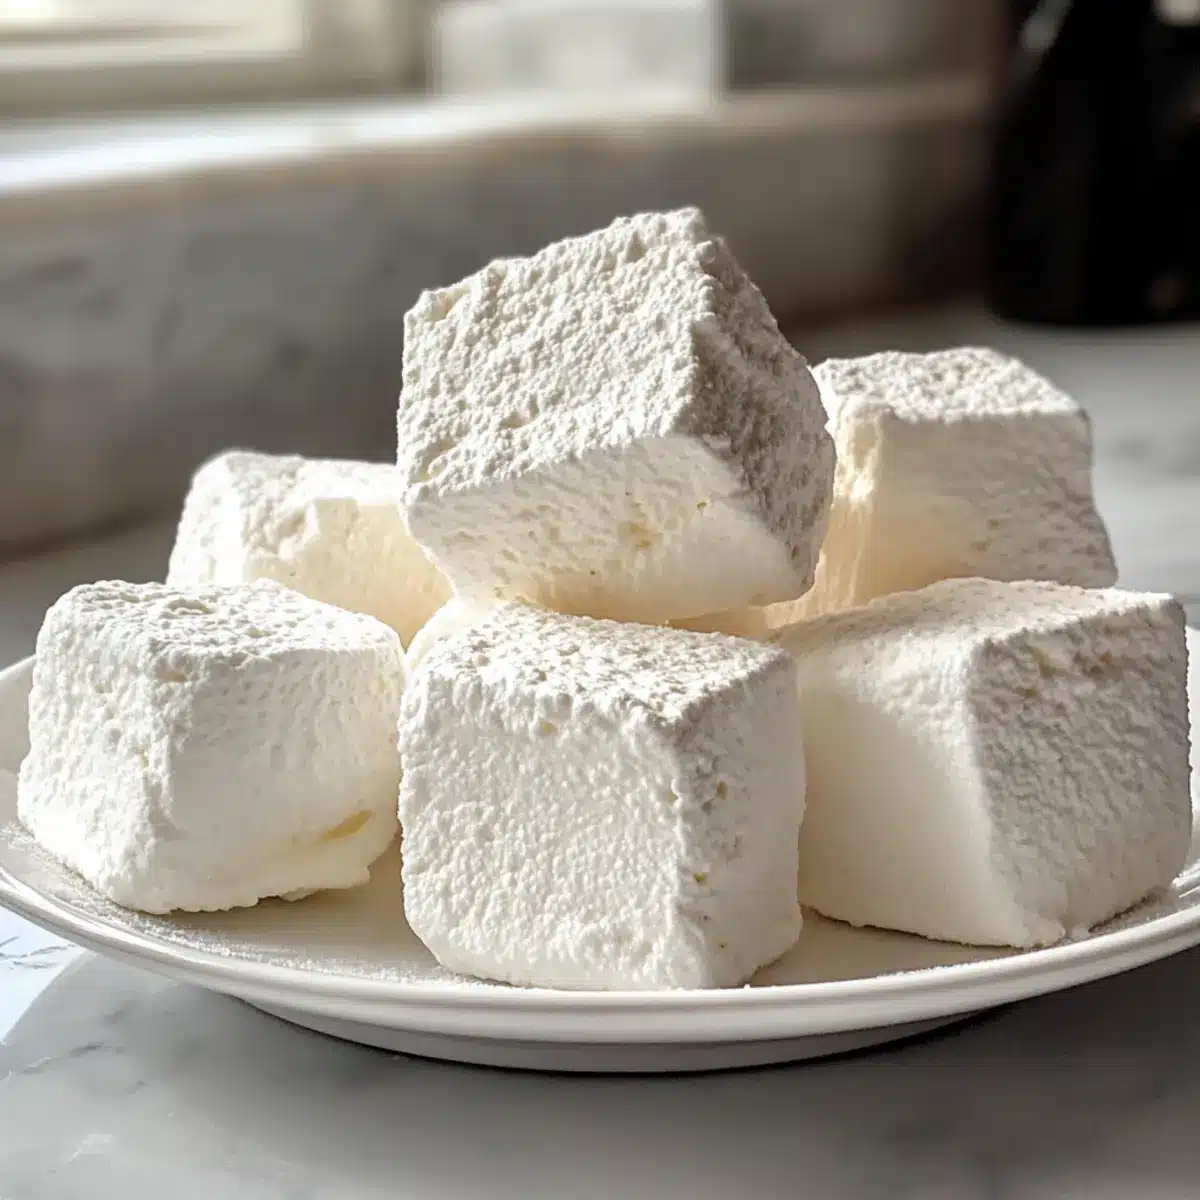
As I sifted through my pantry, the less-than-perfect brown sugar and a cry for sweetness beckoned me to whip up a batch of homemade marshmallows. There’s something magical about creating these fluffy confections from just four simple ingredients. Perfect for jazzing up your favorite hot cocoa or adding a nostalgic twist to s’mores, this homemade marshmallow recipe is not only gluten-free but also lets you control the sweetness with natural maple syrup. Plus, making them from scratch means no corn syrup or artificial fluff—just pure, heartwarming ingredients. If you’ve been craving a cozy, nostalgic treat, these light and airy marshmallows will undoubtedly brighten your day. What flavor twist will you explore in your batch?
Why Make Homemade Marshmallows?
Nostalgic Comfort: Creating homemade marshmallows is like capturing a piece of childhood; they bring instant joy and warmth to any cold day.
Healthier Choice: With no corn syrup or artificial flavors, you can indulge without guilt, knowing you’re using wholesome, gluten-free ingredients.
Simple Process: Only 4 ingredients and straightforward steps make this recipe perfect for novice and seasoned chefs alike.
Customization Possibilities: Adjust sweetness with maple syrup to your liking, and feel free to experiment with flavors like vanilla or cocoa!
Perfect for Gifting: Packaged beautifully, these marshmallows make delightful homemade gifts, perfect for sharing that cozy vibe with friends and family. If you’re looking for more delicious homemade treats, try our Marshmallow Brownies Fudgy for a sweet twist!
Homemade Marshmallow Ingredients
For the Base
- Water – Essential for blooming the gelatin and setting the marshmallows; cold water yields the best texture.
- Gelatin – Provides that delightful fluffiness; opt for grass-fed and unflavored for a nutritious boost.
For Sweetness
- Maple Syrup (or Honey) – Acts as a natural sweetener; adjusting the ratio with water allows you to perfect your homemade marshmallow sweetness.
- Sea Salt – Enhances the overall flavor; just a pinch is all you need to elevate this treat.
Step‑by‑Step Instructions for Homemade Marshmallow
Step 1: Bloom the Gelatin
In a small bowl, stir 3 tablespoons of gelatin into ½ cup of cold water. Allow this mixture to sit undisturbed for about 3-5 minutes until it becomes a gel-like consistency, which is critical for achieving the fluffy texture of your homemade marshmallow.
Step 2: Heat the Mixture
In a medium saucepan, combine 1 cup of water, ½ cup of maple syrup, and a pinch of sea salt. Bring this mixture to a gentle boil over medium heat, stirring frequently for approximately 8 minutes. You’ll want to spot a slight thickening and a bit of bubbling as it heats, which signals it’s ready for the next step.
Step 3: Combine Mixtures
Once the water and maple syrup mixture is boiling, carefully pour it over the bloomed gelatin in the bowl. Stir continuously until the gelatin is completely dissolved, which should take about 2 minutes. The heat from the syrup helps the gelatin mix smoothly, setting a strong base for your marshmallow.
Step 4: Whip the Mixture
Transfer the gelatin mixture to a stand mixer equipped with a whisk attachment or use a hand mixer. Whip the mixture on high speed for 5-10 minutes, until soft peaks form and it resembles a thick, glossy marshmallow fluff. Watch for the volume to increase significantly, indicating it’s reaching the right texture for your homemade marshmallow.
Step 5: Set the Marshmallows
Line a 9×13 inch pan with parchment paper for easy removal. Pour the whipped marshmallow fluff into the prepared pan, spreading it evenly with a spatula. Cover it lightly with plastic wrap and place the pan in the refrigerator for 2-3 hours, allowing it to set until firm and sliceable.
Step 6: Cut and Serve
Once the marshmallows are fully set, remove them from the fridge and lift them out of the pan using the parchment paper. Use a sharp knife or kitchen scissors to cut them into your desired shapes. Enjoy these delightful homemade marshmallows in hot beverages or as a sweet addition to your favorite desserts!
Make Ahead Options
These delightful homemade marshmallows are perfect for meal prep enthusiasts! You can bloom the gelatin and even whip the mixture up to 24 hours in advance. Simply prepare the mixture as directed, then cover it tightly and refrigerate before setting. For the best outcome, pour the whipped fluff into the parchment-lined pan, cover, and refrigerate until you’re ready to set them, which can also be done up to 3 days in advance. When you’re ready, simply slice them into shapes and enjoy the same light and fluffy texture. By prepping ahead, you’ll save precious time, ensuring you always have these sweet treats ready for cozy moments or tasty desserts!
Helpful Tricks for Homemade Marshmallows
- Gelatin Quality Matters: Using high-quality, grass-fed gelatin will ensure your homemade marshmallows have the best texture and flavor. Avoid substitutes that may alter the outcome.
- Watch the Whipping Time: Over-whipping can lead to a hard texture. Stop once soft peaks form, resulting in a pillowy marshmallow fluff.
- Calibrate Sweetness: Adjust the ratio of water to maple syrup according to taste. More syrup creates a sweeter treat; find your perfect balance!
- Slicing Technique: Dust your knife with cornstarch or powdered sugar before cutting to prevent sticking and ensure neat, beautiful marshmallow shapes.
- Storage Matters: Store in an airtight container to maintain freshness and prevent them from becoming hard or sticky. Enjoy for up to two weeks!
What to Serve with 4-Ingredient Homemade Marshmallows
Indulging in these fluffy treats opens up a world of delightful pairings that elevate your cozy moments.
-
Hot Cocoa: Pair with rich, creamy hot cocoa for an indulgent treat that melts your marshmallows into a luscious topping.
-
Coffee: Enjoy them atop a steaming cup of coffee, where the warm beverage invites the marshmallows to add sweetness and warmth.
-
S’mores: Use your homemade marshmallows in classic s’mores, where they lend that gooey texture between graham crackers and chocolate.
-
Rice Crispy Treats: Incorporate these fluffy gems into rice crispy treats for a chewy, crispy dessert with extra marshmallow sweetness in every bite.
-
Vanilla Ice Cream: Add a few pieces on top of vanilla ice cream. Their lightness contrasts beautifully with the creaminess, creating a delightful balance.
-
Chocolate Fondue: Dip pieces into warm chocolate fondue for a fun twist. The melted chocolate will enhance the overall experience, combining textures indulgently.
The possibilities are endless, inviting you to create memorable moments filled with sweetness!
Homemade Marshmallow Variations
Feel free to let your creativity shine by customizing this delightful treat to suit your taste and preferences!
- Honey Option: Swap maple syrup for honey for a floral taste that pairs beautifully with chai or green tea.
- Vanilla Twist: Add 1 teaspoon of vanilla extract to the gelatin mixture before whipping for a fragrant flavor boost that reminds you of childhood delights.
- Cocoa Marshmallows: Stir in 2 tablespoons of cocoa powder during the whipping stage to create rich, chocolatey marshmallows perfect for hot chocolate.
- Spicy Kick: Introduce a pinch of cayenne pepper or cinnamon to the mixture before setting for a surprising heat that will intrigue your taste buds.
- Fruit Fusion: Blend in pureed fruits like raspberry or strawberry into the gelatin mixture for a deliciously tangy, fruity marshmallow experience.
- Nutty Delight: Fold in crushed nuts like pistachios or walnuts after whipping for some delightful texture and crunch. Imagine these in a decadent s’more!
- Coffee-Infused: Instead of water, use brewed coffee for a caffeinated treat that pairs perfectly with desserts like brownies or as a topping for your favorite iced matcha latte.
- Mini-Peanut Butter Fluff: Drizzle natural peanut butter into the whipped mixture for a nutty twist; use this flavorful fluff to upgrade your s’mores or rice crispy treats!
Whichever variation you choose, crafting homemade marshmallows will not only be a fun adventure but also a delightful addition to any cozy moment. Enjoy, and don’t forget to check out our Homemade Grilled Octopus Recipe for an exciting dish to complement your sweet treats!
How to Store and Freeze Homemade Marshmallows
Fridge: Keep your homemade marshmallows in an airtight container to maintain freshness. They will stay delicious for up to 2 weeks when stored properly.
Freezer: For longer storage, freeze marshmallows in a single layer on a parchment-lined baking sheet, then transfer to an airtight container. They can last up to 3 months.
Reheating: To revive frozen marshmallows, simply let them thaw in the fridge overnight or at room temperature for an hour. They can be enjoyed on their own or added to warm beverages.
Wrapping: If you plan on gifting them or keeping them for a longer period, individually wrap each marshmallow in plastic wrap to avoid them sticking together.
Homemade Marshmallow Recipe FAQs
What type of water should I use to bloom the gelatin?
It’s best to use cold water when blooming the gelatin. This helps create a gel-like consistency, which is crucial for achieving the fluffy texture of your homemade marshmallows. Remember, patience is key; let the gelatin and water sit undisturbed for 3-5 minutes to do its magic!
How should I store homemade marshmallows?
To keep your homemade marshmallows fresh, store them in an airtight container in the refrigerator. They’ll maintain their delightful texture and flavor for up to 2 weeks. If you’d like to enjoy them longer, simply follow the freezing instructions provided below.
Can I freeze homemade marshmallows?
Absolutely! To freeze your homemade marshmallows, place them in a single layer on a parchment-lined baking sheet for about an hour, which prevents them from sticking together. Once frozen, transfer them to an airtight container or freezer bag. They can last up to 3 months in the freezer!
What if my marshmallow mixture doesn’t whip up to soft peaks?
If your mixture isn’t reaching soft peaks, it may be under-whipped. Just keep whipping on high speed for a bit longer, and consider checking your mixer speed as well. Ensure all ingredients are combined well before starting the whipping process, as this can affect fluffiness.
Are homemade marshmallows a safe treat for pets?
While homemade marshmallows are free from artificial additives, they are still sweet treats and should be given to pets in moderation, if at all. The natural sweeteners such as maple syrup or honey can pose issues for animals like dogs. Always consult your veterinarian if you’re unsure about specific treats for your pets.
How can I customize the sweetness of my marshmallows?
You can easily adjust the sweetness of your homemade marshmallows by varying the ratio of water to maple syrup. If you prefer a sweeter treat, increase the maple syrup while decreasing the water, making sure both total 2 cups for the recipe. Play around with flavors—perhaps adding a splash of vanilla or even cocoa powder for a fun twist!
Delightful Homemade Marshmallow Recipe for Cozy Moments
Ingredients
Equipment
Method
- In a small bowl, stir 3 tablespoons of gelatin into ½ cup of cold water. Allow this mixture to sit undisturbed for about 3-5 minutes until it becomes a gel-like consistency.
- In a medium saucepan, combine 1 cup of water, ½ cup of maple syrup, and a pinch of sea salt. Bring this mixture to a gentle boil over medium heat, stirring frequently for approximately 8 minutes.
- Once the water and maple syrup mixture is boiling, carefully pour it over the bloomed gelatin in the bowl. Stir continuously until the gelatin is completely dissolved, which should take about 2 minutes.
- Transfer the gelatin mixture to a stand mixer equipped with a whisk attachment or use a hand mixer. Whip the mixture on high speed for 5-10 minutes until soft peaks form.
- Line a 9x13 inch pan with parchment paper and pour the whipped marshmallow fluff into the prepared pan. Cover it lightly with plastic wrap and place the pan in the refrigerator for 2-3 hours.
- Once the marshmallows are fully set, remove them from the fridge and lift them out of the pan using the parchment paper. Use a sharp knife or kitchen scissors to cut them into your desired shapes.