
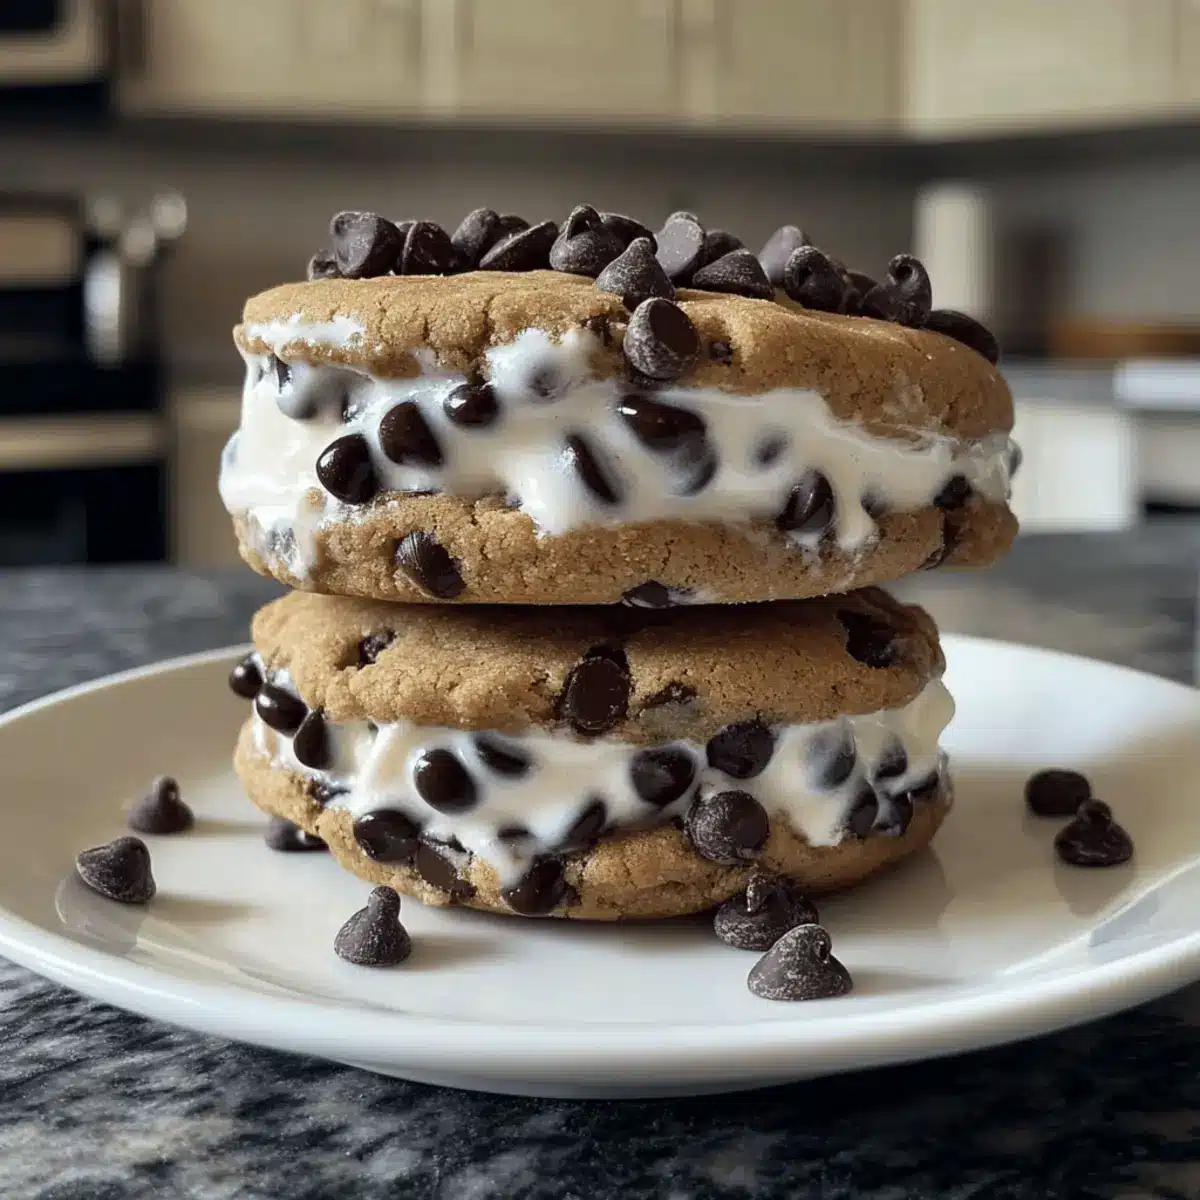
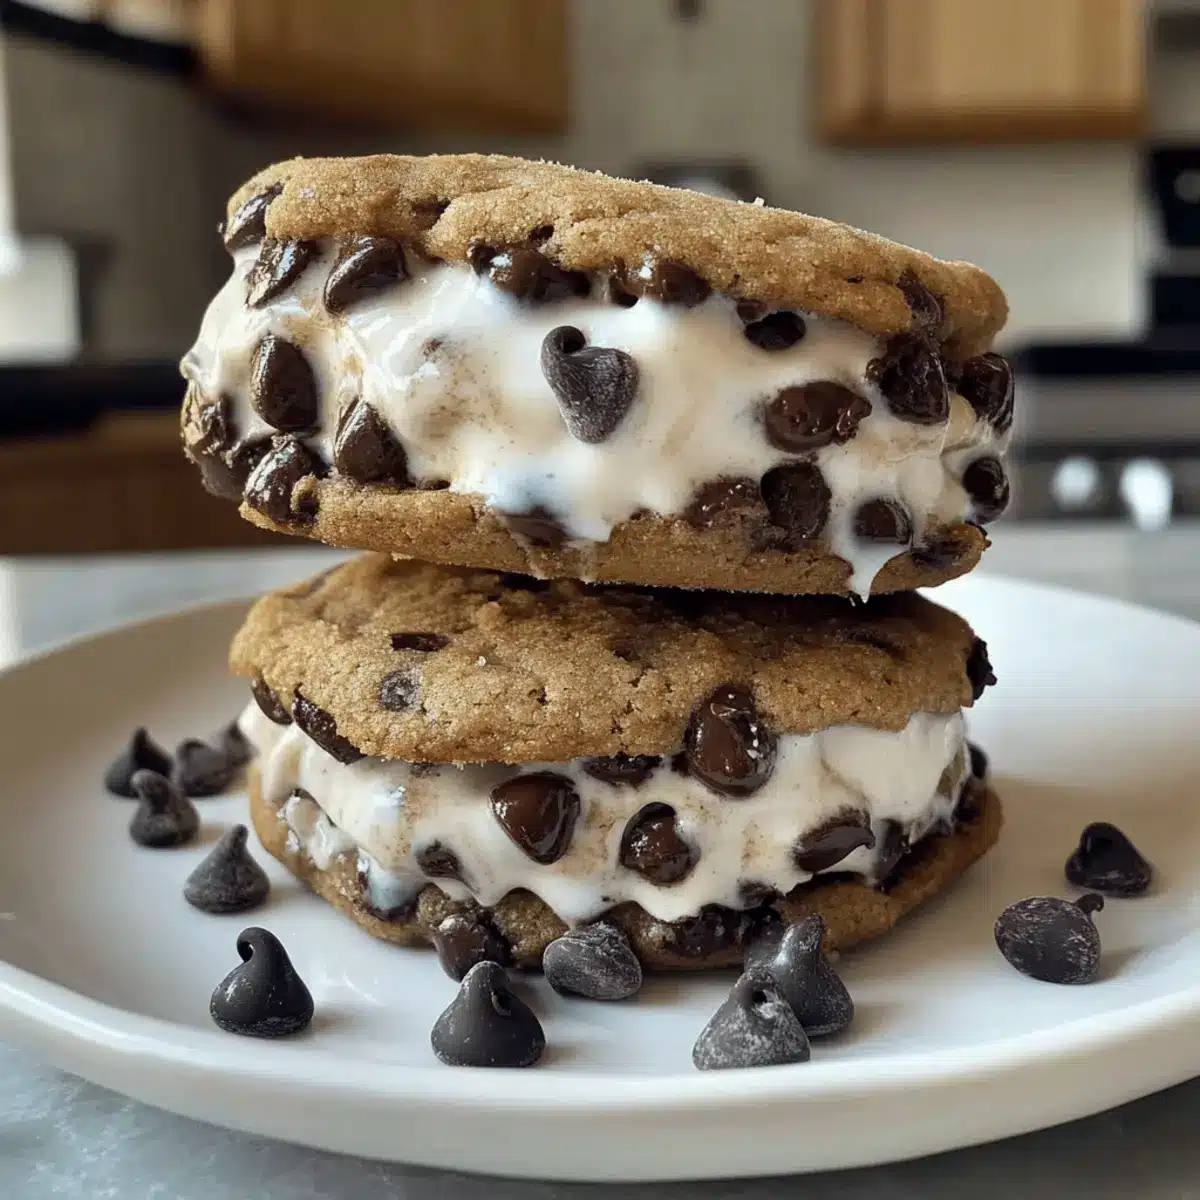
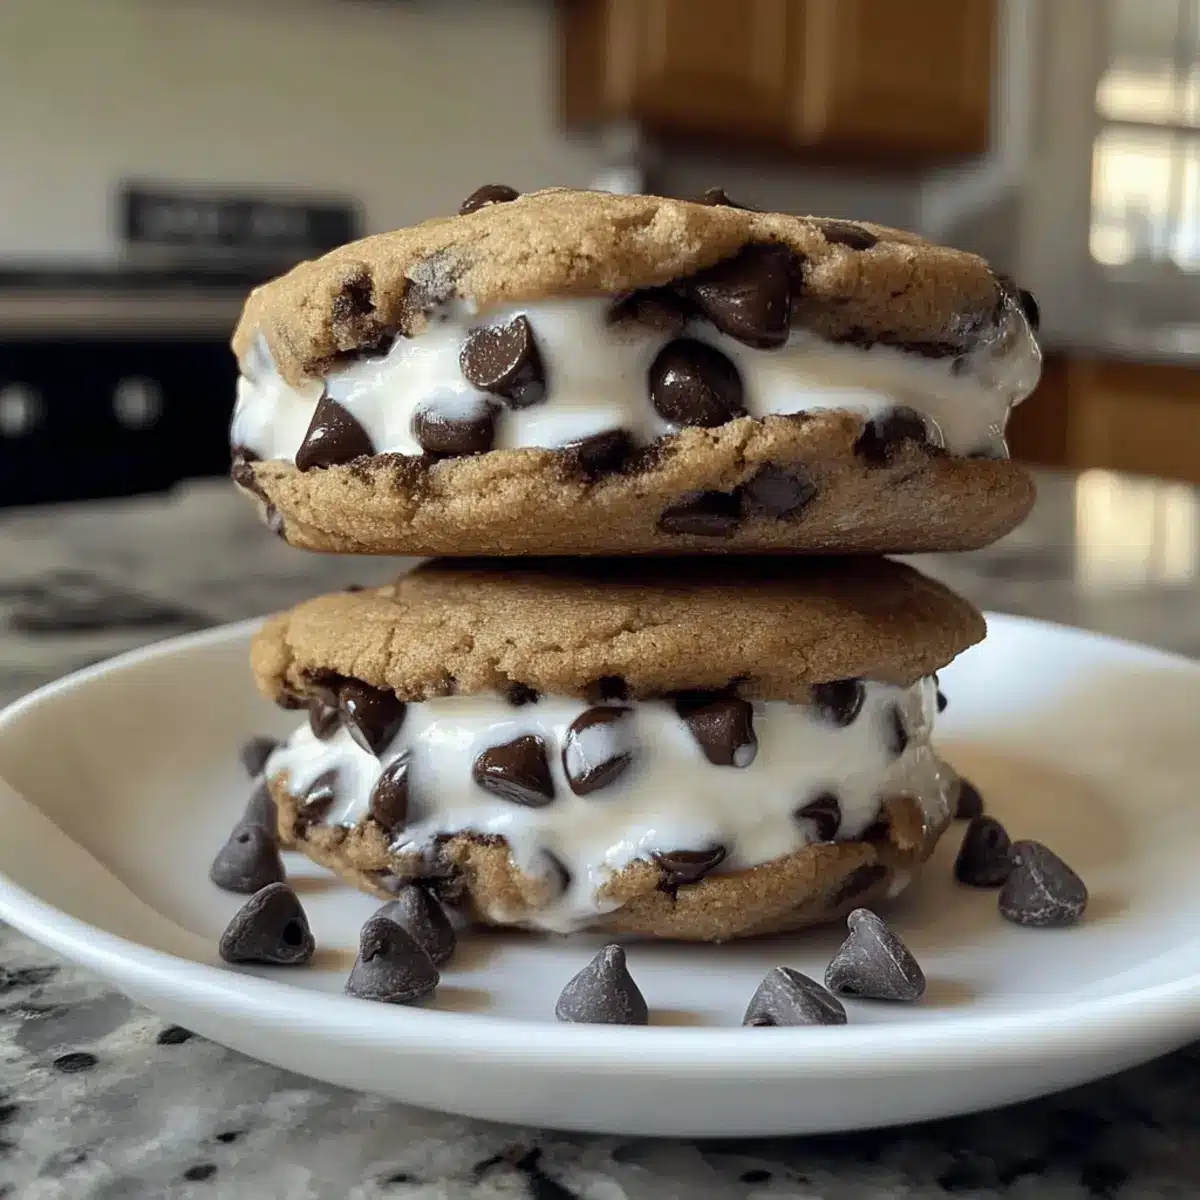
As summer kicks into high gear, who doesn’t crave something cool and satisfying? Picture yourself enjoying a sunny afternoon with friends, laughter ringing in the air, while you bite into a delicious homemade ice cream sandwich. My take on Homemade Ice Cream Sandwiches brings together chewy chocolate chip cookies and creamy oat milk ice cream, effortlessly merging delight with health. The best part? These treats are gluten-free, dairy-free, and refined sugar-free—so everyone can indulge without compromise. They’re quick to prepare and a surefire hit at any gathering, making them the ultimate summer treat. Curious how to make these healthier delights yourself? Let’s dive into the recipe that’s bound to be a crowd-pleaser!
Why Are These Ice Cream Sandwiches Irresistible?
Healthier Ingredients: They’re crafted with wholesome ingredients, ensuring a guilt-free treat for all.
Versatile Options: You can easily customize these sandwiches to be vegan and gluten-free, catering to everyone’s dietary preferences.
Time-Saving Prep: With straightforward steps, they come together quickly—perfect for last-minute summer gatherings!
Deliciously Creamy: The combination of oat milk ice cream and chewy cookies delivers a satisfying texture that will have everyone coming back for seconds.
Crowd-Pleasing Appeal: Whether at a backyard BBQ or a family picnic, these sandwiches are sure to impress and delight all ages. Enjoy them right away or store them up to 3 months for a sweet treat anytime!
Homemade Ice Cream Sandwiches Ingredients
For the Oat Milk Ice Cream
- Raw Cashews – Adds creaminess and a smooth texture; can use soaked almonds if desired.
- Full Fat Oat Milk – Provides a creamy base; alternatives include almond or cashew milk, but it may affect texture.
- Honey or Maple Syrup – Acts as a sweetener for the ice cream; use maple syrup for a vegan alternative.
- Vanilla Extract – Enhances flavor; pure extract recommended for the best taste.
- Salt – Balances sweetness for a richer flavor in your homemade ice cream sandwiches.
For the Chocolate Chip Cookies
- Unsalted Butter or Vegan Butter – Adds richness and moisture; substitute with coconut oil for a dairy-free option.
- Coconut Sugar – Sweetens the cookies while providing a chewy texture; brown sugar can be used as an alternative.
- Egg – Binds the ingredients together; substitute with a flax or chia egg for a vegan option.
- All-Purpose Flour or Gluten-Free Flour – Provides structure to cookies; ensure a gluten-free blend if necessary.
- Salt – Elevates flavor; essential for a balanced cookie.
- Baking Soda and Baking Powder – Helps the cookies rise; ensure they are fresh for the best results.
- Mini Chocolate Chips – Adds texture and sweetness; use dairy-free varieties for a vegan option.
Step‑by‑Step Instructions for Homemade Ice Cream Sandwiches
Step 1: Prepare Ice Cream Base
Begin by soaking 1 cup of raw cashews in water overnight; this ensures a creamy texture for your oat milk ice cream. The next day, drain the cashews and blend them with 2 cups of full-fat oat milk, 1/4 cup of honey (or maple syrup), 1 teaspoon of vanilla extract, and a pinch of salt. Blend until smooth and creamy, about 1-2 minutes.
Step 2: Chill Ice Cream Mixture
Once your ice cream base is blended, transfer it to a bowl and refrigerate for at least 2 hours. Chilling the mixture enhances its creaminess. If you have an ice cream maker, follow the manufacturer’s instructions to churn the mixture until it reaches a soft-serve consistency. If not using a machine, pour it into a container and freeze for about 4-5 hours, stirring every 30 minutes for even consistency.
Step 3: Make Cookies
Preheat your oven to 350°F (175°C). In a large mixing bowl, cream together 1 cup of unsalted or vegan butter with 3/4 cup of coconut sugar until the mixture is light and fluffy (about 3-5 minutes). Add in 1 egg (or flax egg for vegan) and 1 teaspoon of vanilla extract, mixing until combined. Then, gently fold in 1 1/4 cups of flour, 1/2 teaspoon of baking soda, 1/4 teaspoon of baking powder, and a pinch of salt, followed by 1 cup of mini chocolate chips.
Step 4: Bake Cookies
Drop spoonfuls of cookie dough onto a parchment-lined baking sheet, spacing them about 2 inches apart. Bake in the preheated oven for 12-15 minutes or until the edges are golden and the centers appear slightly soft. Once done, remove the cookies from the oven and let them cool on the baking sheet for 5 minutes before transferring to a wire rack to cool completely.
Step 5: Assemble Sandwiches
Once your cookies are completely cool, it’s time to assemble your homemade ice cream sandwiches. Take one cookie and scoop about 1/4 cup of the oat milk ice cream onto its flat side. Place another cookie on top, pressing down gently to create a sandwich. For a fun twist, roll the edges of the ice cream in extra mini chocolate chips for added texture.
Step 6: Freeze Briefly for Firmness
After assembling your ice cream sandwiches, place them on a parchment-lined tray, and freeze them for about 30 minutes. This step will help the ice cream firm up and ensure the sandwiches hold together when served. If you plan to enjoy them later, wrap them individually in parchment paper and store them in the freezer for up to 3 months.

Storage Tips for Homemade Ice Cream Sandwiches
Freezer: Store wrapped ice cream sandwiches in the freezer for up to 3 months. For the best flavor and texture, aim to consume them within 1-2 weeks.
Wrap Carefully: Use parchment paper to wrap each sandwich individually. This will help prevent freezer burn and maintain their deliciousness for longer.
Thawing: If frozen solid, allow the sandwiches to sit at room temperature for about 10-15 minutes before serving. This makes them easier to bite into and enjoy.
Refrigerate Leftovers: If you have leftover cookie dough or ice cream, store it in airtight containers in the fridge for up to 3 days. This way, you can whip up fresh sandwiches anytime!
Make Ahead Options
These Homemade Ice Cream Sandwiches are ideal for thoughtful meal prep, saving you precious time on busy days! You can prepare the oat milk ice cream base and refrigerate it up to 24 hours in advance, allowing the flavors to meld beautifully. Additionally, the chocolate chip cookies can be baked and stored at room temperature for up to 3 days in an airtight container, maintaining their chewy texture. When you’re ready to serve, simply scoop the chilled ice cream onto the cookies and freeze the assembled sandwiches for about 30 minutes to ensure they hold together nicely. By prepping in advance, you’ll enjoy these delightful treats with minimal effort, keeping the homemade goodness fresh!
Expert Tips for Homemade Ice Cream Sandwiches
- Soak Cashews Properly: Ensure to soak cashews overnight for a creamy ice cream base; quick-soaking in hot water is an option too.
- Fluff Your Butter: Beat the butter and coconut sugar until super fluffy for soft, chewy cookies. This step is crucial for the texture of your homemade ice cream sandwiches.
- Cool Completely: Allow cookies to cool fully before assembling sandwiches to prevent the ice cream from melting too quickly.
- Wrap Wisely: Use parchment paper to wrap sandwiches to avoid freezer burn and maintain their deliciousness.
- Scoop Smart: Let the ice cream soften for about 15-25 minutes before scooping to make assembly easier without melting the cookies.
Homemade Ice Cream Sandwiches Variations
Feel free to delight your taste buds by customizing your homemade ice cream sandwiches! Each twist brings out new flavors and textures that everyone will love.
-
Vegan Version: Use coconut oil in place of butter and a flax or chia egg instead of a regular egg for a completely vegan treat.
-
Chocolate Freedom: Swap out traditional chocolate chips for dark chocolate chunks or your favorite nut butter chips for an extra-rich bite.
-
Gluten-Free Goodness: Use a high-quality gluten-free flour blend in your cookies for a delightful alternative that maintains the structure.
-
Nutty Crunch: Add chopped nuts like walnuts or pecans to the cookie dough for an added crunchy texture that complements the softness.
-
Creamy Adventure: Experiment with different flavors by using almond or cashew milk instead of oat milk for a unique twist on the ice cream base.
-
Sweeten The Deal: Use only maple syrup as a sweetener for both the ice cream and cookies for a refined sugar-free version that still satisfies your sweet tooth.
-
Fruity Fun: Incorporate dried fruits or chocolate-covered fruit pieces into the cookies or ice cream to add bursts of flavor and natural sweetness.
If you’re on the lookout for other delicious homemade treats, consider making a Mango Sticky Rice or refreshing Iced Matcha Latte for a delightful dessert spread that everyone will enjoy!
What to Serve with Homemade Ice Cream Sandwiches
As the summer sun shines brightly, pairing the delightful flavors of homemade ice cream sandwiches with complementary sides can elevate your gatherings to new heights.
-
Fresh Berries: The tartness of mixed berries cuts through the sweetness, adding a refreshing burst of flavor to each bite.
-
Crispy Fruit Chips: Crisp and crunchy, these chips provide a delightful textural contrast to the chewy cookies and creamy ice cream, making for an irresistible snack.
-
Minty Green Salad: A vibrant salad with fresh greens, mint, and a light vinaigrette refreshes the palate after indulging in the rich ice cream sandwiches.
-
Sparkling Lemonade: The zesty, bubbly lemonade offers a thirst-quenching balance to the sweetness, making it the perfect sipper on a warm day.
-
Chocolate Dipped Pretzels: Salty-sweet treats add an extra layer of flavor delight, enhancing the experience with a satisfying crunch.
-
Pineapple Sorbet: For those craving more icy indulgence, a light pineapple sorbet complements the sandwich beautifully with its tropical notes.
-
Coffee: A warm cup of coffee serves as a fantastic partner, its rich flavor contrasting against the sweetness of the ice cream sandwiches for a delightful finish.
Homemade Ice Cream Sandwiches Recipe FAQs
What type of cashews should I use for the ice cream?
I recommend using raw cashews for the creamiest texture. Soaking them overnight allows them to soften, which makes blending easy and results in a luscious ice cream. If you don’t have cashews, you can substitute with soaked almonds, although the flavor and creaminess may differ slightly.
How should I store my ice cream sandwiches?
Wrap your homemade ice cream sandwiches in parchment paper to prevent freezer burn, and store them in an airtight container in the freezer. They’ll stay tasty for up to 3 months, but for the best flavor and texture, enjoy them within 1-2 weeks.
Can I freeze the ice cream?
Absolutely! If you have leftover oat milk ice cream, pour it into an airtight container and freeze it. It can last up to 3 months in the freezer. To serve, allow it to soften at room temperature for about 10-15 minutes before scooping for the best consistency.
What do I do if my cookies are too crumbly?
If your cookies turn out crumbly, it might be due to too much flour or not enough binding from the egg. You can add a splash of non-dairy milk or another egg (or flax egg for a vegan option) to the dough to help bind it together better before baking. Remember to measure flour accurately; spoon it into the measuring cup rather than scooping directly from the bag for best results.
Are these ice cream sandwiches suitable for my gluten-free diet?
Yes, they are perfect for gluten-free diets! Just ensure you use a certified gluten-free flour for the chocolate chip cookies. If you’re concerned about cross-contamination, double-check the labels on all your ingredients to ensure they meet your dietary needs.
How can I customize these ice cream sandwiches for different diets?
Great question! For a vegan version, use vegan butter or coconut oil instead of regular butter and replace the egg with a flax or chia egg. To keep them refined sugar-free, only use coconut sugar or omit sugars altogether if you prefer. Feel free to swap in nuts or dried fruits as mix-ins for your cookies for some fun variations!
Deliciously Healthy Homemade Ice Cream Sandwiches for Everyone
Ingredients
Equipment
Method
- Soak 1 cup of raw cashews in water overnight. Drain and blend with 2 cups oat milk, 1/4 cup honey (or maple syrup), 1 tsp vanilla extract, and a pinch of salt until smooth, about 1-2 minutes.
- Transfer the mixture to a bowl and refrigerate for at least 2 hours. Optionally churn with an ice cream maker, or freeze for 4-5 hours, stirring every 30 minutes.
- Preheat oven to 350°F. Cream together 1 cup butter with 3/4 cup coconut sugar until fluffy (3-5 minutes). Add 1 egg (or flax egg) and 1 tsp vanilla extract; mix well.
- Fold in 1 1/4 cups flour, 1/2 tsp baking soda, 1/4 tsp baking powder, a pinch of salt, and finally 1 cup mini chocolate chips.
- Drop spoonfuls onto a lined baking sheet, spacing 2 inches apart. Bake for 12-15 minutes until edges are golden. Cool on the sheet for 5 minutes.
- Assemble sandwiches by placing 1/4 cup ice cream on one cookie and topping with another. Optionally roll edges in extra mini chocolate chips.
- Freeze assembled sandwiches for about 30 minutes to firm up. Store wrapped in parchment for up to 3 months.