
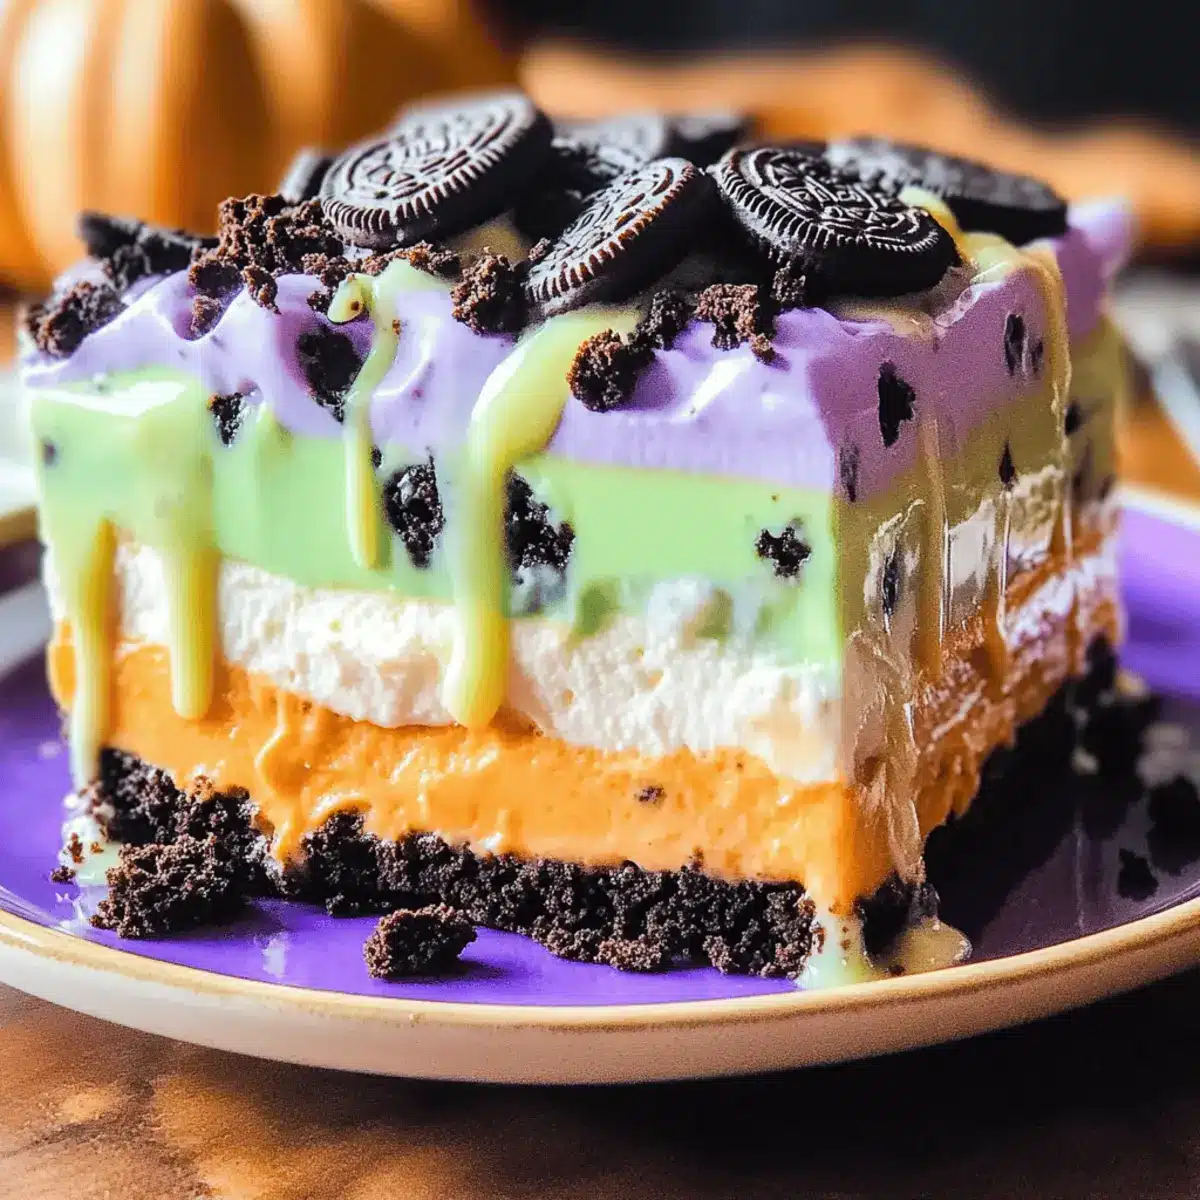
As Halloween approaches, I find myself reminiscing about the festive gatherings filled with laughter, creepy decorations, and, of course, irresistible treats. One dessert that never fails to impress is the Halloween Lush—a creamy layered delight that brings a magical twist to your holiday celebrations. This no-bake beauty not only looks stunning with its vibrant layers and playful toppings, but it also boasts a quick prep time, perfect for those of us who prefer to spend more time enjoying the company and less in the kitchen. You won’t believe how easily it comes together with rich flavors of cream cheese, vanilla pudding, and a delightful crunch from crushed Oreos. Isn’t it time to wow your guests with something enchanting? Let’s dive into the fun world of Halloween Lush!
Why Is Halloween Lush So Irresistible?
Easy to Make: Even novice cooks can whip this up effortlessly in just a few simple steps.
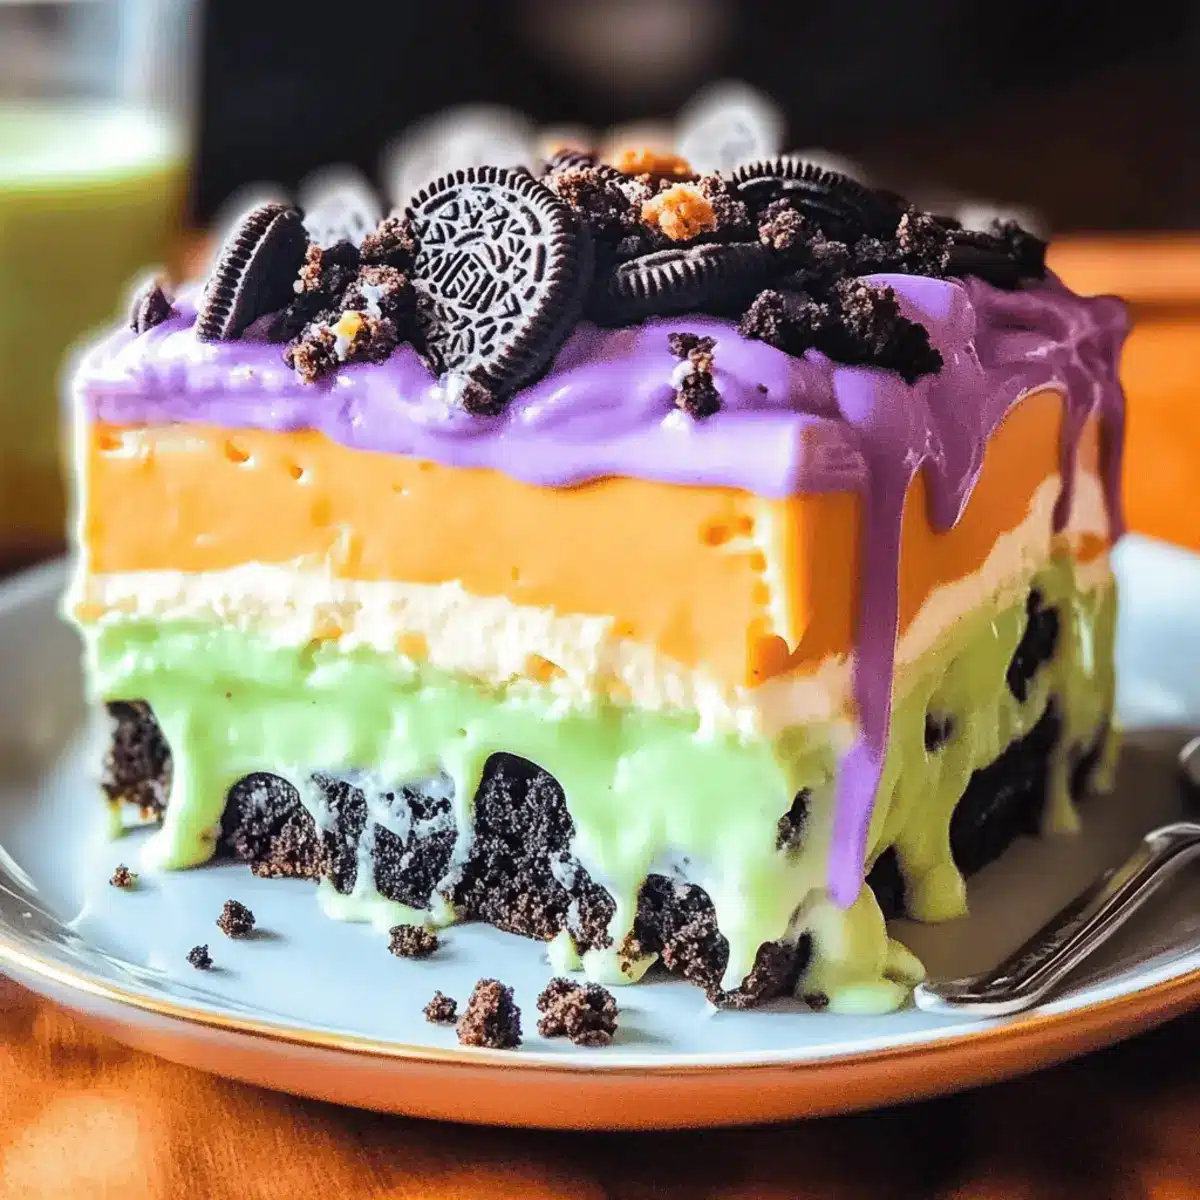
Festively Fun: The colorful layers and playful toppings are sure to impress at any Halloween gathering.
Customizable Flavors: Swap in pumpkin spice or chocolate pudding for unique variations that cater to your taste.
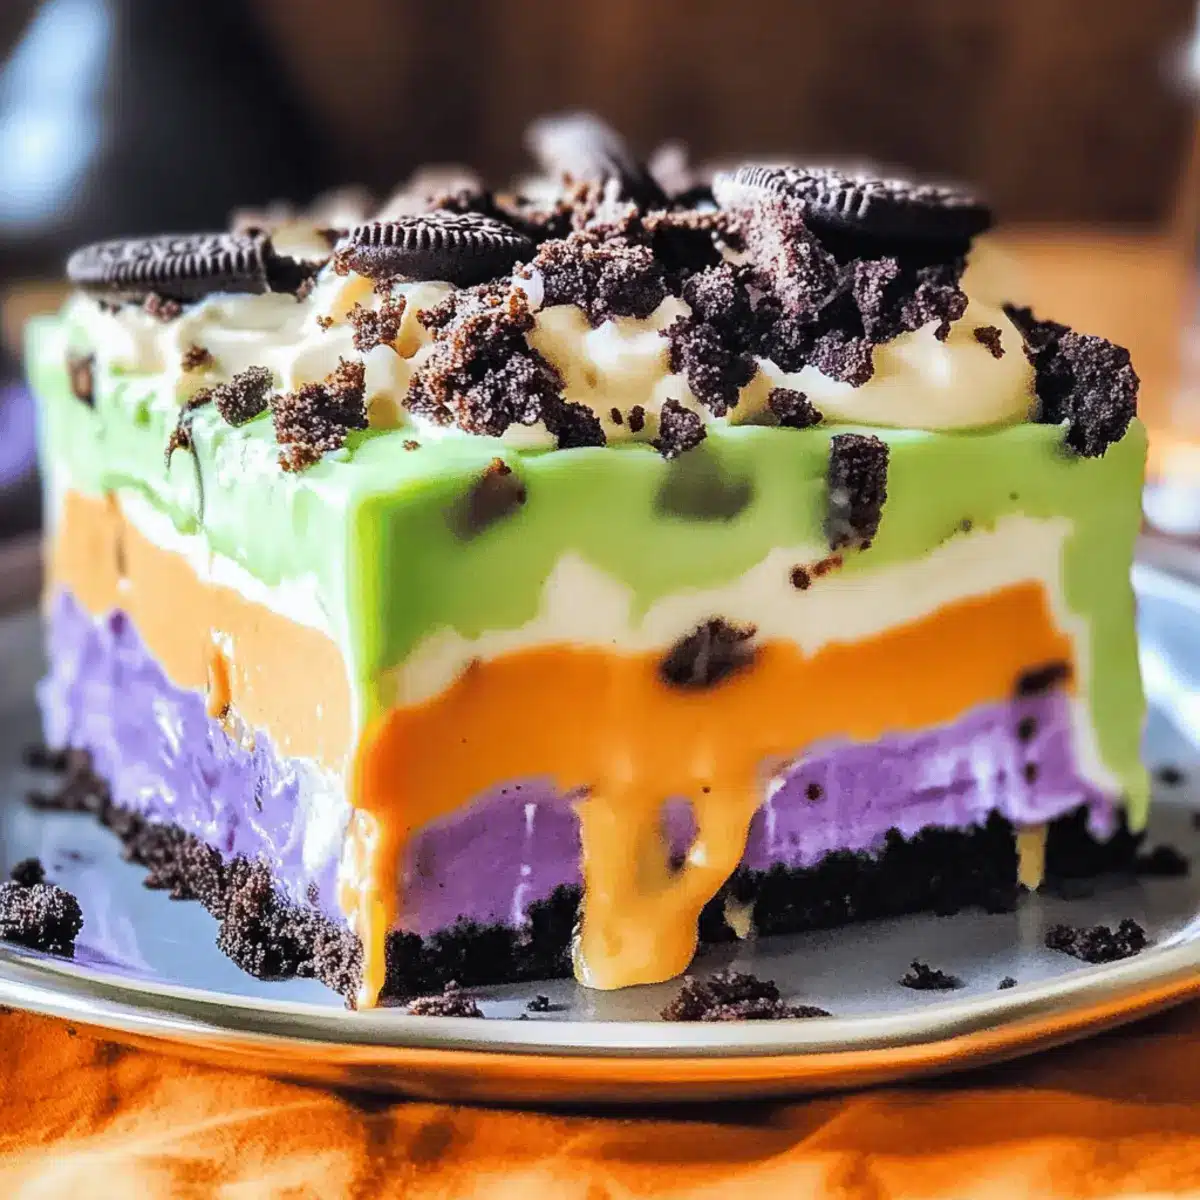
Crowd-Pleasing Delight: This layered dessert is visually appealing and packed with flavors that everyone will love.
No-Bake Wonder: Perfect for those busy days leading up to Halloween, it saves you time and hassle in the kitchen.
Get ready to tantalize those taste buds and bring holiday cheer with this delightful treat, ideal for your next celebration!
Halloween Lush Ingredients
For the Creamy Base
- Cream Cheese – Provides a creamy base; substitute with softened mascarpone for a richer flavor.
- Powdered Sugar – Adds sweetness and creates a smooth texture; consider a sugar substitute for a lighter option.
- Whipped Topping – Contributes lightness and creaminess; use non-dairy whipped topping for a dairy-free version.
- Vanilla Extract – Enhances overall flavor; pure vanilla is recommended for the best Halloween Lush experience.
For the Pudding Layers
- Instant Pudding Mix (Chocolate or Vanilla) – Adds flavor and thickens the layers; choose your favorite for a personalized touch.
- Milk – Required for mixing pudding; whole milk gives the best creaminess, but feel free to use alternatives.
For the Crunchy Texture
- Crushed Oreos – Adds delightful crunch and flavor; substitute any chocolate wafer cookies for a different variation.
For the Festive Garnish
- Halloween Candy (for garnish) – Provides a colorful decoration; use gummy worms, candy corn, or similar candy to amp up the fun.
Step‑by‑Step Instructions for Halloween Lush
Step 1: Mix the Creamy Base
In a medium bowl, combine 8 ounces of softened cream cheese and 1 cup of powdered sugar. Use a hand mixer on medium speed for about 2-3 minutes, or until the mixture is smooth and creamy, with no lumps remaining. This forms a delightful foundation for your Halloween Lush.
Step 2: Fold in the Whipped Topping
Gently fold in 2 cups of whipped topping into the cream cheese mixture using a spatula. Be careful not to over-mix; you want to maintain the light and airy texture. This should take about 1-2 minutes until completely blended, creating a fluffy layer for your dessert.
Step 3: Prepare the Pudding
In a separate bowl, combine a 3.4-ounce package of instant pudding mix (chocolate or vanilla) with 2 cups of cold milk, following the package instructions. Whisk for about 2 minutes until the pudding thickens significantly. This step adds a rich layer to the Halloween Lush that complements the creamy base beautifully.
Step 4: Create the Bottom Layer
In a trifle dish or large bowl, layer half of the crushed Oreos evenly as the base. Use approximately 1 ½ cups of crumbled Oreos, spreading them out to cover the bottom completely. This crispy layer adds texture and sets the stage for the creamy fillings of your Halloween Lush.
Step 5: Add the First Layer of Cream
Spoon half of the cream cheese mixture over the Oreos, spreading it evenly to cover the crust. Use a spatula to smooth the top. Follow this with half of the pudding, gently spreading it on top to create distinct layers that will entice your guests visually.
Step 6: Repeat the Layering
Next, repeat the layers by adding the remaining crushed Oreos, followed by the rest of the cream cheese mixture. Then, top this with the leftover pudding. Take your time to ensure each layer is well-spread, enhancing the overall look and texture of your Halloween Lush.
Step 7: Whipped Topping Finale
Finish off your Halloween Lush by spreading the remaining 2 cups of whipped topping over the final layer of pudding. Smooth it out for an even surface. This light topping will serve as the perfect canvas for your colorful garnishes.
Step 8: Decorate for Spookiness
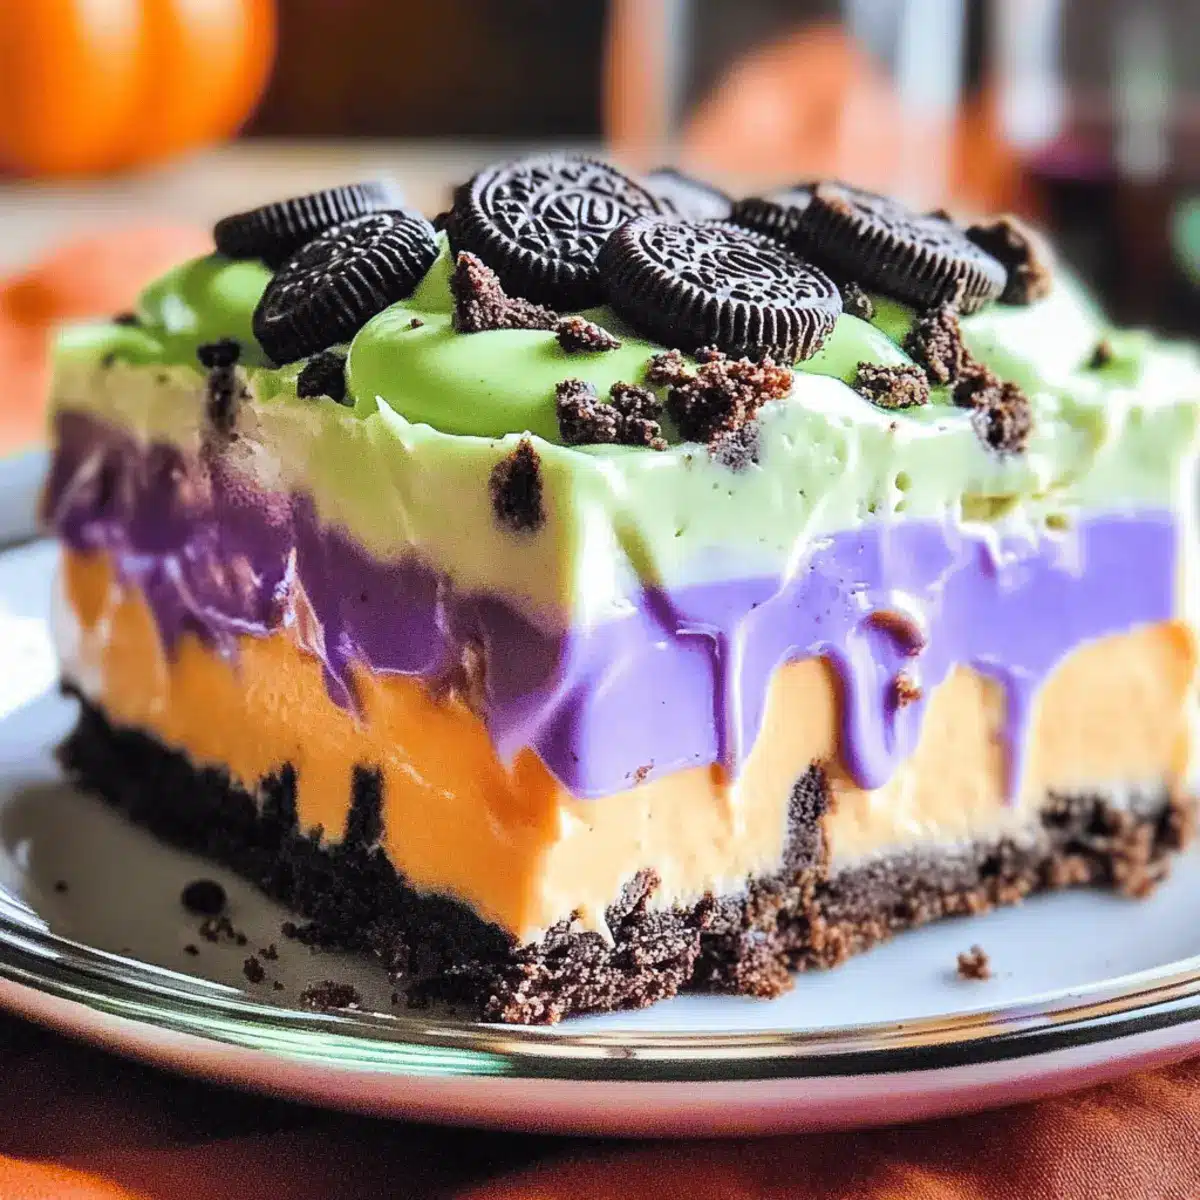
Cutely arrange Halloween candy, such as gummy worms or candy corn, on top of the whipped topping for a festive look. The vibrant colors will make your Halloween Lush visually striking and add an extra fun touch for your guests.
Step 9: Chill to Perfection
Cover your completed Halloween Lush with plastic wrap and place it in the refrigerator for at least 4 hours, or ideally overnight. Chilling allows the flavors to meld beautifully and the layers to set, ensuring a decadent and delightful treat for your Halloween celebrations.
Expert Tips for Halloween Lush
-
Chill Time: Ensure you chill the Halloween Lush for at least 4 hours, or overnight if possible. This melds the flavors beautifully!
-
Layer Visibility: Use a clear glass dish for an eye-catching presentation. The stunning layers will impress your guests before they even take a bite.
-
Avoid Mixing Mistakes: When folding in the whipped topping, be gentle to maintain the airy texture. Over-mixing can lead to a denser dessert!
-
Candy Garnish: For a fun twist, change your Halloween candy toppings based on your guests’ preferences or dietary needs.
-
Storage Secrets: Store leftovers in an airtight container in the fridge for up to three days. This dessert is just as tasty the next day!
What to Serve with Irresistible Halloween Lush Dessert?
Imagine the delight of pairing creamy layers and crunchy textures with complementary dishes that elevate your Halloween spread.
-
Festive Fruit Platter:
Bright, seasonal fruits like apple slices and grapes provide a fresh contrast to the rich dessert, keeping things light and vibrant. -
Crispy Cinnamon Sugar Churros:
These sweet, crunchy treats add a delightful texture to your spread, perfect for dipping into the Lush or enjoying on their own. -
Pumpkin Spice Lattes:
Warm beverages infused with cozy spices create a comforting ambiance, enhancing the autumn vibe while balancing the creaminess of the dessert. -
Chocolate-Dipped Pretzels:
The salty-sweet combination pairs wonderfully with the Lush, giving your guests a variety of flavors and textures to enjoy. -
Ghostly Cupcakes:
Decorated with whimsical frosting and sprinkles, these cupcakes add a playful element to your spread, keeping the Halloween spirit alive. -
Spooky Cheese Board:
A mix of sharp and creamy cheeses, combined with seasonal crackers, rounds out your dessert table beautifully, offering a savory counterpoint. -
Toffee Apples:
These classic treats are a nostalgic nod to Halloween while their crunchy exterior perfectly complements the smooth layers of the Halloween Lush. -
Chilled Sparkling Cider:
Light and bubbly, this refreshing drink option enhances the festive atmosphere, making it a perfect complement to your sweet creations. -
Sinful Chocolate Mousse:
This rich dessert provides an indulgent, silky touch that pairs well with the Lush’s lighter creamy texture, satisfying any sweet tooth.
Each of these choices not only enhances your Halloween Lush experience but also makes your gathering unforgettable, leaving guests delighted and enchanted!
Halloween Lush Variations & Substitutions
Feel free to get creative with these ideas that promise to enhance your Halloween Lush experience!
- Chocolate Pudding: Swap out vanilla pudding for chocolate pudding to create an indulgently rich flavor profile everyone will adore.
- Pumpkin Spice Twist: Incorporate pumpkin spice into the cream cheese mixture for a seasonal surprise that will leave guests enchanted.
- Nutty Crunch: Fold in crushed nuts or candy bars between layers for added crunch and texture, creating a delightful contrast to the creamy layers.
- Berry Infusion: Layer in fresh berries, such as raspberries or strawberries, for a fruity touch that adds color and a burst of flavor.
- Decadent Drizzle: Drizzle melted chocolate or caramel sauce over the top before adding candy garnishes, making each slice an irresistible delight.
- Lighter Option: Use a sugar substitute and a fat-free whipped topping for a lighter version that still delivers on taste, perfect for those looking to indulge without the guilt.
- Dairy-Free Delight: Substitute cream cheese and whipped topping with vegan alternatives for a deliciously inclusive dessert option suitable for everyone.
- Seasonal Garnish: Top with festive garnishes like gummy worms or candy corn, or even crushed Halloween cookies to amp up the seasonal flair!
For even more delightful inspiration and to try variations like making Butter Spider Cookies, get creative with your Halloween treats! You’ll be amazed at how these little changes can elevate your dessert game.
How to Store and Freeze Halloween Lush
Fridge: Store your Halloween Lush covered in an airtight container in the refrigerator for up to 3 days. This keeps it fresh and maintains its creamy texture.
Freezer: While it’s best enjoyed fresh, you can freeze the Halloween Lush for up to 2 months. Wrap it tightly in plastic wrap and foil to prevent freezer burn.
Thawing: To enjoy frozen Halloween Lush, transfer it to the fridge for at least 6-8 hours before serving. This will allow it to thaw slowly and evenly.
Serving Tips: When ready to serve, feel free to add fresh candy toppings before presenting it to your guests for an extra festive touch!
Make Ahead Options
These Halloween Lush layers are perfect for meal prep, allowing you to enjoy more festivities and less kitchen time! You can prepare the cream cheese mixture and the pudding up to 24 hours in advance, storing them separately in airtight containers in the refrigerator. The crushed Oreos can be prepped ahead as well; just keep them in a sealed bag to prevent moisture from making them soggy. When you’re ready to assemble your Halloween Lush, simply layer the prepped components in your dish, top with whipped topping, and garnish with Halloween candy. This way, you ensure a deliciously fresh and visually stunning dessert for all to enjoy!
Halloween Lush Recipe FAQs
What type of cream cheese should I use for the Halloween Lush?
Absolutely! I recommend using full-fat cream cheese for the best creamy texture, but you can also choose softened mascarpone for an upscale twist.
How should I store my Halloween Lush once it’s made?
Make sure to keep your Halloween Lush covered in an airtight container in the refrigerator. It’s best consumed within 3 days to maintain freshness and flavor.
Can I freeze Halloween Lush?
Yes, you can freeze it! Wrap your Halloween Lush tightly in plastic wrap and then in foil to prevent freezer burn for up to 2 months. When you’re ready to serve, simply transfer it to the fridge to thaw for at least 6-8 hours.
What should I do if my whipped topping deflates?
No worries! If your whipped topping deflates, try folding it gently into your cream cheese mixture instead of mixing vigorously. Avoid over-mixing to keep that airy texture intact!
Can I modify this recipe to make it gluten-free?
Very! You can easily make this Halloween Lush gluten-free by using gluten-free cookies instead of traditional Oreos. Double-check the labels of your candy garnishes too, just to be safe!
What kind of candies work best for garnishing?
I often use a mix of gummy worms and candy corn for a festive flair, but feel free to customize! Any seasonal candy that brings you joy can brighten up your dessert.
Halloween Lush: A Creamy Dessert That Bewitches the Senses
Ingredients
Equipment
Method
- In a medium bowl, combine 8 ounces of softened cream cheese and 1 cup of powdered sugar. Use a hand mixer on medium speed for about 2-3 minutes, or until the mixture is smooth and creamy, with no lumps remaining.
- Gently fold in 2 cups of whipped topping into the cream cheese mixture using a spatula. Be careful not to over-mix.
- In a separate bowl, combine a 3.4-ounce package of instant pudding mix (chocolate or vanilla) with 2 cups of cold milk, whisk for about 2 minutes until the pudding thickens.
- In a trifle dish or large bowl, layer half of the crushed Oreos evenly as the base.
- Spoon half of the cream cheese mixture over the Oreos, spreading it evenly. Follow with half of the pudding.
- Next, repeat the layers by adding the remaining crushed Oreos, followed by the rest of the cream cheese mixture, then top with the leftover pudding.
- Finish off by spreading the remaining 2 cups of whipped topping over the final layer of pudding.
- Decorate with Halloween candy on top of the whipped topping.
- Cover with plastic wrap and place it in the refrigerator for at least 4 hours, or ideally overnight.