
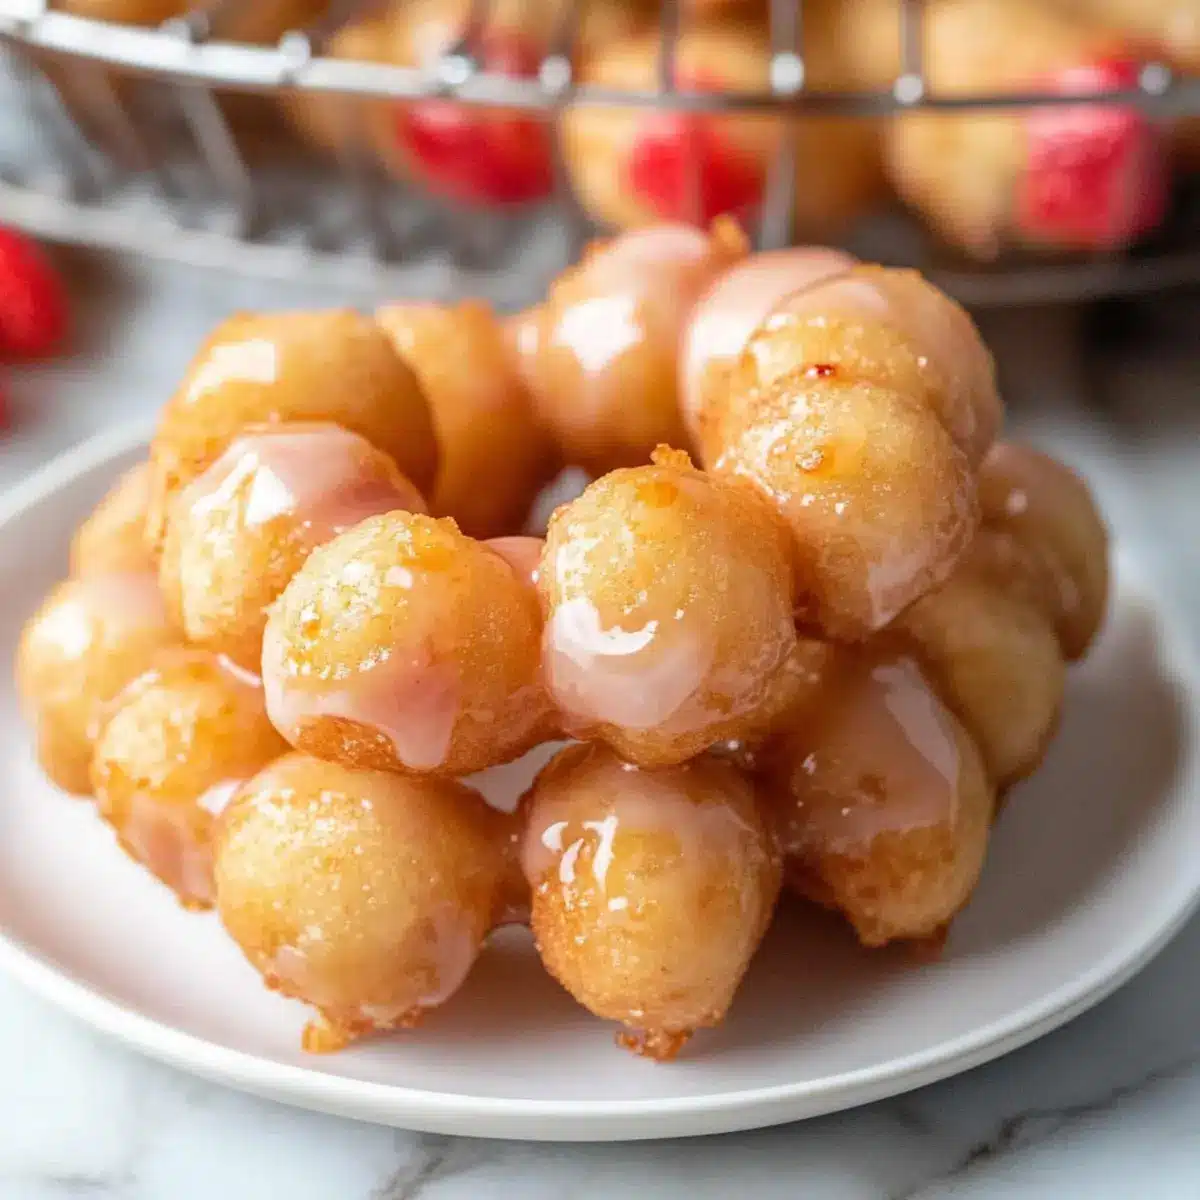
As I savored the first bite of these Gluten-Free Mochi Donuts, I was instantly transported to a delightful blend of nostalgia and novelty. These soft, chewy treats, made from an exquisite mixture of rice flour and gluten-free alternatives, have a charmingly crispy exterior that contrasts beautifully with their bouncy interior—a surprisingly delicious harmony for any dessert lover. What makes them even more enticing is their swift prep time—you can whip up a batch in just 30 minutes! Perfect for sharing with friends over coffee or enjoying as a late-night snack, they offer a fun twist on traditional donuts. Plus, you can customize them with a variety of glazes and toppings to suit every occasion. Are you ready to dive into the delightful world of mochi donuts? Let’s get started!
Why Are Gluten-Free Mochi Donuts Irresistible?
Uniquely Soft Texture: The heavenly combination of mochiko sweet rice flour and gluten-free flour results in donuts that are pillowy soft yet satisfyingly chewy—an indulgence for your taste buds.
Quick to Prepare: With just 30 minutes from start to finish, you’ll have a fresh batch of these delights ready to enjoy without a lengthy wait.
Customizable Fun: Whether you prefer a simple vanilla glaze or a unique matcha twist, the options for toppings and decorations are endless—making these donuts perfect for any occasion.
Cultural Fusion: Embrace a unique blend of Japanese and American flavors, adding an exciting twist to your dessert lineup. If you love creative desserts, you might also enjoy our Sugar Free Cheesecake or Low Carb Muffins.
Crowd-Pleasing Treat: Whether at brunch, a birthday party, or an afternoon pick-me-up, these mochi donuts are sure to impress guests and family alike with their unique flavor and texture!
Gluten-Free Mochi Donut Ingredients
• Get ready to create a special treat!
For the Donuts
- Vegetable Oil – Ideal for frying; opt for a neutral oil with a high smoke point, like canola or corn oil.
- Mochiko Sweet Rice Flour – The star ingredient that gives these mochi donuts their signature delightful texture.
- Gluten-Free 1:1 Flour – Provides essential structure; King Arthur Flour Measure for Measure works wonderfully here.
- Granulated Sugar – Adds the right amount of sweetness to perfectly balance the flavors.
- Baking Powder – Acts as a leavening agent, ensuring each donut is fluffy and puffy while frying.
- Salt – A pinch enhances the overall flavor and brings out the sweetness.
- Large Eggs – Bind the ingredients together while adding richness to the mixed batter.
- Warm Milk – Not only adds moisture but also helps emulsify the batter for that perfect consistency.
- Melted Unsalted Butter – Infuses delicious flavor and moisture into the donuts.
For the Glaze
- Powdered Sugar – Essential for glazing, bringing sweetness and a beautiful finish to these treats.
- Milk (for glaze) – Helps adjust the glaze’s consistency to make it smooth and spreadable.
- Vanilla Bean Paste (or extract) – Adds a rich and aromatic flavor that complements the donuts beautifully.
For Garnishing (Optional)
- Crushed Freeze-Dried Fruit – Adds a splash of color and an exciting flavor profile to elevate visual appeal.
With all these ingredients ready, you’re just moments away from your first bite of delicious gluten-free mochi donuts! Enjoy this comforting recipe that’s bound to become a family favorite.
Step‑by‑Step Instructions for Gluten Free Mochi Donuts
Step 1: Heat the Oil
Begin by heating about 2 inches of vegetable oil in a deep pot over medium heat. Use a thermometer to ensure the oil reaches 350°F—this temperature is crucial for achieving that crispy exterior on your Gluten Free Mochi Donuts. While the oil heats, prepare your mixing bowls and other equipment so everything is ready for the next steps.
Step 2: Mix Dry Ingredients
In a large mixing bowl, combine the mochiko sweet rice flour, gluten-free 1:1 flour, granulated sugar, baking powder, and salt. Whisk these ingredients together until they are well blended and free of lumps. This mixture is the foundation of your mochi donuts, ensuring they maintain their structure and delightful texture.
Step 3: Whisk Wet Ingredients
In a separate bowl, whisk together the large eggs, warm milk, and melted unsalted butter until smooth and fully incorporated. The warmth of the milk helps blend everything together more easily, preventing clumps. This mixture adds moisture and richness to your Gluten Free Mochi Donuts, enhancing their flavor and chewiness.
Step 4: Combine Mixtures
Carefully pour the wet ingredients into the bowl with the dry ingredients, mixing gently with a spatula or wooden spoon. Continue to stir until the batter becomes smooth and uniform, ensuring no dry flour remains. This is the moment when your donuts are coming together, transforming into a luscious batter ready for frying.
Step 5: Fry the Donuts
Using a spoon or small cookie scoop, carefully drop dollops of the batter into the hot oil. Fry the donuts in batches to avoid overcrowding, allowing them to cook for about 3–5 minutes on each side until they are golden brown. As you turn them, look for that beautiful crispy exterior signaling they are perfectly cooked.
Step 6: Cool the Donuts
Once golden brown, use a slotted spoon to remove the donuts from the oil and place them on a paper towel-lined plate. Allow them to cool for about 10 minutes before glazing to give them a chance to firm up slightly. This cooling step helps ensure that the glaze adheres nicely to your Gluten Free Mochi Donuts.
Step 7: Prepare the Glaze
While the donuts cool, whisk together the powdered sugar, milk, and vanilla bean paste in a medium bowl until smooth and silky. Adjust the consistency with additional milk if necessary, ensuring it’s pourable but thick enough to cling to your donuts. This glaze will add a sweet finish and a lovely sheen to your mochi creations.
Step 8: Glaze the Donuts
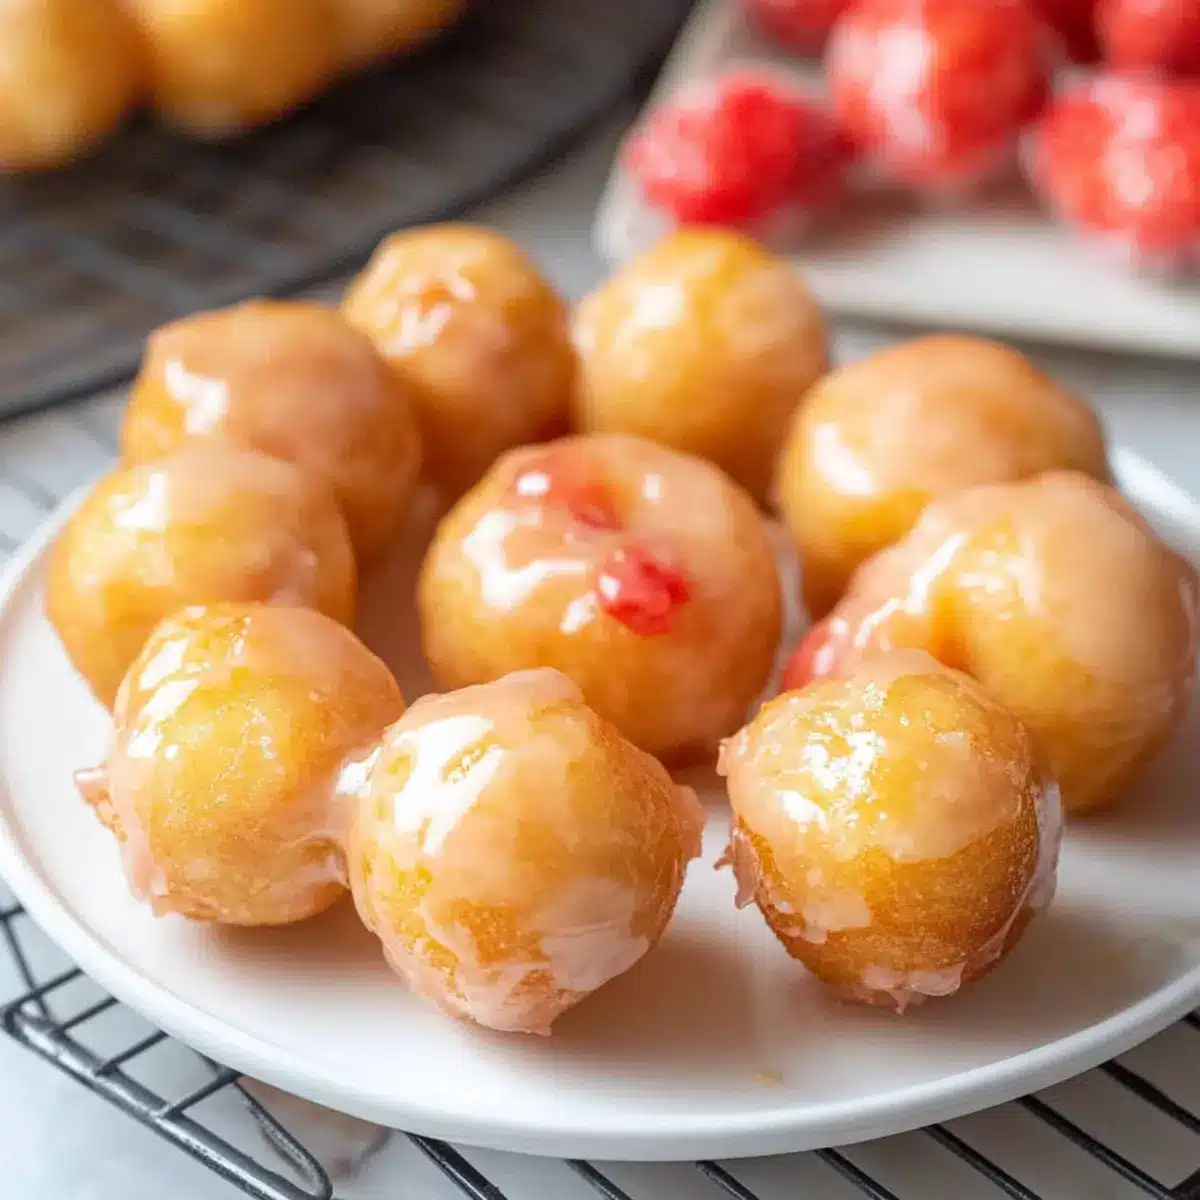
Once your mochi donuts have cooled, dip the tops into the glaze or drizzle it over each donut for an artistic touch. Allow any excess glaze to drip off before placing them on a wire rack or plate to set. This step is where you can customize your Gluten Free Mochi Donuts with toppings like crushed freeze-dried fruit or sprinkles if desired.
Step 9: Serve and Enjoy
Serve your deliciously soft and chewy Gluten Free Mochi Donuts immediately for the best texture. Pair them with coffee or tea for a delightful treat, or enjoy them as a sweet snack throughout the day. The inviting aroma and beautiful presentation will make these donuts a hit with family and friends!

What to Serve with Gluten-Free Mochi Donuts?
Pairing these delightful donuts with complementary sides creates a memorable sweet treat experience.
- Rich Coffee: A cup of freshly brewed coffee adds depth, enhancing the sweetness of the mochi donuts beautifully.
- Herbal Tea: A soothing cup of chamomile or mint tea contrasts the donut’s sweetness, providing a delightful balance.
- Ice Cream Scoop: Indulge in a scoop of vanilla or matcha ice cream for a creamy contrast to the chewy texture.
- Fruit Salad: A vibrant mix of fresh fruits offers a refreshing element, adding brightness and a bit of acidity to each bite.
- Chocolate Dipping Sauce: For chocoholics, a warm chocolate sauce adds an extra layer of decadence and flavor.
- Coconut Whipped Cream: Light and fluffy, coconut whipped cream lends a tropical twist that pairs effortlessly with the mochi.
- Sugary Sprinkles: Add a crunchy element with colorful sprinkles on top, making them even more festive and fun!
- Lemonade: A refreshing glass of lemonade provides a tangy pop that cuts through the sweetness and enhances the lively flavors.
- Yogurt: Serve with a side of Greek yogurt for a protein boost, mixing in some honey for added sweetness and creaminess.
With these tasty pairings, your mochi donuts will shine even brighter at the table!
Gluten Free Mochi Donuts Variations & Substitutions
Feel free to get creative with your Gluten Free Mochi Donuts by trying these fun and delicious variations!
-
Nut-Free: Swap eggs with a flaxseed mixture (1 tablespoon ground flaxseed + 3 tablespoons water) for a nut-free alternative.
-
Vegan: Use almond or soy milk in place of dairy and substitute melted coconut oil for the butter. You’ll still achieve that delightful chewiness!
-
Chocolate Lovers: Add cocoa powder (1/4 cup) to the dry ingredients for a rich chocolate mochi donut; top with chocolate glaze for an extra indulgence.
-
Flavor Infusion: Mix in spices like cinnamon or matcha powder into the dry ingredients for a unique flavor twist that will elevate your mochi donuts.
-
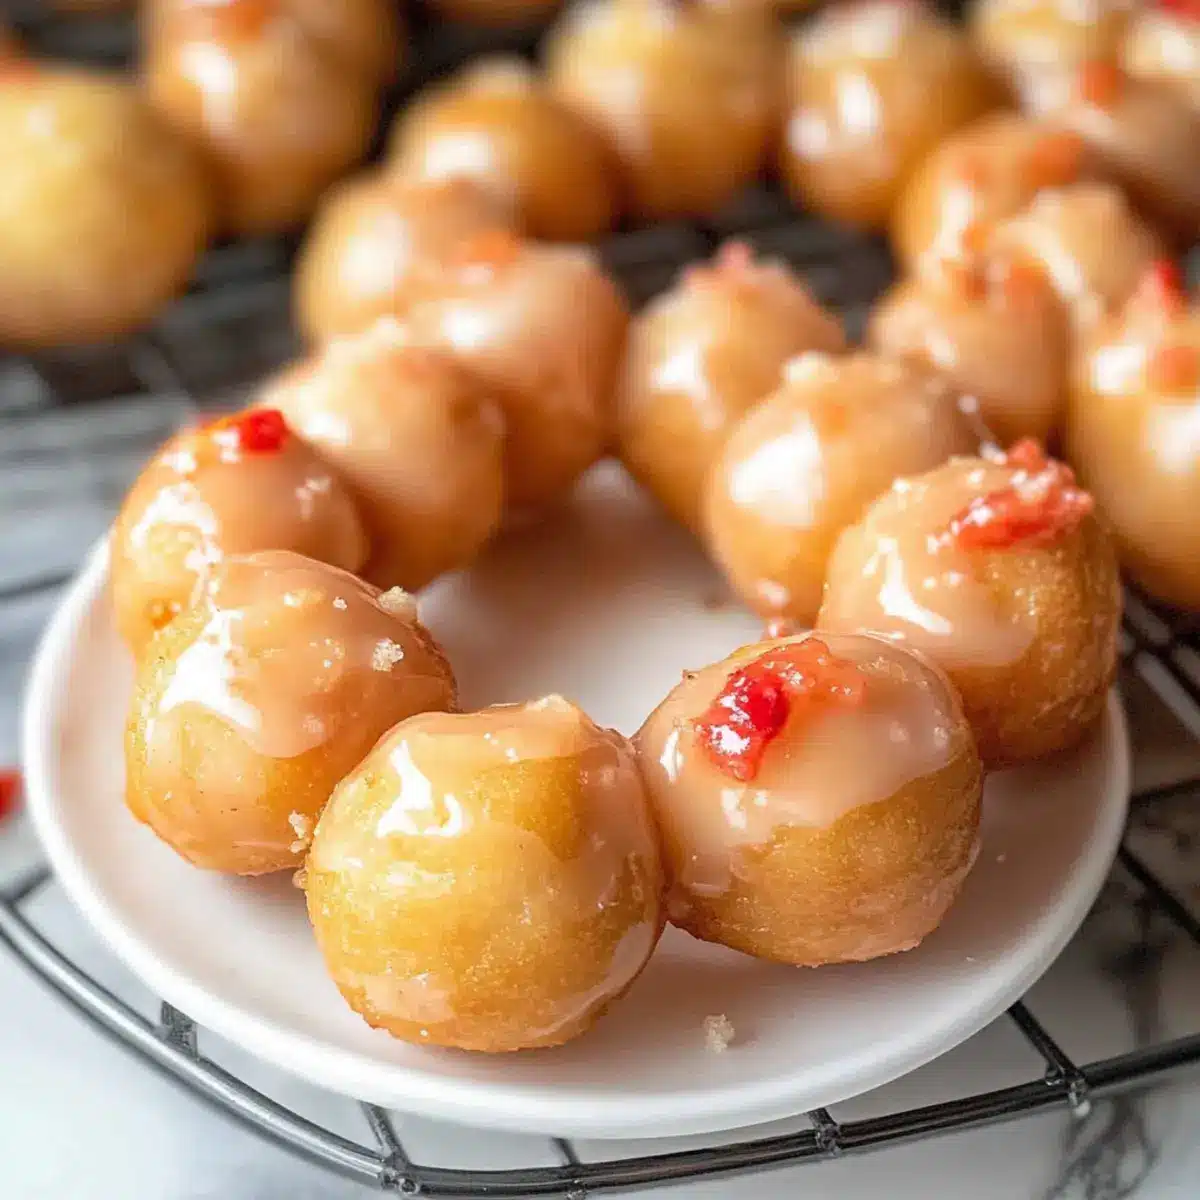
Fruity Toppings: Top your glazed donuts with fresh fruit or crushed freeze-dried fruit for a refreshing burst of flavor. This step will not only enhance the taste but also make them look beautiful!
-
Mini Mochi Donuts: Use a mini donut pan instead of frying; reduce frying time to just a few minutes to create adorable bite-sized treats that are perfect for sharing or snacking.
-
Decadent Drizzles: Get playful with toppings by drizzling a caramel sauce or white chocolate over the glazed donuts for a luscious finish that everyone will love.
If you’re intrigued by creative flavor combinations, don’t forget to explore other tantalizing recipes like our Pie Overnight Oats or delicious Low Carb Muffins for even more options.
Make Ahead Options
These Gluten-Free Mochi Donuts are perfect for busy home cooks looking to save time during the week! You can prepare the batter up to 24 hours in advance by mixing the dry ingredients and wet ingredients separately, then refrigerating them. Additionally, you can fry the donuts in advance, allowing them to cool before placing them in an airtight container. Just be sure to consume them within 1-2 days for optimal freshness. When you’re ready to serve, simply reheat the donuts in the oven at 350°F for a few minutes until warmed through, then glaze and enjoy these delightful treats just as if they were fresh!
Expert Tips for Gluten-Free Mochi Donuts
- Oil Temperature Check: Always ensure the oil is at 350°F before frying; this is crucial for achieving a crispy exterior on your Gluten-Free Mochi Donuts.
- Batch Frying: Avoid overcrowding the pot while frying; cook only a few donuts at a time to promote even cooking and a golden color.
- Storage Guidelines: Store donuts in an airtight container at room temperature for 1-2 days. For longer freshness, freeze unglazed donuts and glaze after thawing.
- Glazing Consistency: Aim for a smooth glaze by adjusting the milk amount to achieve the perfect pourable texture—too thick won’t adhere well, and too thin won’t coat properly.
- Flavor Variety: Don’t hesitate to customize your mochi donuts! Consider different glazes like chocolate or matcha, or add sprinkles for a festive touch.
Storage Tips for Gluten-Free Mochi Donuts
Room Temperature: Store the cooled Gluten-Free Mochi Donuts in an airtight container at room temperature for up to 1-2 days to maintain their soft, chewy texture.
Fridge: If you need to keep them longer, you can refrigerate the donuts for up to 3 days. Just ensure they are well-wrapped to prevent drying out.
Freezer: To freeze, place unglazed mochi donuts in a single layer on a baking sheet, then transfer them to a freezer bag after solidifying. They can be stored for up to 2 months.
Reheating: When ready to enjoy, let the donuts thaw at room temperature and glaze them afterward. For a quick warm-up, pop them in the microwave for about 10-15 seconds.
Gluten-Free Mochi Donuts Recipe FAQs
What kind of flour should I use for gluten-free mochi donuts?
You’ll want to use mochiko sweet rice flour as it’s essential for creating the unique mochi texture. Combine this with a good gluten-free 1:1 flour, like King Arthur Flour Measure for Measure, to ensure the donuts have proper structure and taste.
How should I store leftover mochi donuts?
To keep your Gluten-Free Mochi Donuts fresh, store them in an airtight container at room temperature for 1-2 days. If you want to enjoy them longer, refrigerate them for up to 3 days, making sure they’re well-wrapped to prevent drying out.
Can I freeze gluten-free mochi donuts?
Absolutely! To freeze unglazed mochi donuts, lay them in a single layer on a baking sheet until they’re solid, then transfer to a freezer bag. You can keep them frozen for up to 2 months. When you’re ready to enjoy them, thaw at room temperature and glaze them afterward for the best results.
What should I do if my dough is too sticky?
If you find your dough sticking too much, it’s likely due to excess moisture. Add a bit more gluten-free flour, a tablespoon at a time, while mixing until you reach a smooth, workable consistency. Remember to handle the dough gently—overworking can affect the final texture!
Are there any dietary considerations I should keep in mind?
Yes! While gluten-free, these donuts may not be suitable for everyone. Always check for allergies related to the specific gluten-free flour blend you’re using. Additionally, if you decide to add toppings or glazes, be mindful of other ingredients that may contain allergens, such as nuts or dairy.
How can I customize my mochi donuts?
There are endless customization possibilities! Experiment with different glazes—try a chocolate glaze or a refreshing matcha one. You can also add fun toppings like sprinkles, crushed freeze-dried fruit, or colored icing to match special occasions. Make it your own!
Gluten Free Mochi Donuts: Soft, Chewy Bliss in 30 Minutes
Ingredients
Equipment
Method
- Heat about 2 inches of vegetable oil in a deep pot over medium heat until it reaches 350°F.
- In a large mixing bowl, combine mochiko sweet rice flour, gluten-free 1:1 flour, granulated sugar, baking powder, and salt, whisking until blended.
- In a separate bowl, whisk together large eggs, warm milk, and melted unsalted butter until smooth.
- Pour the wet ingredients into the dry ingredients, mixing gently until the batter is smooth.
- Drop dollops of the batter into the hot oil, frying for 3–5 minutes on each side until golden brown.
- Remove donuts from the oil and place on paper towels to cool for about 10 minutes.
- Whisk together powdered sugar, milk, and vanilla bean paste until smooth to prepare the glaze.
- Dip the tops of the cooled donuts into the glaze or drizzle it over them, then set on a wire rack to allow the glaze to set.
- Serve immediately for the best texture, or enjoy throughout the day.