
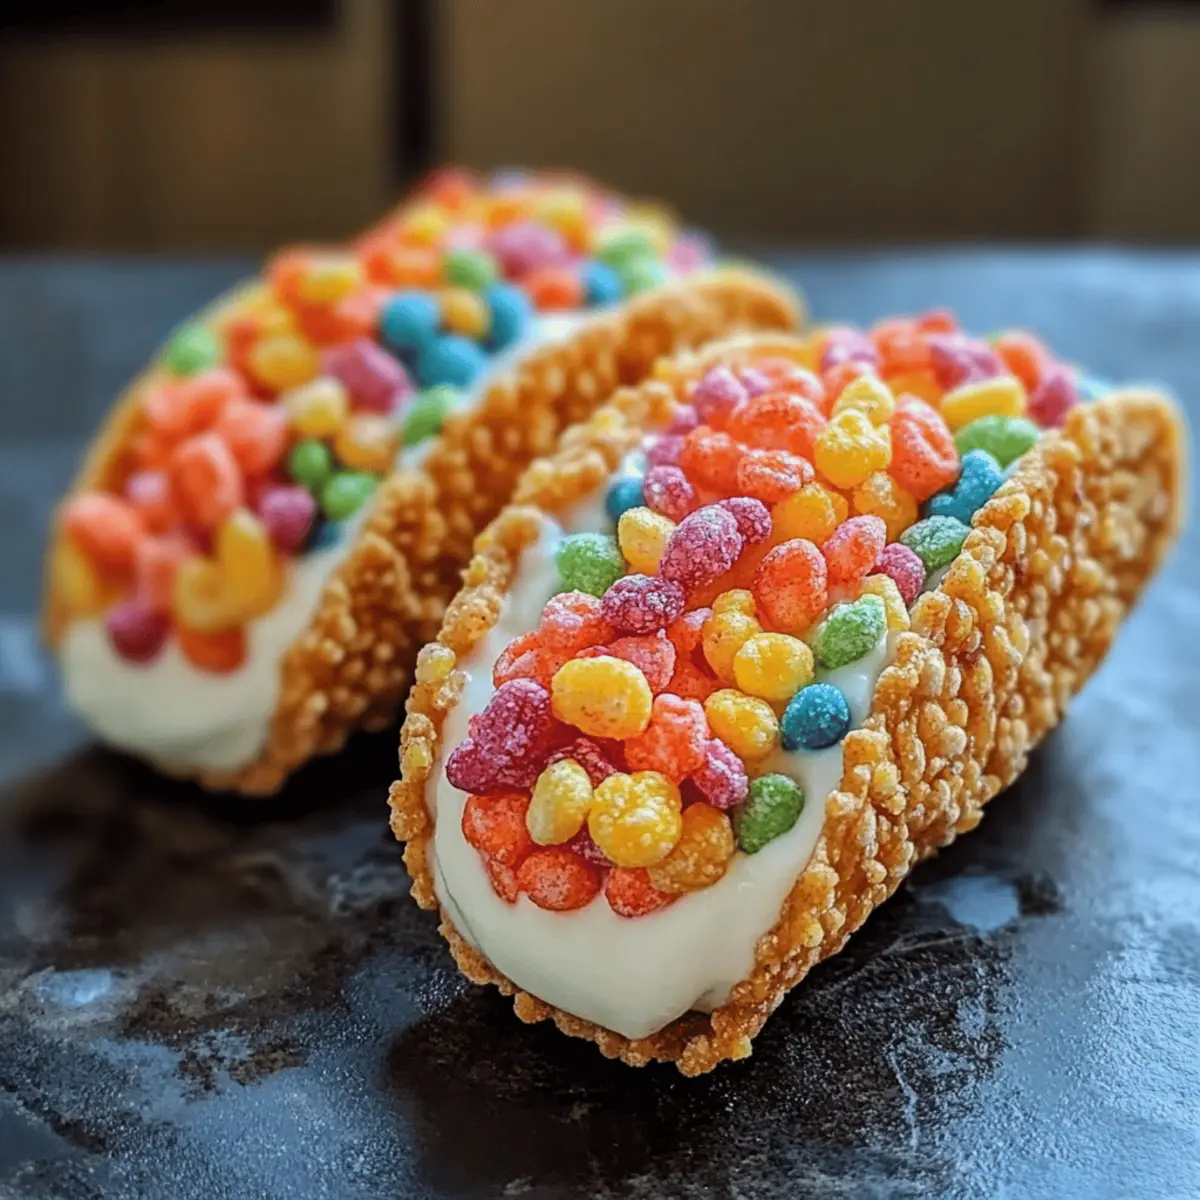
As I stood in my kitchen, a vibrant cascade of colors caught my eye—those iconic Fruity Pebbles, just waiting to be transformed into something magical. My creation today? Fruity Pebbles Cheesecake Tacos, a delightful twist on traditional dessert that truly celebrates whimsy and nostalgia. This fun dessert combines the crispy cheerfulness of fruity cereal with a rich, creamy cheesecake filling that’s utterly irresistible. With quick preparation and the ability to customize them based on your favorite cereals, these tacos are perfect for both kids and the inner child in all of us. Whether you’re hosting a gathering or simply need a sweet pick-me-up, I guarantee these vibrant tacos will be the highlight of your table. Curious about how to whip them up? Let’s dive in!
Why are these tacos so fun?
Colorful, Eye-Catching Presentation: Each taco is bursting with vibrant hues, making them not just a treat for your taste buds but also a feast for the eyes.
Quick and Easy: With a straightforward preparation process, you can whip these up in no time, making them perfect for spontaneous sweet cravings or last-minute gatherings.
Customizable Delights: Switch up the fruity cereal or add unique ingredients to make them your own. Try a tropical twist with coconut or a nutty crunch for a fun variation!
Nostalgic Flavor Profile: The combination of Fruity Pebbles with creamy cheesecake brings back childhood memories, making every bite a delightful throwback.
Crowd-Pleasing Fun: These tacos are guaranteed to be a hit with kids and adults alike, sparking joy and excitement at any dessert table. If you love creative spins on classic desserts, you’ll also enjoy Cheesecake Cookie Dough or Sugar Free Cheesecake for guilt-free indulgence!
Fruity Pebbles Cheesecake Tacos Ingredients
For the Taco Shells
• Fruity Cereal – Provides crunch and sweetness; feel free to substitute with colorful options like Cocoa Pebbles or Cinnamon Toast Crunch for variety.
• Unsalted Butter – Binds the cereal for the taco shell; ensure it’s melted for easy mixing.
For the Cheesecake Filling
• Cream Cheese – Forms the rich base of the filling; opt for full-fat for the best texture and flavor.
• Powdered Sugar – Sweetens the cheesecake filling; adjust to your taste for the perfect sweetness.
• Vanilla Extract – Adds depth to the flavor; always use pure vanilla extract for an authentic taste.
• Whipped Cream – Lightens the filling, making it fluffy; use stabilized whipped cream if preparing ahead of time.
For Garnish
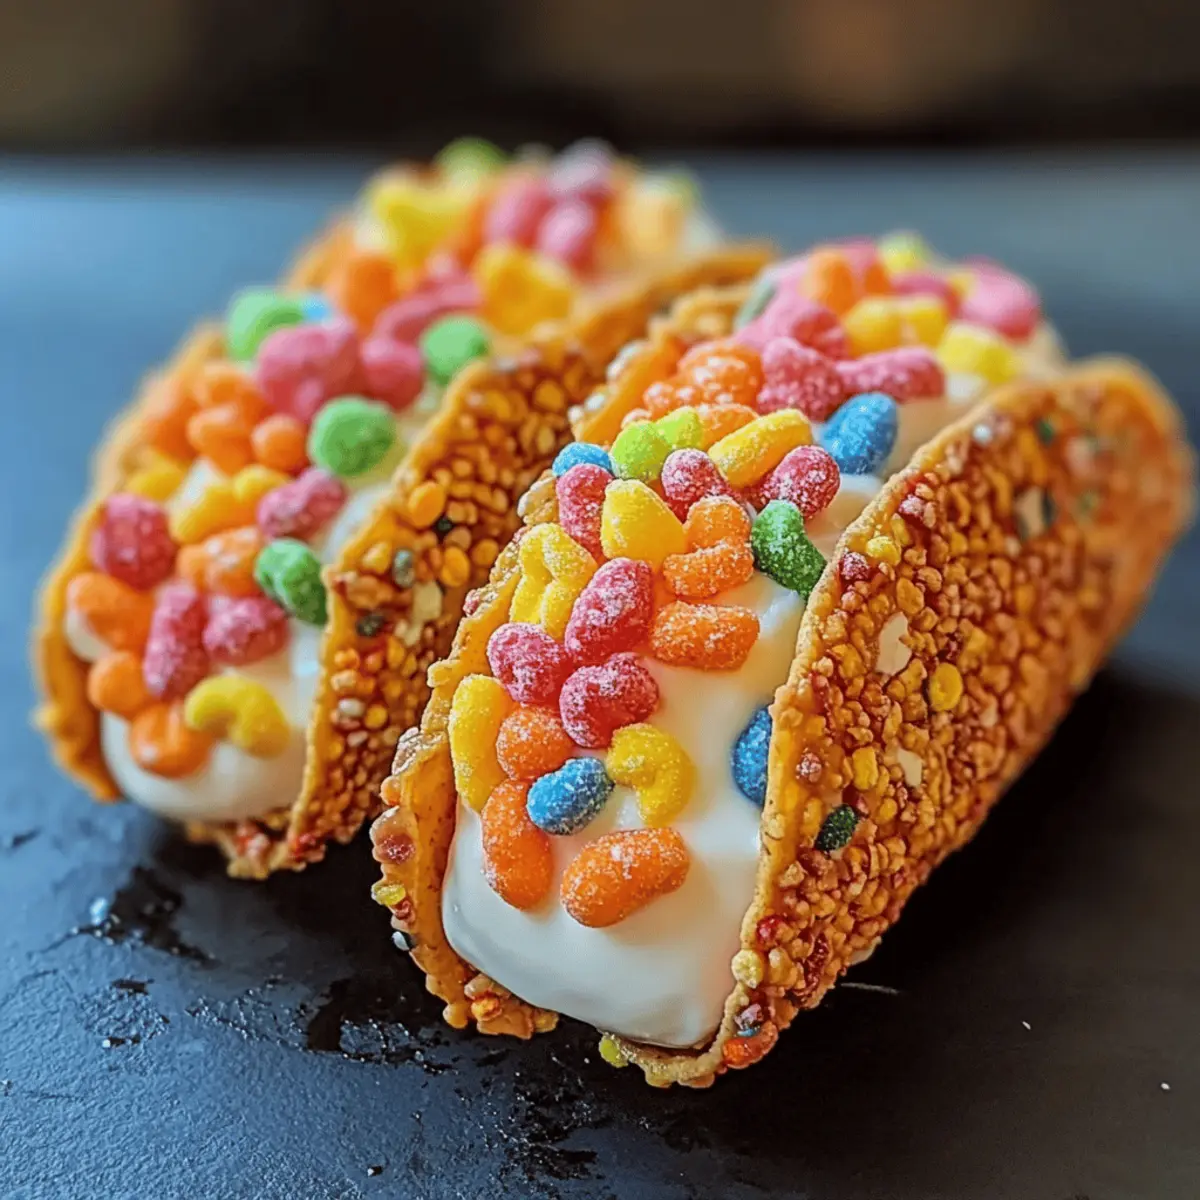
• Additional Fruity Cereal – Enhances color and provides extra crunch; sprinkle generously over the filled tacos for a delightful finish.
Enjoy assembling your Fruity Pebbles Cheesecake Tacos and let the fun begin!
Step‑by‑Step Instructions for Fruity Pebbles Cheesecake Tacos
Step 1: Prepare the Taco Shells
In a large bowl, combine the Fruity Pebbles with melted unsalted butter, mixing until each piece is evenly coated. Scoop this mixture into taco-shaped molds or greased muffin tins, pressing firmly to form a shell shape. Chill the assembled shells in the refrigerator for at least 30 minutes to ensure they set and hold their shape beautifully.
Step 2: Make the Cheesecake Filling
While the taco shells chill, beat softened cream cheese in a mixing bowl until it’s light and fluffy, approximately 2 minutes. Gradually add in sifted powdered sugar and vanilla extract, mixing until the filling is creamy and smooth. This rich cheesecake filling is the heart of your Fruity Pebbles Cheesecake Tacos, so take your time mixing for the ideal texture.
Step 3: Fold in Whipped Cream
Once your cheesecake mixture is creamy, gently fold in the whipped cream using a spatula. Carefully combine until you no longer see streaks of cream, being cautious not to deflate the mixture, which should remain light and airy. This step is crucial to achieving the delightful fluffiness of your cheesecake filling, perfect for your Fruity Pebbles Cheesecake Tacos.
Step 4: Assemble the Tacos
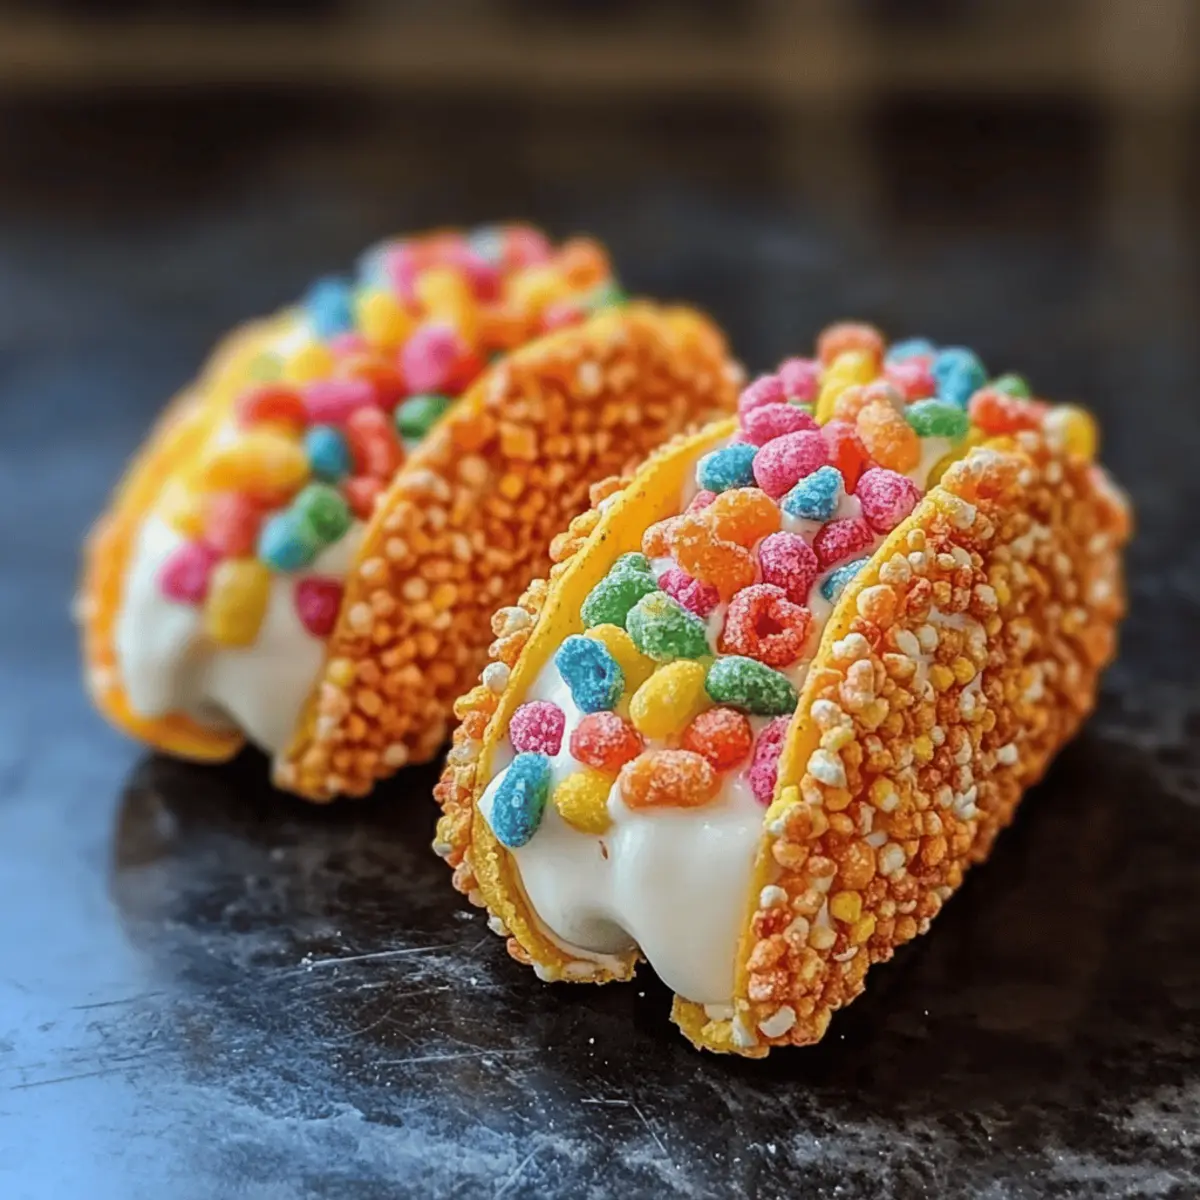
Take the chilled taco shells out of the refrigerator and fill each one with the creamy cheesecake filling. Use a spoon or piping bag for a neater presentation, filling them generously but avoiding overfilling. Each Fruity Pebbles Cheesecake Taco should look vibrant and inviting, leaving space for the finishing touches.
Step 5: Garnish and Serve
Sprinkle additional Fruity Pebbles over the top of each cheesecake-filled taco for added crunch and color. This final touch not only enhances the visual appeal but also complements the flavors beautifully. Serve the tacos immediately for the best texture, or chill for a short time if you prefer them a bit colder.
Fruity Pebbles Cheesecake Tacos Variations
Feel free to unleash your creativity and personalize these delightful tacos for a customized treat!
- Chocolate Delight: Substitute fruity cereal with Cocoa Pebbles for a chocolatey twist that kids and adults alike will adore.
- Spiced Twist: Incorporate Cinnamon Toast Crunch for a cozy, warm flavor; a sprinkle of cinnamon elevates the dessert experience.
- Tropical Fusion: Add shredded coconut or try coconut-flavored cereal, topped with fresh pineapple for a refreshing little escape to the tropics!
- Nutty Addition: Mix in crushed nuts for wholesome crunch. Incorporating almonds or pecans can add a delightful twist to the creamy filling.
- Adult-Approved: Enhance the filling with a splash of liqueur, like Kahlúa or amaretto, for a sophisticated edge—perfect for dinner parties.
- Berry Bliss: Fold in finely chopped fresh berries, like strawberries or blueberries, to introduce vibrant flavors and a pop of color.
- Creamy Peanut Butter: Swirl peanut butter into your cheesecake filling for a rich, nutty flavor that pairs perfectly with the fruity crunch.
- Matcha Magic: Add matcha powder to your cheesecake filling for a unique earthy flavor with a lovely green hue, providing a delightful contrast.
If you love these fun twists, you’ll also enjoy creating the equally delightful Cheesecake Stuffed Chocolate or the refreshing Mini Key Lime Cheesecakes for another touch of sweetness that wows!
Make Ahead Options
These Fruity Pebbles Cheesecake Tacos are perfect for meal prep, allowing you to enjoy a delightful dessert with minimal effort during busy weeknights! You can prepare the taco shells up to 2 days in advance; simply store them in an airtight container to keep them crunchy. The cheesecake filling can be made up to 24 hours ahead; just refrigerate it until you’re ready to assemble. When it’s time to serve, fill the shells with the chilled filling, sprinkle with additional Fruity Pebbles, and you’ll have a vibrant, crowd-pleasing dessert that tastes just as delicious as when freshly made. With these steps, you’ll save time and be ready to sweeten up any occasion!
Storage Tips for Fruity Pebbles Cheesecake Tacos
Room Temperature: These tacos are best enjoyed fresh, but if left out, they can stay at room temperature for up to 2 hours before they start to lose their texture.
Fridge: Store any leftover Fruity Pebbles Cheesecake Tacos in an airtight container in the refrigerator for up to 2 days. Make sure to keep the shells separate from the filling to prevent sogginess.
Freezer: While not ideal for freezing due to the texture, you can freeze the taco shells for up to 1 month. Assemble the tacos after thawing for the best results.
Reheating: If you have filling leftover, gently rebeat it for a fluffier texture before using. Serve chilled to enjoy the creamy goodness of your Fruity Pebbles Cheesecake Tacos!
What to Serve with Fruity Pebbles Cheesecake Tacos
These colorful dessert tacos are the perfect introduction to a delightful meal packed with fun and flavor.
-
Fresh Berry Salad: Light and refreshing, this salad enhances the sweetness of the tacos while adding a burst of juicy flavors. A mix of strawberries, blueberries, and raspberries pairs beautifully with the creamy filling.
-
Chocolate Drizzle: A decadent topping for those who crave a richer experience. Drizzling warm chocolate sauce over the tacos adds an indulgent touch that makes each bite even more exciting.
-
Vanilla Ice Cream: The creaminess of vanilla ice cream perfectly complements the fruity crunch of the tacos, offering a cool treat that contrasts the richness of the cheesecake.
-
Coconut Whipped Cream: Elevate your dessert by adding a dollop of coconut whipped cream atop each taco. It brings in additional fluff and a tropical twist that’s delightful.
-
Sparkling Lemonade: Quench your thirst with a refreshing glass of sparkling lemonade. The zesty citrus flavor balances the sweetness of the tacos and adds an invigorating touch.
-
Tropical Fruit Platter: Get into a laid-back vibe by serving a platter of tropical fruits like pineapple and mango. Their juicy textures and flavors resonate well with the cheerful tones of the tacos.
-
Mint Infused Water: Refreshing and elegant, mint-infused water is a perfect palate cleanser. The hint of mint lends a coolness that brightens your dessert experience.
-
Key Lime Pie Bites: For a mini dessert pairing, these zesty bites contrast nicely with the sweetness of the tacos, adding a tangy flavor profile that makes for a well-rounded dessert spread.
-
Fruity Sangria: Adults will appreciate a glass of fruity sangria to accompany dessert. Its vibrant flavors echo the colorful elements of the tacos, creating a celebratory atmosphere.
-
Rainbow Sprinkles: For added fun, serve a side of rainbow sprinkles so guests can customize their tacos. These little treats enhance the whimsical vibe and add texture to every bite.
Expert Tips for Fruity Pebbles Cheesecake Tacos
- Chill for Stability: Make sure to chill taco shells for at least 30 minutes. This sets their shape and ensures they’re nice and crispy when served.
- Fold Gently: When incorporating whipped cream into the cheesecake filling, use a gentle folding motion to maintain the light texture. Overmixing can lead to a dense filling.
- Don’t Overfill: Keep an eye on how much filling you’re adding to each taco; filling them too much can cause the shells to break or become soggy. Aim for a generous yet balanced amount.
- Add Flavor Variations: Feel free to experiment with different cereals or flavors in the filling, such as a splash of almond extract or a dollop of fruit puree for a fruity twist in your Fruity Pebbles Cheesecake Tacos.
- Assemble Before Serving: For the best texture, assemble the tacos no more than 4 hours before serving. Otherwise, they might lose their crunch!

Fruity Pebbles Cheesecake Tacos Recipe FAQs
How do I choose the right fruity cereal?
Absolutely! When picking your fruity cereal, look for vibrant colors and avoid boxes with dark spots or damages, which may indicate stale cereal. Fruity Pebbles are a classic choice for their crunch and sweetness, but you can also substitute with colorful options like Cocoa Pebbles or Cinnamon Toast Crunch for a fun twist.
How should I store leftover Fruity Pebbles Cheesecake Tacos?
Very! Leftover tacos can be stored in an airtight container in the refrigerator for up to 2 days. However, to keep that delightful crunch, store the taco shells and cheesecake filling separately. This prevents the shells from becoming soggy, ensuring every bite remains crispy!
Can I freeze the taco shells?
Of course! If you’d like to freeze the taco shells, place them in an airtight container or a freezer bag, and they’ll keep well for up to 1 month. When you’re ready to use them, simply thaw in the refrigerator overnight, then fill with your cheesecake mixture for the best texture and taste.
What if my cheesecake filling is too dense?
No worries! If your cheesecake filling becomes too dense, you can revive it by gently rebeating with a spatula or mixer on low speed. If you’d like, you can add a tablespoon of milk or cream gradually until you achieve a smooth, creamy consistency. Just be careful not to overmix!
Are these tacos suitable for special diets?
Definitely! These Fruity Pebbles Cheesecake Tacos are egg-free and can be made gluten-free by using certified gluten-free cereals. Keep an eye on the ingredient labels for any allergen concerns, especially if you’re serving anyone with specific dietary restrictions. Enjoy creating a delightful dessert that everyone can appreciate!
Fruity Pebbles Cheesecake Tacos: Fun, Colorful Dessert Bliss
Ingredients
Equipment
Method
- In a large bowl, combine the Fruity Pebbles with melted unsalted butter, mixing until each piece is evenly coated. Scoop this mixture into taco-shaped molds or greased muffin tins, pressing firmly to form a shell shape. Chill the assembled shells in the refrigerator for at least 30 minutes to ensure they set and hold their shape beautifully.
- While the taco shells chill, beat softened cream cheese in a mixing bowl until it's light and fluffy, approximately 2 minutes. Gradually add in sifted powdered sugar and vanilla extract, mixing until the filling is creamy and smooth.
- Once your cheesecake mixture is creamy, gently fold in the whipped cream using a spatula until no streaks of cream are visible.
- Take the chilled taco shells out of the refrigerator and fill each one with the creamy cheesecake filling using a spoon or piping bag.
- Sprinkle additional Fruity Pebbles over the top of each cheesecake-filled taco for added crunch and color.