
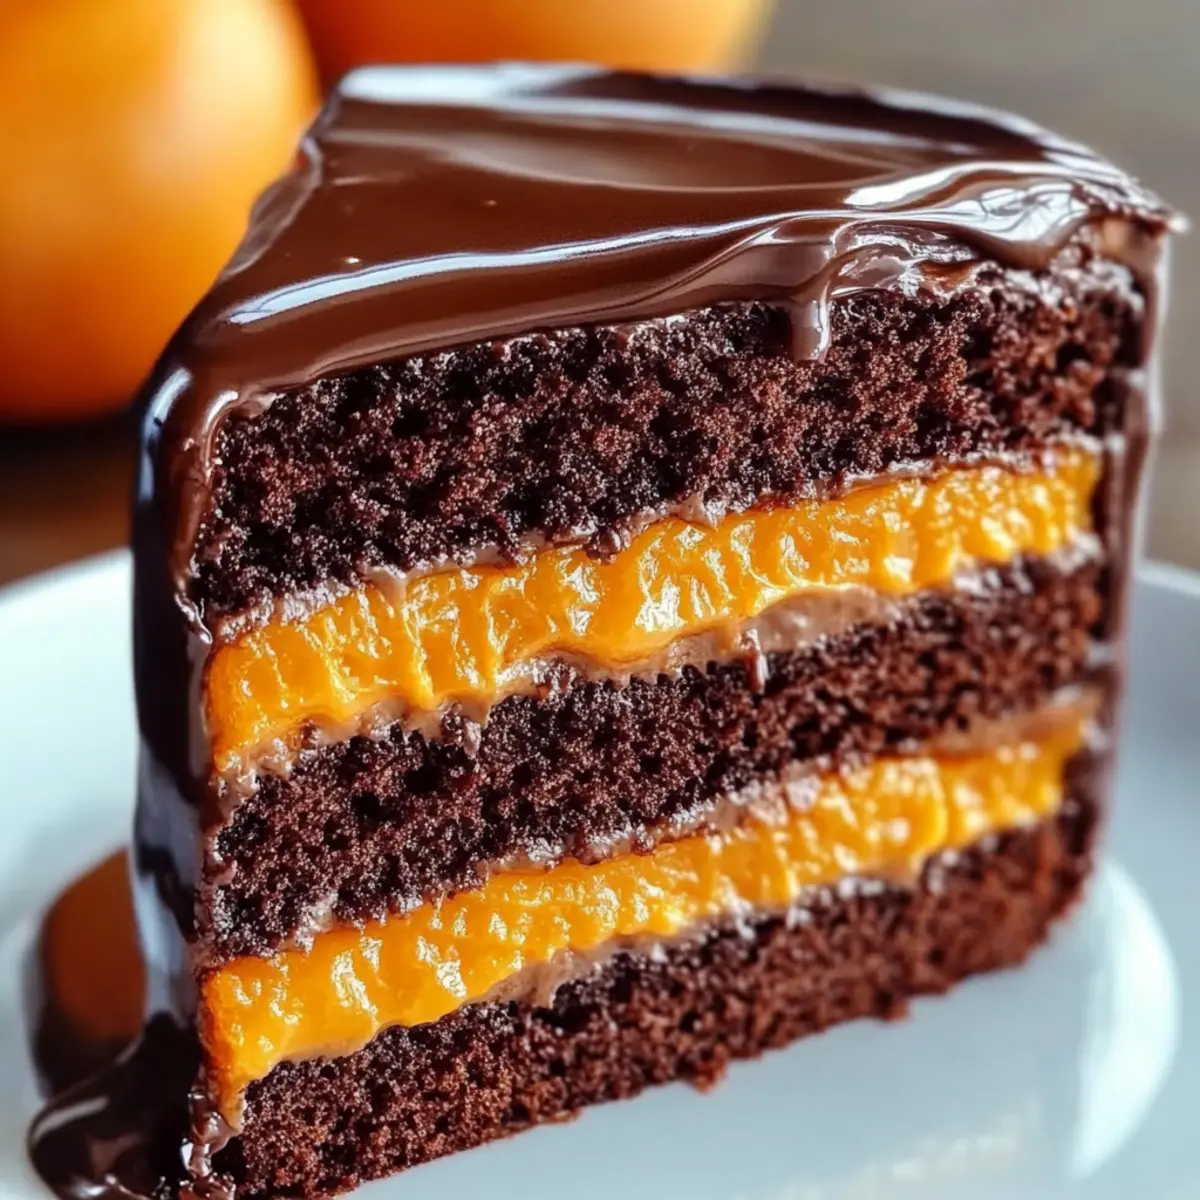
As I whisked the eggs one sunny afternoon, a vision danced in my mind—the ultimate Chocolate Orange Layer Cake. With its layers of moist chocolate cake and a zesty orange filling, this dessert is a celebration of flavors that harmonize beautifully. Not only is it surprisingly simple to whip up, but it also serves as an impressive crowd-pleaser for any occasion. The glossy ganache that drips down the sides adds a touch of elegance that will leave your guests in awe. Whether it’s a birthday bash or just a sweet treat for yourself, this cake is sure to delight your taste buds. Curious about how to create this delicious cake that combines richness with refreshment? Let’s dive into this mouthwatering recipe together!
Why Is This Cake So Special?
Decadent Layers: The combination of moist chocolate cake and refreshing orange filling creates a blissful contrast that is simply unforgettable.
Easy to Make: Despite its lavish appearance, this recipe is straightforward, proving that indulgence doesn’t have to be complicated.
Gourmet Touch: The elegant ganache drizzling down the sides elevates this dessert to a gourmet level, making it perfect for impressing family and friends.
Versatile Appeal: Whether it’s a cozy family gathering or a grand celebration, this cake is sure to shine. You might also enjoy pairing it with a scoop of vanilla ice cream, just like with my High Protein Pancake for an extra treat!
Flavor Harmony: Every bite harmonizes the rich chocolate with zesty orange, making this cake a memorable highlight at any table.
Chocolate Orange Layer Cake Ingredients
For the Cake
• All-Purpose Flour – Essential for structure; no substitutes recommended for best texture.
• Unsweetened Cocoa Powder – Adds rich chocolate flavor; Dutch-processed cocoa provides a milder taste.
• Granulated Sugar – Sweetens the cake; coconut sugar is a great substitute for a less processed option.
• Baking Powder – Provides necessary leavening; ensure it’s fresh for adequate rise.
• Baking Soda – Enhances browning and provides extra leavening; freshness is key for effectiveness.
• Salt – Balances sweetness effectively; fine sea salt distributes best.
• Large Eggs – Provides moisture and binding; flax eggs can substitute for an egg-free option.
• Whole Milk – Adds richness to the batter; non-dairy milk works for a dairy-free cake.
• Vegetable Oil – Ensures moisture and assists in mixing; you can use canola oil as an alternative.
• Vanilla Extract – Enhances flavor; almond extract can be swapped for a different twist.
• Hot Coffee – Intensifies the chocolate flavor; hot water or espresso can be used instead.
For the Orange Cream Filling
• Granulated Sugar (for filling) – Provides necessary sweetness; no alternatives advised.
• Cornstarch – Acts as a thickener for the filling; arrowroot powder may also work.
• Egg Yolks (for filling) – Adds richness and creaminess; silken tofu can be used for a vegan option.
• Freshly Squeezed Orange Juice – Brings flavor and acidity; lemon juice alters taste slightly.
• Orange Zest – Adds brightness; zest from any citrus can be used, though flavors will differ.
• Butter – Richness in the filling; vegan butter or coconut oil can be substituted.
For the Ganache
• Heavy Cream – Creates a smooth, rich texture for ganache; use coconut cream for a vegan alternative.
• Chopped Dark Chocolate – The key flavor component for ganache, with semi-sweet or milk chocolate as options to fit preference.
This Chocolate Orange Layer Cake is bound to be a hit with its delightful layers and smooth ganache. Wait until you see the joy on your loved ones’ faces when they take a bite!
Step‑by‑Step Instructions for Chocolate Orange Layer Cake
Step 1: Preheat and Prepare Pans
Begin by preheating your oven to 350°F (175°C). While the oven heats, grease three 8-inch round cake pans and line the bottoms with parchment paper to ensure easy release. This preparation is essential for achieving perfectly baked layers of your Chocolate Orange Layer Cake.
Step 2: Whisk Dry Ingredients
In a large mixing bowl, combine the all-purpose flour, unsweetened cocoa powder, granulated sugar, baking powder, baking soda, and salt. Use a whisk to thoroughly blend these dry ingredients together, which will ensure that each slice of your cake has a consistent flavor and texture. This mixture will form a solid base for your cake.
Step 3: Combine Wet Ingredients
Next, add the large eggs, whole milk, vegetable oil, and vanilla extract to the dry ingredients. Mix everything together using a hand mixer or whisk until the batter is smooth and well combined—this batter will be on the thinner side, indicating it’s ready for the next step. The mixture should be glossy and cohesive.
Step 4: Incorporate Hot Coffee
Gently stir in the hot coffee into your batter, mixing until just combined. This crucial step intensifies the chocolate flavor, making your Chocolate Orange Layer Cake truly indulgent. Keep an eye on the consistency; it should remain smooth without any lumps.
Step 5: Bake the Cake Layers
Divide the batter evenly among the prepared cake pans. Place them in the preheated oven and bake for 25 to 30 minutes. To check for doneness, insert a toothpick into the center; it should come out clean or with a few moist crumbs attached, signaling that the layers are ready.
Step 6: Cool the Cake Layers
After baking, allow the cake layers to cool in the pans for about 10 minutes. Then, carefully transfer them to a wire rack to cool completely. This cooling period is vital, as transferring the cake while still warm can cause breakage and disrupt the smooth assembly of your Chocolate Orange Layer Cake.
Step 7: Make Orange Cream Filling
For the filling, whisk together granulated sugar, cornstarch, egg yolks, and freshly squeezed orange juice in a saucepan. Cook this mixture over medium heat, stirring frequently, until it thickens to a custard-like consistency. Once thickened, remove from heat, then mix in the orange zest and butter until fully integrated. Allow it to cool before using.
Step 8: Prepare the Ganache
To create the rich ganache, heat heavy cream in a saucepan until steaming. Pour this hot cream over chopped dark chocolate in a bowl and let it sit for a minute before stirring until smooth. This luscious ganache will perfectly complement your Chocolate Orange Layer Cake when poured over the assembled layers.
Step 9: Assemble the Cake
Begin layering your cooled chocolate cakes on a serving platter, spreading a generous amount of orange cream filling between each layer. Ensure each layer is evenly filled for a balanced taste. Once assembled, pour the rich ganache over the top so it drizzles elegantly down the sides of the cake, creating a stunning presentation.
Step 10: Garnish and Serve
For an extra touch of elegance, garnish your Chocolate Orange Layer Cake with fresh orange slices or candied orange peel. This not only enhances the visual appeal but also offers a vibrant flavor contrast. Slice and serve, inviting everyone to indulge in this delightful masterpiece!
What to Serve with Chocolate Orange Layer Cake
Indulge in a delightful array of pairings that elevate your dessert experience while complementing the luscious flavors of your cake.
- Vanilla Ice Cream: The creamy richness of vanilla ice cream adds a delightful contrast to the zesty flavors of the cake, creating a classic dessert duo.
- Fresh Berries: A medley of raspberries or strawberries brings a refreshing tartness that balances the sweetness of the chocolate and orange.
- Espresso Coffee: A robust shot of espresso enhances the chocolate and orange notes, providing a warm drink that complements the dessert beautifully.
- Whipped Cream: Light, fluffy whipped cream on the side adds a touch of elegance and creaminess, making each bite even more indulgent.
- Chocolate Sauce: For the chocolate lovers, a drizzle of chocolate sauce can take the experience to another level of decadence.
- Orange Sorbet: This refreshing frozen treat echoes the orange flavor while providing a cool and fruity counterpoint to the rich cake.
- Nutty Biscotti: Crunchy biscotti can serve as a delightful contrast in texture, making each bite an adventure of flavors and sensations.
- Hazelnut Liqueur: A splash of hazelnut liqueur can enhance the nutty undertones of chocolate while providing a warming drink option.
- Candied Orange Peel: Garnish your serving plate with candied orange peel for an aromatic and chewy complement that resonates with the cake’s flavors.
- Chocolate Chai: A spiced chocolate chai latte not only complements the cake but also wraps you in a warm embrace, perfect for a cozy gathering.
Make Ahead Options
These Chocolate Orange Layer Cakes are perfect for meal prep enthusiasts! You can bake the cake layers up to 24 hours in advance. Once cooled, wrap them tightly in plastic wrap and refrigerate to maintain their moisture. The orange cream filling can also be prepared a day ahead; just store it in an airtight container in the fridge to prevent it from thickening too much. When ready to serve, simply assemble the layers with the orange filling and pour over the ganache—this ensures your cake will be just as delightful and fresh as if made that day. This time-saving approach is ideal for busy weeknights or special occasions!
Expert Tips for Chocolate Orange Layer Cake
Fresh Ingredients: Use the freshest eggs, milk, and baking powder for optimal rise and flavor in your Chocolate Orange Layer Cake.
Cooling Matters: Always cool the cake layers completely before assembly to prevent the ganache from melting and sliding off.
Zest It Up: Grate the orange zest finely for an even distribution of flavor in the filling, enhancing the overall taste experience.
Don’t Overmix: Mix the wet and dry ingredients until just combined. Overmixing can lead to a tougher cake, ruining that delightful fluffiness.
Check Doneness: Use a toothpick to check for doneness. If it comes out clean or with a few crumbs, your cakes are perfect!
Storage Tips for Chocolate Orange Layer Cake
- Fridge: Store leftover slices in an airtight container for up to 3-4 days. Keeping them sealed will maintain freshness and prevent the cake from drying out.
- Freezer: For longer storage, wrap individual cake layers tightly in plastic wrap and aluminum foil, freezing for up to three months. Make sure to label them for easy identification.
- Thawing: To enjoy your frozen Chocolate Orange Layer Cake, thaw it overnight in the refrigerator. This gentle process helps retain moisture and flavor.
- Reheating: If desired, lightly warm individual slices in the microwave for about 10-15 seconds. This will revive the cake’s softness and enhance the experience when serving.
Chocolate Orange Layer Cake Variations
Feel free to get creative with this recipe and personalize it to your taste buds! Each variation offers a delightful twist that will keep your cake experience fresh and exciting.
-
Tangy Twist: Replace orange juice with lemon juice for a zesty brightness. The subtle tartness can elevate the flavor profile to a whole new level. Imagine the inviting aroma wafting through your kitchen as it bakes!
-
Sweet Indulgence: Swap dark chocolate for white chocolate in the ganache for a richer, creamier experience. This variation brings a sweeter bite that pairs beautifully with the orange filling, creating a decadent dessert for chocolate lovers.
-
Fruity Surprise: Layer raspberry jam between the cake layers for an extra fruity burst. The tartness of raspberries beautifully complements the chocolate and orange, adding depth and nuance to every slice.
-
Nutty Delight: Add chopped walnuts or pecans to the cake batter for a delightful crunch. The nuts integrate perfectly into the soft layers, creating an enjoyable texture contrast that your family will love.
-
Café Vibe: Incorporate a tablespoon of espresso powder into the cake batter for a rich coffee flavor. This addition deepens the chocolate notes and creates a cozy café-inspired experience that will have you coming back for more!
-
Spicy Kick: Sprinkle in a touch of cayenne pepper or cinnamon for a subtle heat. This unexpected spice will charm your taste buds, making each bite an exciting adventure in flavor.
-
Creamy Vegan Option: Use silken tofu in place of egg yolks for the filling to create a vegan-friendly dessert. This simple substitution allows everyone to enjoy the delightful layers without compromising on taste. Serve with a scoop of my Sugar Free Cheesecake for a guiltless sweet fix!
-
Gourmet Glaze: Instead of ganache, drizzle a homemade orange glaze made with powdered sugar and orange juice over the assembled cake. This lighter option brings a refreshing brightness to the dessert, perfect for warm days!
Each unique twist is an invitation to explore flavors and find your ultimate version of this Chocolate Orange Layer Cake masterpiece!
Chocolate Orange Layer Cake Recipe FAQs
What type of oranges should I use for the filling?
Absolutely! I recommend using fresh, juicy navel oranges for their sweet, tangy flavor. Make sure to zest and juice them yourself for the best results. Avoid using overly ripe oranges with dark spots, as they may have a fermented taste that can affect your filling.
How should I store leftover Chocolate Orange Layer Cake?
For the best preservation, store leftover slices in an airtight container in the refrigerator for up to 3-4 days. This keeps it fresh and moist. If you find you have more cake than you can eat, wrap it tightly in plastic wrap and store it in the freezer for up to three months.
Can I freeze the Chocolate Orange Layer Cake? How?
Yes, you can! To freeze your cake, make sure it has completely cooled. Wrap each layer tightly in plastic wrap and then in aluminum foil to prevent freezer burn. Label your packages and store them in the freezer for up to three months. When you’re ready to enjoy, thaw in the refrigerator overnight for the best texture.
What can I do if my ganache doesn’t set properly?
Very often, ganache doesn’t set due to not using enough chocolate or if the cream was not hot enough when combined. To troubleshoot, gently reheat your ganache in a microwave-safe bowl in 10-15 second increments, stirring in between until smooth. If it’s still too runny, add more finely chopped dark chocolate to the warmed mixture until you reach your desired consistency.
Are there any dietary considerations I should be aware of?
Definitely! This Chocolate Orange Layer Cake is vegetarian but can be made vegan by substituting eggs with flax eggs or silken tofu and using coconut cream instead of heavy cream for the ganache. Always check for allergies, especially for nut-based substitutes or chocolate types, as certain brands may contain traces of common allergens.
How do I know when the cake layers are fully baked?
To check if your cake layers are baked to perfection, simply insert a toothpick into the center of each layer. If it comes out clean or with only a few moist crumbs, your cake is done! Keep an eye on them during the last few minutes of baking to avoid overcooking.

Irresistible Chocolate Orange Layer Cake for Lasting Memories
Ingredients
Equipment
Method
- Preheat your oven to 350°F (175°C). Grease three 8-inch round cake pans and line with parchment paper.
- In a large mixing bowl, combine all-purpose flour, unsweetened cocoa powder, granulated sugar, baking powder, baking soda, and salt.
- Add eggs, whole milk, vegetable oil, and vanilla extract to the dry ingredients. Mix until the batter is smooth.
- Gently stir in hot coffee until just combined.
- Divide the batter evenly among the prepared cake pans and bake for 25 to 30 minutes.
- Allow the cake layers to cool in the pans for about 10 minutes, then transfer them to a wire rack to cool completely.
- In a saucepan, whisk together granulated sugar, cornstarch, egg yolks, and orange juice. Cook until thickened, then mix in zest and butter.
- Heat heavy cream until steaming, then pour over chopped chocolate and stir until smooth.
- Layer the cooled chocolate cakes, spreading orange cream filling between each layer. Pour ganache over the assembled cake.
- Garnish with fresh orange slices or candied orange peel. Slice and serve.