
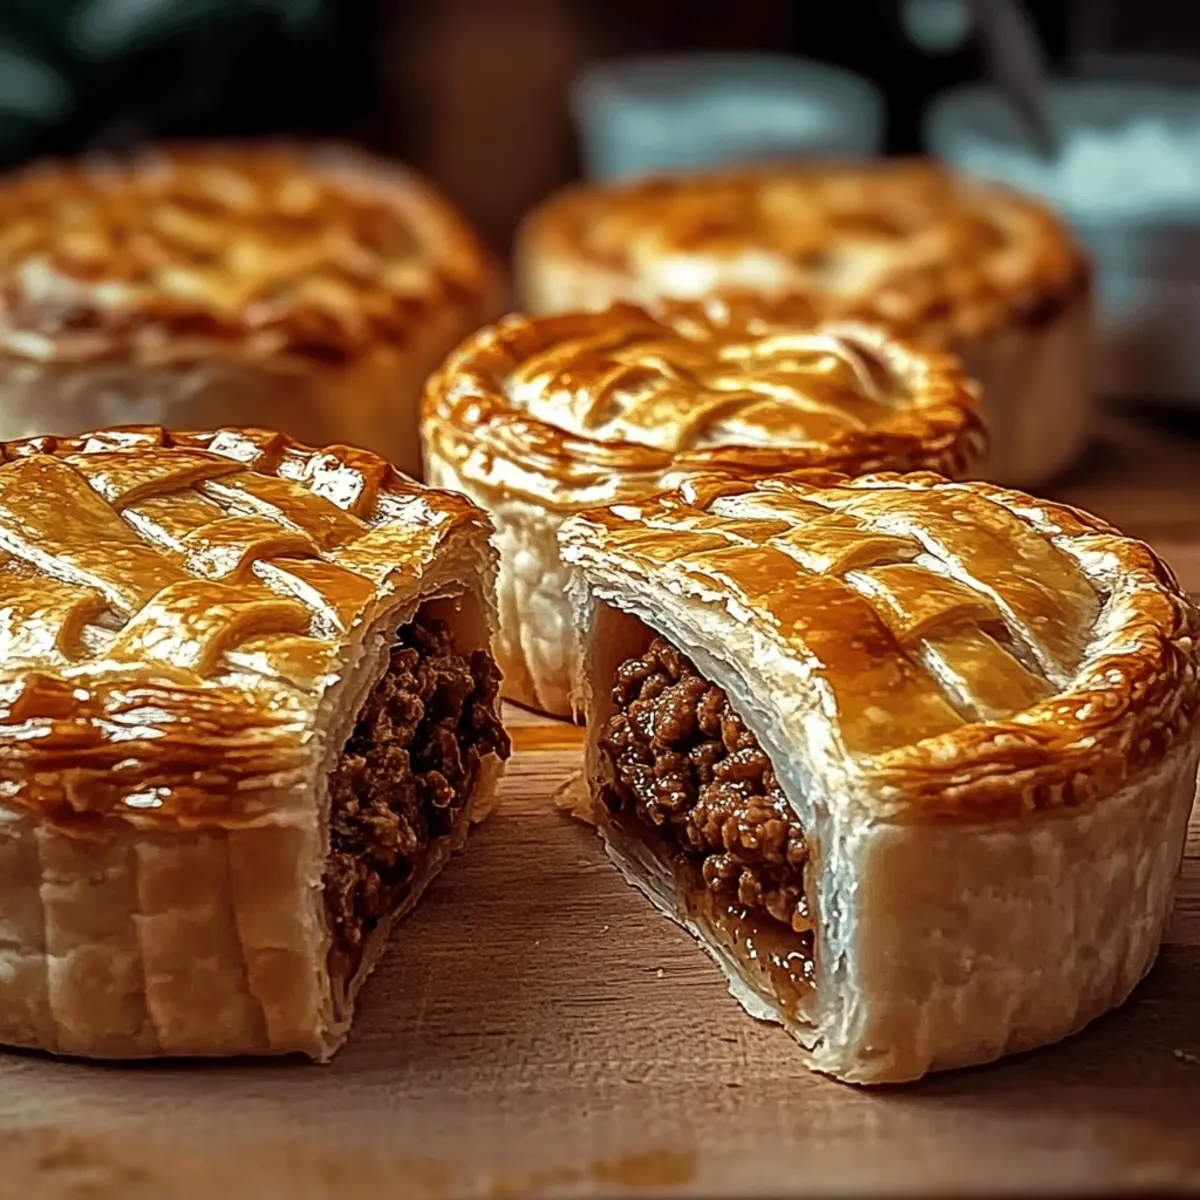
As I stood in my kitchen, the comforting scent of savory British meat pies filled the air, whisking me back to cozy gatherings with friends and family. These iconic pies, known for their flaky crusts and hearty fillings, embody the spirit of British cuisine and make for an easy and satisfying meal that transcends seasons. In under an hour, you can whip up a batch that not only tastes like a warm hug but also pleases even the pickiest of eaters. Perfect for a casual dinner or festive celebrations, this homemade recipe is sure to become a cherished staple in your culinary repertoire. What twist will you add to your next pie adventure?
Why British Meat Pies Are Beloved
Comforting Tradition: Every bite of these British meat pies transports you to a warm kitchen filled with love and laughter, making them perfect for gatherings.
Easy to Make: In just under an hour, you can create these delightful pies, leaving more time for fun and family!
Endless Fillings: From ground beef to chicken or lamb, flavor options are limitless. Add your favorite herbs or veggies for a unique twist!
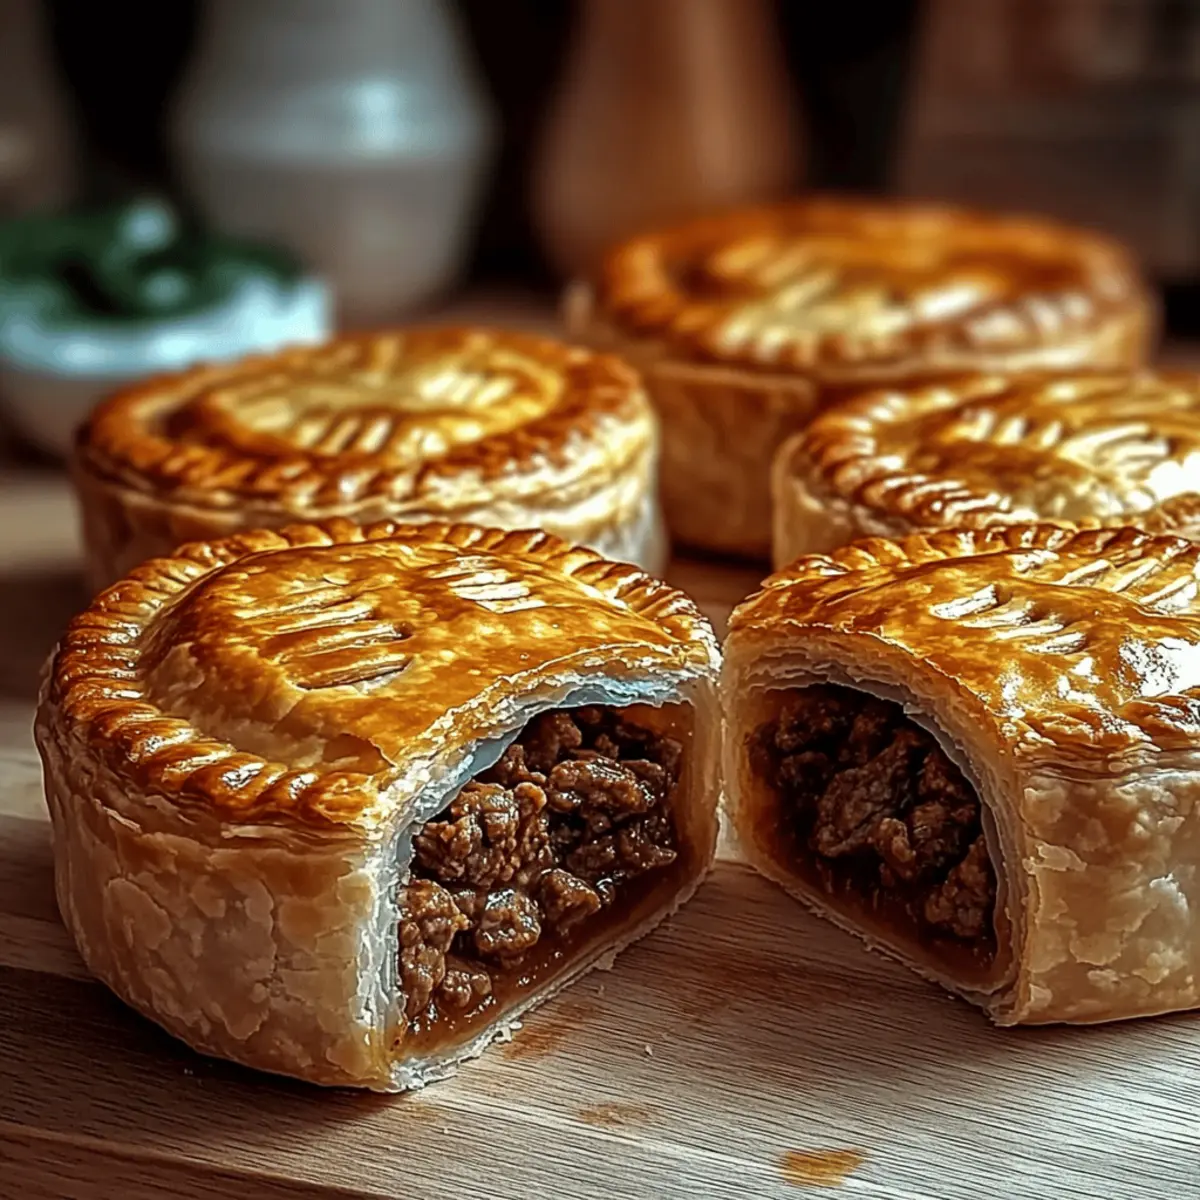
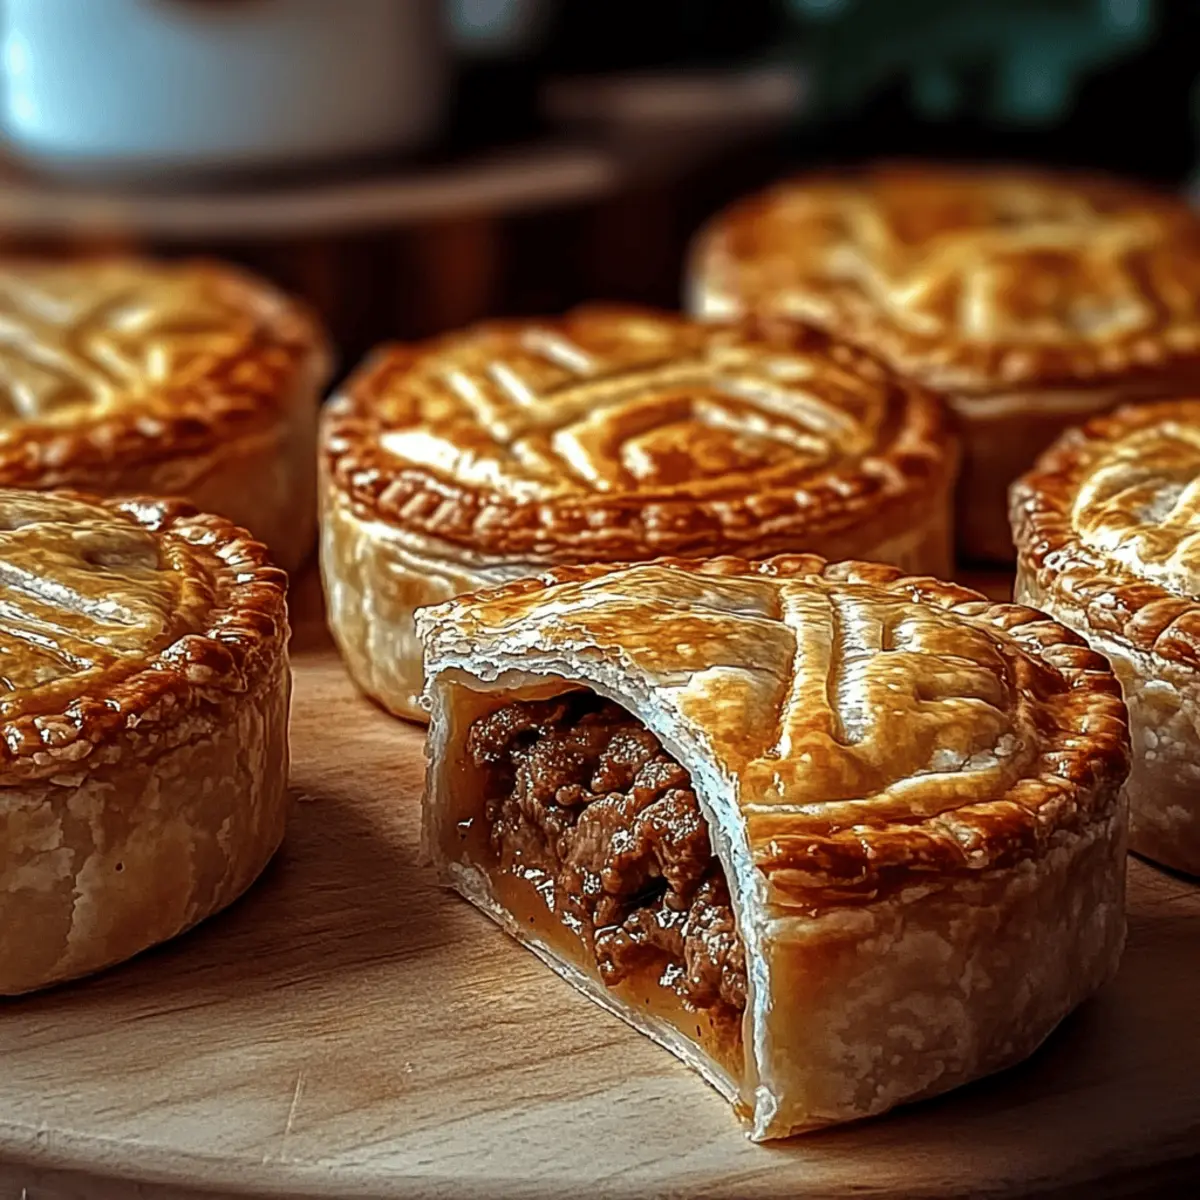
Crispy Perfection: The golden, flaky crust contrasts beautifully with the savory filling, offering a satisfying texture that’s hard to resist.
Crowd-Pleaser: Whether it’s a weeknight dinner or a festive celebration, these pies cater to all taste buds, making them a universally loved dish. Try serving them warm with tangy ketchup or gravy for an even more comforting experience. If you’re looking for more meatloaf-inspired dishes, explore Cordon Bleu Meatloaf or Cheesy Loaded Meatloaf.
Ingredients for British Meat Pies
For the Pastry
• Shortcrust Pastry – A buttery, flaky crust; for convenience, use ready-made pastry.
For the Filling
• Lean Ground Beef – The star protein providing savory flavor; substitute with ground chicken or lamb for a twist.
• Onion – Offers sweetness and depth; shallots or leeks make for delightful alternatives.
• Garlic – Enhances overall flavor; optional for those who prefer milder dishes.
• Beef Broth – Adds moisture and richness to the filling; swap with vegetable broth for a lighter taste.
• Dried Thyme – Brings herbal notes to the mix; swap with fresh thyme for a fresher flavor.
For Finishing Touches
• Egg (for egg wash) – Gives the crust a beautiful golden finish; milk can be an alternative for brushing.
Dive into making your own British meat pies, and experience the comfort of homemade goodness in every bite!
Step‑by‑Step Instructions for British Meat Pies
Step 1: Prepare the Pastry
Start by rolling out the shortcrust pastry on a lightly floured surface until it reaches a thickness of about 1/4 inch. Cut out circles that are large enough to line your pie tins, ensuring they overlap slightly at the edges. Preheat your oven to 400°F (200°C) as you finish preparing the pastry to stay organized and efficient.
Step 2: Cook the Filling
In a skillet over medium heat, sauté the chopped onions and minced garlic for approximately 5 minutes, until they are tender and fragrant. Next, add the lean ground beef, cooking until it browns evenly, about 7-10 minutes. Stir in the beef broth and dried thyme, allowing the mixture to simmer for an additional 5 minutes until it thickens. This savory British meat pie filling is now ready!
Step 3: Assemble Pies
Once the filling has cooled slightly, line your prepared pie tins with the pastry circles. Carefully fill each tin with a generous portion of the meat mixture, making sure not to overfill. Cover each filled pie with another pastry circle. Crimp the edges with a fork to seal them tightly and create a decorative ridge, preventing any leaks during baking.
Step 4: Egg Wash
In a small bowl, beat an egg to create an egg wash. Use a pastry brush to gently brush the top of each pie with the egg mixture. This gives the crust a beautiful glossy finish while it bakes, ensuring your British meat pies have that irresistible golden-brown color.
Step 5: Bake
Transfer the assembled pies onto a baking sheet lined with parchment paper, which helps prevent sticking. Place the sheet in your preheated oven and bake for 25-30 minutes. Keep an eye on them, and look for a golden crust forming and a fragrant aroma wafting through your kitchen; that’s when you know they are ready!
Step 6: Serve
Once baked, remove your British meat pies from the oven and let them cool for a few minutes on a wire rack. This helps them set up nicely without burning your fingers. Serve them warm, alongside tangy ketchup or savory gravy for dipping, and enjoy the wonderful flavors of your homemade comfort food!
Variations & Substitutions for British Meat Pies
Feel free to explore delightful twists on this classic recipe that will tantalize your taste buds!
- Dairy-Free: Use a dairy-free pastry made with coconut oil or a store-bought alternative for an inclusive option.
- Gluten-Free: Substitute traditional shortcrust pastry with a gluten-free commercial option or make your own using almond flour.
- Vegetarian: Replace meat with a hearty mixture of mushrooms and lentils, seasoned with similar spices for depth in flavor.
- Herb-Infused: Add fresh herbs like rosemary or parsley to the meat mixture for aromatic enhancements. A sprinkle of fresh basil can also add a lovely Italian flair to your pies.
- Spicy Twist: Introduce a touch of heat by adding diced jalapeños or a splash of hot sauce into the filling. This spice level can really wake up your palate!
- Savory-Sweet: Incorporate a handful of dried fruit, like cranberries or raisins, into the meat mixture for a beautifully balanced sweet-savory combination.
- Hearty Vegetables: Add diced carrots or peas into the meat filling for added texture and nutrition, transforming your pies into a wholesome meal.
- Mini Pies: Prepare bite-sized versions of these savory delights to serve as appetizers at your next gathering. They’d be a hit alongside dips or sauces!
Each variation here invites you to embrace your creativity in the kitchen. If you’re looking for more inspiration, check out my recipes for Cordon Bleu Meatloaf and Cheesy Loaded Meatloaf to elevate your comfort food game!
What to Serve with British Meat Pies
Warm up your dining experience by adding these delightful pairings that complement your savory meat pies.
- Creamy Mashed Potatoes: The velvety texture and buttery flavor create a comforting contrast to the flaky crust of meat pies.
- Tangy Gravy: A rich, savory gravy adds moisture and enhances the deep flavors of the meat filling, making every bite more satisfying.
- Fresh Green Salad: Crisp greens and a zesty vinaigrette balance the hearty flavors of the pies, bringing freshness to your meal.
Each pairing can elevate your meal, making each dinner a delightful culinary adventure. Enjoy experimenting with different flavors!
- Roasted Root Vegetables: Caramelized carrots and parsnips add sweetness and earthiness, creating a perfect harmony with the savory profile of meat pies.
- Baked Beans: Their slightly sweet flavor complements the dish beautifully, offering a traditional pairing reminiscent of cozy British evenings.
- Cider or Ale: A refreshing hard cider or a flavorful ale complements the pies, enhancing the overall savory experience with a fizzy contrast.
Pair any of these with your British meat pies for an inviting and hearty meal that’ll leave everyone feeling content!
How to Store and Freeze British Meat Pies
Fridge: Store leftover pies in an airtight container in the fridge for up to three days. This will keep them fresh and ready for quick meals.
Freezer: Freeze unbaked pies for up to three months. Wrap each pie tightly in plastic wrap and foil before placing them in a freezer-safe bag.
Reheating: To reheat baked British meat pies, preheat your oven to 350°F (175°C) and bake for 15-20 minutes until heated through. This will help maintain the flaky crust’s texture.
Thawing: When ready to enjoy frozen unbaked pies, thaw in the fridge overnight before baking at 400°F (200°C) for 25-30 minutes until golden.
Expert Tips for British Meat Pies
• Cool Filling First: Ensure your meat filling is cool before filling the pastry to avoid a soggy crust—nobody loves a mushy pie!
• Secure Sealing: Crimp the edges of your pies tightly to prevent leaks. A well-sealed pie keeps all that delicious filling inside!
• Parchment Paper: Line your baking sheet with parchment paper to prevent sticking and make clean-up a breeze.
• Customize Flavors: Don’t hesitate to add your favorite spices or additional vegetables to the meat filling to create your signature British meat pies!
• Check for Doneness: Keep an eye on your pies while baking; they should be golden brown on top for that perfect crunch and flavor.
Make Ahead Options
These British Meat Pies are perfect for busy home cooks looking to save time during the week! You can prepare the filling up to 3 days in advance, storing it in an airtight container in the refrigerator to maintain flavor and freshness. Additionally, you can assemble the pies, cover them with plastic wrap, and freeze for up to 24 hours before baking. This way, all you need to do when you’re ready to serve is preheat your oven, brush with egg wash, and bake from frozen for an extra 5-10 minutes. By following these simple steps, you’ll ensure that your meat pies are just as delicious, providing a cozy and satisfying meal for your family!

British Meat Pies Recipe FAQs
How do I know if the ingredients I’m using are ripe or fresh?
Absolutely! For the best British meat pies, select lean ground beef that is bright red and firm to the touch, with no discoloration. When picking onions, look for those that are firm and free from dark spots. If you choose to use garlic, opt for bulbs that are hard and have tight skin.
What is the best way to store leftover British meat pies?
Very! Store your leftover British meat pies in an airtight container in the fridge for up to three days. Make sure they’re completely cool before sealing them up to prevent condensation. When you’re ready to enjoy them, reheat in the oven at 350°F (175°C) for about 15-20 minutes to maintain that delightful flakiness!
Can I freeze my British meat pies, and how should I do it?
Certainly! You can freeze unbaked British meat pies for up to three months. Wrap each pie individually in plastic wrap, then in foil, and place them in a freezer-safe bag. When you’re ready to bake, simply thaw them in the fridge overnight and bake at 400°F (200°C) for 25-30 minutes or until golden brown.
What should I do if my pie crust becomes soggy?
Oh no, soggy crusts can be a challenge! Make sure your filling is completely cool before assembling your pies. Additionally, crimp the edges tightly to seal in all the goodness, and consider blind-baking the bottom crust for 5-10 minutes before adding the filling to create a barrier.
Are there any dietary considerations for making British meat pies?
Yes, indeed! If you’re looking to accommodate dietary restrictions, you can easily substitute the ground beef with ground chicken or turkey for a lighter option. For allergies, ensure that any pre-made pastry used is free of common allergens, such as gluten or dairy. Always check ingredient labels, especially for those cooking for pets, as certain foods like onions can be harmful to dogs and cats.
Can I add vegetables to my meat filling?
Absolutely! Incorporating vegetables like finely diced carrots or peas can enhance nutritional value and add delightful textures. Sauté them along with the onions and garlic for a flavorful boost, ensuring they’re tender before filling your pies. Get creative and make these British meat pies a personal favorite!
Hearty British Meat Pies: A Cozy Tradition You’ll Love
Ingredients
Equipment
Method
- Roll out the shortcrust pastry on a floured surface until 1/4 inch thick. Cut circles for pie tins and preheat oven to 400°F (200°C).
- Sauté chopped onions and minced garlic in a skillet for 5 minutes. Add ground beef and cook until browned, about 7-10 minutes. Stir in beef broth and dried thyme; simmer for 5 minutes.
- Line pie tins with pastry, fill with meat mixture, cover with another pastry circle, and crimp edges to seal.
- Beat an egg for the wash and brush on top of each pie for a glossy finish.
- Bake on a parchment-lined baking sheet for 25-30 minutes or until golden brown.
- Let cool for a few minutes on a wire rack before serving with ketchup or gravy.