
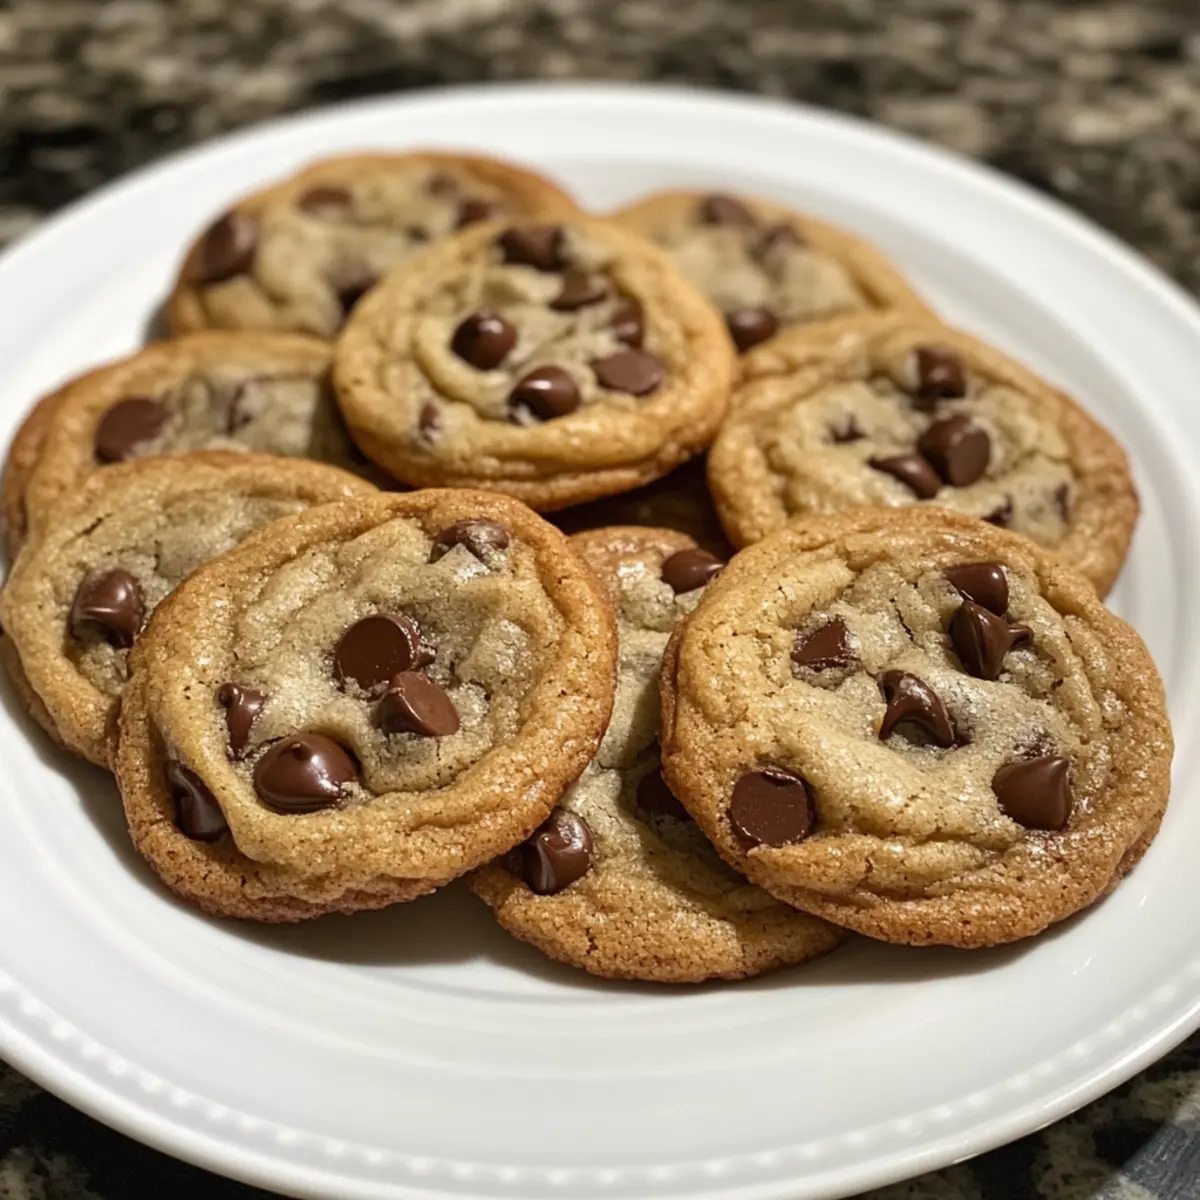
As I rummaged through my pantry late one evening, a thought struck me: what if I could whip up a batch of warm, chocolate chip cookies in no time? Yes, the comforting aroma of freshly baked cookies is just a few simple ingredients away! That’s where my Quick Chocolate Chip Cookies come into play; they’re not only a childhood favorite but also a lifesaver for those last-minute cravings. These adorable treats can be skillfully crafted in under 30 minutes, making them the go-to recipe for busy weeknights or spontaneous family bake-offs. Plus, they’re friendly for little hands, inviting kids to join in the delightful chaos of mixing and scooping. Curious to find out how to treat your taste buds to this childhood classic with an effortless twist? Let’s get baking!
Why Are Quick Chocolate Chip Cookies a Must-Try?
Quick, easy to make, this recipe will have you enjoying freshly baked cookies in under 30 minutes! Warm, gooey centers paired with crispy edges create the perfect bite. Kid-friendly and fun, this is a great way to get your little ones involved in the kitchen. Versatile enough for dietary adjustments, you can easily customize it to fit your needs—try using gluten-free flour or swapping in dark chocolate chips! Crowd-pleaser at any gathering, they are guaranteed to vanish quickly, just like those luscious Sweet and Sticky Steak Bites. Get ready for the delightful aroma that will fill your home, reminding you of cozy baking sessions!
Quick Chocolate Chip Cookie Ingredients
For the Batter
- All-purpose Flour – Provides structure; can be substituted with gluten-free flour for an equally delicious treat.
- Unsalted Butter – Adds richness and moisture; coconut oil makes a great dairy-free alternative.
- Granulated Sugar – Sweetens the dough, while brown sugar can enhance flavor and moisture.
- Brown Sugar – Contributes to chewiness; replace it with more granulated sugar for a less chewy texture.
- Eggs – Binds the ingredients together; a flax egg can serve as a vegan substitute.
- Vanilla Extract – Adds depth of flavor; for the best taste, opt for pure extract.
For the Chocolate
- Semi-Sweet Chocolate Chips – Delivers that signature chocolate flavor; dark or white chocolate chips can bring a new twist to your cookies.
For Leavening
- Baking Soda – Acts as a leavening agent to help the cookies rise; ensure it’s fresh for optimal results.
- Salt – Enhances sweetness and balances flavors; sea salt or kosher salt offers a unique taste profile.
These Quick Chocolate Chip Cookie ingredients are a cheerful way to create a batch of homemade nostalgia, perfect for any occasion!
Step‑by‑Step Instructions for Quick and Easy Chocolate Chip Cookies
Step 1: Preheat the Oven
Set your oven to preheat at 350°F (175°C). This initial step is crucial as it creates the perfect environment for baking your Quick Chocolate Chip Cookies. While the oven warms up, gather your baking sheets, preferably lined with parchment paper to prevent sticking and ensure easy cleanup.
Step 2: Cream the Butters and Sugars
In a large mixing bowl, combine softened unsalted butter, granulated sugar, and brown sugar. Use a hand mixer or stand mixer to cream the mixture on medium speed until it becomes light and fluffy, which usually takes about 2-3 minutes. This step is essential for achieving that melt-in-your-mouth texture we all love!
Step 3: Add Eggs and Vanilla
Crack in the eggs and pour in the vanilla extract to the creamed mixture. Continue to mix on low speed until everything is fully blended and smooth, about 1-2 minutes. Ensure you scrape down the sides of the bowl with a spatula to incorporate all ingredients well, making your Quick Chocolate Chip Cookies flavorful and rich.
Step 4: Combine the Dry Ingredients
In a separate bowl, whisk together the all-purpose flour, baking soda, and salt until evenly mixed. This step ensures that the leavening agent is distributed throughout the flour, perfect for creating fluffy cookies. Gradually add this dry mixture to the wet ingredients, mixing on low speed until just combined, being careful not to overmix.
Step 5: Fold in the Chocolate Chips
Gently fold in the semi-sweet chocolate chips using a spatula until they are evenly distributed throughout the dough. This step should be done with care to maintain the fluffy texture of your batter. You’ll want each bite of your Quick Chocolate Chip Cookies to be packed with melty chocolate goodness.
Step 6: Scoop the Dough
Using a rounded tablespoon or a cookie scoop, drop mounds of cookie dough onto the prepared baking sheets. Make sure to leave enough space between each mound to allow the cookies to spread while baking. Aim for about 2 inches apart to prevent them from merging into one big cookie!
Step 7: Bake to Perfection
Slide the baking sheets into the preheated oven and bake for 10-12 minutes. The cookies are ready when the edges turn golden brown while the centers remain soft and slightly underbaked. This is crucial for achieving that chewy texture in your Quick Chocolate Chip Cookies.
Step 8: Cool and Serve
Once baked, remove the sheets from the oven and let the cookies cool on the baking sheet for about 5 minutes. This allows them to set before transferring them to a wire rack to cool completely. This final cooling step is important for perfecting the texture, so don’t rush it—then enjoy your lovely batch of cookies!
Storage Tips for Quick Chocolate Chip Cookies
- Room Temperature: Store cookies in an airtight container at room temperature for up to 1 week to maintain their delightful freshness and chewy texture.
- Fridge: For extended freshness, you can refrigerate the cookies in an airtight container for up to 2 weeks. Allow them to come to room temperature before serving.
- Freezer: Freeze cookie dough in scooped mounds on a baking sheet until solid, then transfer to a freezer bag for up to 2 months. Bake from frozen, adding an extra couple of minutes to the baking time.
- Reheating: To enjoy your cookies warm again, microwave for 10-15 seconds or pop in a preheated oven at 350°F (175°C) for a few minutes until warm and gooey.
What to Serve with Quick Chocolate Chip Cookies
Indulging in warm, gooey chocolate chip cookies creates the perfect opportunity to build a delightful dessert spread that will temper any sweet tooth!
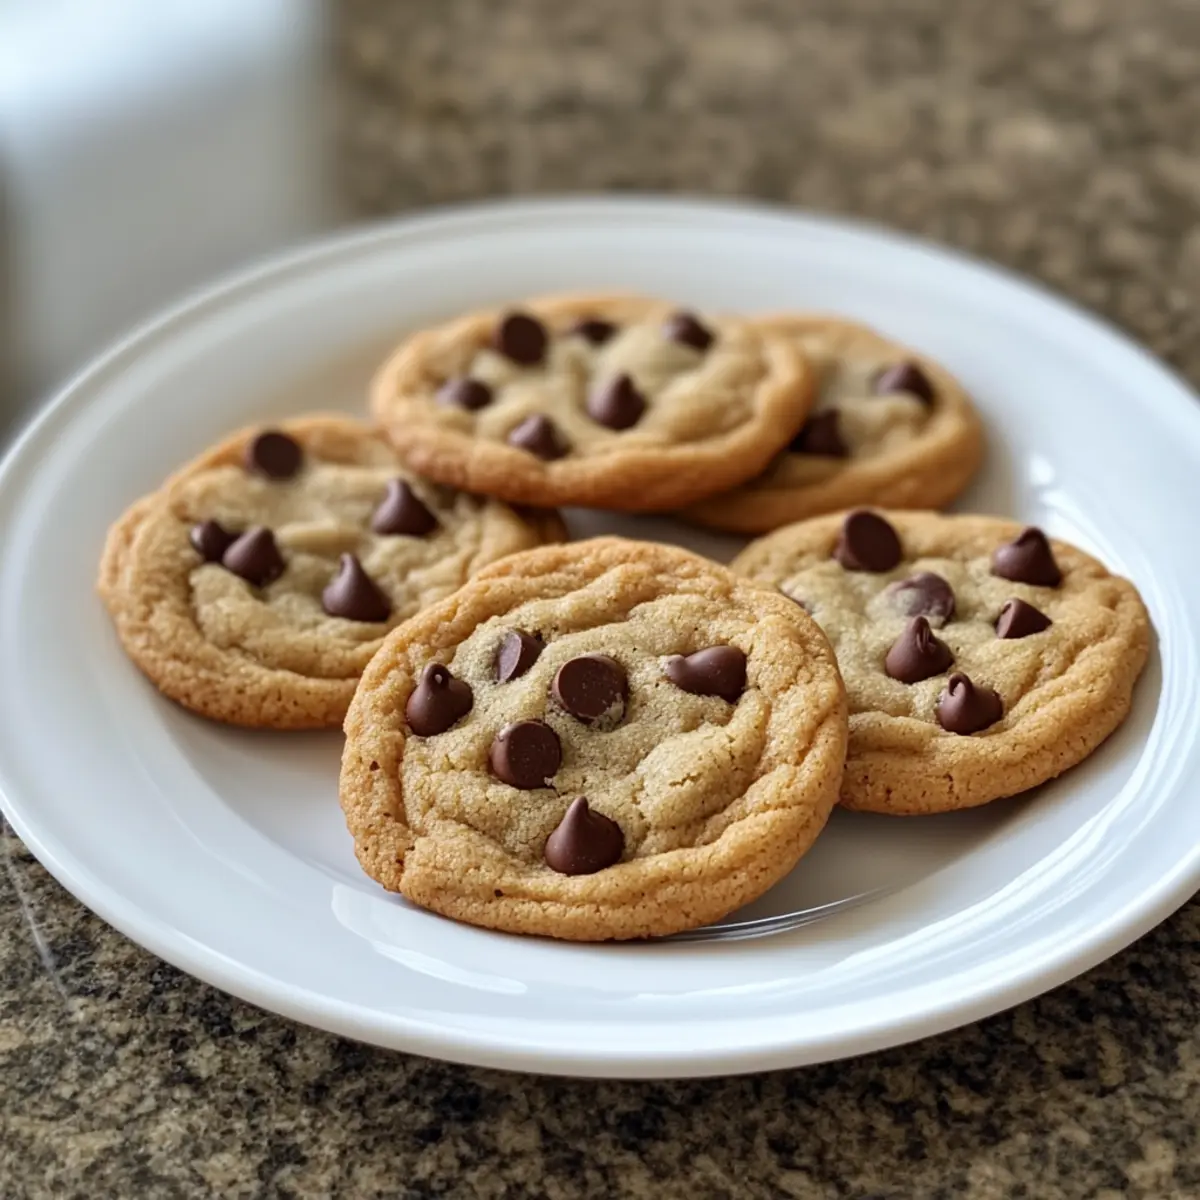
- Cold Glass of Milk: The classic pairing with cookies that enhances their sweetness and satisfies your cravings.
- Scoop of Vanilla Ice Cream: Adding a scoop of creamy ice cream takes this treat to new heights, creating a heavenly melting moment.
- Fresh Fruit Salad: Bright, juicy fruits provide a refreshing contrast to the rich cookie, balancing the sweetness beautifully.
- Chocolate Drizzle: A simple drizzle of melted chocolate over the cookies enhances their chocolatey goodness and adds an elegant touch.
- Coffee or Espresso: For adults, a rich cup of coffee complements the flavors in the cookies while enhancing the cozy experience.
- Homemade Whipped Cream: Light and airy, this creamy topping makes for a delightful addition atop warm cookies or ice cream.
- Peanut Butter Spread: A dollop of creamy peanut butter adds a nutty richness that pairs wonderfully with chocolate flavors.
- Chocolate-Covered Strawberries: Fresh berries covered in chocolate offer a fancy twist that elevates your dessert presentation.
- Hot Cocoa: Warm and comforting, this drink pairs extraordinarily well with cookies, evoking memories of chilly evenings by the fire.
- Cheesecake Bites: Small, rich bites of cheesecake provide a delicious contrast to the soft texture of the cookies while adding a layer of sophistication to your dessert table.
Quick Chocolate Chip Cookie Variations
Get ready to unleash your creativity in the kitchen! With just a few tweaks, you can transform these lovely cookies into something uniquely yours.
-
Gluten-Free: Swap regular flour for gluten-free flour to make these cookies perfectly suitable for those avoiding gluten. The taste remains delicious and everyone can enjoy them!
-
Dairy-Free: Use coconut oil or vegan butter in place of unsalted butter for a dairy-free version. These options still yield a decadent cookie without sacrificing flavor.
-
Nutty Delight: Add chopped walnuts or pecans for a delightful crunch. The nuts enhance both texture and flavor, making each bite even more satisfying.
-
Chocolate Celebration: Mix in dark chocolate chips or chunks for a richer chocolate flavor. Dark chocolate not only elevates the taste but also offers a delightful contrast with the sweetness.
-
Sweet and Spicy: For an exciting twist, sprinkle a bit of cinnamon or cayenne pepper into the dough. This small addition introduces a warm spice that beautifully complements the sweet chocolate.
-
Additional Flavor: Incorporate a heaping tablespoon of your favorite nut butter, like peanut or almond, into the dough. This enriches the flavor and adds a delightful creaminess.
-
Fruit Fusion: Substitute some of the chocolate chips with dried fruits like cranberries or raisins for a tangy, chewy surprise. This twist not only adds variety but also packs a nutritional punch!
-
Savory Twist: Consider adding a pinch of sea salt on top before baking for a sweet and salty treat that everyone will love. The contrast truly elevates the cookie experience!
These variations offer fantastic ways to enjoy your Quick Chocolate Chip Cookies while keeping things fun and versatile. And if you’re looking for other scrumptious ideas, don’t forget to check out the delightful recipes for Chicken Rice Taco Skillet or Cucumber Salad with Spicy Dressing. Enjoy your baking adventure!
Make Ahead Options
These Quick Chocolate Chip Cookies are perfect for meal prep and can save you valuable time during busy weeks! You can prepare the cookie dough up to 3 days in advance and store it in the refrigerator, ensuring it’s tightly wrapped to prevent it from drying out. If you want to keep things longer, you can freeze the dough for up to 2 months – just scoop and freeze! When you’re ready to bake, you simply need to let the frozen dough thaw in the fridge overnight or at room temperature for about 30 minutes. Then, follow the baking instructions as usual, and you’ll enjoy delicious, freshly baked cookies that taste just as good as if you made them the same day!
Expert Tips for Quick Chocolate Chip Cookies
-
Chill the Dough: Chilling your cookie dough for at least 30 minutes helps create thicker cookies that won’t spread too much while baking.
-
Avoid Overmixing: Mix the dough just until everything is combined to prevent tough cookies. Overmixing develops gluten, affecting texture.
-
Use Fresh Ingredients: Ensure your baking soda is fresh; expired baking soda can lead to cookies that don’t rise properly.
-
Check for Doneness Early: Start checking your cookies at 10 minutes to achieve that perfect chewy texture. They should be golden on the edges, soft in the center.
-
Space Them Out: Leave enough space on the baking sheet (about 2 inches apart) to allow your cookies to spread without merging together.
These tips are key for baking delicious Quick Chocolate Chip Cookies that will impress everyone!
Quick Chocolate Chip Cookies Recipe FAQs
How do I choose the best chocolate chips for my cookies?
Absolutely! For a classic flavor, semi-sweet chocolate chips are ideal as they provide the perfect balance of sweetness and richness. If you’re feeling adventurous, dark chocolate chips can bring a more intense cocoa flavor, while milk or white chocolate chips offer a creamier taste. Feel free to mix them up or even add a handful of nuts for added texture!
What’s the best way to store quick chocolate chip cookies?
To maintain the blissful freshness of your cookies, keep them in an airtight container at room temperature for up to 1 week. For longer storage, they can be refrigerated for up to 2 weeks. Just remember to let them come to room temperature before enjoying. If you’ve got a batch that you’d like to save for later, freeze the cookies in an airtight container for up to 3 months.
Can I freeze the cookie dough?
Yes, you can definitely freeze cookie dough! Scoop rounded tablespoons of dough onto a baking sheet and freeze until solid. Once done, transfer the mounds into a freezer bag. They can be stored this way for up to 2 months. When you’re ready for freshly baked cookies, just preheat your oven and bake the frozen dough directly, adding an extra couple of minutes to the baking time.
What if my cookies turn out too flat?
If your cookies spread too much and are flat, it’s possible that the butter was too warm or melted when you mixed it in. Chilling the dough for at least 30 minutes before baking can really help maintain shape, as it cools the fats and prevents excessive spreading. Additionally, ensure you’re using the correct amount of flour; measuring with a scale or gently spooning flour into your measuring cup can help achieve that precise balance.
Are these cookies suitable for people with allergies?
For those with dietary considerations, you can easily adapt this recipe! Use gluten-free flour for a gluten-free version and coconut oil in place of butter for a dairy-free alternative. If you’re making them for kids, be sure to check for any nut allergies if you plan to add nuts. Lastly, a flax egg (1 tablespoon of ground flaxseed mixed with 2.5 tablespoons of water) can replace a traditional egg for a vegan version.
How do I know when my cookies are done baking?
A lovely way to check for doneness is by looking at the edges and centers. The edges should be golden brown, while the centers will look soft and slightly underbaked, which is the key to that perfect chewy texture! Start checking your cookies at the 10-minute mark to prevent overbaking. Remember, they will continue to cook a bit while cooling on the baking sheet.
Sweet and Spicy Chicken Wings that Will Wow Your Taste Buds
Ingredients
Equipment
Method
- In a mixing bowl, combine hot sauce, honey, soy sauce, garlic powder, onion powder, black pepper, and salt.
- Add chicken wings to the bowl and toss to coat evenly.
- Cover and marinate in the refrigerator for at least 30 minutes.
- Preheat your oven to 400°F (200°C).
- Line a baking sheet with parchment paper and arrange the chicken wings in a single layer.
- Bake for 40-45 minutes, turning halfway through, until wings are crispy and cooked through.
- Remove from oven and let cool slightly before serving.