
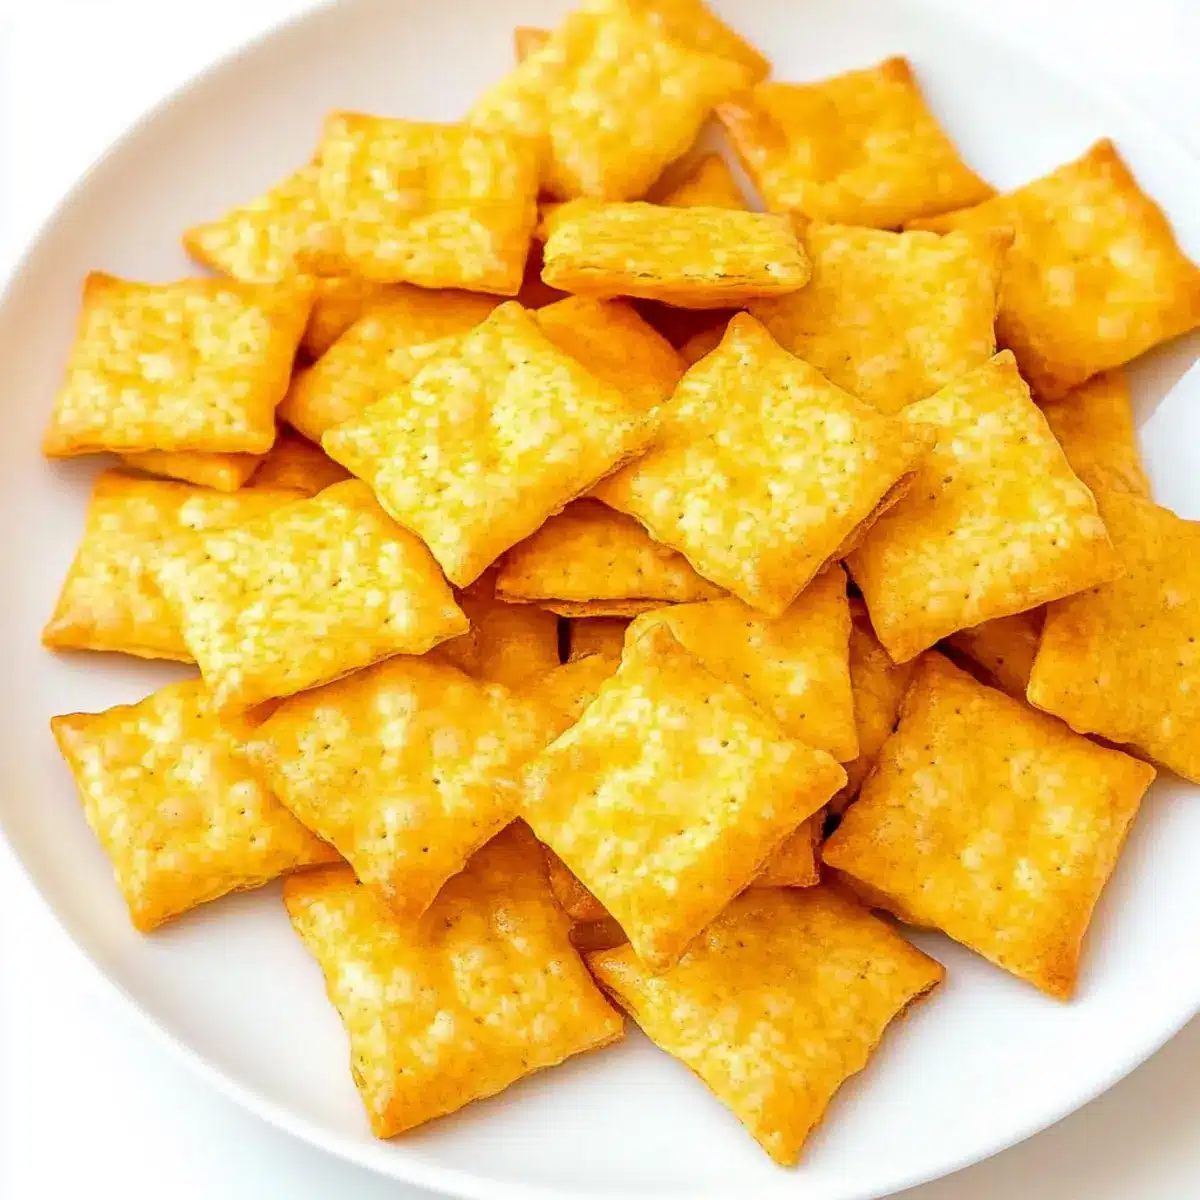
As I sift through my pantry, I suddenly uncover a treasure trove of sharp cheddar cheese, just waiting to be transformed into something glorious. Enter the world of Homemade Cheez It’s—a cheesy, crunchy baked snack that’s not only easy to make but a delightful treat for both kids and adults. With just five simple ingredients, these flavorful crackers are a mouthwatering alternative to the store-bought varieties packed with preservatives. They make a fantastic companion for family movie nights or casual gatherings, where everyone can enjoy them straight up or with dips and fruits. Who knew satisfying your snack cravings could be so much fun? Ready to whip up a batch? Let’s dive into this cheesy adventure together!
Why Make Homemade Cheez It’s?
Satisfying Crunch: Each cracker offers a delightful crispiness that snaps in your mouth.
Cheesy Goodness: Made with real sharp cheddar, each bite is bursting with flavor—no preservatives here!
Kid-Friendly Fun: Kids love helping out in the kitchen, making these a perfect family activity.
Quick to Prepare: With just five ingredients, you can whip these up in no time—ideal for spontaneous cravings!
Versatile Pairing: Enjoy them solo or add to a cheese board with fruits or dips like guacamole for a tasty twist! Ready to try more delicious snacks? Check out my easy tomato chutney for a delightful dip option!
Homemade Cheez It’s Ingredients
For the Dough
- Butter – 1/4 cup, softened; provides richness and essential texture for the homemade Cheez It’s.
- Sharp Cheddar Cheese – 8 ounces, grated; the star ingredient that delivers a cheesy punch—substitute for milder cheese if desired.
- Salt – 3/4 tsp; enhances the overall flavor; feel free to adjust for lower sodium.
- All-Purpose Flour – 1 cup; gives structure and crunch; gluten-free flour blends work as a suitable alternative.
- Cold Milk or Water – 2 tbsp; adds moisture for dough consistency; use milk for creaminess or water as a lightweight substitute.
Step‑by‑Step Instructions for Homemade Cheez It’s
Step 1: Mix Ingredients
In a stand mixer fitted with a paddle attachment, beat 1/4 cup softened butter, 8 ounces of grated sharp cheddar cheese, and 3/4 teaspoon salt on medium speed for about one minute until fully combined. Gradually add 1 cup of all-purpose flour, mixing until a dry, crumbly mixture forms. The mixture should be well combined but not too moist.
Step 2: Add Liquid
Pour in 2 tablespoons of cold milk or water into the mixing bowl. Continue mixing on low speed until the dough begins to come together and forms a cohesive ball. Once formed, shape the dough into a disc, wrap it in plastic wrap, and refrigerate for at least 1 hour. This chilling will make the dough easier to roll out.
Step 3: Prepare for Baking
Preheat your oven to 350°F (175°C) while the dough chills. Line two baking sheets with parchment paper to prevent sticking and ensure an even bake. Make sure to have your equipment ready, including a rolling pin, a pastry cutter, and a baking sheet. A preheated oven ensures the best texture for your Homemade Cheez It’s.
Step 4: Roll Out Dough
Once the dough is chilled, lightly flour your work surface. Take half of the dough and roll it out to about 1/8 inch thick, ensuring even thickness for consistent baking. A thinner dough yields a crispier cracker, so be careful not to roll it too thick. If necessary, dust with more flour to prevent sticking.
Step 5: Cut Crackers
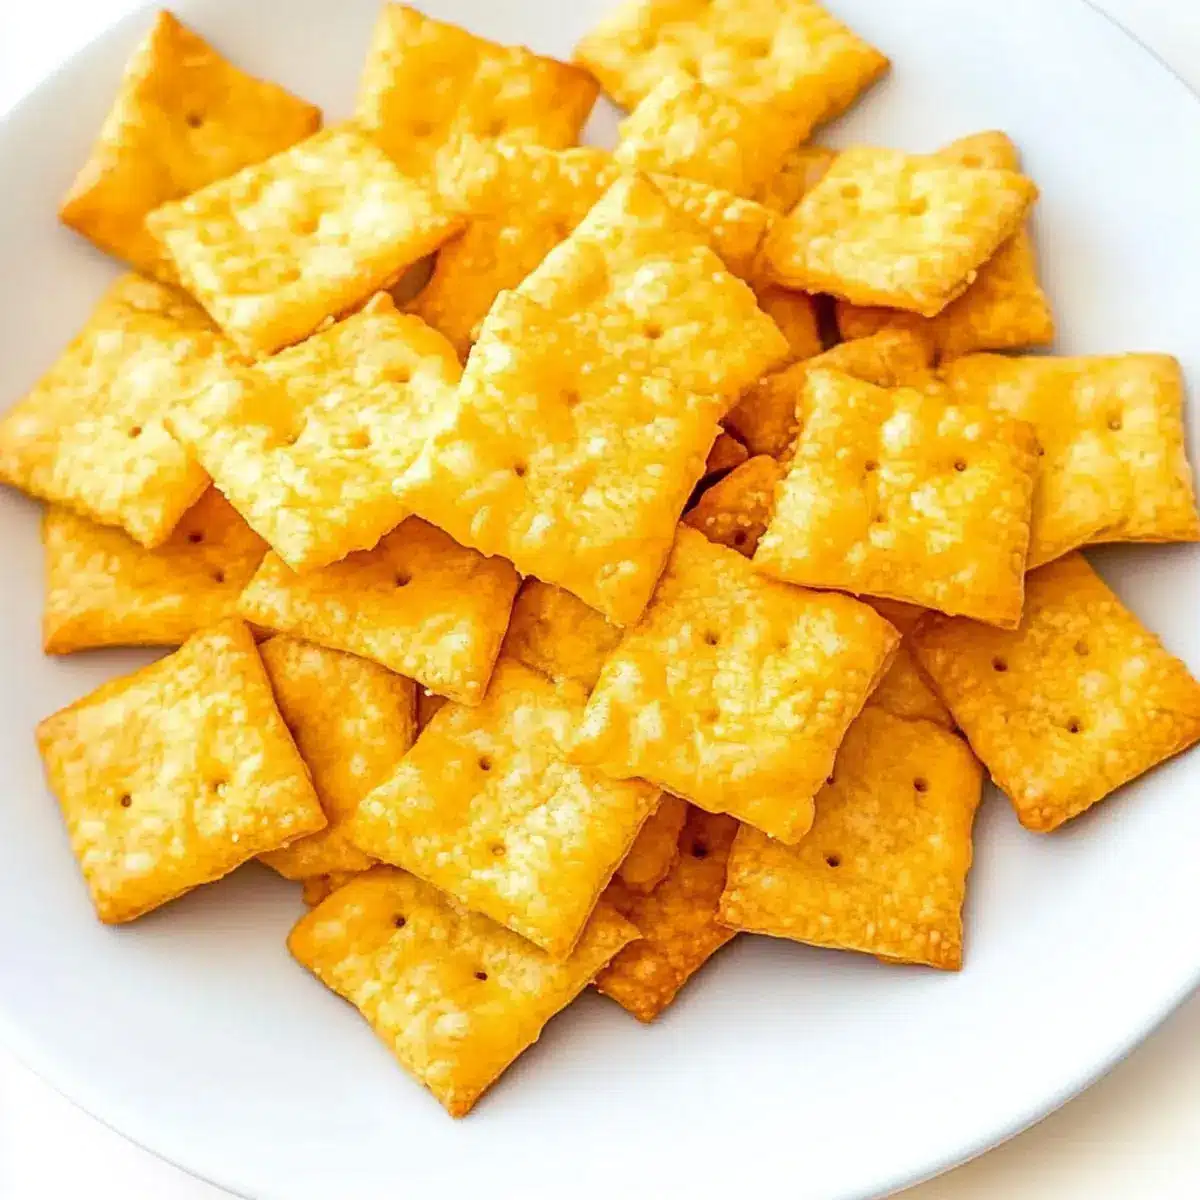
Using a pastry cutter, cut the rolled dough into 1-inch squares, following a grid pattern for uniformity. To add an authentic touch to your Homemade Cheez It’s, poke a small hole in the center of each cracker with a chopstick. This step helps them bake evenly and lets moisture escape for a crispy texture.
Step 6: Bake
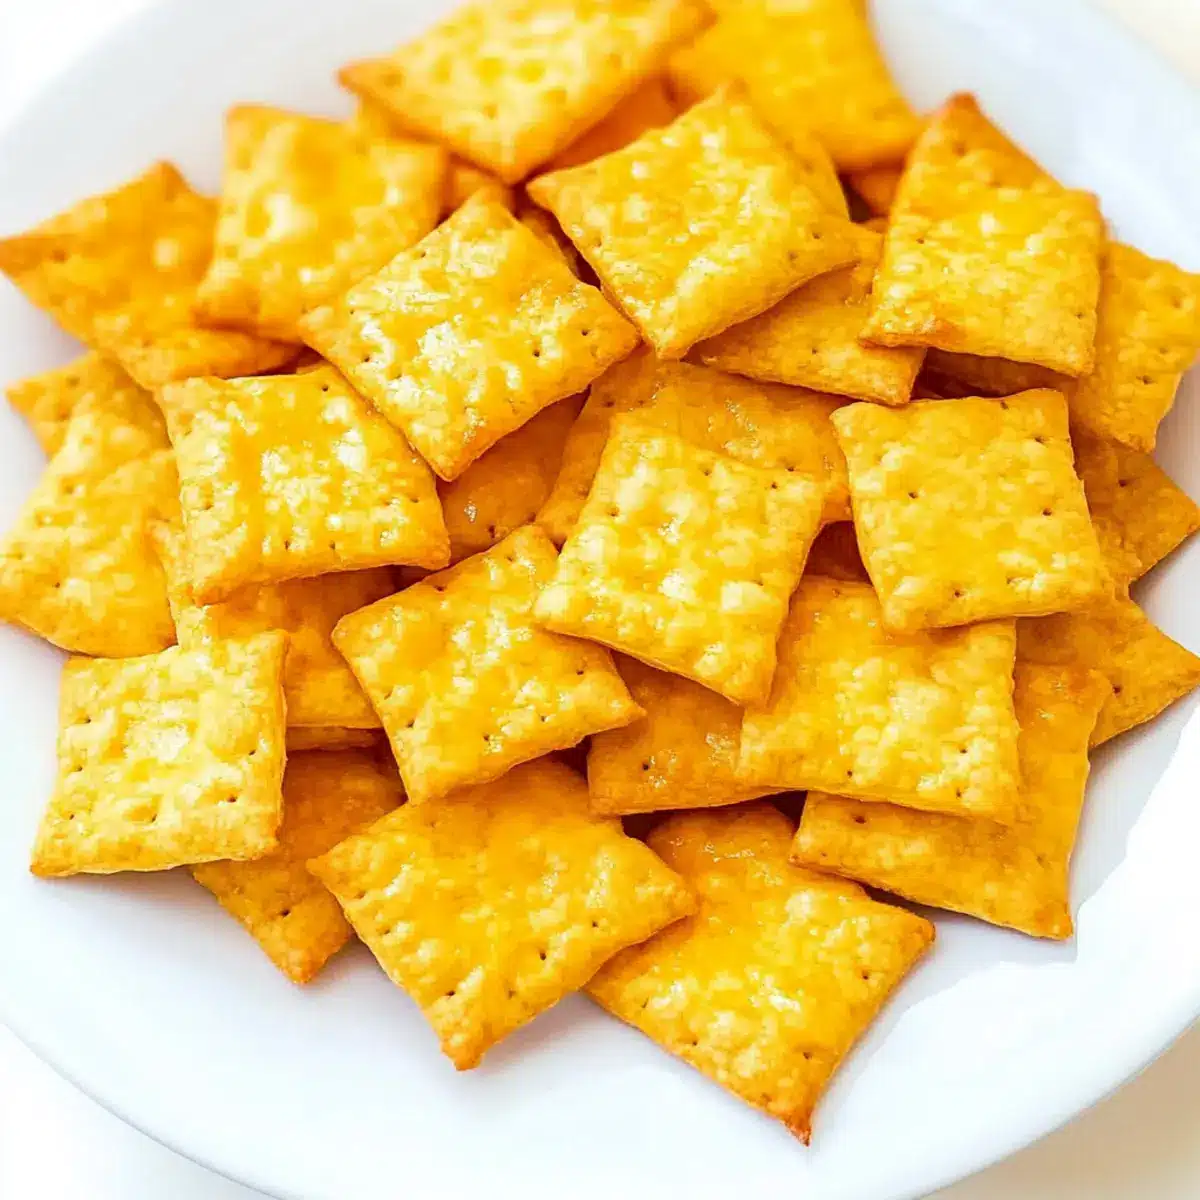
Place the cut crackers onto your prepared baking sheets, leaving space between them for expansion. Bake in your preheated oven for approximately 15 minutes, or until they turn golden brown and crispy. Keep a close eye on them to avoid over-browning, which can lead to a hard texture. Let them cool slightly before serving.
Step 7: Cool and Store
After baking, allow the Homemade Cheez It’s to cool on the baking sheets for a few minutes before transferring them to a wire rack. This cooling period helps ensure they remain crunchy. Store any leftovers in an airtight container at room temperature for up to a week, maintaining that delightful crunch for snacking later!
Expert Tips for Homemade Cheez It’s
Roll Thin: Keep the dough as thin as possible to achieve that irresistibly crispy texture; thicker dough can yield chewier crackers.
Watch the Clock: Bake your crackers until they’re golden brown but not too dark; over-baking will lead to hard, dry Homemade Cheez It’s.
Use Quality Cheese: Opt for high-quality sharp cheddar; it enhances flavor significantly compared to pre-packaged options.
Poke Holes: Don’t skip the step of poking holes in the crackers; this helps them bake evenly by allowing moisture to escape.
Store Properly: Ensure leftover crackers are stored in an airtight container to maintain their crunch for up to a week; they can also be frozen for longer storage.
Make Ahead Options
These Homemade Cheez It’s are a fantastic option for meal prep, allowing you to get ahead on your snacking plans! You can prepare the dough up to 24 hours in advance by mixing all the ingredients and wrapping the disc tightly in plastic wrap before refrigerating. Additionally, feel free to cut the crackers and store them unbaked in a single layer between sheets of parchment paper in an airtight container, where they’ll stay fresh for up to 3 days. When you’re ready to enjoy your cheesy treats, simply bake them straight from the fridge, adding an extra minute or two to your bake time if they’re chilly. This prep-ahead strategy ensures that you can indulge in delicious, homemade Cheez It’s with minimal effort on busy days!
Homemade Cheez It’s: Endless Possibilities
Feel free to get creative with your Homemade Cheez It’s and make them uniquely yours!
-
Cheese Swap: Substitute sharp cheddar for creamy Gouda or tangy Parmesan for varied flavors and textures. Each cheese brings a delightful twist to your crackers!
-
Spice It Up: Add a hint of paprika, cayenne, or garlic powder to the dough for an extra kick. These spices turn an already delicious snack into something extraordinary!
-
Herb-Infused: Incorporate finely chopped fresh herbs like rosemary or thyme to enhance the flavor with a refreshing twist. They’ll add a delightful aroma, making your kitchen smell heavenly!
-
Nutritional Boost: Mix in ground flaxseed or chia seeds for added nutrition and texture. They not only add health benefits but also a pleasant crunch that pairs beautifully with the cheese.
-
Sweet & Savory: Try sprinkling a light dusting of powdered sugar or cinnamon on top after baking. This unexpected touch elevates the snacking experience with a sweet contrast to the cheesy goodness.
-
Mini Cheez It’s: Use a smaller cutter to produce bite-sized snacks perfect for parties or kids’ lunches. These minis are adorable and great for dipping in easy tomato chutney or salsa.
-
Extra Crispiness: For a notably crunchier texture, bake a minute longer, keeping a close eye to avoid over-browning. This little adjustment can make all the difference in how satisfying your crackers feel!
With these ideas, you’ll never tire of snacking on your Homemade Cheez It’s. Enjoy experimenting and customizing them to suit your taste!
What to Serve with Homemade Cheez It’s?
These crunchy, cheesy bites are perfect for pairing with a variety of flavors and textures that elevate your snacking experience.
-
Fresh Veggie Platter: Crisp veggies like carrots and bell peppers provide a refreshing contrast to the rich cheese flavor. They bring crunch and color to your spread!
-
Savory Salsa: A zesty salsa paired with your Homemade Cheez It’s adds a delightful kick, enhancing the cheesy bites’ taste and giving your palate a fiesta.
-
Creamy Guacamole: The smoothness of guacamole beautifully complements the crunchy texture of the crackers, creating a creamy and savory harmony that you can’t resist.
-
Fruity Cheese Board: Slices of apples or grapes balance the saltiness of the Cheez It’s, bringing a sweet contrast that plays wonderfully with the cheese.
-
Herbed Yogurt Dip: This light, tangy dip adds brightness to your snacks, making every bite a creamy, flavorful delight. The herbs infuse freshness making it perfect!
-
Sparkling Water: A fizzy drink not only cleanses your palate but also adds a touch of sophistication while enjoying your snacking moment.
-
Red Wine: If you’re unwinding, a glass of red wine amplifies the cheesy taste, creating a perfect pairing for a cozy movie night!
-
Chocolate-Dipped Fruit: For a sweet finish, consider strawberries or bananas dipped in chocolate; they wrap up your snack escapade with richness and sweetness!
Storage Tips for Homemade Cheez It’s
Room Temperature: Store leftover Homemade Cheez It’s in an airtight container at room temperature for up to 1 week to keep them crunchy and fresh.
Fridge: If you want to preserve them longer, consider refrigerating the crackers; they can last for up to 2 weeks in an airtight container, although the texture may change slightly.
Freezer: For long-term storage, freeze the crackers in a single layer in a freezer bag for up to 3 months. Thaw at room temperature before enjoying, and re-crisp in the oven if desired.
Reheating: If your Homemade Cheez It’s lose their crunch, reheat them in a preheated oven at 350°F for about 5 minutes; this will restore their delightful crispiness.
Homemade Cheez It’s Recipe FAQs
How do I choose the best cheese for my Homemade Cheez It’s?
Absolutely! For a robust flavor, I recommend using sharp cheddar cheese, as it truly elevates the taste of your crackers. If you prefer a milder taste, feel free to substitute with a medium cheddar or even a creamy gouda. Make sure to grate the cheese yourself for the best melting properties—pre-packaged versions often contain additives that might affect the texture.
What’s the best way to store leftover Homemade Cheez It’s?
To keep your Homemade Cheez It’s crispy, store them in an airtight container at room temperature for up to 1 week. If you live in a humid environment, you might also consider refrigerating them, where they’ll last an impressive 2 weeks, though the texture may vary slightly. Just be sure to seal them tightly to avoid any moisture!
Can I freeze Homemade Cheez It’s for later?
Very! Freezing your Homemade Cheez It’s is a great way to preserve them. To do this, first let the crackers cool completely. Then, arrange them in a single layer on a baking sheet and freeze them until solid. Once frozen, transfer them to a freezer bag or airtight container, where they can last for up to 3 months. When you’re ready to snack, simply thaw them at room temperature. For that fresh crunch, you can pop them back in a preheated oven at 350°F for about 5 minutes.
What should I do if my Homemade Cheez It’s turned out chewier than expected?
No problem! If your crackers aren’t as crispy as you’d hoped, it often means the dough was rolled too thick. For the best crunch, aim for about 1/8 inch thickness next time. If they’re already baked, you can still save them by reheating in the oven at 350°F for approximately 5 minutes—this will help restore their delightful texture!
Are there any dietary considerations when making Homemade Cheez It’s?
Absolutely! If you or someone you’re serving has dairy allergies, you can substitute the butter with a dairy-free margarine, and try using a non-dairy cheese alternative. Additionally, those with gluten sensitivities can replace all-purpose flour with a gluten-free flour blend without sacrificing taste—just be sure to check your cheese for any gluten-containing additives.
Homemade Cheez It's: Cheesy Crunchy Goodness You’ll Love
Ingredients
Equipment
Method
- In a stand mixer fitted with a paddle attachment, beat 1/4 cup softened butter, 8 ounces of grated sharp cheddar cheese, and 3/4 teaspoon salt on medium speed for about one minute until fully combined. Gradually add 1 cup of all-purpose flour, mixing until a dry, crumbly mixture forms.
- Pour in 2 tablespoons of cold milk or water into the mixing bowl. Continue mixing on low speed until the dough begins to come together and forms a cohesive ball. Once formed, shape the dough into a disc, wrap it in plastic wrap, and refrigerate for at least 1 hour.
- Preheat your oven to 350°F (175°C) while the dough chills. Line two baking sheets with parchment paper to prevent sticking and ensure an even bake.
- Once the dough is chilled, lightly flour your work surface. Take half of the dough and roll it out to about 1/8 inch thick.
- Using a pastry cutter, cut the rolled dough into 1-inch squares, following a grid pattern for uniformity. Poke a small hole in the center of each cracker with a chopstick.
- Place the cut crackers onto your prepared baking sheets, leaving space between them for expansion. Bake for approximately 15 minutes, or until they turn golden brown and crispy.
- After baking, allow the crackers to cool on the baking sheets for a few minutes before transferring them to a wire rack.