
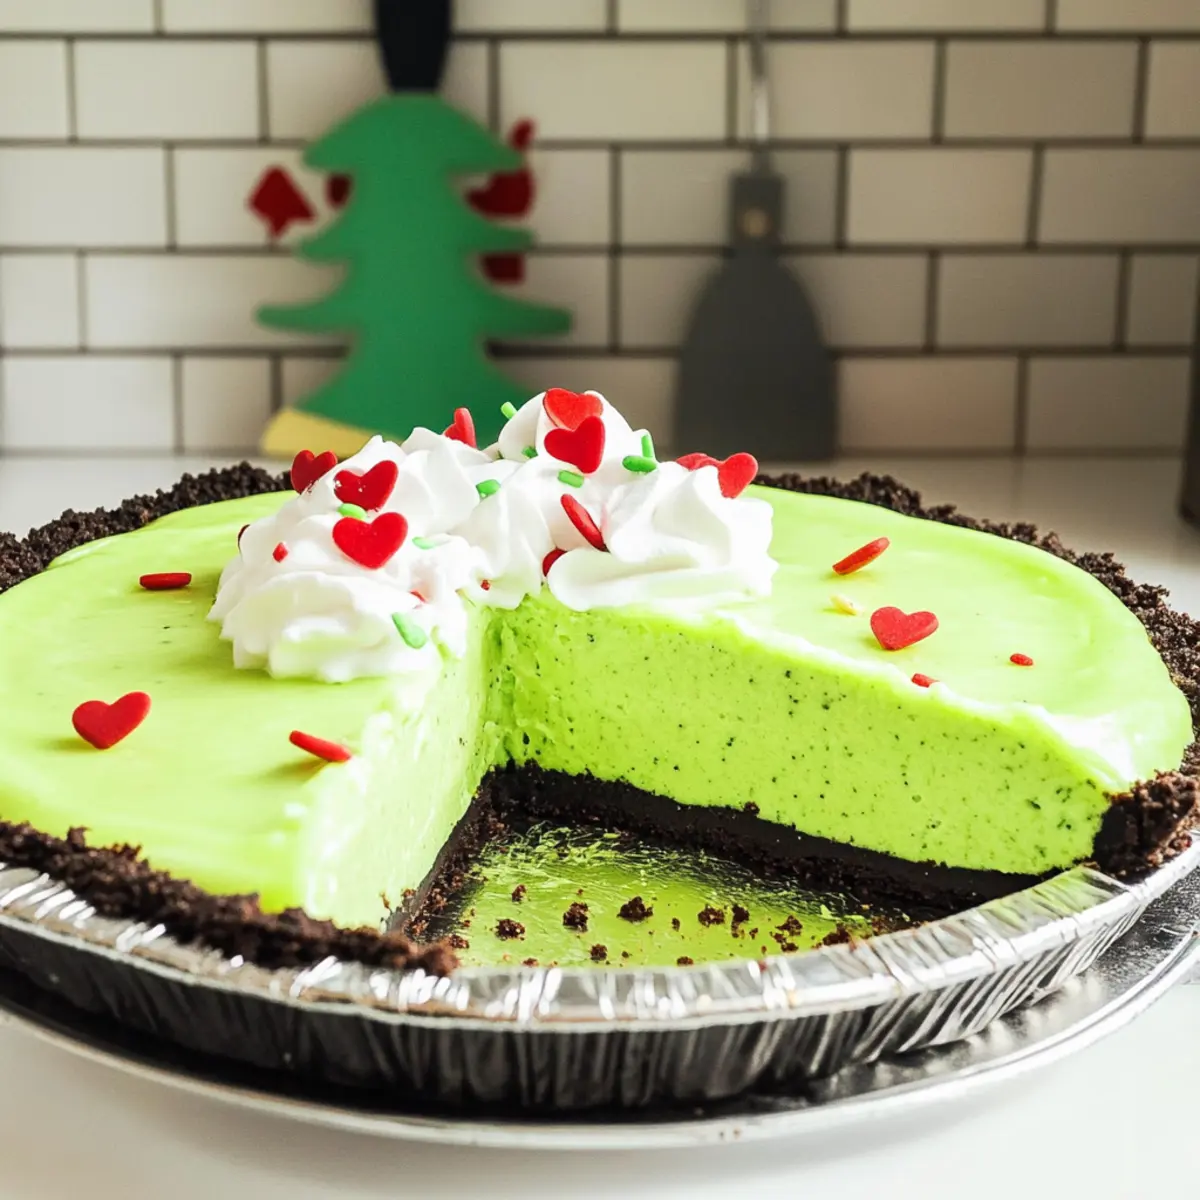
As I set about creating festive delights for the holiday season, I stumbled upon a delightful challenge: how to capture the joy of Christmas in a single, enchanting dessert. Enter the No Bake Grinch Pie, a whimsical blend of creamy white chocolate pudding and crunchy Oreo crust that’s sure to bring smiles to both kids and adults alike. With just five minutes of prep time and a quick chill, this dessert not only celebrates the spirit of giving but also offers a convenient no-bake option perfect for busy holiday schedules. Every slice is a vibrant reminder that deliciousness doesn’t have to be complicated. Are you ready to whip up this cheerful centerpiece and spread some holiday cheer?
Why is No Bake Grinch Pie a Must-Try?
Simplicity at its finest: With only five minutes of prep time, this delightful dessert takes the hassle out of holiday baking.
Vibrant Presentation: The stunning green and red colors make it an eye-catching centerpiece for your festive table.
Kid-Friendly Fun: This pie appeals to children and adults alike, coaxing smiles and joy with every creamy bite!
Versatile Ingredients: Have a flavor twist in mind? Consider adding a hint of peppermint extract or even crushed candy canes for a delightful crunch. If you’re in the mood for more no-bake treats, don’t miss my easy No Bake Pecan Pie Balls and fun Blueberry Cheesecake Bars.
Quick and Delicious: Keep your holiday celebrations stress-free while indulging in a dessert that’s decadent yet simple to make!
No Bake Grinch Pie Ingredients
• Here’s what you’ll need to create this festive dessert!
For the Crust
- Oreo Pie Crust – This rich, chocolatey base perfectly complements the creamy filling. Substitution: You can use a pre-made graham cracker crust for a different flavor.
For the Filling
- White Chocolate Pudding (3.9 oz) – This serves as the main filling for its delightful creaminess. Note: Make sure to use the instant variety for proper setting.
- 2% Milk (2 cups) – Hydrates the pudding mix and helps achieve the desired texture. Note: Skim or whole milk works well too.
- Neon Green Gel Food Coloring (2-3 drops) – This adds a vibrant festive look. Substitution: Regular green food coloring can be used if neon is unavailable.
For the Topping
- Cool Whip (½ container) – Adds a light, fluffy finish to the pie. Substitution: Homemade whipped cream can give a fresher taste.
- Green Sanding Sugar (½ cup) – This decorative topping mimics the Grinch’s color for a festive touch. Substitution: Use regular granulated sugar tinted with food dye if needed.
- Mini Red Heart Sprinkles (½ cup) – Sprinkle these on for added festive charm. Substitution: Any heart-shaped edible decorations can work too.
- Large Red Heart Sprinkles (½ cup) – These are great for garnishing right before serving. Note: While optional, they enhance the festive presentation.
Step‑by‑Step Instructions for No Bake Grinch Pie
Step 1: Prepare the Pudding Mixture
In a large mixing bowl, combine the instant white chocolate pudding mix with 2 cups of cold 2% milk and 2-3 drops of neon green gel food coloring. Using a whisk or an electric mixer, beat the mixture on medium speed until soft peaks form, about 2 minutes. The vibrant green color should be evenly distributed, creating a cheerful base for your No Bake Grinch Pie.
Step 2: Fill the Pie Crust
Carefully pour the prepared pudding mixture into the Oreo pie crust, ensuring an even distribution. Use a spatula to smooth the top, creating a nice, level surface. The contrast of the creamy green filling against the chocolate crust will begin to take shape, adding to the festive feel of your dessert.
Step 3: Chill the Pie
Cover the pie with plastic wrap and place it in the refrigerator for at least 3 hours. This chilling time allows the pudding to set properly, firming it up while enhancing the texture and flavor. When ready, the pie should be cool to the touch and slightly firm yet still creamy.
Step 4: Add the Cool Whip Layer
After the chilling period, remove the pie from the fridge. Carefully layer approximately half a container of Cool Whip over the set pudding layer, using a spatula to spread it evenly. This light and airy topping adds a delightful contrast to the creamy filling, creating a beautiful, fluffy appearance for your No Bake Grinch Pie.
Step 5: Decorate with Sprinkles
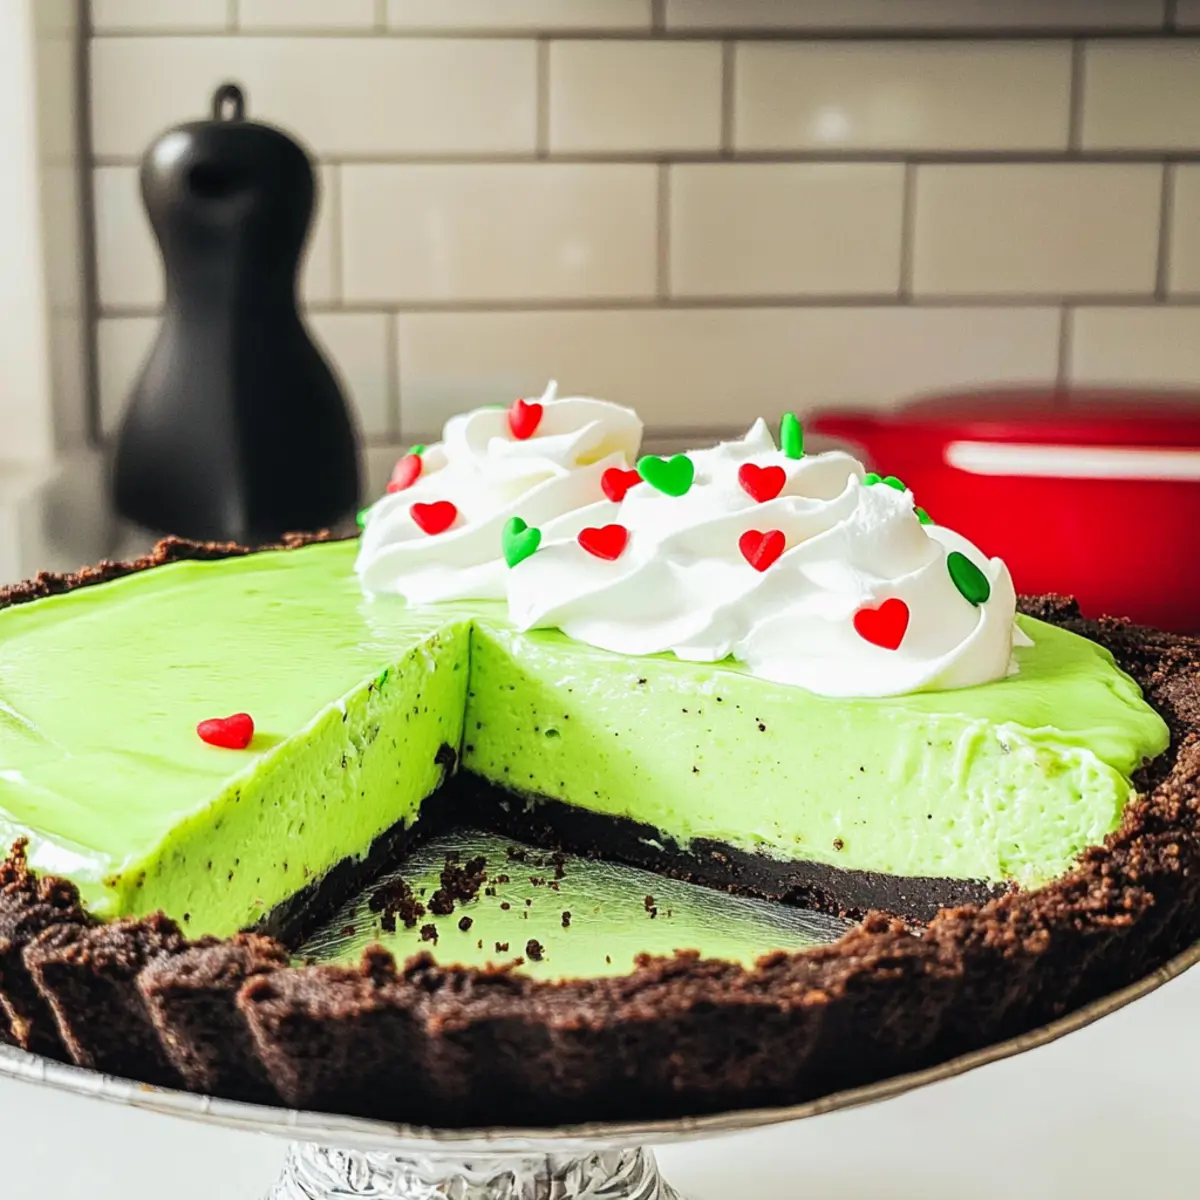
Now it’s time to get festive! Generously sprinkle the green sanding sugar over the cool whip layer, mimicking the color of the Grinch. Then, add a flurry of mini red heart sprinkles on top for an extra pop of color and holiday cheer. The decorations will not only enhance the pie’s visual appeal but also add a delightful crunch.
Step 6: Final Touch Before Serving
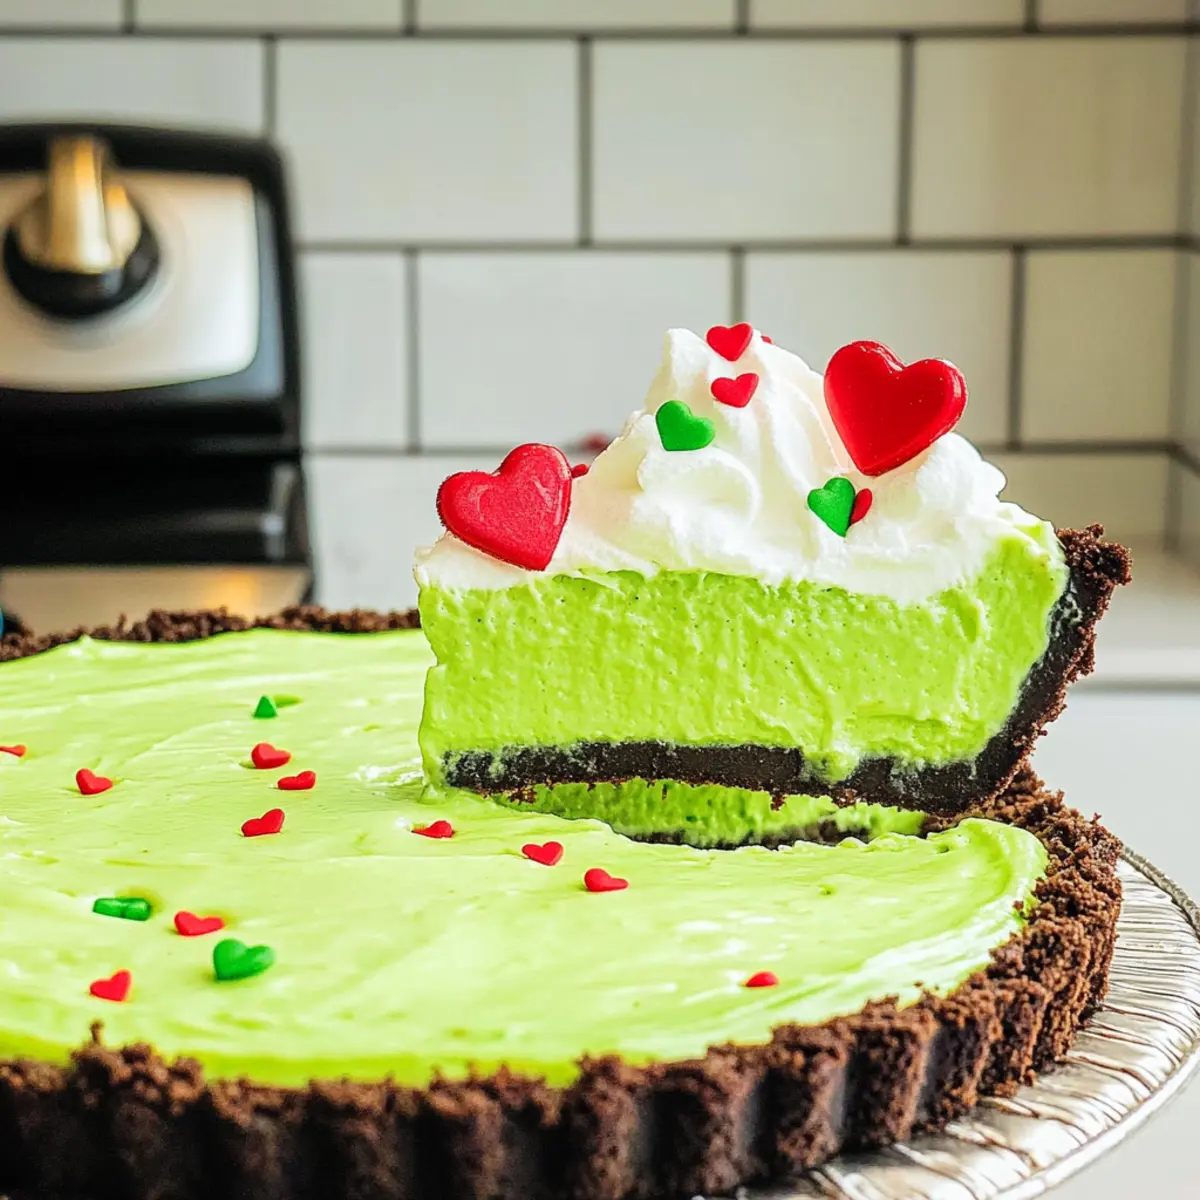
Right before serving the pie, place a large red heart sprinkle in the center for a charming finishing touch. This simple addition will bring a smile to everyone’s face and make each slice of your No Bake Grinch Pie extra special.
Step 7: Slice and Enjoy
Slice the pie into wedges and serve chilled. The creamy filling and crunchy crust create a delightful combination that will have everyone asking for seconds. Remember to store any leftovers in the refrigerator, ensuring this cheerful dessert stays fresh for up to a few days.
Make Ahead Options
These No Bake Grinch Pies are perfect for busy holiday schedules and meal prep! You can prepare the pudding filling up to 24 hours in advance by mixing it with milk and food coloring, then refrigerating it in the pie crust. Just keep the crust and filling covered to maintain freshness and prevent any drying. You can also whip up the Cool Whip layer ahead of time, storing it separately in the fridge for up to 3 days. When you’re ready to serve, simply layer on the Cool Whip, sprinkle with green sugar and mini red hearts, and add that final large red heart sprinkle for a festive touch, ensuring your pie tastes just as delightful as the day it was made!
How to Store and Freeze No Bake Grinch Pie
Fridge: Store any leftovers in an airtight container in the refrigerator for up to 3 days. This will help keep the creamy filling fresh and delicious.
Freezer: For longer storage, freeze the pie wrapped tightly in plastic wrap and then aluminum foil for up to 2 months. Thaw in the fridge before serving for best results.
Reheating: No need for reheating since this is a chilled dessert! Simply slice and serve cold for a refreshing treat.
Decoration Storage: If you plan to make the pie in advance, consider adding the toppings just before serving to maintain their crisp texture and vibrant color.
Expert Tips for No Bake Grinch Pie
Cold Ingredients Matter: Ensure your milk is cold before mixing; this promotes proper thickening of the pudding, guaranteeing a creamy texture.
Gentle Mixing: When folding in the Cool Whip, do so gently to maintain its airy fluffiness—your pie will appreciate the extra care!
Proper Chilling: Allow at least three hours for chilling; this crucial step helps the No Bake Grinch Pie set perfectly and improves the overall flavor.
Decorating Fun: Get creative with sprinkles! Experiment with different shapes to elevate the festive presentation of your pie.
Storage Savvy: Always keep leftovers sealed in the refrigerator to maintain freshness and enjoy this delightful dessert for up to three days!
What to Serve with No Bake Grinch Pie?
Indulging in the festive flavors of the No Bake Grinch Pie opens up a world of delightful pairings, creating a merry meal that tantalizes the taste buds.
-
Creamy Hot Cocoa: The rich, chocolatey warmth of hot cocoa elevates dessert time and adds that cozy, festive feel.
-
Gingerbread Cookies: These spiced treats provide a crunchy contrast to the creamy pie, bringing in traditional holiday flavors.
-
Fresh Fruit Salad: A vibrant mix of seasonal fruits lightens the meal and adds refreshing brightness to balance the sweetness of the pie.
-
Peppermint Bark: A chocolatey crunch with hints of mint brings a fun twist while keeping the holiday spirit alive.
-
Spiced Apple Cider: This warm, fragrant drink complements the pie perfectly, creating an inviting atmosphere that everyone can enjoy.
-
Frosted Sugar Cookies: These sweet, buttery cookies offer a delightful pairing that children will adore, combining whimsy and sweetness.
-
Bourbon Eggnog: For adults, this festive drink provides a rich, creamy sip that pairs beautifully with the light texture of the Grinch Pie.
These combinations not only enhance your overall holiday experience but also help you create a joyful ambiance for cherished memories with loved ones.
No Bake Grinch Pie Variations
Feel free to remix and uplift the classic No Bake Grinch Pie to create your festive masterpiece!
-
Chocolate Lovers: Add 2 tablespoons of cocoa powder to the pudding mix for a delightful chocolate twist. It’s a fun blend of flavors that will excite chocolate enthusiasts!
-
Minty Fresh: Stir in a teaspoon of peppermint extract with the milk before mixing for a refreshing, holiday-inspired taste. The hint of mint beautifully complements the sweetness of the pie.
-
Add Textures: Top the pie with crushed candy canes for a festive crunch that enhances both flavor and appearance. The colorful flakes bring a winter wonderland charm to every slice.
-
Nutty Touch: Crumble some toasted walnuts or pecans on top for a rich, nutty flavor and added texture. This adds a delightful contrast to the creamy filling.
-
Fruit Infusion: Blend in some finely chopped strawberries or raspberries into the pudding mixture for a burst of fruity flavor. It’s a great way to bring freshness to this holiday dessert.
-
Vegan Version: Replace the pudding mix and Cool Whip with dairy-free alternatives for a vegan-friendly version. Use coconut cream whipped to perfect for a creamy topping.
-
Homemade Crust: Try making your own cookie crust using crushed ginger snaps or pecan cookies instead of Oreos for a unique spin that brings warm spices to the table.
Transform your No Bake Grinch Pie into a delightful memory, much like enjoying a serving of my easy Summer Garden Pie or adding some zing to your holiday brunch with Blueberry Pie Overnight Oats!

No Bake Grinch Pie Recipe FAQs
What type of milk should I use for the No Bake Grinch Pie?
You can use 2% milk for a creamy texture, but I often recommend using skim or whole milk based on your preference. Just ensure that the milk is cold before mixing to help the pudding achieve the right consistency.
How do I store any leftovers from the No Bake Grinch Pie?
Absolutely! Store leftovers in an airtight container in the refrigerator for up to 3 days to keep the creamy filling fresh. This way, you can easily enjoy a slice anytime your sweet tooth calls!
Can I freeze the No Bake Grinch Pie, and what’s the best way to do it?
Yes, you can freeze it! Simply wrap the pie tightly in plastic wrap and then cover it with aluminum foil. It can stay in the freezer for up to 2 months. When you’re ready to enjoy it, thaw it overnight in the refrigerator before serving for the best taste and texture.
What should I do if the pudding doesn’t set properly?
If your pudding isn’t setting, ensure you used instant pudding mix. Additionally, check if your milk was cold enough when mixing. If it still seems too soft after chilling, you can refrigerate it longer, but generally, a good 3-hour chill should do the trick!
Is the No Bake Grinch Pie suitable for people with dietary restrictions?
If you want to accommodate gluten-free diets, opt for gluten-free cookie crusts instead of regular Oreos. Also, always check the ingredients in your Cool Whip and pudding mix to ensure they align with any allergies or dietary needs.
Can I use different colors for the decorations or other toppings?
Absolutely! Feel free to get creative! You can change the food coloring for a different festive theme or use other types of holiday sprinkles. You could even add crushed candy canes for a fun twist!
No Bake Grinch Pie: A Fun & Festive Holiday Treat
Ingredients
Equipment
Method
- In a large mixing bowl, combine the instant white chocolate pudding mix with 2 cups of cold 2% milk and 2-3 drops of neon green gel food coloring. Beat the mixture on medium speed until soft peaks form, about 2 minutes.
- Carefully pour the prepared pudding mixture into the Oreo pie crust, smoothing the top with a spatula.
- Cover the pie with plastic wrap and place it in the refrigerator for at least 3 hours to chill.
- After chilling, layer approximately half a container of Cool Whip over the set pudding layer.
- Generously sprinkle the green sanding sugar over the Cool Whip layer, then add mini red heart sprinkles on top.
- Right before serving, place a large red heart sprinkle in the center.
- Slice the pie into wedges and serve chilled.