
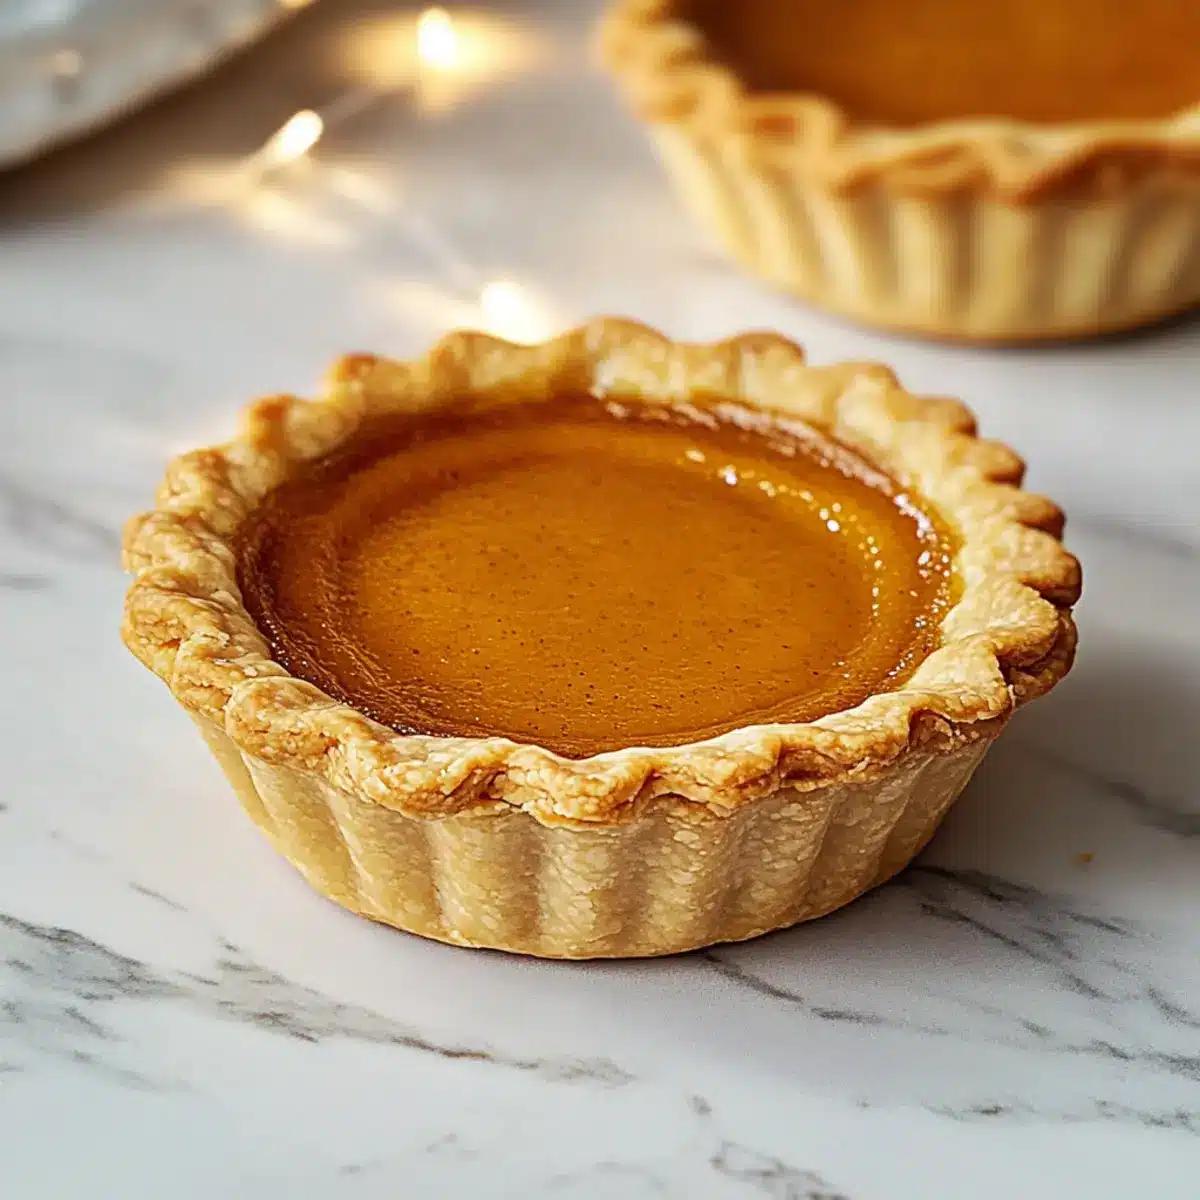
As the first golden leaves begin to flutter down, the air fills with a cozy nostalgia—one that instantly calls for the warm embrace of Mini Pumpkin Pies. These delightful, bite-sized wonders aren’t just your average fall dessert; they bring together a flaky, buttery crust with a creamy spiced pumpkin filling that wraps you in comfort with every morsel. What I adore about these mini treats is how effortlessly you can whip them up, making them a fantastic option for gatherings or a sweet indulgence during a quiet evening at home. Plus, their individual portions make them perfect for sharing—or keeping all to yourself! Are you ready to dive into the world of these delightful mini pies and create some cozy autumn memories?

Why are Mini Pumpkin Pies a must-try?
Cozy Warmth: These Mini Pumpkin Pies capture the essence of autumn with their spiced filling, making them a culinary hug on a plate.
Effortless Preparation: With just a few simple ingredients, you’ll find this recipe super easy, whether you’re a kitchen novice or a seasoned chef.
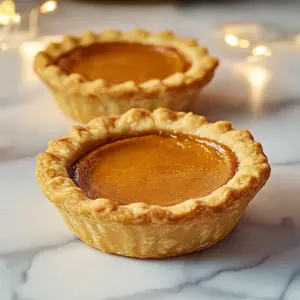
Crowd-Pleasing Treats: Perfect for gatherings or cozy nights in, they’re sure to impress guests and family alike.
Snackable Delights: Their individual size means you can enjoy them anytime—while watching a movie or as a sweet afternoon pick-me-up.
Versatile Flavor Flexibility: Want to switch things up? Try drizzling them with caramel or topping with whipped cream for extra decadence. Don’t forget to check out my Mini Key Lime and Mini Vegan Biscoff for even more delightful dessert ideas!
Mini Pumpkin Pies Ingredients
For the Filling
• Pumpkin Puree – This provides the rich base flavor; unsweetened canned pumpkin is perfect for controlled sweetness.
• Sweetened Condensed Milk – Adds creaminess and sweetness; you can substitute with evaporated milk for a lighter filling.
• Eggs (2 medium + 1 yolk) – These act as a binder to ensure your filling sets beautifully; make sure they’re at room temperature for optimal mixing.
• Ground Cinnamon – A key spice for that warm, inviting flavor; feel free to use pumpkin pie spice as an alternative.
• Ground Ginger – Adds a zesty kick; fresh ginger can elevate the flavor even more if you prefer it!
• Ground Nutmeg – Contributes warming earthy notes; you can replace it with allspice if desired.
• Salt (small pinch) – Enhances the overall flavor; skip it if your pie crust is made with salted butter.
For the Crust
• Store-Bought Pie Crust – Convenient and quick; if you’re up for it, homemade crust delivers an authentic taste.
Make sure to gather these ingredients to start your fall adventure with Mini Pumpkin Pies—a delightful slice of autumn for every occasion!
Step‑by‑Step Instructions for Mini Pumpkin Pies
Step 1: Preheat and Prepare
Begin by preheating your oven to 400°F (200°C). While the oven heats up, lightly grease a muffin tin with cooking spray or butter to prevent sticking. This ensures your Mini Pumpkin Pies can be easily removed once baked. Set the prepared muffin tin aside while you work on the crust.
Step 2: Roll and Cut the Dough
Take your chilled store-bought pie crust from the refrigerator and roll it out on a floured surface until it’s about 1/8 inch thick. Using a round cutter or a glass, cut out circles that are about an inch larger than the muffin wells. Gently press each crust circle into the prepared muffin tin, making sure to cover the edges well for a flavorful, flaky texture.
Step 3: Mix the Filling
In a large mixing bowl, combine the pumpkin puree, sweetened condensed milk, and eggs (2 medium eggs plus 1 yolk). Add in the ground cinnamon, ground ginger, ground nutmeg, and a small pinch of salt. Whisk the mixture gently until you achieve a smooth, creamy consistency, ensuring all ingredients are well incorporated for delicious Mini Pumpkin Pies.
Step 4: Fill the Crusts
Carefully ladle the pumpkin filling into each prepared pie crust, filling them until they are about three-quarters full. Be mindful not to overfill, as the mixture will puff slightly while baking. The sight of those vibrant, golden-orange pies is sure to get you excited about the cozy flavors ahead.
Step 5: Bake at High Temperature
Place the muffin tin in your preheated oven at 400°F (200°C) and bake for 10 minutes. This initial high heat helps set the crust, giving your Mini Pumpkin Pies that perfect golden-brown finish. Keep an eye on them, and the delicious aroma of spiced pumpkin will start to fill your kitchen!
Step 6: Lower the Oven Temperature
After 10 minutes, reduce the oven temperature to 325°F (160°C) and continue baking for an additional 10 minutes. This lower temperature allows the filling to cook thoroughly without over-browning the crust. You’re looking for the filling to be set but still slightly jiggly in the center when you gently shake the tin.
Step 7: Cool and Serve
Once baked, remove the muffin tin from the oven and let the Mini Pumpkin Pies cool in the tin for at least 10 minutes. This cooling time allows the filling to set further and makes removal easier. After cooling, you can carefully lift them out and serve them warm or at room temperature, perfect for sharing or enjoying solo!

What to Serve with Mini Pumpkin Pies
As the comforting aroma of mini pumpkin pies wafts through your home, consider these delightful pairings to complete your cozy fall meal.
- Whipped Cream: A dollop of freshly whipped cream adds a light, fluffy contrast to the creamy filling, elevating each bite into a dreamy dessert.
- Crispy Apple Chips: The crunch of these sweet, baked apple slices introduces a delightful texture, perfectly complementing the softness of the pies. Try serving them alongside for an autumnal snack combo.
- Spiced Cider: This warm, fragrant drink enhances the spices in the pumpkin filling, creating a heartfelt connection between the flavors. Plus, it invites everyone to gather and embrace the cozy spirit of the season.
- Vanilla Ice Cream: For an indulgent twist, serve a scoop of vanilla ice cream alongside each pie. The creaminess and coolness of the ice cream balance the warm spices beautifully.
- Pecan Crumble: A topping of caramelized pecans brings a delightful crunch and nutty flavor, adding an interesting dimension to your pumpkin experience.
- Chai Tea: The warming spices in chai tea echo the flavors of the mini pumpkin pies, creating a harmonious beverage choice that warms both heart and soul.
- Pumpkin Spice Latte: Embrace the season with this iconic drink that brings together the comforting flavors of pumpkin and spice, making it a perfect match for your pies.
- Chocolate Drizzle: A simple drizzle of melted chocolate over the mini pies creates a decadent finish, transforming them into an irresistible dessert for chocolate lovers.
- Seasonal Fruit Salad: Brighten up the table with a refreshing fruit salad made with apples, pears, and pomegranate, offering a fresh contrast to the rich sweetness of the pies.
These pairings will not only enhance the enjoyment of your mini pumpkin pies but also create a warm, inviting atmosphere that’s perfect for fall celebrations and cozy gatherings.
Expert Tips for Mini Pumpkin Pies
Crust Temperature: Keep your pie crust chilled: A well-chilled crust prevents shrinkage during baking and ensures a flaky texture.
Room Temperature Eggs: Use room temperature eggs: This helps your filling incorporate smoothly, preventing any lumps and ensuring a creamy consistency.
Watch the Edges: Monitor baking time: If the edges of your crust start browning too quickly, cover them with foil to prevent burning while the filling cooks.
Filling Levels: Don’t overfill: Fill each crust three-quarters full to allow for puffing during baking without spilling over.
Cool Before Serving: Let them cool: Allowing the Mini Pumpkin Pies to cool for at least 10 minutes helps the filling set perfectly for easy serving.
Make Ahead Options
These Mini Pumpkin Pies are perfect for busy home cooks looking to save time while still indulging in something delicious! You can prep the filling (pumpkin puree mixture) up to 24 hours in advance—simply combine the pumpkin puree, sweetened condensed milk, eggs, and spices, and refrigerate it in an airtight container. For an even quicker option, you can also roll out the pie crust and cut out the circles up to 3 days ahead of baking. Storing crusts interleaved with parchment paper in the refrigerator helps prevent sticking and keeps them fresh. When you’re ready to serve, just fill the prepared crusts and bake as directed, and you’ll have delightful Mini Pumpkin Pies that are just as delicious as if you made them fresh!
Storage Tips for Mini Pumpkin Pies
Room Temperature: Store in an airtight container for up to 2 days. For the best taste, enjoy them while they’re fresh and cozy!
Refrigerator: Keep Mini Pumpkin Pies in the fridge for up to 5 days. Warm them slightly in the microwave for a few seconds before serving to regain that comforting texture.
Freezer: Individually wrap pies in plastic wrap and place in a freezer-safe container for up to 2 months. Thaw overnight in the refrigerator before reheating for a delightful treat anytime.
Mini Pumpkin Pies Variations & Substitutions
Feel free to explore these options to customize your Mini Pumpkin Pies and make them uniquely yours!
-
Dairy-Free: Substitute sweetened condensed milk with coconut milk for a creamy, dairy-free version that maintains flavor.
-
Gluten-Free: Swap store-bought pie crust with a gluten-free pie crust mix; look for a ready-made option for convenience.
-
Spice It Up: Add a dash of cayenne or crushed red pepper for a surprising kick that contrasts beautifully with the sweet pumpkin filling.
-
Nutty Addition: Fold in 1/4 cup of finely chopped pecans or walnuts to the filling for added texture and a nutty flavor.
-
Pumpkin Patch Twist: Replace half of the pumpkin puree with sweet potato puree for a unique flavor twist that pairs wonderfully with warm spices. It adds a lovely earthiness!
-
Chocolate Drizzle: Melt some dark chocolate and drizzle it over your cooled Mini Pumpkin Pies for an indulgent treat that adds richness and decadence. This makes every bite that much more enjoyable!
-
Fresh Herbs: Experiment with a pinch of fresh thyme or rosemary mixed into the pumpkin filling for a sophisticated herbal note that brightens the overall flavor.
-
Caramel Topping: Drizzle warm caramel sauce over the pies just before serving for a delightful, gooey sweetness that complements the spiced pumpkin beautifully. How about serving these mini delights with a side of whipped cream or a scoop of vanilla ice cream?
Happy baking, and don’t forget to check out my High Protein Pancake Sausage Mini Muffins for another fun mini treat!
Mini Pumpkin Pies Recipe FAQs
How do I select the best pumpkin puree?
Absolutely! For the best flavor, opt for unsweetened canned pumpkin puree. Look for brands that list ‘pumpkin’ as the only ingredient on the label. If you’re feeling adventurous, you can roast and puree a fresh pumpkin, but canned options save time while still delivering a rich flavor.
What’s the best way to store Mini Pumpkin Pies?
Very! You can store your Mini Pumpkin Pies in different ways based on how soon you plan to eat them. For room temperature, place them in an airtight container and enjoy within 2 days. If storing in the refrigerator, they’ll stay fresh for up to 5 days; just pop them in the microwave for a few seconds before serving to warm them up a bit.
Can I freeze Mini Pumpkin Pies? How do I do that?
Absolutely! Freezing them is a fantastic option. Wrap each mini pie individually in plastic wrap, then place them in a freezer-safe container or bag. They will keep well for up to 2 months. When you’re ready to enjoy, simply thaw them overnight in the refrigerator before reheating in the oven at 350°F (175°C) for about 10-15 minutes until warmed through.
What should I do if my filling is too runny?
If you find your filling is too runny, it might be due to undercooked pumpkin puree or not enough eggs. To remedy this, you can gently cook the filling on the stovetop over low heat until it thickens up slightly before adding it to the crust and baking. Ensure you mix thoroughly and let it cool before filling your mini crusts for the best results.
Are there any dietary considerations for Mini Pumpkin Pies?
Definitely! If you or your guests have dietary restrictions, consider using gluten-free pie crusts for a gluten-free version. Additionally, be mindful of allergies; for example, if someone is allergic to eggs, you might try substituting with a flaxseed egg or an egg replacement designed for baking. Just be aware these alternatives may slightly change the texture and flavor.
How can I tell when the pies are done baking?
Great question! The Mini Pumpkin Pies should be set but still have a slight jiggle in the center when you gently shake the muffin tin. This indicates that they are perfectly cooked—allowing them to cool will help them finish setting. If the edges of the crust start to brown too quickly, you can cover them with foil to prevent burning while the filling cooks through.

Mini Pumpkin Pies That Bring Cozy Fall Vibes Home
Ingredients
Equipment
Method
- Preheat your oven to 400°F (200°C) and lightly grease a muffin tin.
- Roll out the pie crust on a floured surface until it's about 1/8 inch thick. Cut out circles and press into the muffin tin.
- Combine pumpkin puree, sweetened condensed milk, and eggs in a bowl. Add spices and whisk until smooth.
- Fill each pie crust three-quarters full with the pumpkin filling.
- Bake at 400°F (200°C) for 10 minutes to set the crust.
- Reduce the oven temperature to 325°F (160°C) and bake for an additional 10 minutes until the filling is set.
- Cool in the tin for at least 10 minutes before serving warm or at room temperature.