
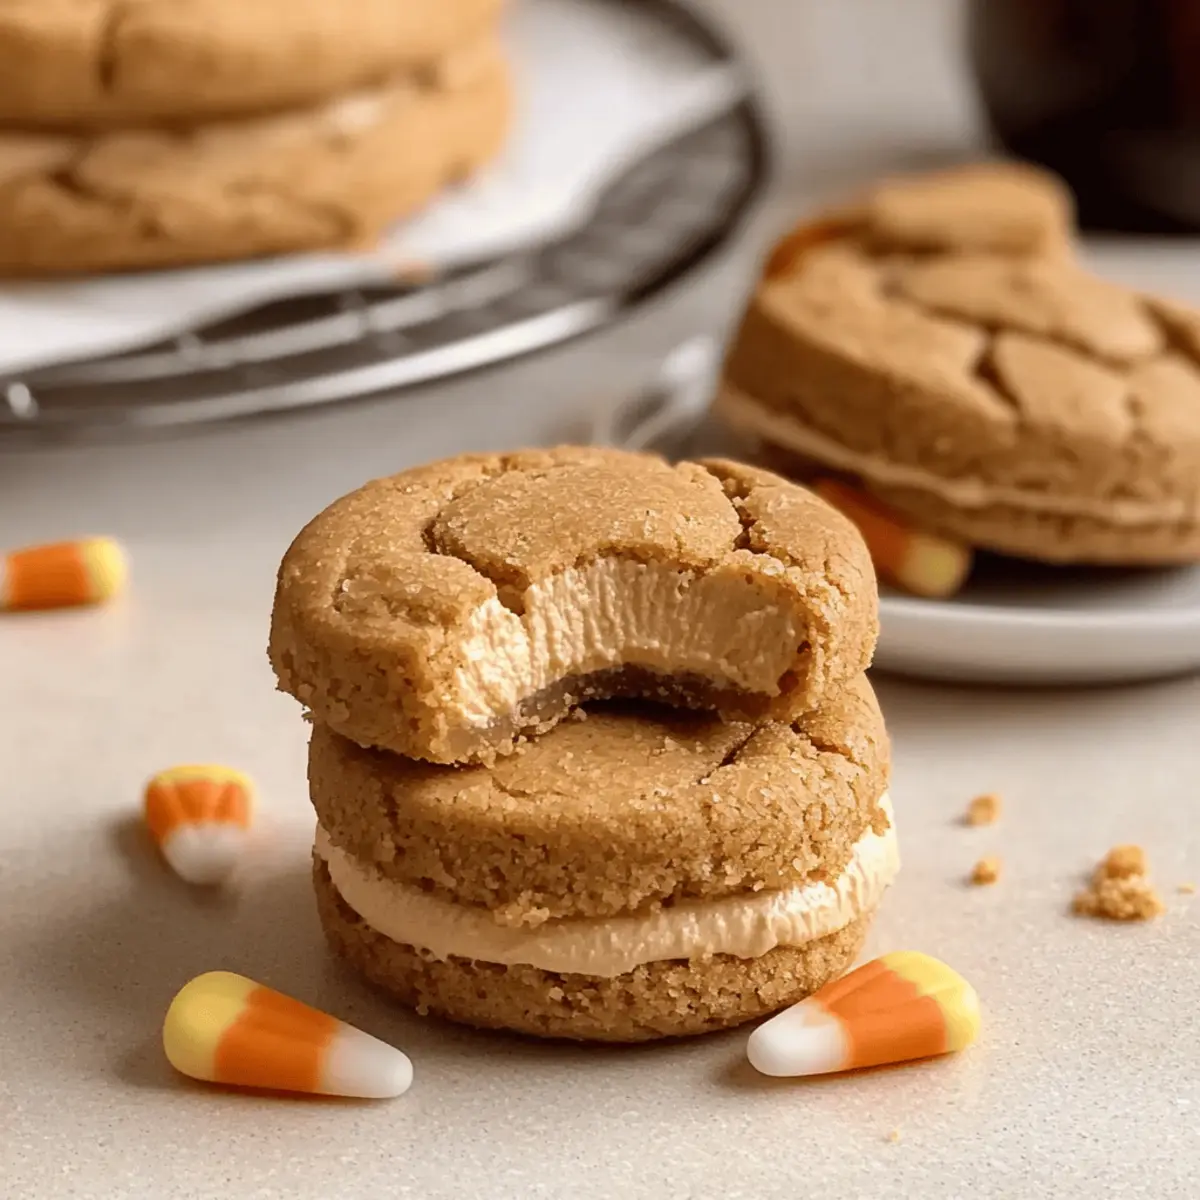
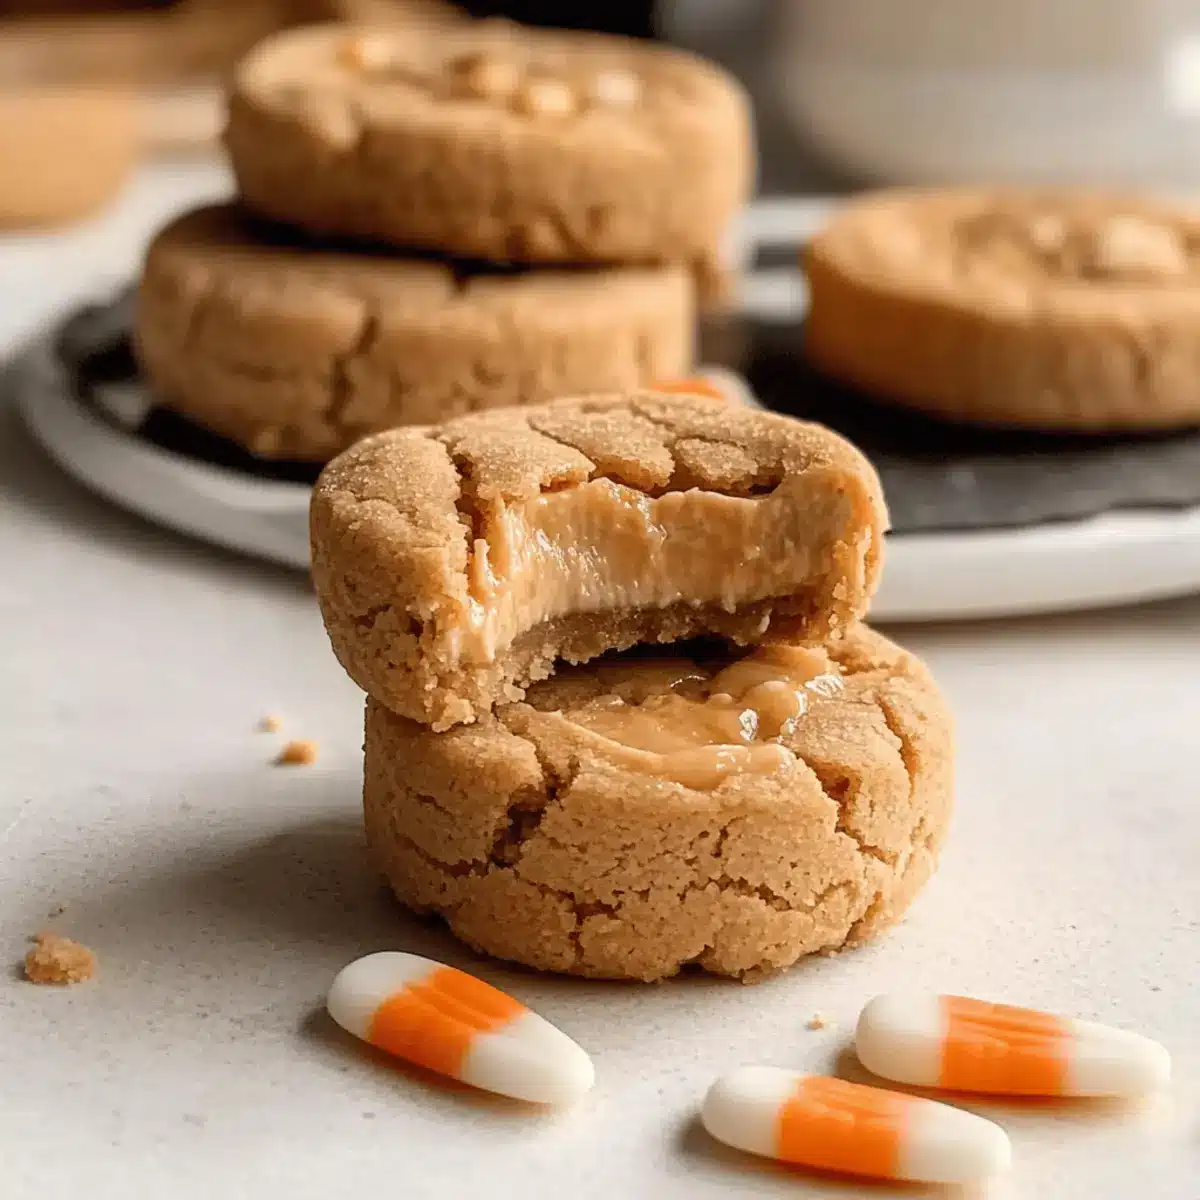
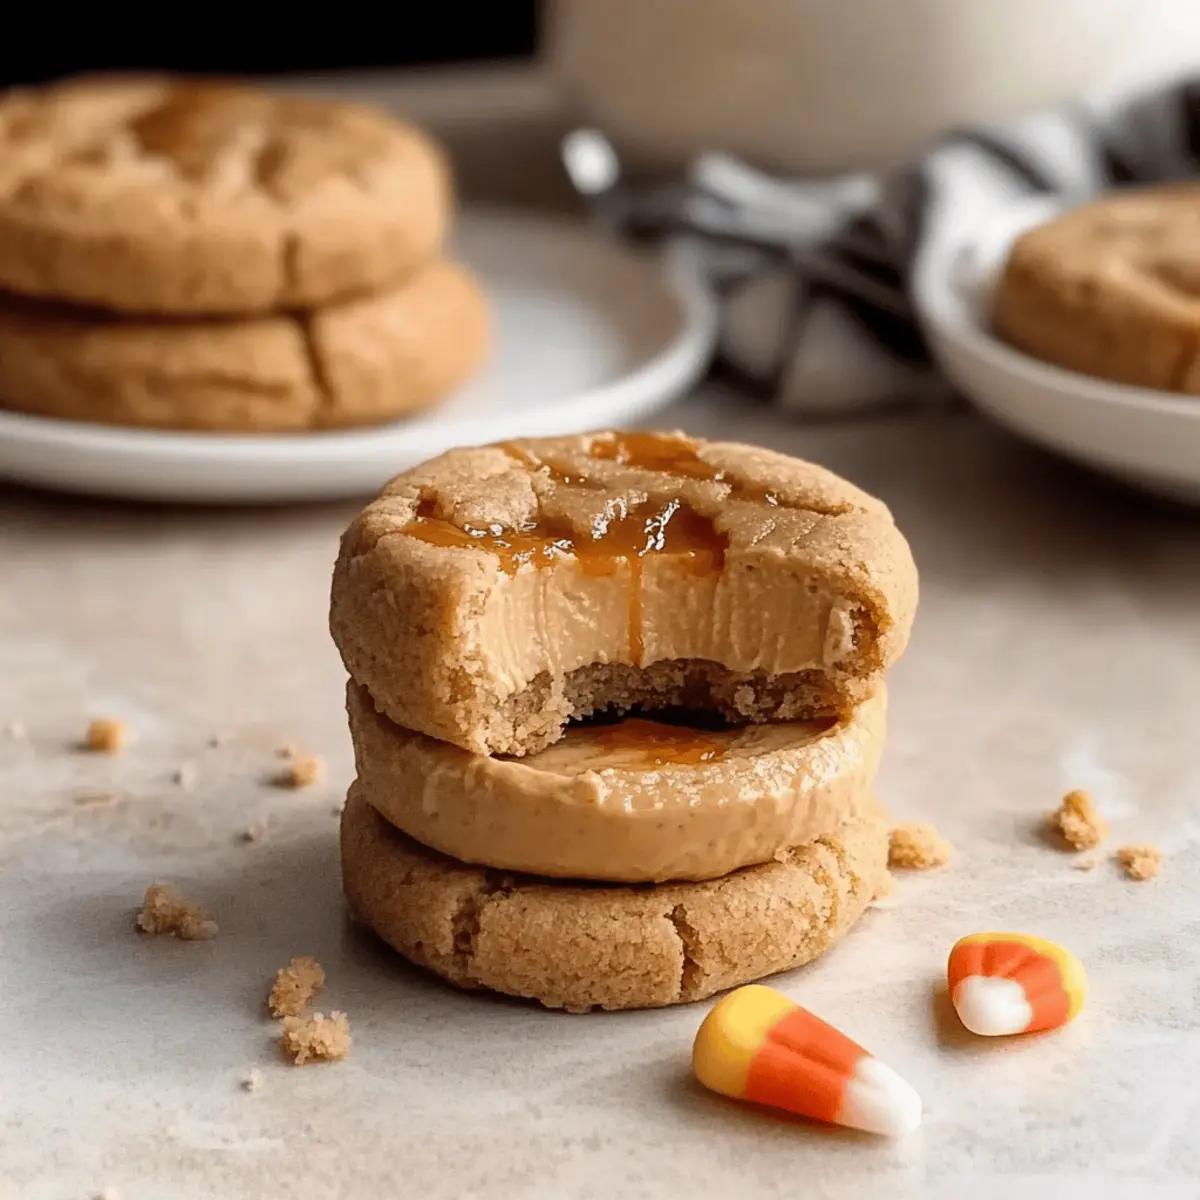
As a chill sweeps in and leaves begin to fall, my kitchen transforms into a bustling hub of Halloween excitement. I’ve discovered that nothing captures the spooky spirit quite like Peanut Butter Spider Cookies, a fun twist on the classic treat that combines the creamy richness of peanut butter with a dash of playful creativity. Not only are these cookies a breeze to whip up, but they also become the star attraction at any Halloween gathering, delighting both kids and adults alike. With their easy preparation and whimsical design, these treats sprinkle a touch of magic into your festivities. Curious to see how these creepy-crawly cookies come to life? Let’s spin some thrilling flavors together!

Why Are Peanut Butter Spider Cookies So Fun?
Spooktacular fun awaits with these Peanut Butter Spider Cookies! They’re not just delicious; the whimsical design makes them a perfect centerpiece for Halloween gatherings. Easy to make, you can whip them up in no time—making them ideal for busy parents or anyone looking to impress guests. Kid-friendly and perfect for decorating, these cookies invite little hands to join in the festive spirit! For an extra treat, try pairing them with delicious options like Oatmeal Peanut Butter bites or Cheesecake Stuffed Cookies. Get ready to add a delightful twist to your holiday baking!
Peanut Butter Spider Cookie Ingredients
• Get ready to create spooky delights!
For the Cookie Base
- Peanut Butter – Adds creamy richness and a delicious nutty flavor, making these cookies irresistible.
- Granulated Sugar – Sweetens the mix and helps achieve that classic cookie texture.
- Brown Sugar – Keeps the cookies moist and provides a hint of caramel flavor.
- Egg – Acts as a binder, lending structure to your cookies.
- Baking Soda – Helps the cookies rise and achieve a light texture.
- All-Purpose Flour – The foundation for your cookies; be sure to measure carefully for the best results.
- Vanilla Extract – Enhances the overall flavor profile, adding a cozy warmth.
- Salt – Balances the sweetness and elevates the flavor of the peanut butter.
For the Decoration
- Chocolate Melts – Used to create spider bodies; simply melt and drizzle for spooky embellishments.
- Candy Eyes – Bring your spiders to life with these fun and whimsical decorations.
- Pretzel Sticks – Perfect for creating spider legs; feel free to break them for varied length!
Now, gather your ingredients and prepare to craft some unforgettable Peanut Butter Spider Cookies that will thrill everyone!
Step‑by‑Step Instructions for Peanut Butter Spider Cookies
Step 1: Preheat and Prepare
Start by preheating your oven to 350°F (175°C) and lining baking sheets with parchment paper. This ensures that your Peanut Butter Spider Cookies won’t stick and will bake evenly. Gather all your ingredients, including peanut butter, sugar, and flour, so they’re easily accessible when you’re ready to mix.
Step 2: Mix the Wet Ingredients
In a large mixing bowl, combine 1 cup of creamy peanut butter, 1/2 cup of granulated sugar, and 1/2 cup of brown sugar. Beat these ingredients together using an electric mixer on medium speed for about 1-2 minutes until the mixture is smooth and creamy. Add in the egg and 1 teaspoon of vanilla extract, mixing until well combined.
Step 3: Combine the Dry Ingredients
In a separate bowl, whisk together 1 cup of all-purpose flour, 1/2 teaspoon of baking soda, and a pinch of salt. Gradually add this dry mix to your peanut butter mixture, blending on low speed until just combined. The dough will be slightly sticky, which is perfect for shaping those delightful cookies!
Step 4: Shape the Cookies
Scoop tablespoon-sized portions of the dough and roll them into balls. Place each ball onto the prepared baking sheets, spacing them about 2 inches apart as they will spread during baking. The cookies should look smooth and round, ready to be transformed into the stars of your Halloween gathering.
Step 5: Bake the Cookies
Bake the cookies in the preheated oven for 10-12 minutes, or until the edges are lightly golden. Keep a close eye on them; they should be soft in the center but firm enough to hold their shape. Once done, let them cool on the baking sheets for 5 minutes before transferring to wire racks to cool completely.
Step 6: Decorate with Chocolate Melts
While the cookies are cooling, melt chocolate melts according to package instructions. Once melted, dip the center of each cookie into the chocolate and let it drip slightly, creating a shiny surface. This will form the body of your adorable peanut butter spiders.
Step 7: Add the Pretzel Legs
While the chocolate is still wet, insert pretzel sticks into the sides of each cookie to create spider legs. Feel free to break the pretzels into varied lengths for a realistic look. Make sure the legs are secure, so they don’t fall off later when your guests pick up these delightful treats.
Step 8: Finish with Candy Eyes
To bring your Peanut Butter Spider Cookies to life, simply attach candy eyes onto the chocolate bodies while it’s still slightly warm. Press them gently so they stick well, and voilà! Your cookies now have their spooky, playful faces ready to thrill everyone at your Halloween gathering.
Step 9: Serve and Enjoy
Once decorated, allow the chocolate to set completely at room temperature, or speed up the process by placing them in the fridge for a few minutes. Arrange your cookies on a festive platter and serve them at your spooky festivities, allowing everyone to enjoy these fun and delicious Halloween treats!
What to Serve with Peanut Butter Spider Cookies
Elevate your Halloween festivities with delightful accompaniments that enhance the spooky charm of your cookies!
- Milkshake Madness: A creamy chocolate milkshake perfectly balances the rich flavors of peanut butter, making it a favorite among kids and adults alike.
- Crispy Apple Slices: Fresh, crisp apple slices add a refreshing crunch that complements the sweetness of your cookies, creating a fun contrast.
- Halloween Fruit Platter: Layer bites of seasonal fruits like oranges and grapes to keep things festive and colorful; it can keep the energy buzzing during your gathering.
- Pumpkin Spice Hot Chocolate: Embrace the season with a warm, flavored drink that mirrors the warmth of the cookies, inviting cozy conversations around the table.
- Gummy Worms: Scatter these candy creatures around the platter for a delightful Halloween touch that kids will love; they add a playful touch to the table.
- Spooky Trail Mix: Combine nuts, dark chocolate, and candy eyeballs for a crunchy treat that builds on the fun; it’s the perfect snack to nibble alongside the cookies.
- Caramel Dipping Sauce: Drizzled over apple slices or even as a dip for the cookies, this adds an indulgent twist that will leave your guests coming back for more.
Make Ahead Options
These Peanut Butter Spider Cookies are perfect for busy home cooks looking to save time during the spooky season! You can prepare the dough up to 24 hours in advance. Simply mix the ingredients and refrigerate the dough in an airtight container. This helps the flavors meld beautifully, enhancing the cookie’s taste. When you’re ready to bake, just scoop and shape the chilled dough into balls before popping them in the oven. To maintain quality, cool the cookies completely before decorating; you can also freeze the baked cookies for up to 3 days. Finish them with chocolate melts, pretzel legs, and candy eyes for a fun Halloween treat that’s just as delicious!
Variations & Substitutions for Peanut Butter Spider Cookies
Unleash your creativity with these Peanut Butter Spider Cookies, and discover delightful twists that will impress everyone at your Halloween gathering!
- Nut-Free: Substitute with sunbutter or soy nut butter for a safe, delicious alternative suitable for allergy concerns.
- Gluten-Free: Use a 1:1 gluten-free flour blend, ensuring everyone can enjoy these treats without worry!
- Chocolatey Twist: Incorporate cocoa powder into the cookie dough for a rich chocolate flavor combined with the peanut butter goodness.
- Crunchy Surprise: Mix in chopped nuts or granola for added texture, giving your cookies a delightful crunch with each bite.
- Decorative Options: Swap out the candy eyes for edible glitter or colored sprinkles, making these spiders even more festive!
- Flavor Boost: Add a pinch of cinnamon or a splash of maple syrup to the dough, introducing warm, aromatic notes that elevates the taste.
- Mini Versions: For bite-sized treats, shape the dough into mini cookies, perfect for little hands and parties—think of them as adorable cookie spiders!
These variations will add a personal touch to your baking adventure. If you love exploring new dessert ideas, check out my Peanut Butter Spider cookies, or perhaps indulge in Oatmeal Peanut Butter treats for a healthy twist. Enjoy sprucing up your Halloween festivities!
Expert Tips for Peanut Butter Spider Cookies
• Measure Accurately: Ensure precise measurements for flour and sugars to achieve the perfect cookie texture. Too much flour can lead to dry cookies.
• Chill Dough: If the dough feels too sticky, chill it in the refrigerator for about 30 minutes before shaping. This will make it easier to roll into balls for your Peanut Butter Spider Cookies.
• Melt Chocolate Carefully: Use a microwave in short bursts to melt chocolate melts, stirring in between to avoid overheating, which can ruin the consistency.
• Decorate Creatively: Invite kids to help with decorating; let them choose how to position the pretzel legs and candy eyes for personalized spider designs!
• Store Properly: Keep your cookies in an airtight container at room temperature for up to 3 days to maintain freshness and flavor.
How to Store and Freeze Peanut Butter Spider Cookies
Room Temperature: Keep your cookies in an airtight container at room temperature for up to 3 days to maintain their delicious freshness and delightful flavor.
Fridge: For longer-lasting freshness, you can refrigerate the cookies in an airtight container for up to a week, but this may alter their original texture slightly.
Freezer: These Peanut Butter Spider Cookies can be frozen individually by wrapping them in plastic wrap and placing them in a freezer-safe bag for up to 3 months. Thaw before decorating.
Reheating: If desired, gently warm the cookies in the microwave for a few seconds to restore their soft texture before serving.
Peanut Butter Spider Cookies Recipe FAQs
How should I select the peanut butter for my cookies?
Absolutely! When choosing peanut butter, look for a creamy variety without added sugars or preservatives for the best flavor and texture. Natural peanut butter is a fantastic choice; just make sure to stir it well if the oil has separated.
How should I store my Peanut Butter Spider Cookies?
To keep your delightful creations fresh, store them in an airtight container at room temperature for up to 3 days. If you’d like to extend their shelf life, refrigerate them for up to a week, though this may slightly change their texture.
Can I freeze Peanut Butter Spider Cookies?
Yes, you can freeze these cookies! Individually wrap each cookie in plastic wrap and place them in a freezer-safe bag. They will stay fresh for up to 3 months. To enjoy, simply thaw at room temperature or warm briefly in the microwave.
What can I do if my cookie dough is too sticky?
If you find your dough is too sticky to handle, don’t worry! Chill the dough in the refrigerator for about 30 minutes. This will firm it up and make it easier to scoop and roll into balls for your Peanut Butter Spider Cookies.
Are there any dietary considerations for Peanut Butter Spider Cookies?
Very much so! If you have nut allergies, consider using sunflower seed butter as a substitute for peanut butter. Additionally, for gluten-free options, simply replace the all-purpose flour with a gluten-free flour blend. Always verify labels to ensure your ingredients meet dietary preferences.
How can I decorate my Peanut Butter Spider Cookies creatively?
Get imaginative! Invite your little ones to help decorate—let them choose how the pretzel legs and candy eyes are arranged for a unique look for each cookie. You can also experiment with different colored candy melts or edible glitter for a fun twist!
Peanut Butter Spider Cookies That Will Thrill Everyone
Ingredients
Equipment
Method
- Preheat your oven to 350°F (175°C) and line baking sheets with parchment paper.
- In a large mixing bowl, combine 1 cup of creamy peanut butter, 1/2 cup of granulated sugar, and 1/2 cup of brown sugar. Beat together until smooth.
- Add in 1 egg and 1 teaspoon of vanilla extract, mixing until well combined.
- In a separate bowl, whisk together 1 cup of all-purpose flour, 1/2 teaspoon of baking soda, and a pinch of salt.
- Gradually add the dry mix to the peanut butter mixture, blending until just combined.
- Scoop tablespoon-sized portions of dough and roll into balls, placing them 2 inches apart on the baking sheets.
- Bake for 10-12 minutes, until the edges are golden and let them cool on the baking sheets for 5 minutes.
- While cookies cool, melt chocolate melts according to package instructions and dip the center of each cookie.
- Insert pretzel sticks into the sides of each cookie to create legs while the chocolate is still wet.
- Attach candy eyes onto the chocolate bodies before it cools completely.
- Allow the chocolate to set completely at room temperature or refrigerate for a few minutes.
- Serve and enjoy these fun Halloween treats!