
As I rummaged through my pantry in search of spooky inspiration, a simple slice of toast sparked a delightful idea. Halloween isn’t just about the candy; it’s the perfect opportunity to whip up some festive meals that don’t sacrifice taste for creativity. Enter Mummy Toast, an engaging dish that’s both fun to make and even more enjoyable to eat. With just a few ingredients, you can create a spooky centerpiece that’s sure to impress your guests. The best part? This idea can be prepped in minutes, allowing you more time to focus on the haunted festivities. Whether you’re hosting a spirited dinner party or just enjoying a frightfully cozy night in, these Halloween dinner ideas will add a whimsical flair to your table. Curious how to bring a playful twist to your mealtime? Let’s dive into these deliciously eerie recipes!
Why Try Mummy Toast?
Fun and Festive: Mummy Toast brings Halloween to your table with a playful presentation that’s sure to get everyone smiling.
Quick Prep: With only a handful of ingredients and minimal fuss, you can whip this up in minutes—perfect for busy nights!
Interactive Cooking: Kids and adults alike will enjoy helping to create these spooky treats, making it a great activity for family or friends.
Versatile Toppings: Use various spreads and toppings to make each toast unique—try pumpkin spice cream cheese for a seasonal twist!
Crowd-Pleasing Appeal: This recipe is a hit at parties, combining eerie fun with delicious flavors that everyone will love. Need more Halloween inspiration? Check out our 20 Spooktacular Halloween Dinner Ideas for Adults!
Mummy Toast Ingredients
• Here’s what you need for your spooky creation!
For the Toast
- Bread – A base for your mummies; use any variety you love, from white to whole grain.
- Cream Cheese – Provides a creamy texture; consider using flavored cream cheese for an extra kick!
For the Mummy Wrapping
- String Cheese – A fun way to create the mummy bandages; cut them into thin strips for easy wrapping.
- Olives or Raisins – For eyes that add personality; use sliced olives or raisins for a spooky touch.
For Additional Toppings
- Pumpkin Spice Cream Cheese – Adds a festive twist, making the Mummy Toast holiday-perfect; any favorite spread can work!
- Herbs or Sprinkles – Optional garnishes to enhance flavor and visual appeal; try using fresh chives for a pop of color.
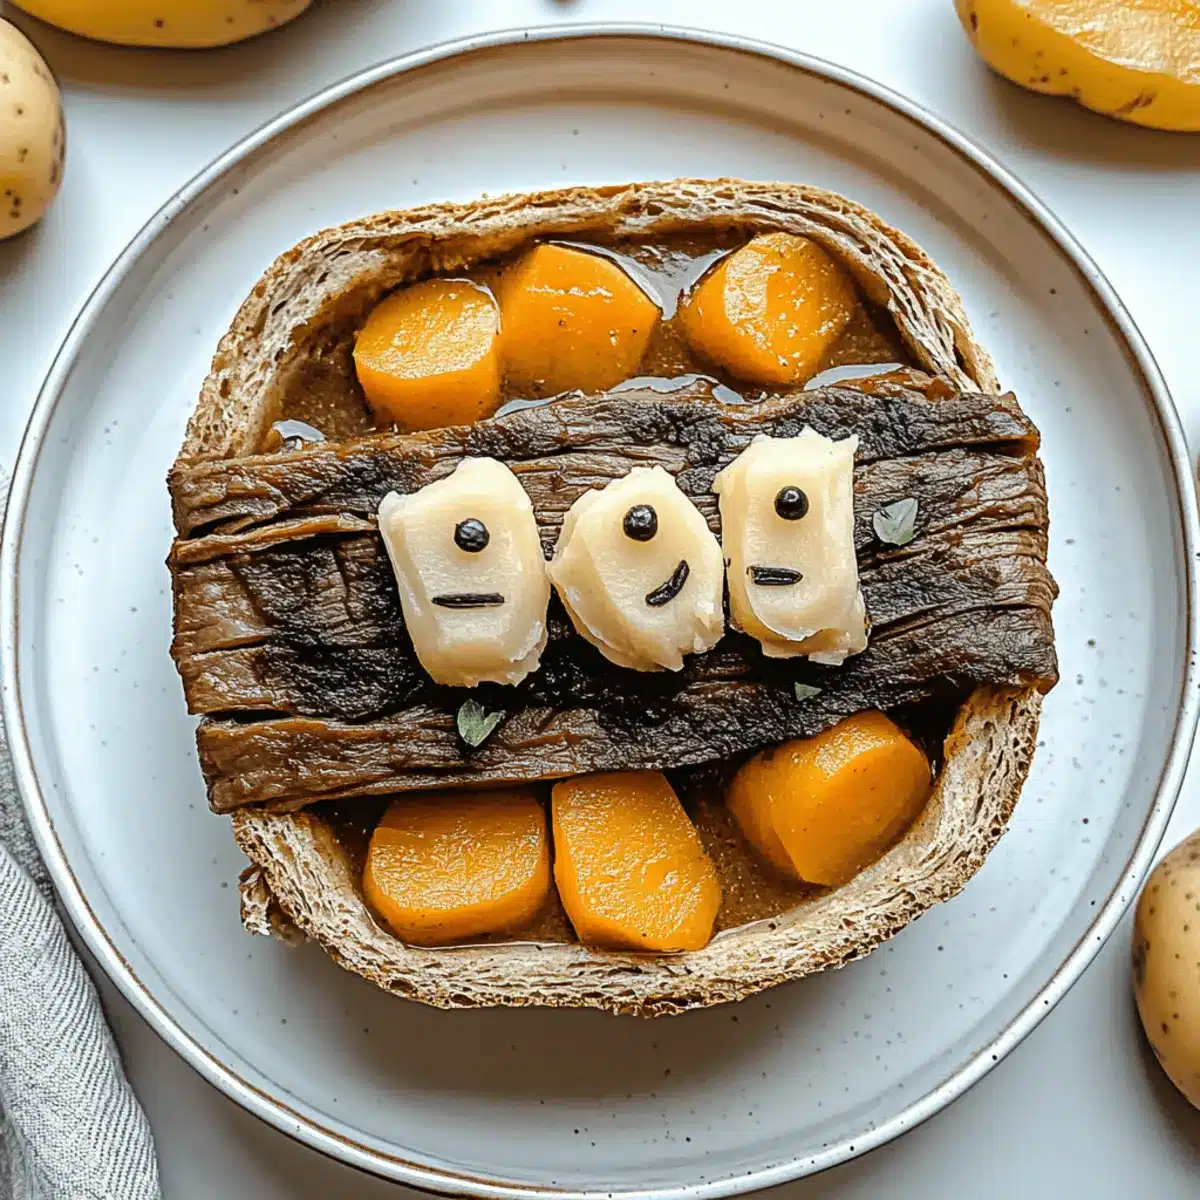
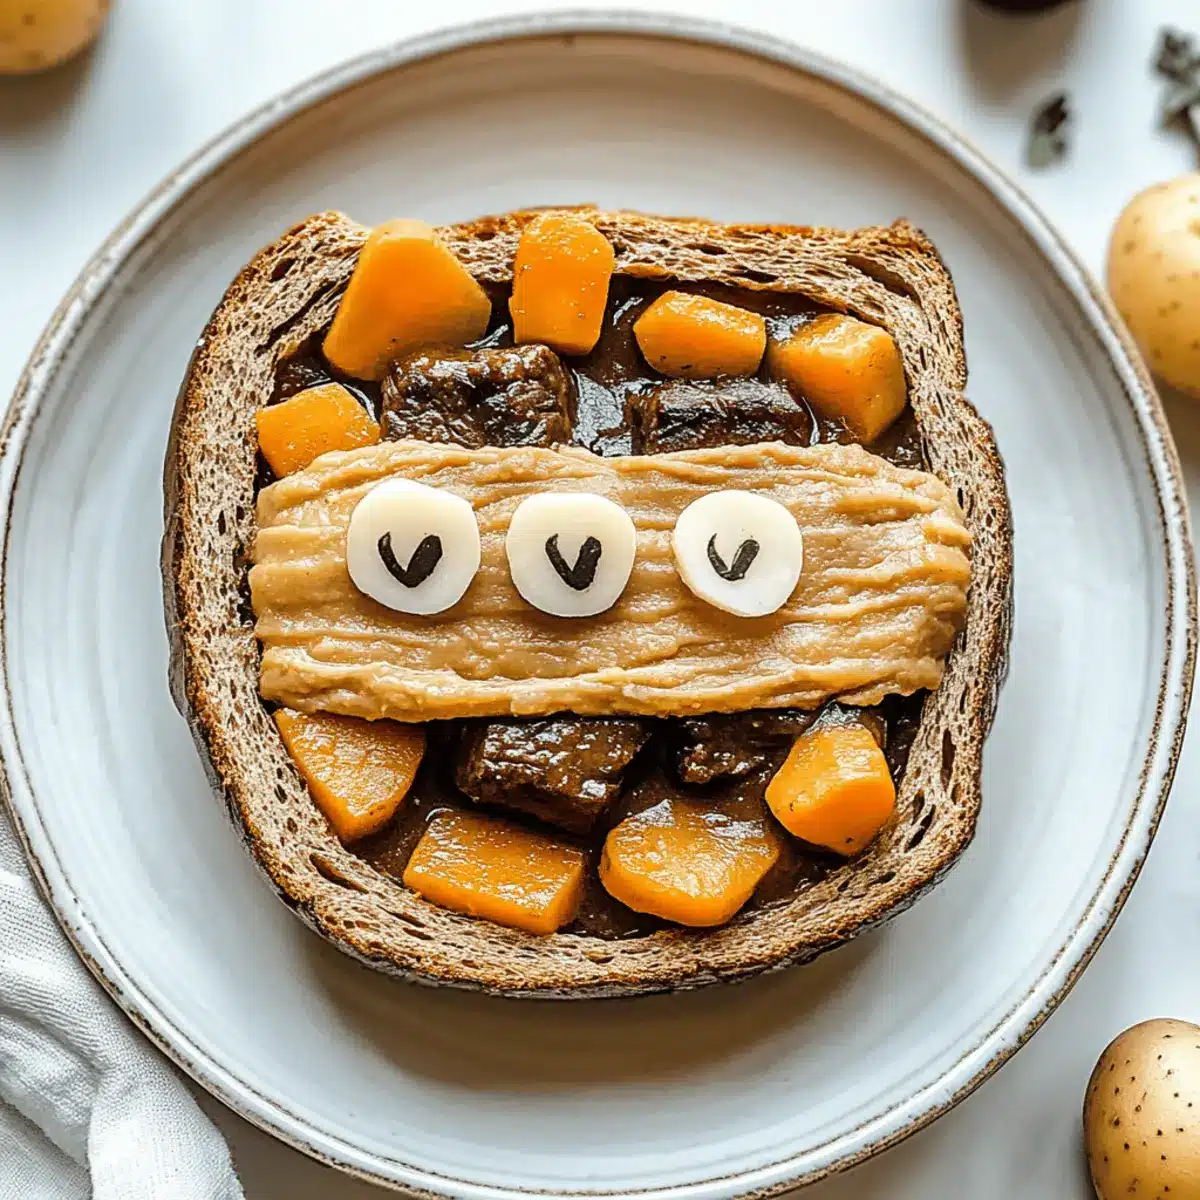
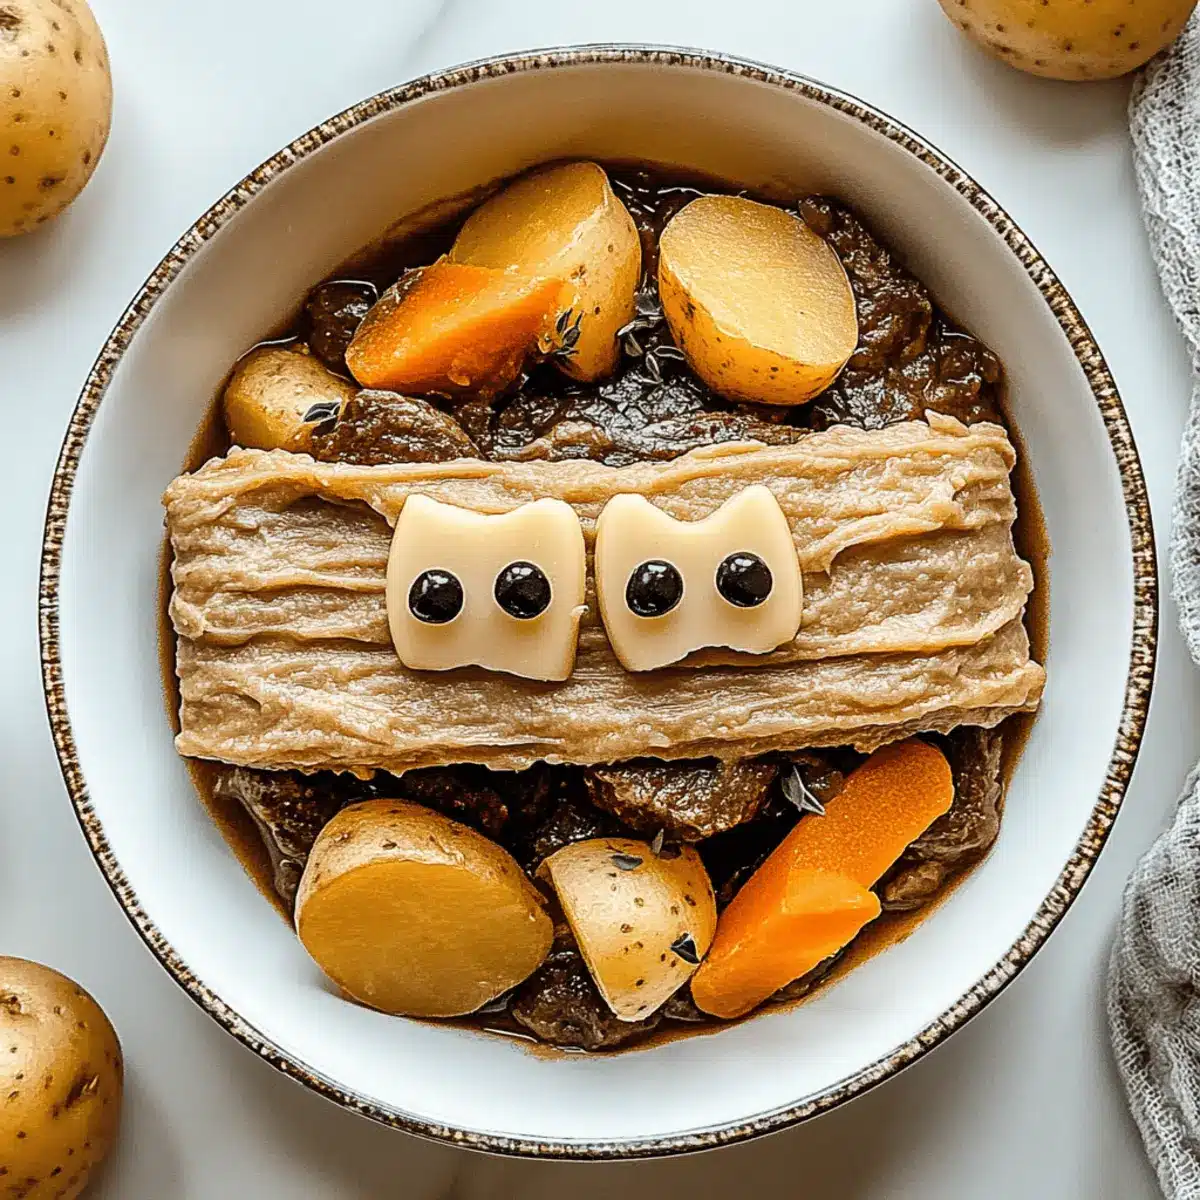
Dive into the spirit of Halloween with this fun and easy Mummy Toast, perfect for impressing friends and family alike!
Step‑by‑Step Instructions for Mummy Toast
Step 1: Prepare the Ingredients
Start by preheating your oven to 350°F (175°C) while you gather your ingredients. Slice your bread into even pieces, about ½ inch thick, and set it aside. If you’re using flavored cream cheese, mix it in a small bowl to create a festive spread. Cut the string cheese into thin strips, which will serve as the mummy bandages for your Mummy Toast.
Step 2: Toast the Bread
Place the sliced bread on a baking sheet in a single layer and spread a generous layer of cream cheese on each piece. This will provide a delightful base. Bake the bread in the preheated oven for around 8-10 minutes, or until it’s lightly golden and the cream cheese is slightly melty. Check for doneness and remove from the oven once ready.
Step 3: Create the Mummy Wrappings
Remove the toasted bread from the oven and let it cool slightly. Begin to layer the thin strips of string cheese over the cream cheese, crisscrossing them to resemble mummy bandages. Be creative; there’s no wrong way to wrap your mummies! Ensure some of the cream cheese peeks through for that unsettling, yet appetizing, look of your Mummy Toast.
Step 4: Add the Eyes
After wrapping up your Mummy Toast, grab your olives or raisins to create the eyes. Using a little dab of cream cheese, stick one slice of olive or a raisin onto each piece, placing it among the cheese strips. This will bring your spooky creations to life and give them character that’s both fun and festive.
Step 5: Final Bake and Serve
Once your Mummy Toast is all dressed up, return them to the oven for 5 minutes or until the cheese is fully melted and slightly bubbly. Keep a close eye on them to prevent burning. Once done, remove from the oven, let them cool for a minute, and serve warm on a festive platter—ready to impress your guests with your Halloween-themed culinary delight!

How to Store and Freeze Mummy Toast
Fridge: Store any leftover Mummy Toast in an airtight container for up to 3 days to keep them fresh. Reheat in the oven to restore crispness.
Freezer: If you need to prepare in advance, freeze unbaked Mummy Toast for up to 1 month. Wrap them tightly in plastic wrap and foil to prevent freezer burn.
Reheating: Bake frozen Mummy Toast directly from the freezer at 350°F (175°C) for about 10-12 minutes, until heated through and the cheese is bubbly.
Tip for Freshness: For the best taste, it’s recommended to prep the ingredients ahead of time and assemble just before serving to enjoy the delightful flavors and textures of these spooky bites!
Expert Tips for Mummy Toast
• Choose Quality Bread: Select a bread that toasts well; sourdough or whole grain adds flavor and texture for your Mummy Toast.
• Play with Spreads: Experiment with different cream cheese flavors or even hummus to add fun twists to the classic mummy design.
• Prevent Sogginess: Avoid overly soft bread that may become soggy; toasting first helps maintain crispness even with toppings.
• Creative Eyes: Get playful with eyes—mini chocolate chips or even candy corn can add a fun and festive touch to your Mummy Toast.
• Easily Customize: Feel free to swap in your family’s favorite toppings or spreads, ensuring your Mummy Toast reflects your unique tastes.
• Serve Warm: These spooky treats are best enjoyed warm right out of the oven, so plan to serve them fresh for maximum enjoyment!
Mummy Toast Variations & Substitutions
Inviting a bit of creativity into your Mummy Toast preparations can lead to delightful surprises that will please everyone at your Halloween gathering.
- Gluten-Free: Use gluten-free bread options to make Mummy Toast inclusive for all dietary needs, ensuring everyone can enjoy the fun!
- Vegan Option: Swap out cream cheese for a vegan spread, like hummus or avocado, maintaining deliciousness without dairy.
- Cheese Alternatives: Try using vegan string cheese or any soft cheese alternative to cater to those avoiding dairy.
- Sweet Twist: Transform the theme by using nut butter instead of cream cheese, then add banana slices for an unearthly treat—spooky yet satisfying!
- Savory Spreads: Experiment with savory spreads such as pesto or olive tapenade beneath the cheese for a bold flavor boost that will tantalize your taste buds.
- Herbal Infusions: Mix herbs like garlic powder or Italian seasoning into the cream cheese for an added layer of flavor that complements the toast beautifully.
- Colorful Eyes: Instead of olives or raisins, get playful with small candies like gummy eyeballs or chocolate chips for a festive and sweet touch.
- Add Veggies: Enhance the nutritional profile by adding slices of roasted red peppers or avocado, which can also add a pop of color to your Mummy Toast.
With these variations and substitutions, you can adapt the Mummy Toast to fit any dietary preferences while creating a wonderfully eerie atmosphere at your gathering. For more creative Halloween ideas, be sure to check out these 20 Spooktacular Halloween Dinner Ideas for Adults for even more spooky delights!
What to Serve with Mummy Toast?
Imagine a fun Halloween gathering where every bite tells a spooky tale, making your dinner both delicious and delightfully eerie.
- Pumpkin Soup: Creamy and warm, this soup complements the crispy texture of the toast, adding a hearty touch to your meal.
- Witch’s Cauldron Chili: With savory spices and a thick consistency, this chili adds a kick to your feast—perfectly paired with the playful Mummy Toast.
- Edible Eyeball Cheese Balls: These fun snacks add a festive flair and creamy contrast, enticing everyone to explore spooky flavors.
- Spooky Salad: A mix of greens topped with roasted beet “blood” dressing resonates beautifully with the vibrant theme and adds freshness to your plate.
- Ghostly Guacamole: A creamy dip made spooky with fun toppings, offering a creamy texture that pairs nicely with the Mummy Toast burst of flavor.
- Themed Mocktails: Serve a spooky drink, like a black cherry soda or a blood orange spritzer, to refresh your guests while keeping the festive spirit alive!
Embrace the playful essence of Halloween with these ideas!
Make Ahead Options
Mummy Toast is a fantastic option for busy home cooks looking to save time on their festive Halloween gatherings! You can prep the toast components up to 24 hours in advance. Start by preparing the cream cheese spread and slicing the string cheese and olives or raisins. Store the cream cheese mixture in an airtight container in the refrigerator, while the cheese and toppings can be kept in separate containers to maintain their freshness. When you’re ready to serve, simply toast the bread, spread the cream cheese, wrap it with the string cheese, and add the eyes before giving it a final bake for an extra 5 minutes. This way, you’ll enjoy all the spooky fun with minimal effort and maximum flavor!
Mummy Toast Recipe FAQs
What type of bread is best for Mummy Toast?
Choosing the right bread is essential for a delightful Mummy Toast. Look for brands that toast well, such as sourdough or whole grain, as they not only add more flavor but also provide a great texture that holds up to tasty toppings.
How should I store leftover Mummy Toast?
Store any leftover Mummy Toast in an airtight container in the refrigerator for up to 3 days. To retain that perfect crispiness, reheat them in the oven at 350°F (175°C) for a few minutes before serving.
Can I freeze Mummy Toast for later?
Absolutely! If you want to prepare ahead, you can freeze unbaked Mummy Toast for up to 1 month. Wrap each piece tightly in plastic wrap and then in foil to prevent freezer burn. When you’re ready to enjoy, bake them directly from the freezer at 350°F (175°C) for about 10-12 minutes until they’re heated through and the cheese is melty.
What are some common troubleshooting tips for making Mummy Toast?
If your Mummy Toast is turning out soggy, it’s likely due to using bread that’s too soft. I recommend sticking with a sturdier bread and toasting it before applying the cream cheese and toppings. Also, for maximum enjoyment, serve them warm right out of the oven to keep the texture crispy!
Can I customize the toppings on my Mummy Toast?
Very much so! Feel free to swap in any of your family’s favorite spreads or toppings. Pumpkin spice cream cheese is a fantastic seasonal twist, while miniature chocolate chips can add a fun flair for Halloween. Just be sure to maintain the mummy theme with your creative toppings!
Are there any dietary modifications I should consider?
If you’re making Mummy Toast for guests with dietary restrictions, consider using gluten-free bread and dairy-free cream cheese to accommodate different preferences. You can even create a vegan-friendly version by using plant-based toppings and spreads while still keeping the spooky appearance intact!
Mummy Toast Recipe FAQs
Mummy Toast: Spooky and Delicious Fun for Halloween!
Ingredients
Equipment
Method
- Preheat your oven to 350°F (175°C). Slice the bread into even pieces, about ½ inch thick, and set aside. If using flavored cream cheese, mix in a small bowl.
- Place the sliced bread on a baking sheet in a single layer and spread a generous layer of cream cheese on each piece. Bake for 8-10 minutes, until golden and slightly melty.
- Remove the toast from the oven and let it cool slightly. Layer thin strips of string cheese over the cream cheese, crisscrossing to resemble mummy bandages.
- Use a dab of cream cheese to stick one slice of olive or a raisin onto each piece for the eyes.
- Return to the oven for 5 minutes or until the cheese is bubbly. Let cool for a minute and serve warm.