
As I stood in my kitchen, a faint aroma of baked goods lingered from a bakery down the street, igniting a nostalgic craving for something sweet yet simple. That’s when I decided to whip up these Super Easy Mini Cheesecakes with Vanilla Wafer Crust. This no-bake dessert is the ultimate solution for busy weeknights or impromptu get-togethers, as it requires minimal effort and delivers delightful results. The buttery vanilla wafer crust perfectly complements the creamy filling, making these bite-sized treats irresistible for any occasion. Imagine indulging in a creamy Italian-inspired mini cheesecake without the fuss of turning on the oven. Ready to explore this easy recipe that’s bound to elevate your dessert game? Let’s dive in and make something magical together!
Why Are Mini Cheesecakes So Irresistible?
Delightful Variety: Mini cheesecakes offer endless possibilities; mix in lemon zest or berry compote for an extra burst of flavor.
No-Bake Convenience: Perfect for busy days, these no-bake treats eliminate the need for an oven, saving time and energy.
Crowd-Pleasing Treat: Their bite-sized nature makes them the ultimate hit at gatherings, catering to both children and adults!
Easy Prep: Just a few simple steps stand between you and these creamy delights, making it a hassle-free dessert option.
Perfect Pairing: They pair beautifully with other dishes—you could serve them alongside a comforting Garlic Tomato Soup for an exquisite meal.
Get ready to impress with this super easy recipe that guarantees smiles all around!
Mini Cheesecake Ingredients
• Whip up these delightful mini cheesecakes effortlessly with this simple ingredient list!
For the Crust
- Vanilla Wafers – Forms the buttery base; you can easily substitute with crushed graham crackers for a different flavor.
- Butter – Melted for binding; always use unsalted for better control over sweetness.
For the Filling
- Cream Cheese – Provides rich, creamy texture; ensure it’s soft for smooth blending.
- Sugar – Sweetness to balance the tart cream cheese; granulated or powdered sugar can be used based on your texture preference.
- Vanilla Extract – Adds depth of flavor; choose pure vanilla extract for the best taste.
- Heavy Cream – Creates the airy filling; you can substitute with whipping cream for a lighter version.
Dive into this no-bake delight, and enjoy the creamy goodness of your mini cheesecakes!
Step‑by‑Step Instructions for Super Easy Mini Cheesecakes with Vanilla Wafer Crust
Step 1: Prep the Crust
Begin by preheating your oven to 350°F (175°C) if you were baking, but since this is a no-bake recipe, simply gather your ingredients. Crush about 24 vanilla wafers into fine crumbs using a food processor or a rolling pin. In a mixing bowl, combine the crumbs with 5 tablespoons of melted unsalted butter until well incorporated, then press the mixture firmly into the bottoms of mini muffin tins to form a solid crust.
Step 2: Make the Filling
In a large mixing bowl, beat 16 ounces of softened cream cheese using an electric mixer on medium speed. Gradually add 2/3 cup of granulated sugar and 1 teaspoon of pure vanilla extract as you mix, ensuring the mixture is smooth and creamy, about 2-3 minutes. Look for a velvety texture that should have no lumps, setting you up for a indulgent creamy filling for your mini cheesecakes.
Step 3: Add Cream
Once your cream cheese mixture is smooth, gently pour in 1 cup of heavy cream. Using your electric mixer on low speed, begin blending until the ingredients are just combined. Then, increase the speed to medium and beat until the mixture becomes slightly thickened and fluffy, about 2-3 minutes. Be careful not to overbeat, as you want a light and airy filling for your super easy mini cheesecakes.
Step 4: Fill the Cups
Using a spoon or piping bag, carefully fill each mini muffin tin cup with the cheesecake filling, smoothing the tops with a spatula for a neat appearance. Each cup should be filled just to the top, ensuring an indulgent bite for every mini cheesecake. This step transforms your crusts into their luscious final form, making these delightful desserts even more irresistible.
Step 5: Chill
Cover the mini cheesecakes with plastic wrap and refrigerate them for at least 4 hours, allowing them to set and firm up. When ready, they should feel firm to the touch, yet retain a slight jiggle in the center. This chilling time enhances the flavors and ensures your creamy Italian-inspired mini cheesecakes are ready to shine for any occasion.
Storage Tips for Mini Cheesecakes
Fridge: Keep mini cheesecakes in an airtight container in the refrigerator for up to 5 days to maintain their creamy texture and freshness.
Freezer: For longer storage, freeze mini cheesecakes in airtight containers for up to 2 months. Thaw in the fridge overnight before serving for the best results.
Reheating: These delights are enjoyed best chilled; simply remove them from the refrigerator and serve directly without reheating to preserve the creamy flavor.
Make-Ahead: These mini cheesecakes can be prepared a day in advance, allowing flavours to meld and making your dessert prep a breeze for gatherings or busy days.
Variations & Substitutions for Mini Cheesecakes
Feel free to get creative and make this recipe your own with these exciting variations!
-
Chocolate Twist: Substitute vanilla wafers with chocolate cookies for a decadent chocolate crust. Pair them with a drizzle of chocolate sauce for a heavenly experience.
-
Fruity Delight: Mix in fruit purée, like raspberry or strawberry, directly into the cheesecake filling to add a burst of color and natural sweetness. Top with fresh berries for visual appeal.
-
Flavor Infusion: Experiment with flavored extracts such as almond or coconut in place of vanilla for a unique delight that surprises every taste bud.
-
Lemon Zest: For a refreshing citrusy kick, add lemon zest and juice to the filling. This brightens the overall flavor and works beautifully during warm months.
-
Nutty Crunch: Incorporate finely chopped nuts into your crust for added texture. Pecans or almonds will bring a delightful crunch that contrasts the creamy filling wonderfully.
-
Savory Surprise: Create a twist by adding a hint of salt or caramel in the filling for a sweet-salty experience that takes these mini cheesecakes to the next level.
-
Top with Style: Elevate your presentation by garnishing with whipped cream or a dollop of yogurt. This adds not just beauty but also richness to each bite.
-
Mini Cheesecake Trio: Serve a platter of mini cheesecakes with varying flavors, such as classic vanilla, chocolate, and berry, providing something for every palate and making gatherings truly special.
For those cozy nights, enjoy these alongside a comforting Garlic Tomato Soup, or elevate your meal with a scrumptious Garlic Shrimp Pasta. The possibilities are endless!
Expert Tips for Mini Cheesecakes
- Room Temperature Cream Cheese: Be sure to soften the cream cheese before mixing; this helps create a lump-free filling that’s delightfully creamy.
- Prevent Overmixing: Avoid overbeating the heavy cream to maintain that light, airy texture in your filling; stop when it thickens.
- Substitution Options: If vanilla wafers aren’t available, crushed graham crackers or even chocolate cookies work beautifully for the crust, adding a new flavor twist.
- Flavor Boosters: Consider adding lemon zest or a dollop of fruit preserves on top to elevate your mini cheesecakes’ flavor and presentation.
- Chilling Time: Don’t rush the chilling process; allowing at least 4 hours for the cheesecakes to set ensures they’re firm yet smooth, just like a classic creamy treat.
What to Serve with Super Easy Mini Cheesecakes with Vanilla Wafer Crust
Imagine a delightful dessert table filled with sweet treats, colorful fruits, and cozy drinks that beautifully complement your creamy mini cheesecakes.
-
Fresh Berries:
Bright and vibrant, strawberries or blueberries lend a tartness that enhances the rich sweetness of the cheesecakes. -
Chocolate Drizzle:
A swirl of melted chocolate adds a decadent touch, creating a luscious contrast that elevates the dessert experience. -
Espresso:
Serve with a shot of smooth espresso. The robust flavor cuts through the creaminess, balancing the sweetness perfectly. -
Whipped Cream:
Fluffy and light, a dollop of freshly whipped cream adds an airy texture, ensuring every bite is indulgently soft. -
Nutty Granola:
Sprinkle a handful of crunchy granola alongside your mini cheesecakes for a satisfying contrast in texture and a hint of nuttiness. -
Coconut Flakes:
Toasted coconut flake topping brings a tropical flair, adding both flavor and a beautiful visual enhancement to your dessert. -
Vanilla Ice Cream:
A scoop of creamy vanilla ice cream beside the cheesecakes creates a dreamy and indulgent treat perfect for gatherings.
Enjoy these delightful combinations that promise to turn your dessert into a memorable feast!
Make Ahead Options
These Super Easy Mini Cheesecakes with Vanilla Wafer Crust are perfect for meal prep enthusiasts! You can prepare the crust and filling up to 24 hours in advance for a hassle-free dessert experience. First, crush the vanilla wafers and mix them with melted butter to form the crust, then press it into mini muffin tins. Prepare the creamy filling and store it separately in an airtight container in the refrigerator. When you’re ready to serve, simply fill each crust with the chilled cheesecake filling and refrigerate for a few more hours until set. This method not only saves you time but also allows the flavors to develop, ensuring your mini cheesecakes are just as delicious when served!
Super Easy Mini Cheesecakes with Vanilla Wafer Crust Recipe FAQs
How do I choose ripe ingredients for my mini cheesecakes?
Absolutely! Fresh, high-quality ingredients can make a difference. When selecting cream cheese, look for a brand that lists “cream cheese” as the only ingredient on the label; this ensures you’re getting a pure product. The vanilla wafers should be free of dark spots and feel fresh, while the heavy cream should be pasteurized. If you’re adding any fruits or toppings, choose ones that are firm and vibrant in color for the best flavor and appearance.
How should I store my mini cheesecakes?
Very simply! To keep your mini cheesecakes at their best, store them in an airtight container in the refrigerator for up to 5 days. This helps maintain their creamy texture and prevents them from absorbing any unwanted odors from the fridge. If you’ve made extras to save for later, you can freeze them for up to 2 months! Just ensure they are tightly wrapped or placed in an airtight freezer-safe container. When ready to enjoy, thaw them overnight in the refrigerator.
Can I freeze mini cheesecakes, and how do I do it?
Absolutely! Freezing these little delights is a fantastic way to enjoy them later. To freeze, first, ensure they are completely set and firm after chilling. Once they’ve chilled for at least 4 hours, remove them from the muffin tin and place them in a single layer in a freezer-safe container. Layer parchment paper between each cheesecake to prevent them from sticking together. Seal tightly and freeze for up to 2 months! When ready to enjoy, remove them from the freezer and allow them to thaw in the refrigerator for about 6-8 hours.
What are common troubleshooting tips for mini cheesecakes?
One common issue is lumps in the cream cheese filling. This can usually be avoided by ensuring your cream cheese is at room temperature before mixing. If you find that the mixture isn’t thickening properly, it could be due to overbeating the heavy cream, which makes it curdle. Another tip is to smother the crust with butter, making sure it’s compact in the muffin tins, so it holds together well when you remove the cheesecakes. Lastly, if you’re worried about them being too sweet, consider reducing the sugar slightly or using a fruit compote as a topping to balance the flavors.
Are these mini cheesecakes suitable for people with dietary restrictions?
Very much so! The ingredients in this recipe are quite simple and can be adapted for various dietary needs. For a gluten-free option, simply substitute the vanilla wafers with gluten-free cookies. If you’re making them for someone who is lactose intolerant, there are dairy-free cream cheese products available that work surprisingly well and can create a similar creamy texture. However, always double-check with your guests to ensure all dietary restrictions are met and consider labeling them for added convenience.
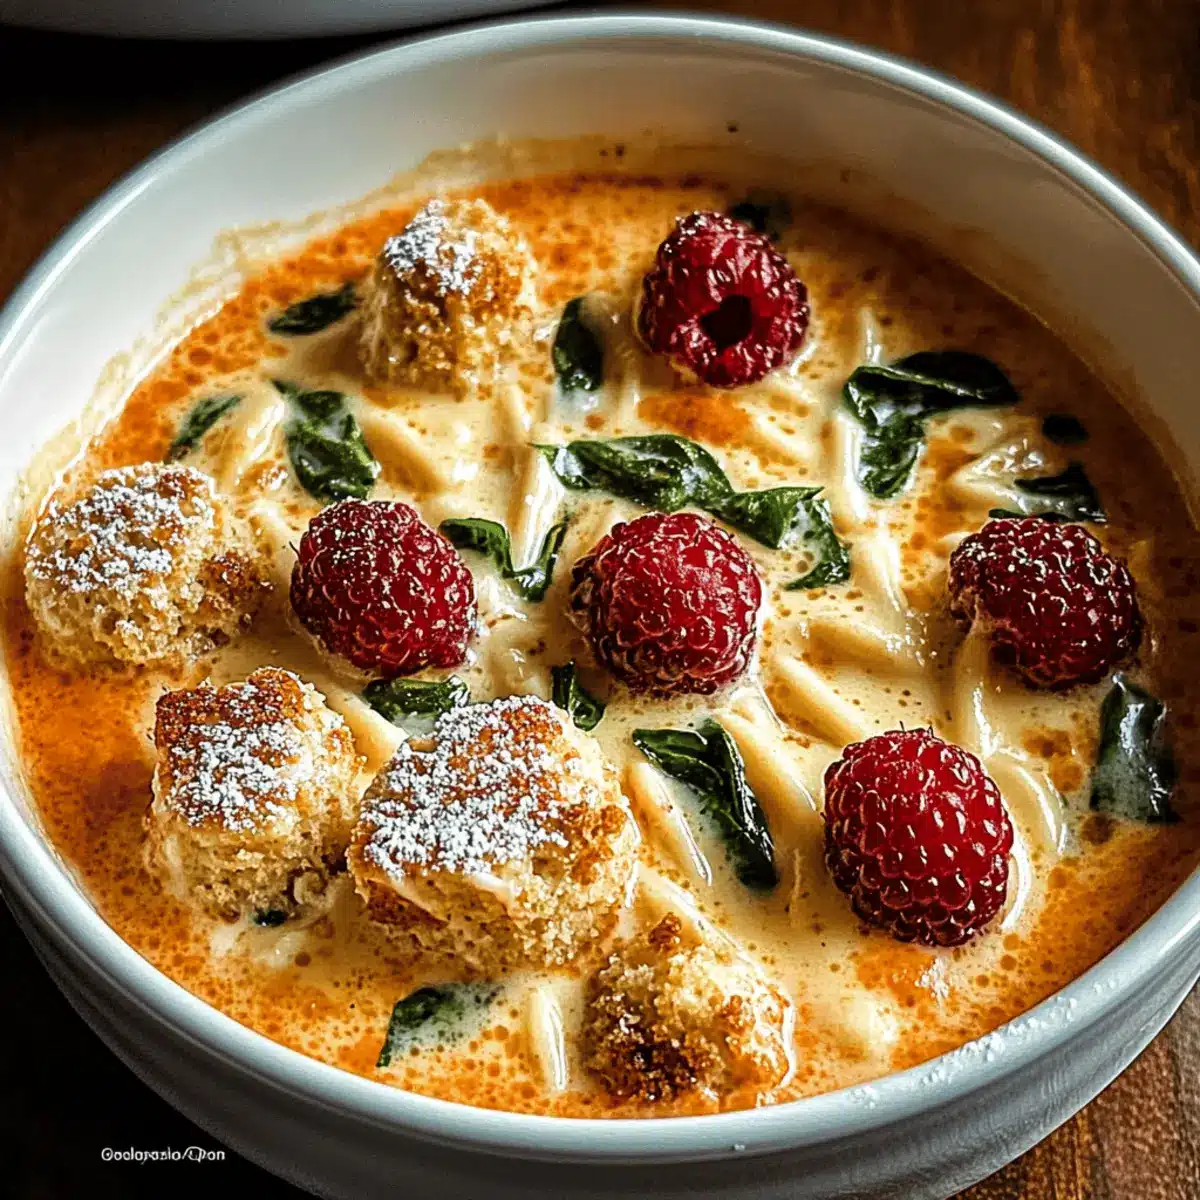
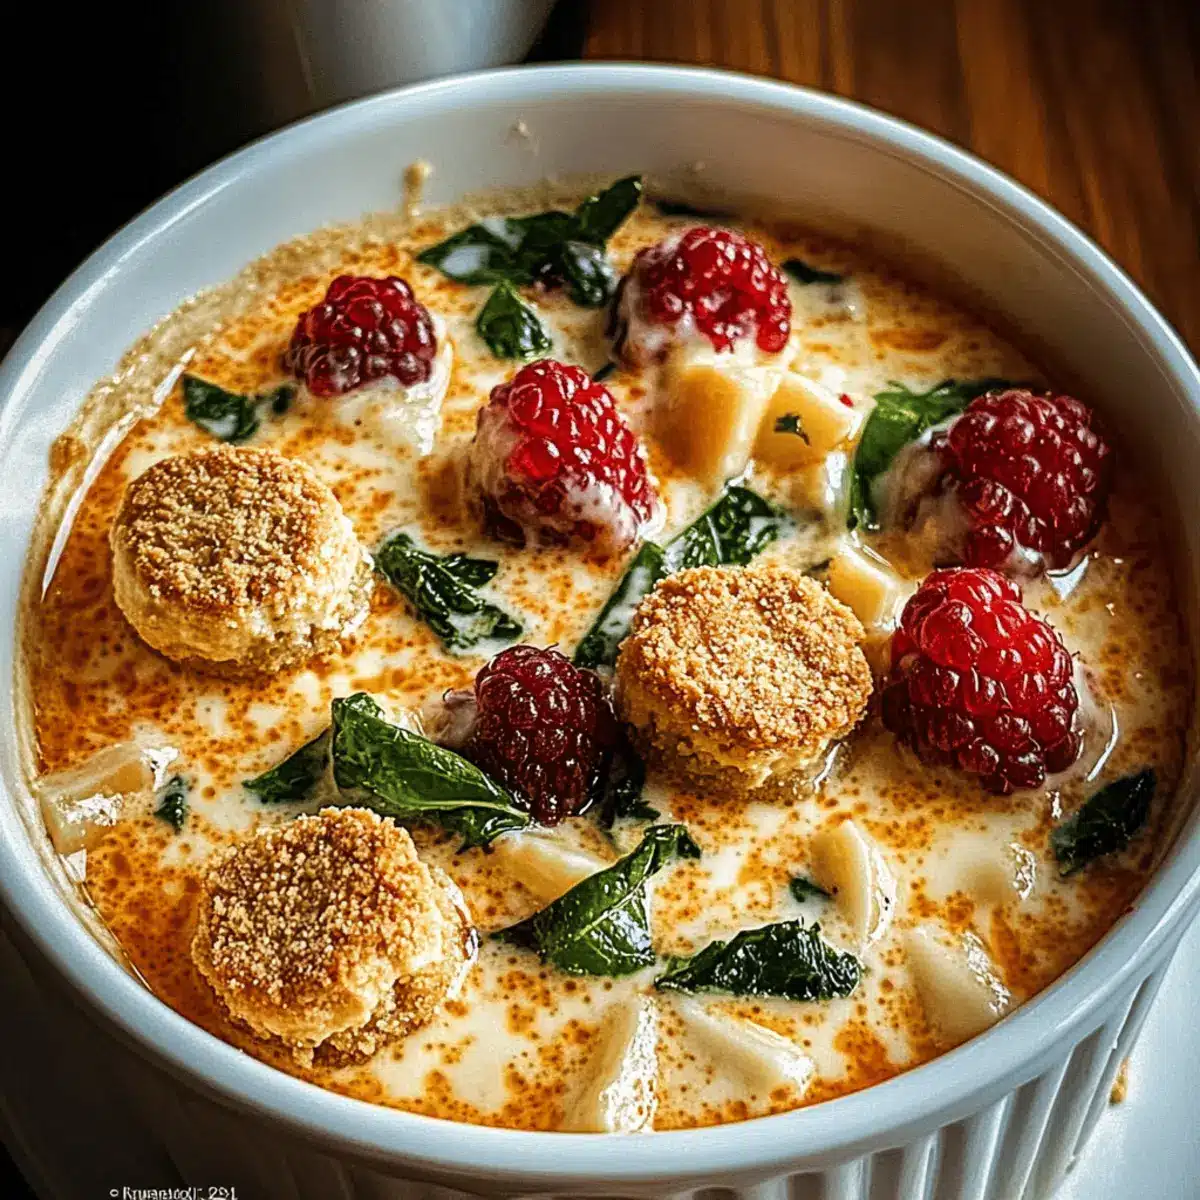
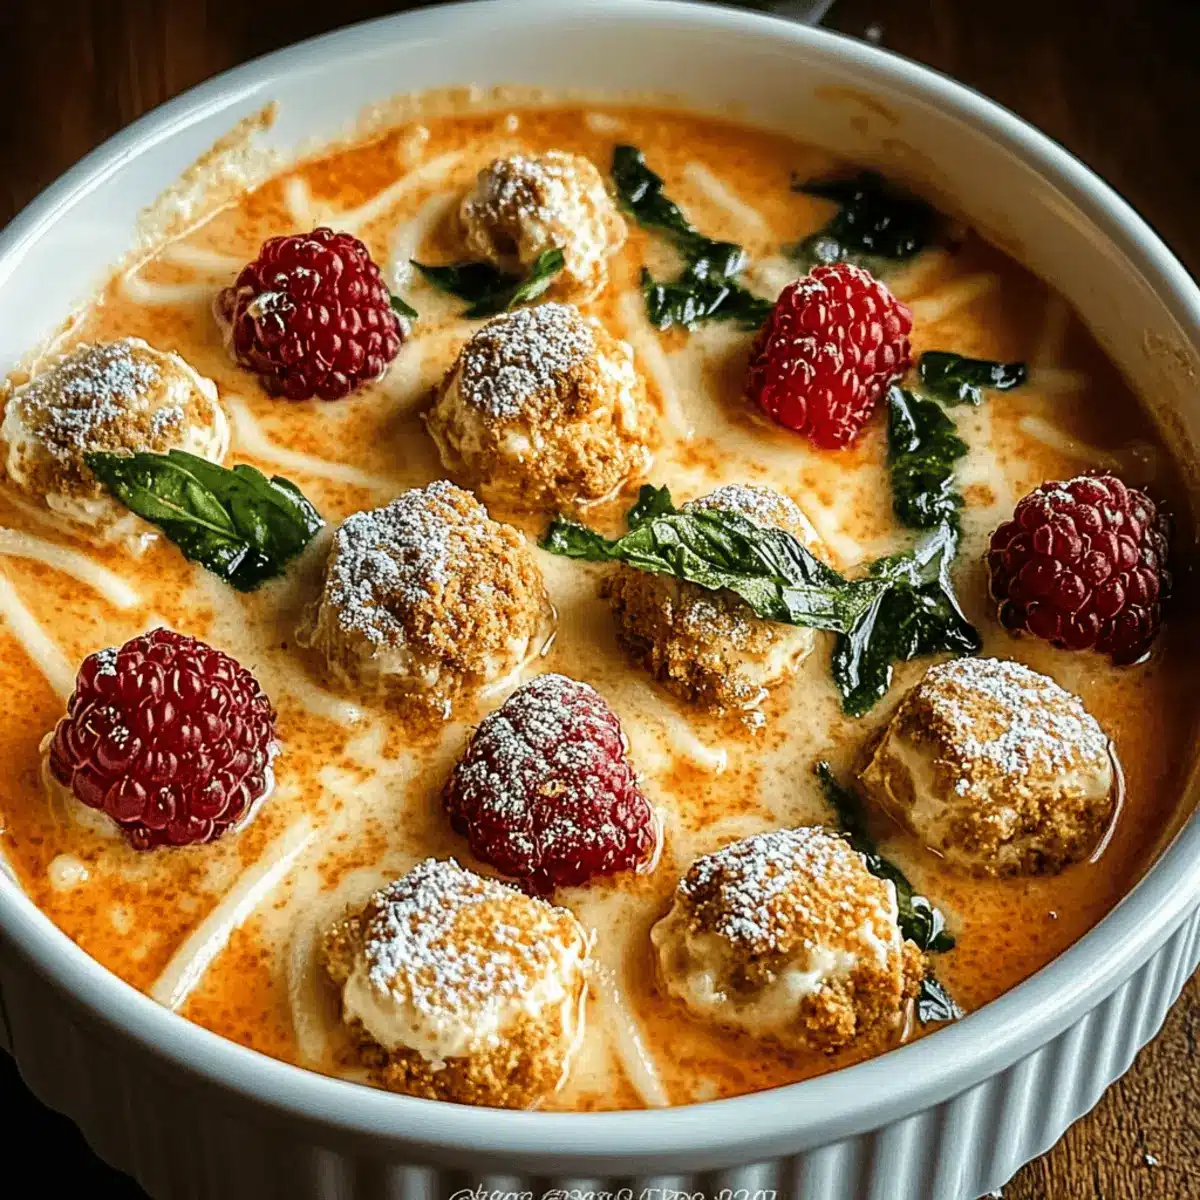
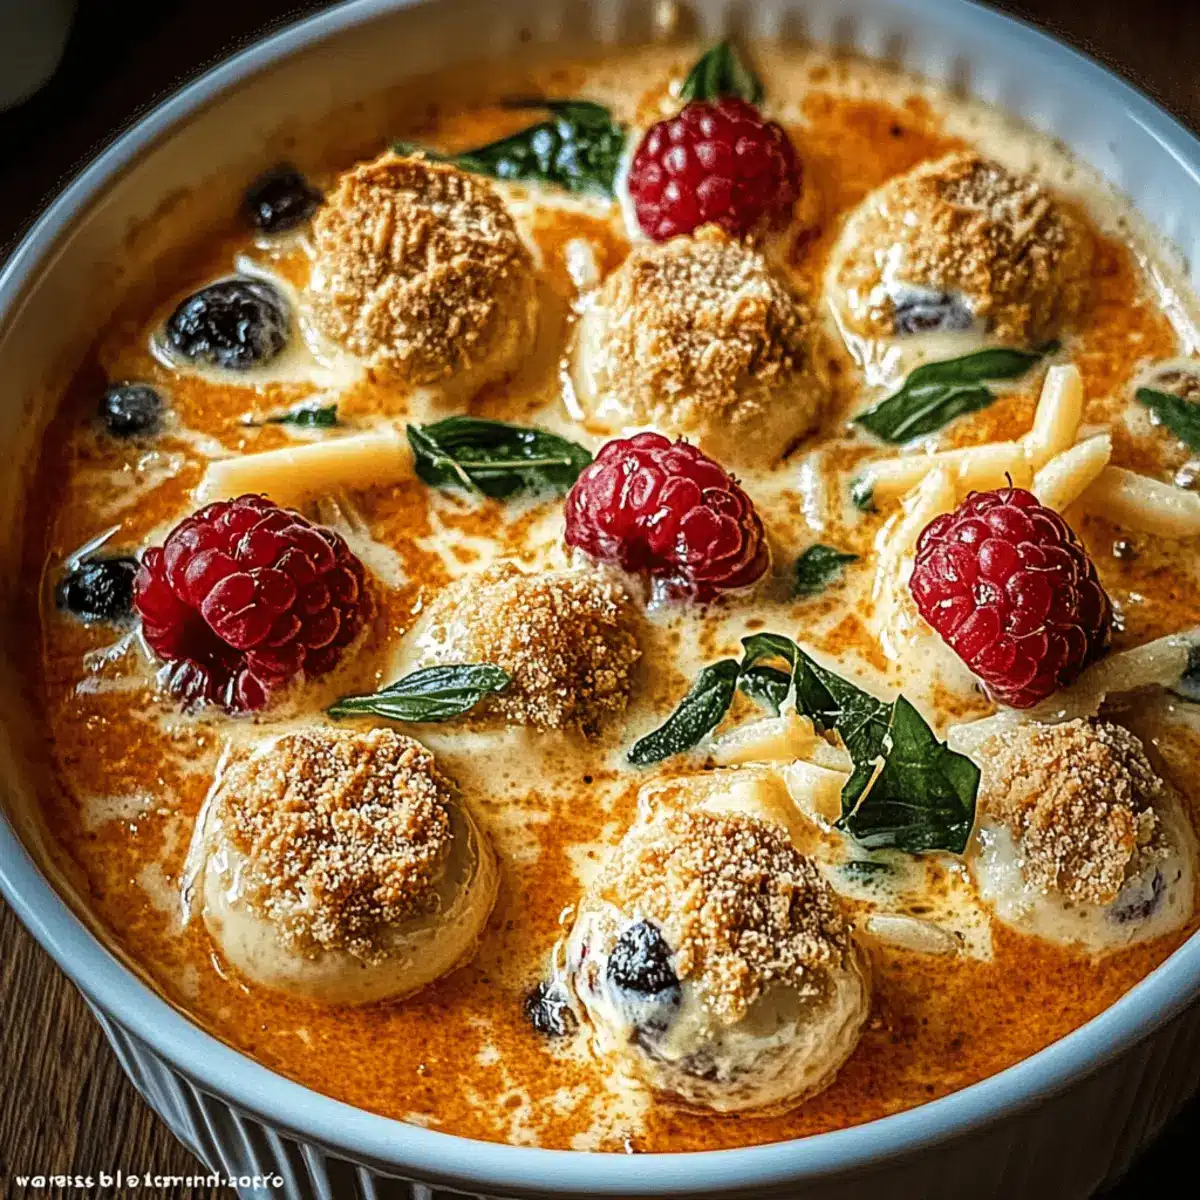
Creamy Italian Meatball Soup That Warms Every Heart
Ingredients
Equipment
Method
- Gather all ingredients and crush the vanilla wafers into fine crumbs. Combine with melted butter and press into mini muffin tins.
- In a mixing bowl, beat softened cream cheese, gradually add sugar and vanilla extract, mixing until smooth.
- Add heavy cream to the cream cheese mixture and blend until slightly thickened and fluffy.
- Fill each mini muffin tin cup with the cheesecake filling and smooth the tops with a spatula.
- Cover with plastic wrap and refrigerate for at least 4 hours to allow them to set.