
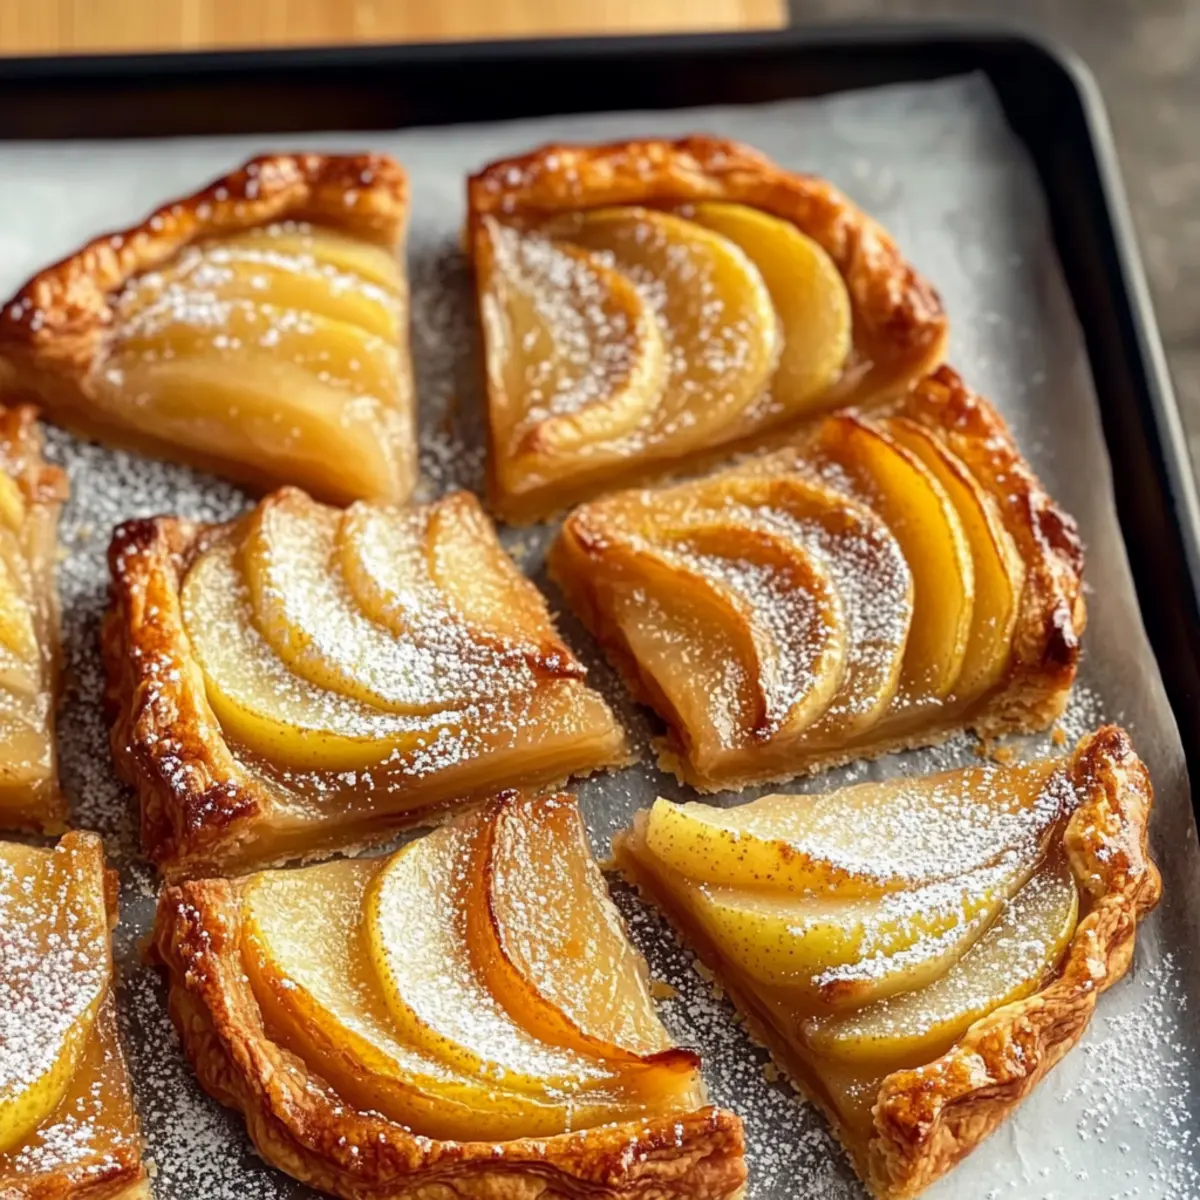
As I stood in my kitchen, a warm breeze wafted through the window, bringing with it the sweet scent of ripe pears just begging to be transformed into something special. Enter the Quick Pear Tart—an elegant dessert that’s as pleasing to the eyes as it is to the palate. With a flaky puff pastry base and tender, caramelized pears kissed with cinnamon, this delightful tart not only makes you look like a pro, but it also requires less than 40 minutes of your precious time. It’s an ideal choice for dinner parties, cozy family gatherings, or even just a simple weeknight treat when you want to switch things up from the usual takeout. Curious about how to achieve that perfect balance of buttery goodness and sweet fruit? Let’s dive into making your kitchen smell heavenly!
Why is Quick Pear Tart a Must-Try?
Simplicity at Its Best: This recipe requires minimal ingredients and just a few easy steps, making it perfect for rookie bakers and busy chefs alike.
Elegant Presentation: With its golden crust and beautiful pear arrangement, this tart dazzles when served, elevating any gathering.
Versatile Delight: While pears are the star, feel free to switch them out for apples or seasonal fruits for a personalized twist.
Aromatic Bliss: The warm scent of caramelized pears and cinnamon fills your kitchen, creating a welcoming atmosphere that draws everyone in.
Quick and Effortless: In under 40 minutes, you can prepare a stunning dessert that feels indulgent without the fuss—ideal when time is tight!
Perfectly Pairing: Serve your Quick Pear Tart warm alongside a scoop of vanilla ice cream for a comforting finish, or for a lighter option, enjoy it with a cup of tea or coffee. If you’re looking for more quick dessert inspiration, don’t miss out on my Avocado Breakfast Quesadilla for a delightful sweet start to your day!
Quick Pear Tart Ingredients
For the Tart Base
- Puff Pastry – This flaky layer acts as the sturdy foundation of your Quick Pear Tart; store-bought frozen pastry saves time but still tastes homemade.
- Butter – Unsalted is best for controlling flavor; it enriches the pastry and helps caramelize the pears beautifully.
For the Filling
- Pears – Choose ripe ones for the sweetest, most tender results; green or red varieties work well, and a swap for apples is an option if desired.
- Sugar – Regular granulated sugar enhances the pears’ natural sweetness as they bake; feel free to replace it with brown sugar for a richer flavor.
- Cinnamon – Just a hint adds warm spice notes that pair wonderfully with the fruits; try a dash of nutmeg for an added twist if you’re feeling adventurous.
- Lemon Juice – A splash brightens flavor and prevents fruit from browning; you can use apple cider vinegar as a substitute if needed.
For Finishing Touches
- Apricot Jam (optional) – Adds a lovely glossy finish to the tart; swap with your favorite fruit jam or skip entirely if you’d like a more rustic look.
- Powdered Sugar – A light dusting just before serving gives the tart a sweet, decorative touch perfect for an elegant presentation.
This Quick Pear Tart is not only a feast for the eyes but also a delightful treat that effortless brings comfort to your table!
Step‑by‑Step Instructions for Quick Pear Tart
Step 1: Preheat Your Oven
Begin by preheating your oven to 375°F (190°C). This temperature ensures that your Quick Pear Tart comes out with a perfectly golden, flaky crust. As the oven heats, gather your ingredients and equipment, including a baking sheet and parchment paper for easy clean-up, setting the stage for a smooth baking experience.
Step 2: Prepare the Puff Pastry
Roll out the thawed puff pastry on a lightly floured surface until it’s about 1/8 inch thick. Carefully transfer the pastry to a baking sheet lined with parchment paper, making sure to maintain its shape. This flaky base will cradle your caramelized pears, providing a buttery texture that complements the dessert beautifully.
Step 3: Slice and Toss the Pears
Wash, peel (if desired), and slice the ripe pears thinly, aiming for uniform slices to ensure even cooking. In a mixing bowl, toss the pears with cinnamon, sugar, and a squeeze of lemon juice. This step enhances their natural sweetness and prevents browning, adding a deliciously fragrant layer to your Quick Pear Tart.
Step 4: Arrange the Pears on the Pastry
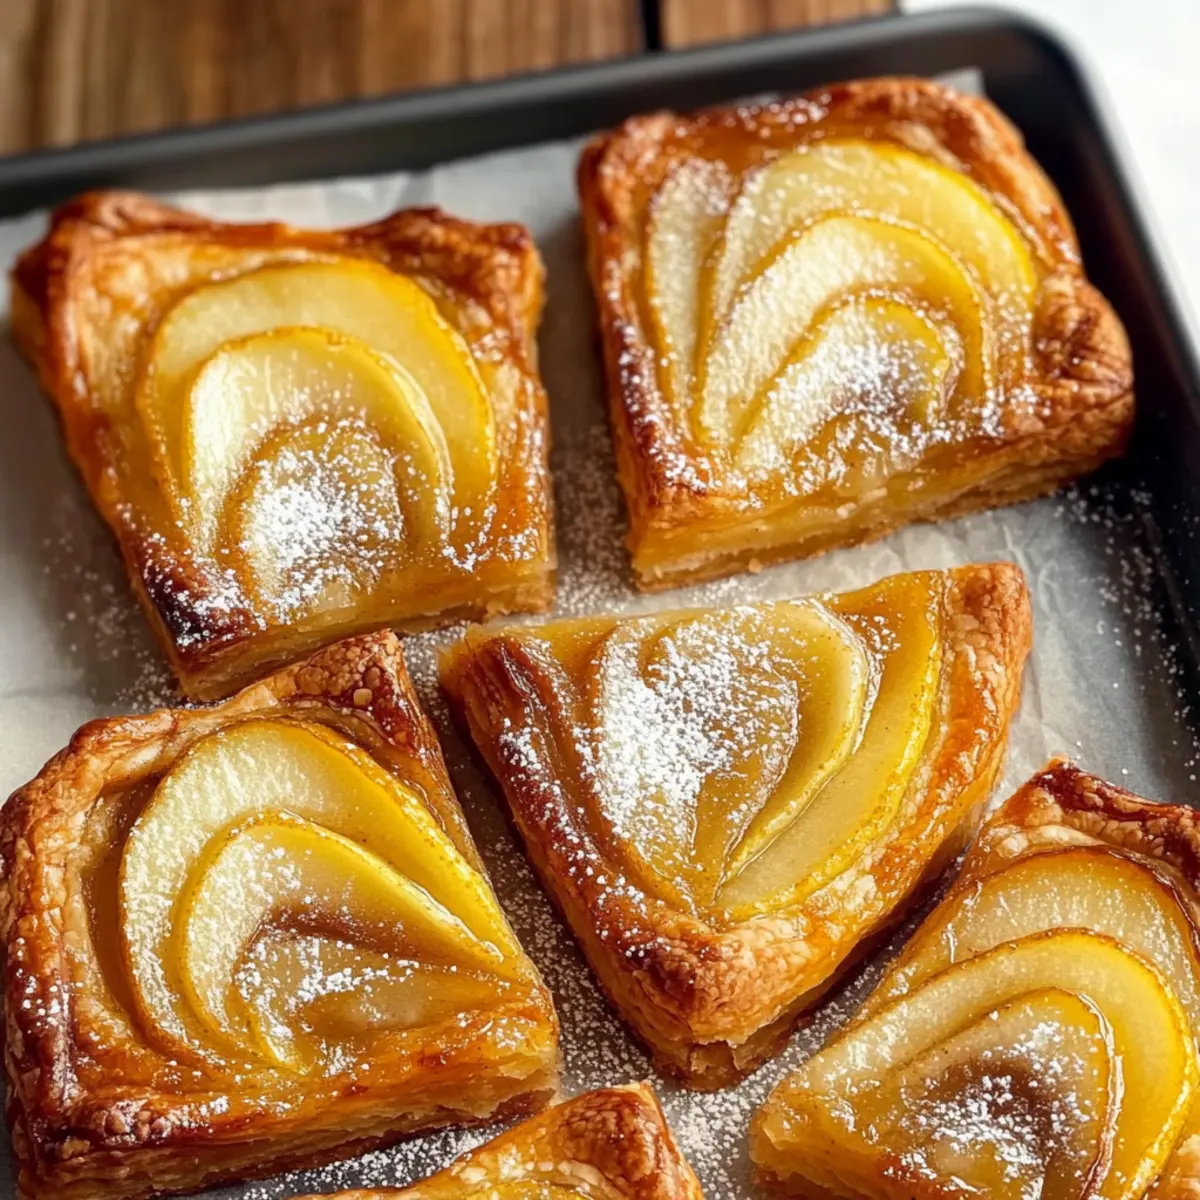
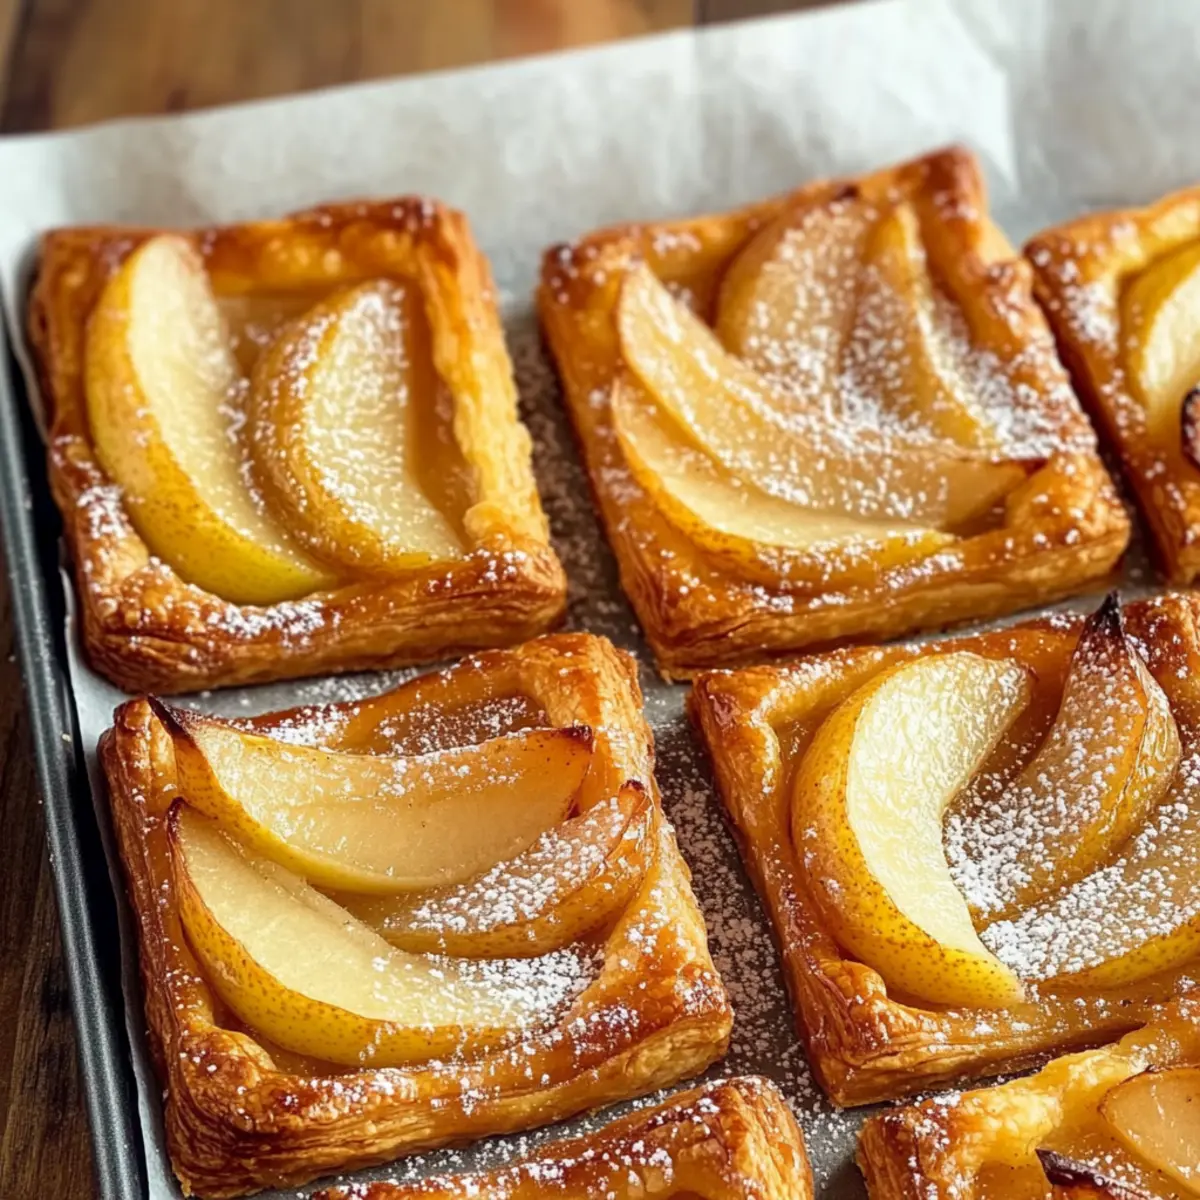
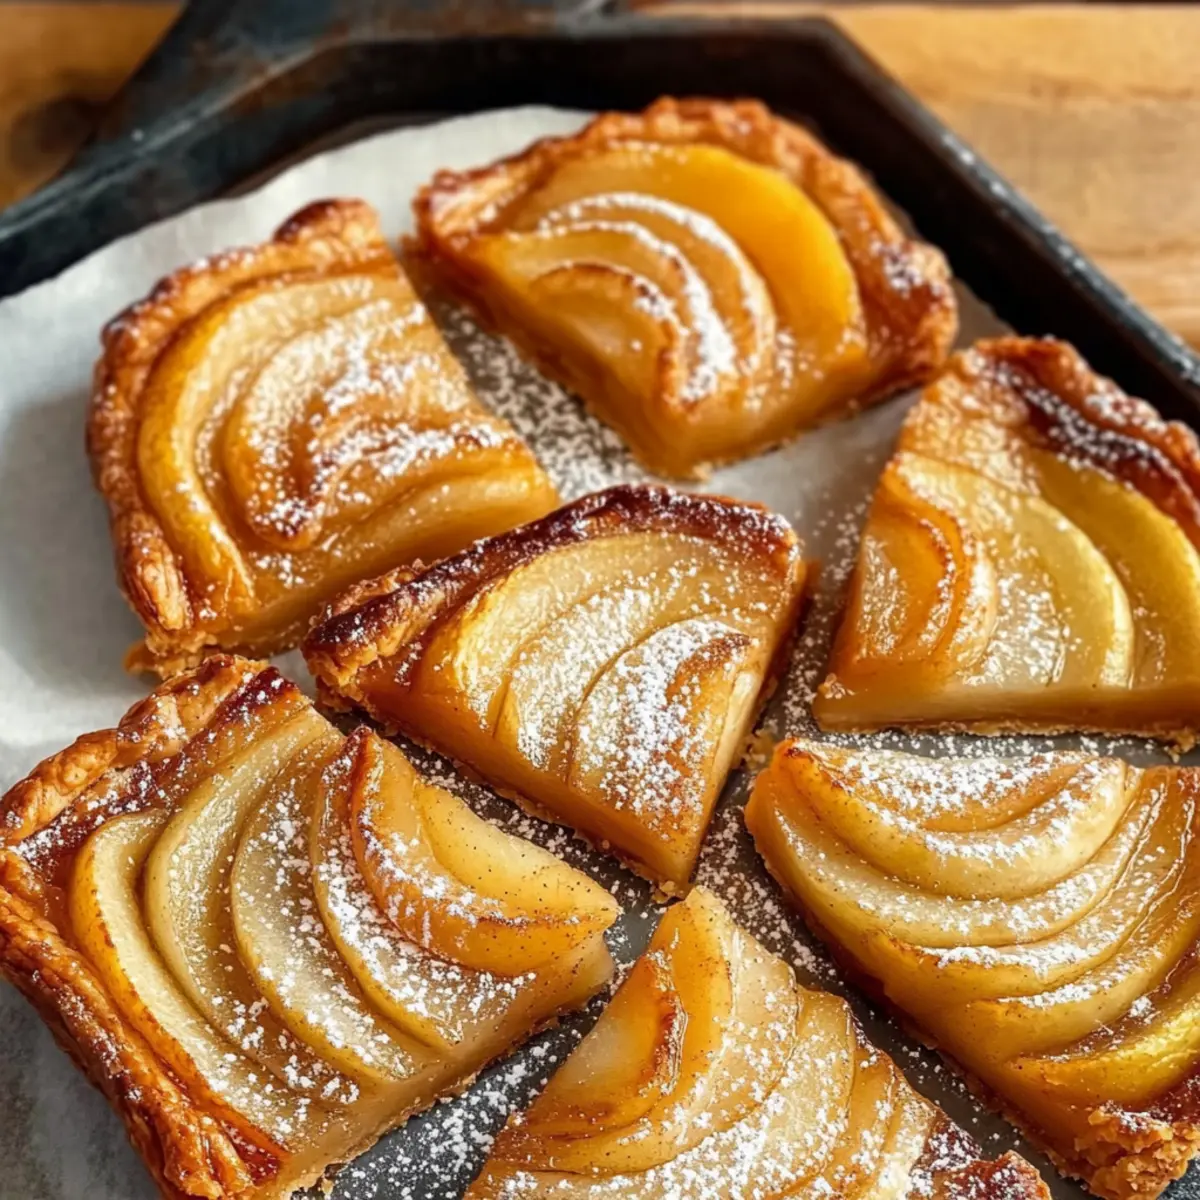
Neatly arrange the cinnamon-sugar-coated pear slices on the puff pastry, leaving about a 1-inch border around the edges. Make sure to overlap the slices slightly for an aesthetically pleasing presentation. This beautiful layer of fruit not only looks delightful but also provides a burst of flavor in each bite of the tart.
Step 5: Butter and Sprinkle
Brush the edges of the puff pastry with melted butter to create a golden crust. Sprinkle any remaining cinnamon-sugar mixture over the arranged pears for added sweetness and a delightful hint of spice. This extra layer of flavor elevates your Quick Pear Tart, making it irresistibly tempting.
Step 6: Bake to Perfection
Place the baking sheet in the preheated oven and bake for 25-30 minutes. Keep an eye on the tart, and remove it when the pastry is puffed and golden brown, and the pears have softened beautifully. The aroma wafting through your kitchen will be a clear indicator that your Quick Pear Tart is nearly ready.
Step 7: Optional Glaze for Shine
If desired, gently brush the top of the tart with warm apricot jam for a glossy finish, enhancing its visual appeal and sweetness. This step adds a touch of elegance that makes your Quick Pear Tart stand out, inviting everyone to take a slice and indulge.
Step 8: Cool and Serve
Allow the baked tart to cool slightly on the baking sheet for about 5-10 minutes. Before serving, dust it with powdered sugar for a sweet and sophisticated touch. Slice your Quick Pear Tart and enjoy it warm, pairing it perfectly with a scoop of vanilla ice cream or a cup of tea.
What to Serve with Quick Pear Tart
Indulge in a delightful dining experience that elevates your Quick Pear Tart into a memorable meal everyone will rave about.
-
Creamy Vanilla Ice Cream: A scoop of rich, creamy vanilla ice cream adds a luscious contrast to the warm tart, melting gently on each slice. This pairing creates a heavenly taste sensation that feels indulgent and inviting.
-
Fresh Berries Salad: A light salad of fresh berries complements the sweetness of the tart with a burst of tartness and juiciness. The vibrant colors also present a refreshing contrast to the golden pastry.
-
Whipped Cream: A fluffy dollop of freshly whipped cream enhances the dessert’s elegance while providing added richness and a light, airy texture. It’s the perfect finishing touch that invites you to take another bite.
-
Herbal Tea: A cup of aromatic herbal tea offers a soothing contrast to the sweet tart, creating a calm ambiance perfect for evening gatherings. Choose chamomile or peppermint for a refreshing experience.
-
Caramel Sauce Drizzle: A drizzle of warm caramel sauce over each slice brings an extra layer of indulgence, marrying beautifully with the tart’s flavors. This decadent addition will please any sweet tooth.
-
Coffee or Espresso: Pairing your Quick Pear Tart with a robust cup of coffee or espresso balances the sweetness perfectly. The warm, bold flavors of coffee create a delightful ending to your meal.
-
Almond Biscotti: A crunchy almond biscotti can add a nice textural contrast to the soft, tender tart. This pairing is perfect for those who enjoy a bit of crunch alongside their dessert.
-
Spiced Chai Latte: A comforting spiced chai latte enhances the cinnamon and warm spices of the tart, creating a cozy vibe perfect for a chilly evening. The creamy texture and spice will envelop your senses.
-
Pecan Praline Ice Cream: This flavor pairs beautifully with the tart, as the nuttiness of the pecans complements the caramelized pears, creating a harmonious dessert experience. It’s something unexpected but oh-so-delicious!
How to Store and Freeze Quick Pear Tart
Fridge: Store leftover Quick Pear Tart in an airtight container for up to 2 days. Allow the tart to cool completely before sealing to maintain its optimal texture.
Freezer: Wrap individual slices in plastic wrap and place them in a freezer-safe bag; the tart can be frozen for up to 2 months. Thaw overnight in the fridge before reheating.
Reheating: To restore crispness, reheat slices in a preheated oven at 350°F (175°C) for about 10-15 minutes, ensuring that the puff pastry remains flaky and delicious.
Serving Suggestions: Enhance the flavor by serving with a dollop of whipped cream or a scoop of ice cream once warmed through—perfect for a delightful dessert experience!
Expert Tips for Quick Pear Tart
-
Choose Ripe Pears: Ensure your pears are ripe for that sweet, tender texture; firm pears won’t soften well during baking.
-
Avoid Sogginess: Pat the sliced pears dry before arranging them on the pastry to prevent a soggy bottom on your Quick Pear Tart.
-
Make Ahead: Prepare the tart up to a day in advance; reheat at 350°F (175°C) for the best texture before serving.
-
Experiment with Spices: Feel free to swap cinnamon for nutmeg or cardamom to give your Quick Pear Tart a unique flavor twist.
-
Keep it Rustic: If you prefer a more traditional look, omit the apricot jam glaze for a less polished but equally delicious tart.
Make Ahead Options
These Quick Pear Tarts are a fantastic option for meal prep, allowing you to savor an elegant dessert with minimal last-minute effort. You can prepare the tart up to 24 hours in advance by assembling it completely, then covering it tightly with plastic wrap and refrigerating it until you’re ready to bake. This keeps the crust fresh while ensuring the pears remain tender. When ready to serve, simply preheat your oven to 375°F (190°C) and bake the tart according to the original instructions for about 25-30 minutes. This way, you’ll enjoy a delightful, homemade dessert that’s just as delicious as if you made it fresh!
Quick Pear Tart Variations & Substitutions
Feel free to customize your Quick Pear Tart to suit your taste and pantry ingredients!
- Apple Swap: Replace pears with apples for a classic twist; tart varieties like Granny Smith add a lovely zing.
- Nutty Topping: Top with slivered almonds or walnuts before baking for an added crunch and a nutty flavor boost.
- Spiced Up: Introduce flavors like cardamom or allspice; they impart warmth and depth, making your tart even more aromatic.
- Extra Sweetness: Drizzle with honey or maple syrup before baking for a decadent touch that enhances the caramelization of the fruit.
- Zesty Citrus: Add orange or lemon zest to the sugar mix for a refreshing citrus note that brings brightness to the dessert.
- Creaminess: Serve with a dollop of mascarpone or crème fraîche instead of whipped cream; it pairs beautifully with the tart’s sweetness.
- Berry Boost: Throw in some fresh berries like raspberries or blueberries with the pears for a splash of color and tartness.
- Chili Heat: Sprinkle a pinch of cayenne pepper or red pepper flakes for a surprising spicy twist that contrasts nicely with the sweetness.
Whichever twist you choose, your Quick Pear Tart is bound to impress! For more delightful variations, check out my take on Spam Fried Rice or enjoy a sweet treat with my Avocado Breakfast Quesadilla. Happy baking!
Quick Pear Tart Recipe FAQs
How do I choose the right pears for the Quick Pear Tart?
Absolutely! For the best results, select ripe pears. Look for firm but slightly yielding fruits, indicating they’re ripe and ready to caramelize beautifully when baked. Avoid pears with dark spots all over, as they may be overripe. If pears aren’t available, feel free to substitute with sweet apples like Honeycrisp or Fuji for a delightful alternative.
What is the best way to store leftover Quick Pear Tart?
You can store your leftover Quick Pear Tart in an airtight container in the refrigerator for up to 2 days. Allow the tart to cool completely before sealing it to maintain that coveted flaky texture. Simply reheat it gently in the oven at 350°F (175°C) for about 10-15 minutes when you’re ready to enjoy your delicious treat again.
Can I freeze Quick Pear Tart for later use?
Yes, you can! Wrap individual slices in plastic wrap and place them in a freezer-safe bag. The tart can be frozen for up to 2 months. To enjoy it again, thaw overnight in the fridge and then reheat at 350°F (175°C) for about 10-15 minutes. This will ensure your pastry stays flaky and your pears retain their beautiful texture.
What should I do if my tart crust is soggy?
Very good question! To prevent a soggy bottom, make sure to pat the sliced pears dry before placing them on the puff pastry. Additionally, avoid overloading the tart with too much juice from the pears, as this can lead to a soggy crust. If you already find your crust soggy, reheating it in the oven can sometimes help improve the texture.
Is this Quick Pear Tart suitable for those with dietary restrictions?
Absolutely! If you’re making it for someone with dietary allergies, you can easily modify it. Use dairy-free butter to make it vegan, or substitute the sugar with coconut sugar or a sweetener of your choice. Just ensure the puff pastry you use is also dairy-free if required. If you have any concerns about pets, keep the tart out of their reach, especially because certain ingredients like sugar and certain fruits are not pet-safe.
Delicious Quick Pear Tart: Effortless Elegance in Every Bite
Ingredients
Equipment
Method
- Preheat your oven to 375°F (190°C).
- Roll out the thawed puff pastry on a lightly floured surface until it's about 1/8 inch thick.
- Wash, peel (if desired), and slice the ripe pears thinly. Toss them with cinnamon, sugar, and lemon juice.
- Neatly arrange the pear slices on the puff pastry, leaving about a 1-inch border around the edges.
- Brush the edges of the pastry with melted butter and sprinkle any remaining cinnamon-sugar mixture over the pears.
- Place the baking sheet in the oven and bake for 25-30 minutes, until the pastry is golden brown.
- Optional: Brush the top of the tart with warm apricot jam for a glossy finish.
- Allow the tart to cool slightly on the baking sheet for about 5-10 minutes before serving.