
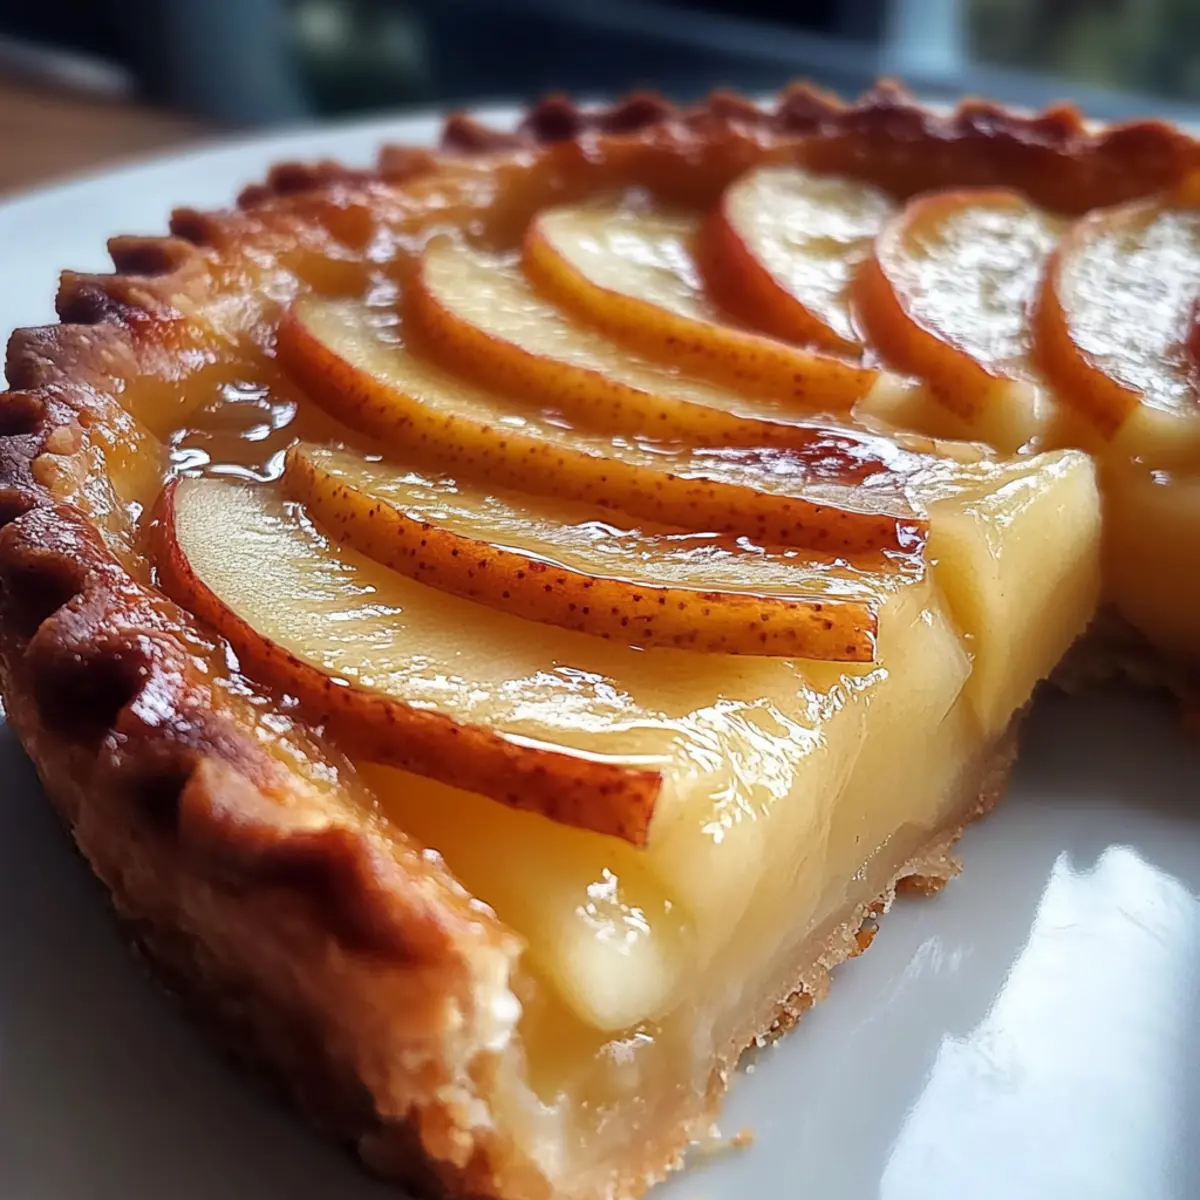
As I peeled back the layers of perfection, the aroma wafting from my oven transported me straight to a quaint Parisian café. This French Apple Tart is a cherished classic that marries the comforting embrace of a flaky, buttery crust with the tart sweetness of beautifully caramelized apples. It’s surprisingly easy to whip up, making it a go-to dessert for both impressing your friends and treating yourself after a long day. Not only does this recipe deliver a stunning visual presentation, but it’s also a delightful way to enjoy fresh, seasonal produce without the fuss of complicated techniques. Are you ready to bring a slice of France to your kitchen?
Why is French Apple Tart So Special?
Simplicity at its finest: This delightful French Apple Tart is shockingly easy to create and doesn’t require advanced baking skills.
Irresistible aroma: The sweet scent of caramelizing apples will fill your home, creating an inviting atmosphere perfect for gatherings.
Seasonal versatility: Feel free to swap in your favorite apples or even other fruits like pears for a stunning twist.
Crowd-pleaser: Whether you’re hosting a dinner party or enjoying a cozy night at home, this tart is sure to impress! To pair perfectly with this dish, don’t miss out on our delectable Cinnamon Roll French or the sweet warmth of Apple Pancake Cozy.
French Apple Tart Ingredients
• Here’s everything you’ll need!
For the Pastry Crust
- All-purpose flour – A versatile staple that creates a tender crust; avoid whole wheat for this delicate tart.
- Chilled unsalted butter – Cold butter is key to achieving a flaky texture; dice it small for better incorporation.
- Granulated sugar – Adds a subtle sweetness that balances the tartness of the apples.
- Ice water – Use to bind the crust together; cold water helps maintain the butter’s chill.
For the Apple Filling
- Granny Smith apples – These firm, tart apples retain their shape beautifully; for a sweeter flavor, try Honeycrisp as a substitute.
- Granulated sugar – This sweetness enhances the natural flavors of the apples as they caramelize in the oven.
- Lemon juice – A splash of acidity brightens the filling and prevents browning.
- Ground cinnamon – Adds warmth and depth; feel free to spice it up with nutmeg for extra richness.
For the Apricot Glaze
- Apricot preserves – This adds a lovely shine and sweetness; it can be substituted with honey mixed with a bit of water for a quick fix.
- Water – Used to thin the preserves to make it easy to brush on.
Experience the joy of creating this French Apple Tart, and let every bite remind you of sweet moments spent in the heart of Paris!
Step‑by‑Step Instructions for French Apple Tart
Step 1: Prepare the Pastry Crust
In a large mixing bowl, combine chilled, diced unsalted butter with all-purpose flour and a pinch of salt. Using a pastry cutter or your fingers, work the butter into the flour until the mixture resembles coarse crumbs, about 5-7 minutes. Gradually add ice water, one tablespoon at a time, mixing until the dough just comes together. Wrap in plastic wrap and refrigerate for at least 30 minutes to chill.
Step 2: Roll and Fit the Dough
After chilling, lightly flour your work surface and roll out the pastry dough to fit a 9-inch tart pan, aiming for about 1/8-inch thickness. Gently lift the rolled dough into the pan, allowing the edges to overhang slightly to prevent shrinking. Press the dough into the pan’s edges, trimming any excess as necessary, and then refrigerate the prepared crust for 15 minutes.
Step 3: Arrange the Apple Slices
Preheat your oven to 375°F (190°C). Meanwhile, prepare your filling by thinly slicing Granny Smith apples, aiming for uniform 1/8-inch slices. Remove the tart from the refrigerator, and begin layering the apple slices in a spiral pattern over the crust, packing them tightly for an aesthetically pleasing look. Sprinkle the apples with granulated sugar and a squeeze of lemon juice for added flavor.
Step 4: Bake the Tart
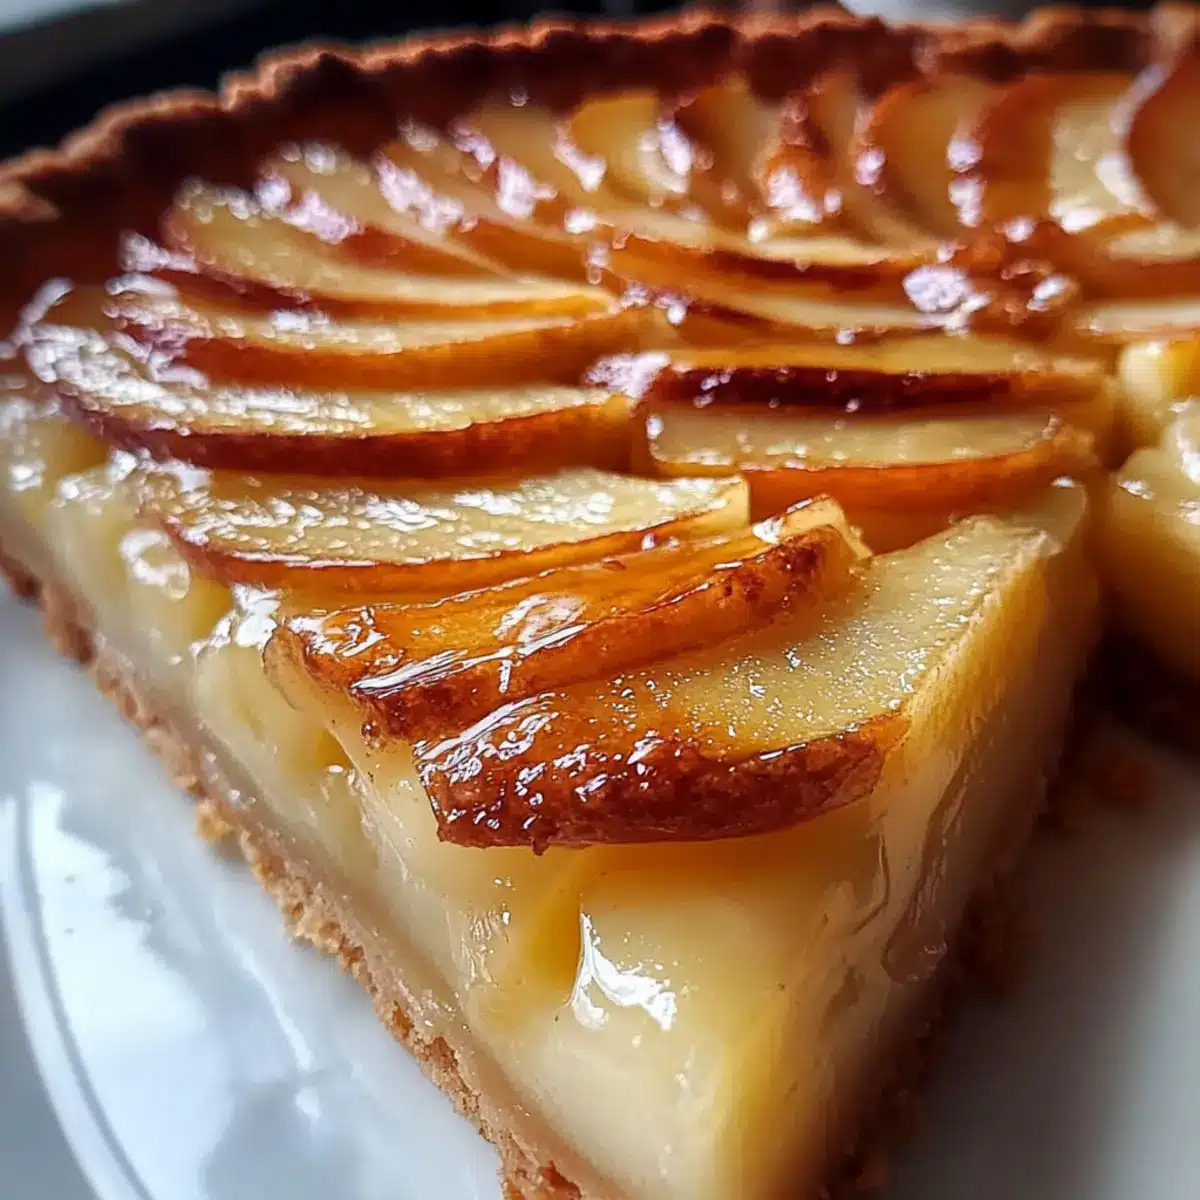
Place your assembled French Apple Tart in the preheated oven and bake for about 35-40 minutes, or until the apples are tender and beautifully caramelized. Keep an eye on the crust, ensuring it turns a golden brown. If the edges brown too quickly, gently cover them with aluminum foil.
Step 5: Glaze the Tart
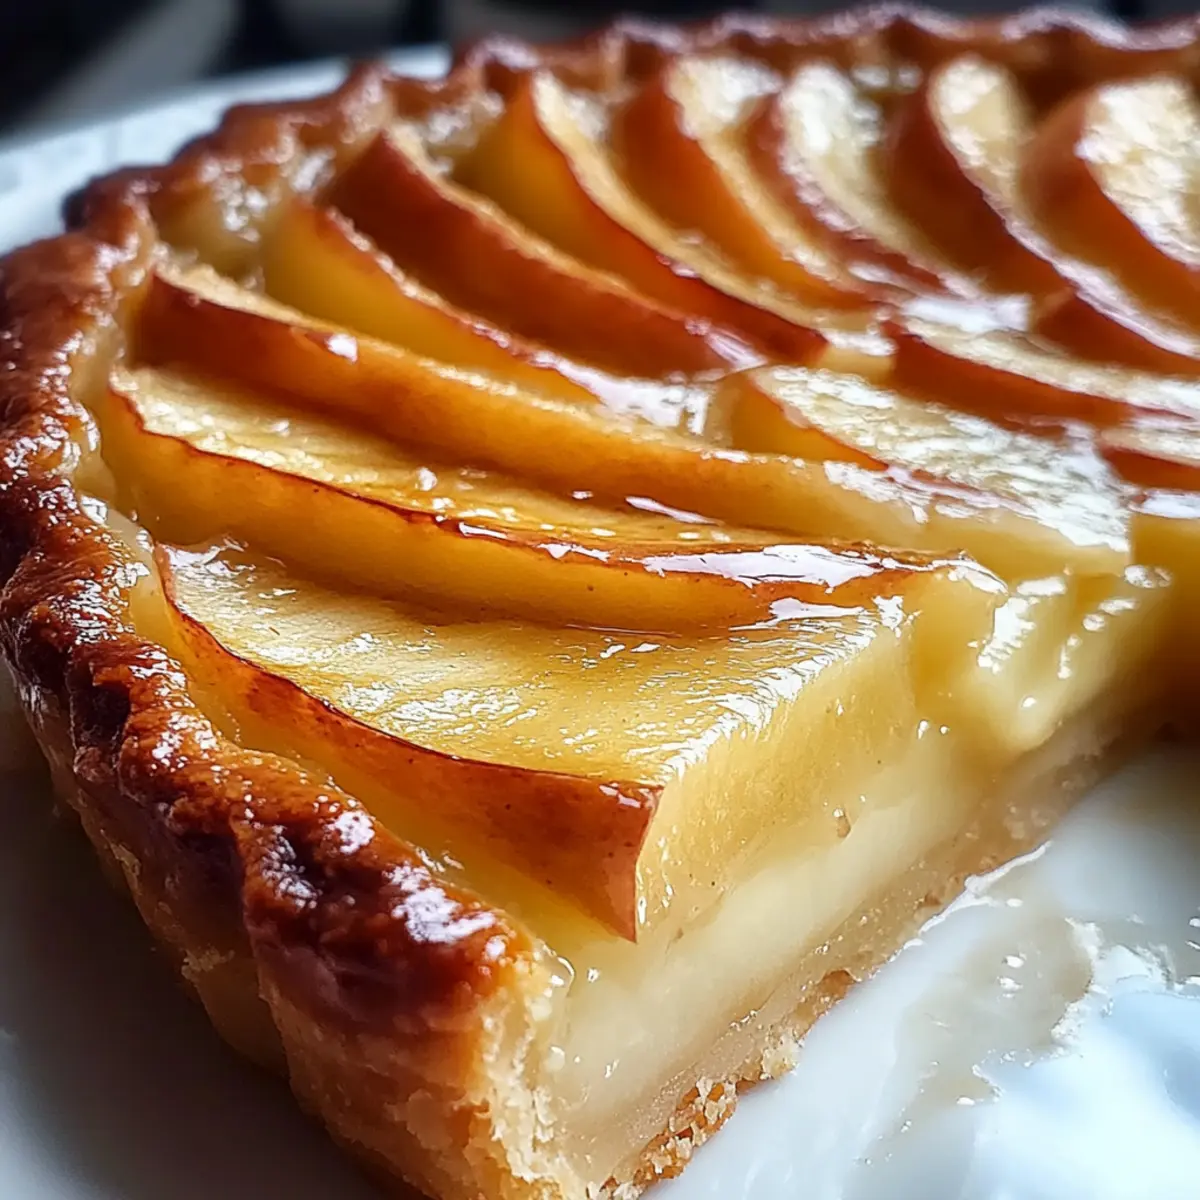
Once baked, remove the tart from the oven and prepare the apricot glaze by mixing apricot preserves with a tablespoon of water in a small saucepan over low heat until melted. Brush the warm glaze over the surface of the tart for a shiny finish and let it cool for 10 minutes before slicing and serving.
Expert Tips for French Apple Tart
- Chilling is Key: Always chill your butter and dough; this prevents the crust from becoming tough and helps achieve a flaky texture.
- Slice Uniformly: For even baking, ensure apple slices are about 1/8-inch thick; uneven slices may lead to some apples being undercooked.
- Mind the Shrinkage: Allow the dough to overhang the tart pan edges, and handle it gently to prevent shrinking during baking.
- Adjust Baking Time: Every oven is unique; start checking for doneness a few minutes before the suggested time to avoid overbaking.
- Storage Savvy: Keep leftovers in the fridge for up to three days or freeze the unglazed tart for up to three months for future enjoyment.
Make Ahead Options
These French Apple Tart preparations are perfect for busy home cooks looking to save time without sacrificing quality! You can prepare the pastry crust up to 3 days in advance; simply roll it out, fit it into your tart pan, and store it wrapped tightly in the refrigerator. The apple filling can also be prepared up to 24 hours beforehand; just slice your Granny Smith apples and toss them in lemon juice to prevent browning, then cover and refrigerate. When you’re ready to bake, layer the apples on the crust and follow the usual baking instructions for a deliciously fresh dessert that will impress your family or guests with minimal effort!
What to Serve with Irresistible French Apple Tart?
Indulge in a culinary journey that completes your meal with delightfully complementary flavors and textures.
-
Vanilla Ice Cream: A classic pairing, its creamy sweetness balances the tartness of the apples, making each bite heavenly.
-
Whipped Cream: Light and fluffy, freshly whipped cream adds a luscious element that enhances the tart’s flavors while providing a beautiful presentation.
-
Caramel Sauce: Drizzling warm caramel over the tart brings indulgent richness that contrasts perfectly with the bright apple filling.
-
Coffee or Espresso: The deep, robust flavors of coffee or robust espresso create a sophisticated finish to your dessert experience.
-
Spiced Apple Cider: With hints of cinnamon and warming spices, a glass of spiced apple cider echoes the flavors of the tart beautifully.
-
Cheese Plate: A selection of creamy Brie or sharp cheddar offers a unique savory contrast, enhancing the sweet and tart notes of your creation.
-
Fresh Berries: A side of juicy raspberries or strawberries brings a refreshing brightness, adding extra layers of flavor and color to your dessert.
-
Almond Cookies: These crisp, nutty treats can provide a delightful crunch, pairing beautifully with the tender apples in your tart.
-
Fresh Mint Tea: A soothing herbal cup of mint tea cleanses the palate, inviting another slice of your delicious French Apple Tart.
How to Store and Freeze French Apple Tart
Fridge: Keep any leftover French apple tart in an airtight container for up to 3 days. Reheat individual slices in the microwave or in a warm oven to restore its delightful texture.
Freezer: For longer storage, freeze the unglazed tart for up to 3 months. Wrap tightly in plastic wrap, then foil, to prevent freezer burn. Thaw in the refrigerator before glazing and serving.
Reheating: When ready to enjoy, gently reheat in a preheated oven at 350°F (175°C) for about 10-15 minutes, allowing the tart to regain its warmth and crispness.
Serving Suggestions: Serve warm or at room temperature to highlight the delicious flavors of the apples and the buttery shortcrust.
French Apple Tart Variations
Feel free to let your creativity flourish by adapting this recipe to suit your taste and preferences!
- Pears Twist: Swap out apples for ripe pears for a uniquely sweet and fragrant tart.
- Spiced Up: Add a pinch of nutmeg or cardamom for a warm, aromatic boost to the filling.
- Nutty Crunch: Mix in some finely chopped walnuts or almonds to the apple slices for added texture.
- Maple Glaze: Replace apricot glaze with a maple syrup mixture for an autumn-inspired sweetness.
- Chocolate Drizzle: Drizzle melted dark chocolate over the tart before serving to elevate the flavor profile.
- Vegan Option: Use coconut oil or vegan butter for the crust and a plant-based glaze for a dairy-free delight.
- Mini Tarts: Create individual portions using muffin tins for a charming dessert presentation.
- Serving Suggestion: Pair it warm with a scoop of vanilla ice cream, or for a brunch delight, try it with our delectable Chicken Pineapple Quesadillas!
By exploring these variations, you can create your own story with each slice of this French Apple Tart. Enjoy the process, and don’t forget to share your delicious creations with family and friends!
French Apple Tart Recipe FAQs
What type of apples are best for this French apple tart?
Absolutely! Granny Smith apples are my top choice because they bring a delightful tartness and firm texture. You can also opt for Honeycrisp or Braeburn apples for a sweeter flavor, but steer clear of mealy varieties like Red Delicious.
How should I store leftover French apple tart?
After you’ve savored your delicious tart, store any leftovers in an airtight container in the fridge for up to 3 days. This helps retain the freshness and flavor, and you can reheat slices gently in the microwave or a warm oven for that just-baked taste.
Can I freeze French apple tart, and if so, how?
Certainly! To freeze the unglazed tart, wrap it tightly in plastic wrap, followed by aluminum foil, and pop it in the freezer for up to 3 months. When you’re ready to enjoy it, let it thaw in the fridge overnight, then glaze and serve for a taste of France.
What if my pastry crust shrinks during baking?
Very! If your crust is shrinking, it’s often a result of handling it too much before baking. To prevent this, make sure to chill your dough well before rolling it out and allow the edges to drape slightly over the tart pan. If it does shrink, simply press it gently back into place after baking.
Are there any dietary considerations for this recipe?
Definitely! This French apple tart is vegetarian-friendly, but those with gluten allergies should opt for a gluten-free flour blend to substitute the all-purpose flour in the crust. Always check labels for any added sugars or preservatives in the apricot glaze if you’re avoiding processed ingredients.
How can I ensure my apples cook evenly in the tart?
To achieve perfectly cooked apples, slice them uniformly to about 1/8-inch thickness. Uneven slices can lead to some apples being undercooked while others become mushy. Layer them tightly in a spiral pattern for a beautiful finish and a delightful eating experience.
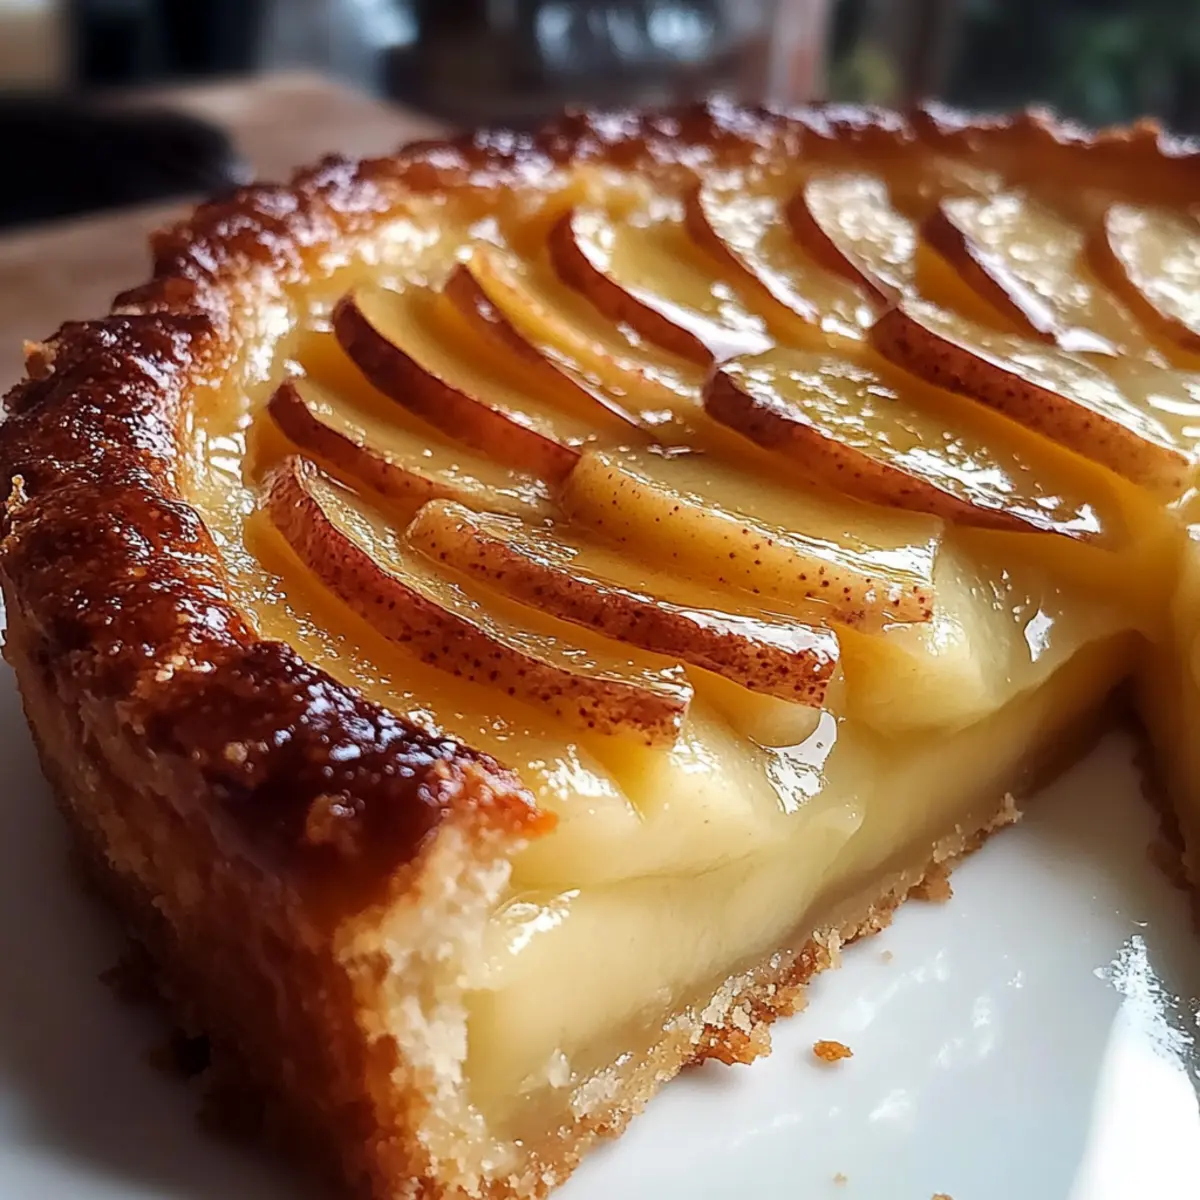
Delicious French Apple Tart: A Slice of Paris at Home
Ingredients
Equipment
Method
- In a large mixing bowl, combine chilled, diced unsalted butter with all-purpose flour and a pinch of salt. Work the butter into the flour until the mixture resembles coarse crumbs, about 5-7 minutes. Gradually add ice water, mixing until the dough just comes together. Wrap in plastic wrap and refrigerate for at least 30 minutes to chill.
- After chilling, lightly flour your work surface and roll out the pastry dough to fit a 9-inch tart pan, aiming for about 1/8-inch thickness. Gently lift the rolled dough into the pan, and press the dough into the pan’s edges, then refrigerate the prepared crust for 15 minutes.
- Preheat your oven to 375°F (190°C). Thinly slice Granny Smith apples and layer them tightly over the crust. Sprinkle the apples with granulated sugar and a squeeze of lemon juice.
- Place the assembled French Apple Tart in the oven and bake for about 35-40 minutes, or until the apples are tender and caramelized.
- Prepare the apricot glaze by mixing apricot preserves with water over low heat until melted. Brush warm glaze over the tart and let it cool for 10 minutes before slicing and serving.