
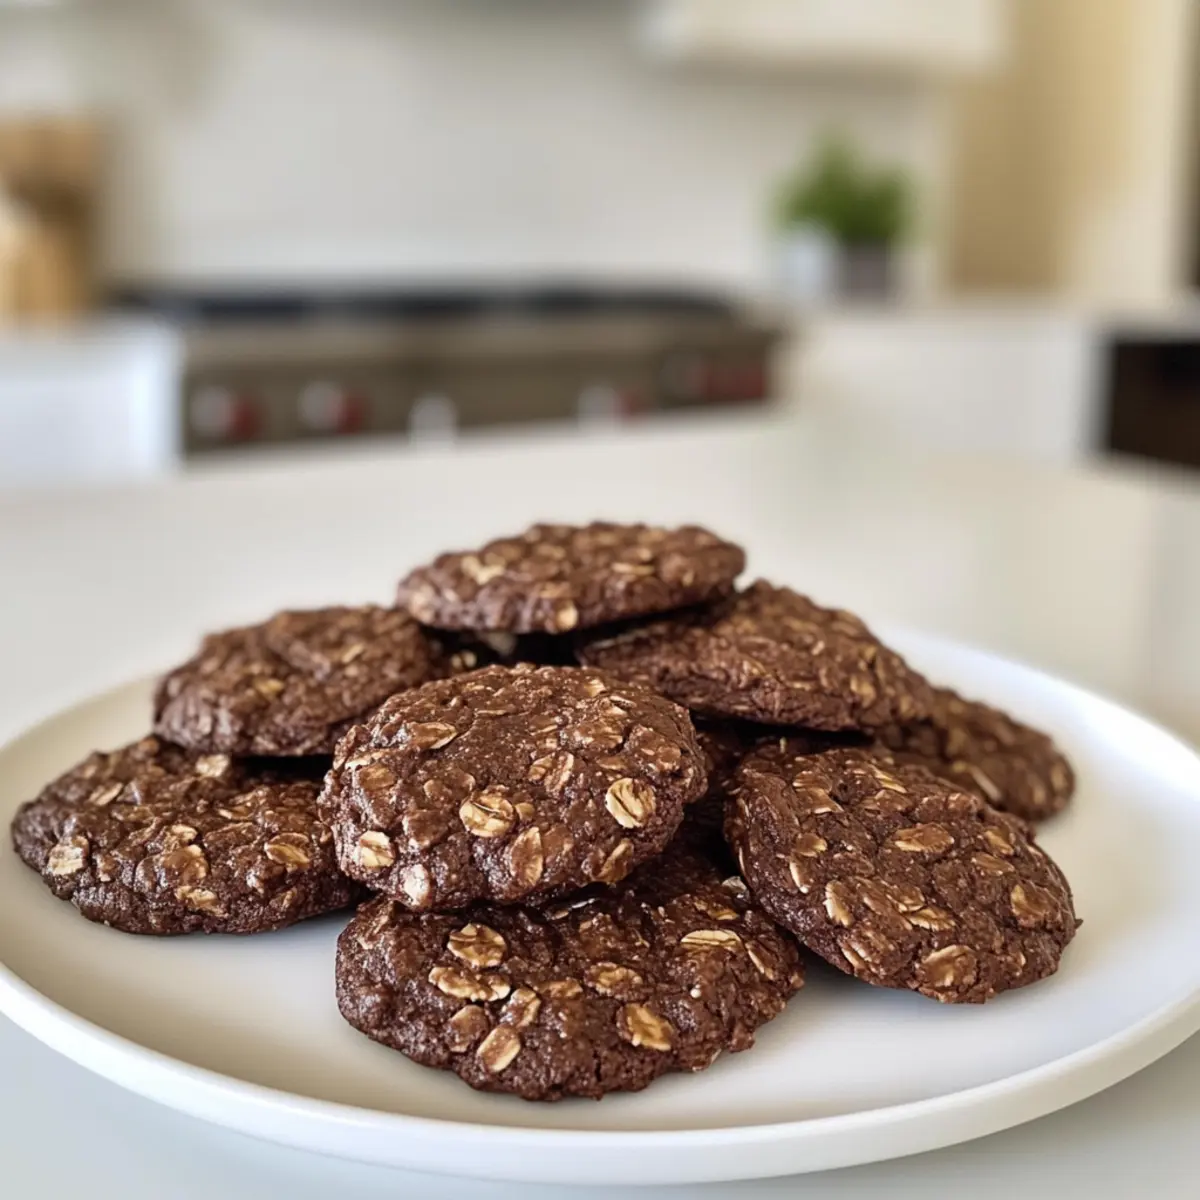
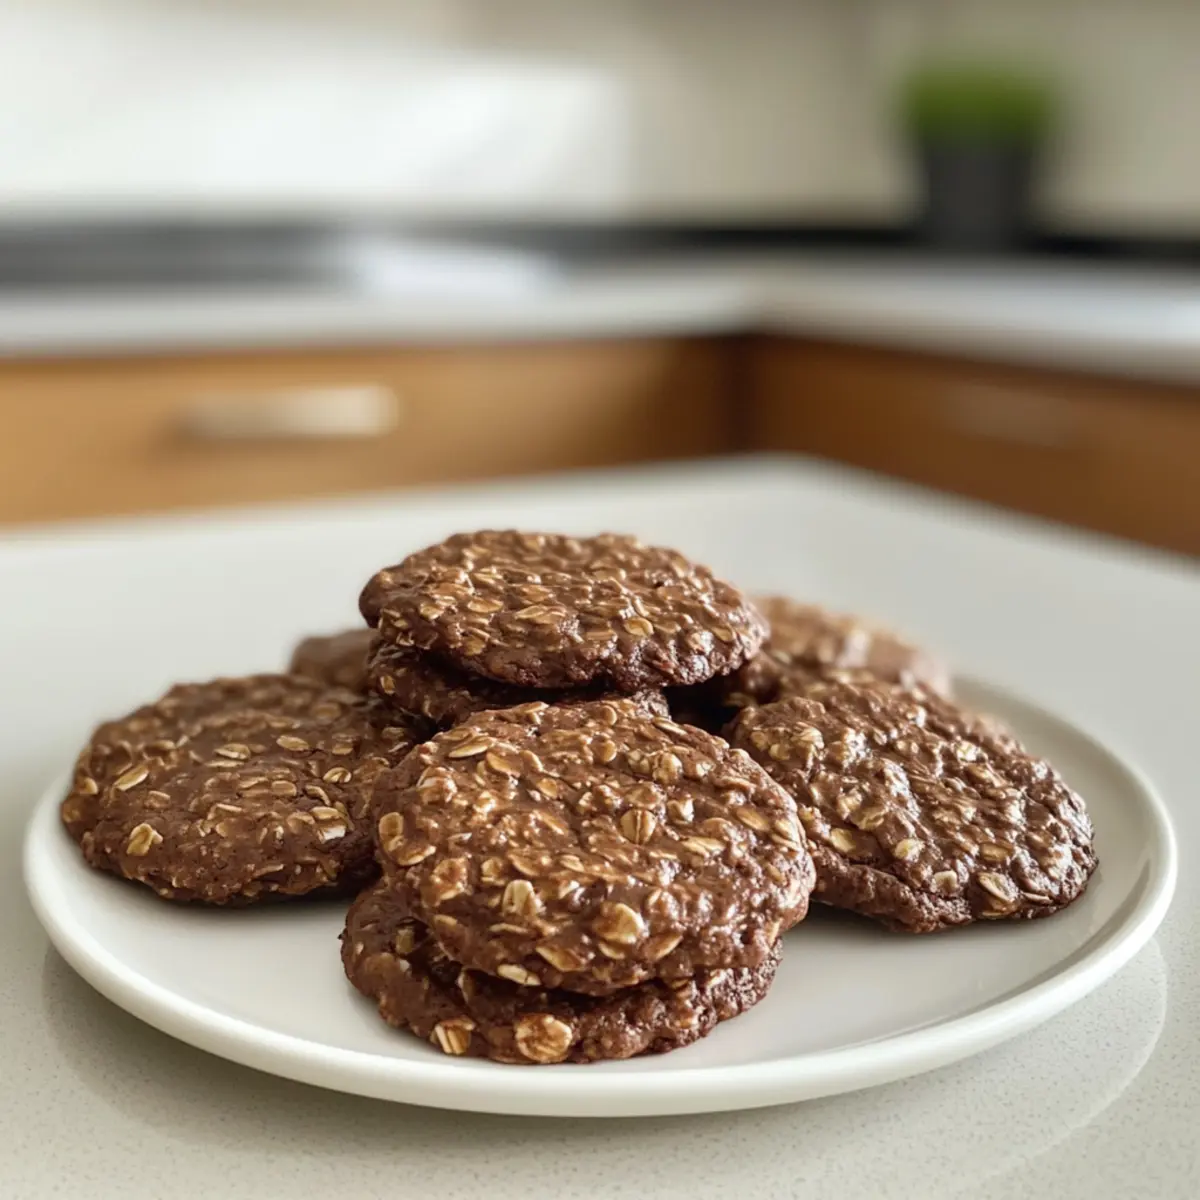
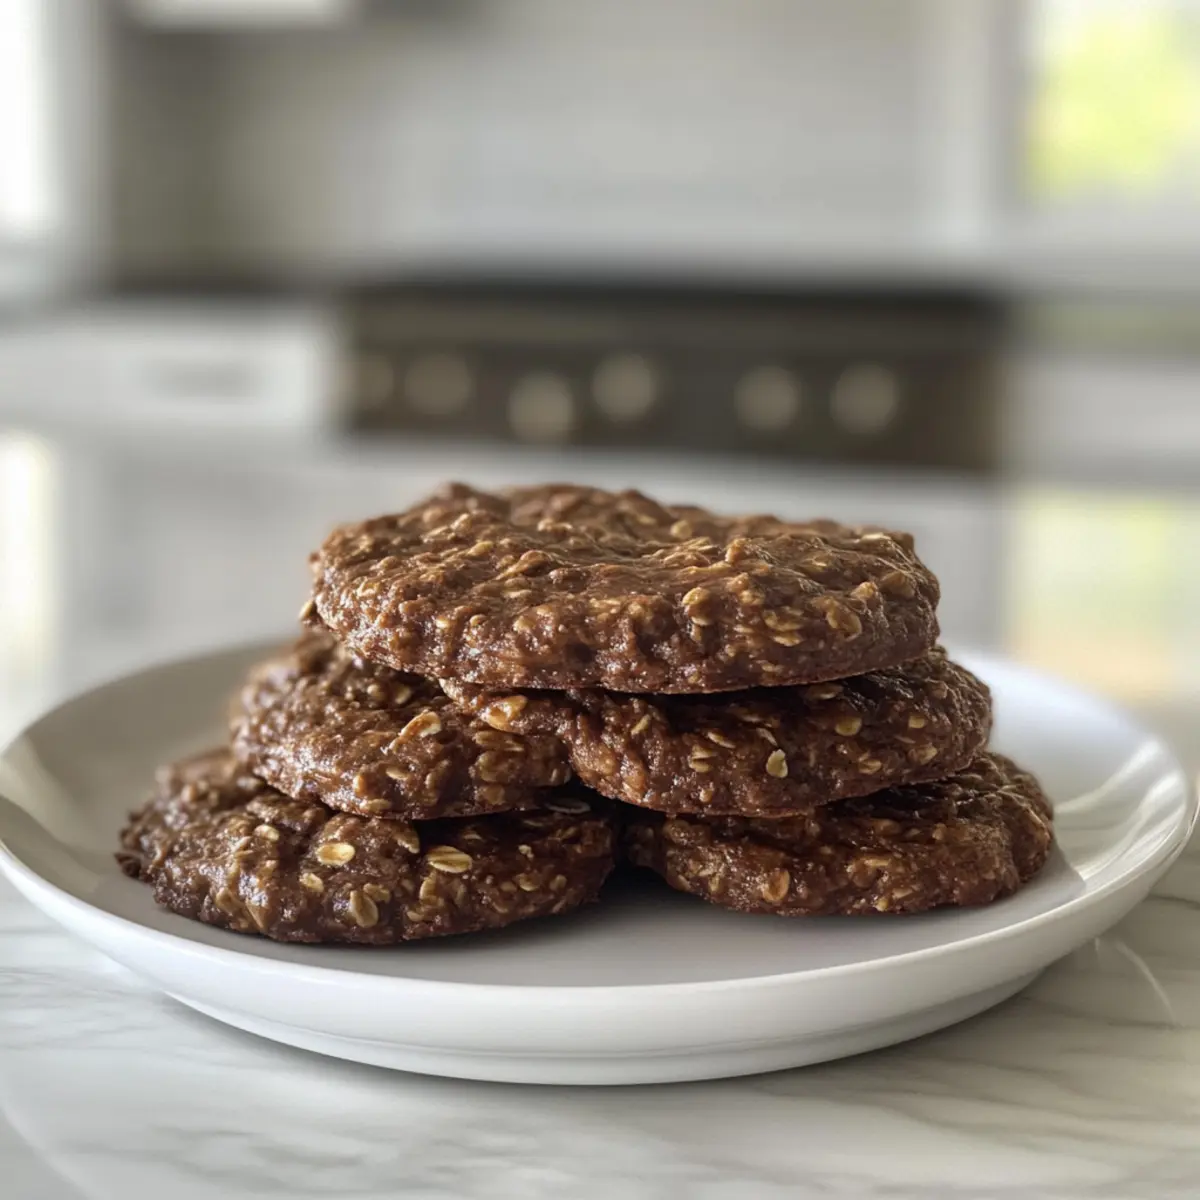
As I sifted through my pantry, a shiny jar of cocoa powder caught my eye, sparking inspiration for something deliciously wholesome: 4-Ingredient Crispy Chocolate Oat Cookies. The thrill of whipping up a satisfying treat with just four simple ingredients instantly lifts my spirits. Not only are these cookies a breeze to make, but they’re also gluten-free and packed with the goodness of oats, making them a guilt-free snack for any time of the day. Whether you’re craving a cozy treat or need a quick addition to your meal prep, these cookies deliver a delightful crunch and rich chocolate flavor. Ready to see how easy it is to indulge in this sweet, wholesome goodness? Let’s dive into the recipe and make some magic happen in your kitchen!
Why Should You Make These Cookies?
Simplicity at Its Finest: With just four ingredients, whipping up these cookies is a breeze—perfect for busy days or last-minute cravings.
Wholesome Goodness: Packed with nutritious oats and no gluten, these cookies make a fantastic guilt-free snack for both kids and adults!
Versatile Options: Feeling adventurous? Try substituting almond butter with peanut butter or toss in some dried fruits for a burst of flavor.
Delightfully Crispy: The cookies offer a perfect crunch while retaining a chewy interior, giving you the best of both worlds!
Quick to Bake: Ready in just 15 minutes, these cookies are the ultimate solution for sweet cravings without the wait.
Pair them with a glass of milk or serve them alongside a Cucumber Salad Spicy for a delightful meal!
Chocolate Oat Cookie Ingredients
For the Base
- Oats – A key ingredient for texture; opt for gluten-free oats to cater to dietary needs.
- Nut Butter (e.g., almond butter) – Provides excellent binding and richness; for a different twist, substitute with peanut butter or sunflower seed butter.
For Sweetening
- Maple Syrup – A natural sweetener that boosts flavor and moisture; feel free to use agave syrup or honey based on your taste preference.
For Chocolate Flavor
- Cocoa Powder – Essential for that rich chocolate essence; always choose unsweetened cocoa for the best results.
These 4-ingredient Chocolate Oat Cookies are not only easy to make but also perfect for a healthy snack that satisfies your sweet cravings!
Step‑by‑Step Instructions for 4-Ingredient Crispy Chocolate Oat Cookies
Step 1: Preheat the Oven
Begin by preheating your oven to 350°F (175°C). This crucial step ensures that your 4-Ingredient Crispy Chocolate Oat Cookies bake evenly and achieve that perfect texture. While the oven warms up, prepare your baking sheet by lining it with parchment paper, which will prevent the cookies from sticking and make cleanup a breeze.
Step 2: Mix the Ingredients
In a large mixing bowl, combine the oats, nut butter, maple syrup, and cocoa powder. Use a wooden spoon or spatula to mix vigorously until the mixture is well blended and thick, resembling a cookie dough consistency. This creamy mixture should take about 2-3 minutes to come together, ensuring all ingredients are evenly distributed for delightful flavor in every bite.
Step 3: Scoop the Mixture
Using a tablespoon, scoop generous portions of the cookie mixture onto the prepared baking sheet. Space them about 2 inches apart to allow for slight spreading while baking. Aim for uniform size to ensure even cooking, giving your cookies a beautifully consistent look. This should yield approximately 12 to 15 cookies depending on your scoop size.
Step 4: Shape the Cookies
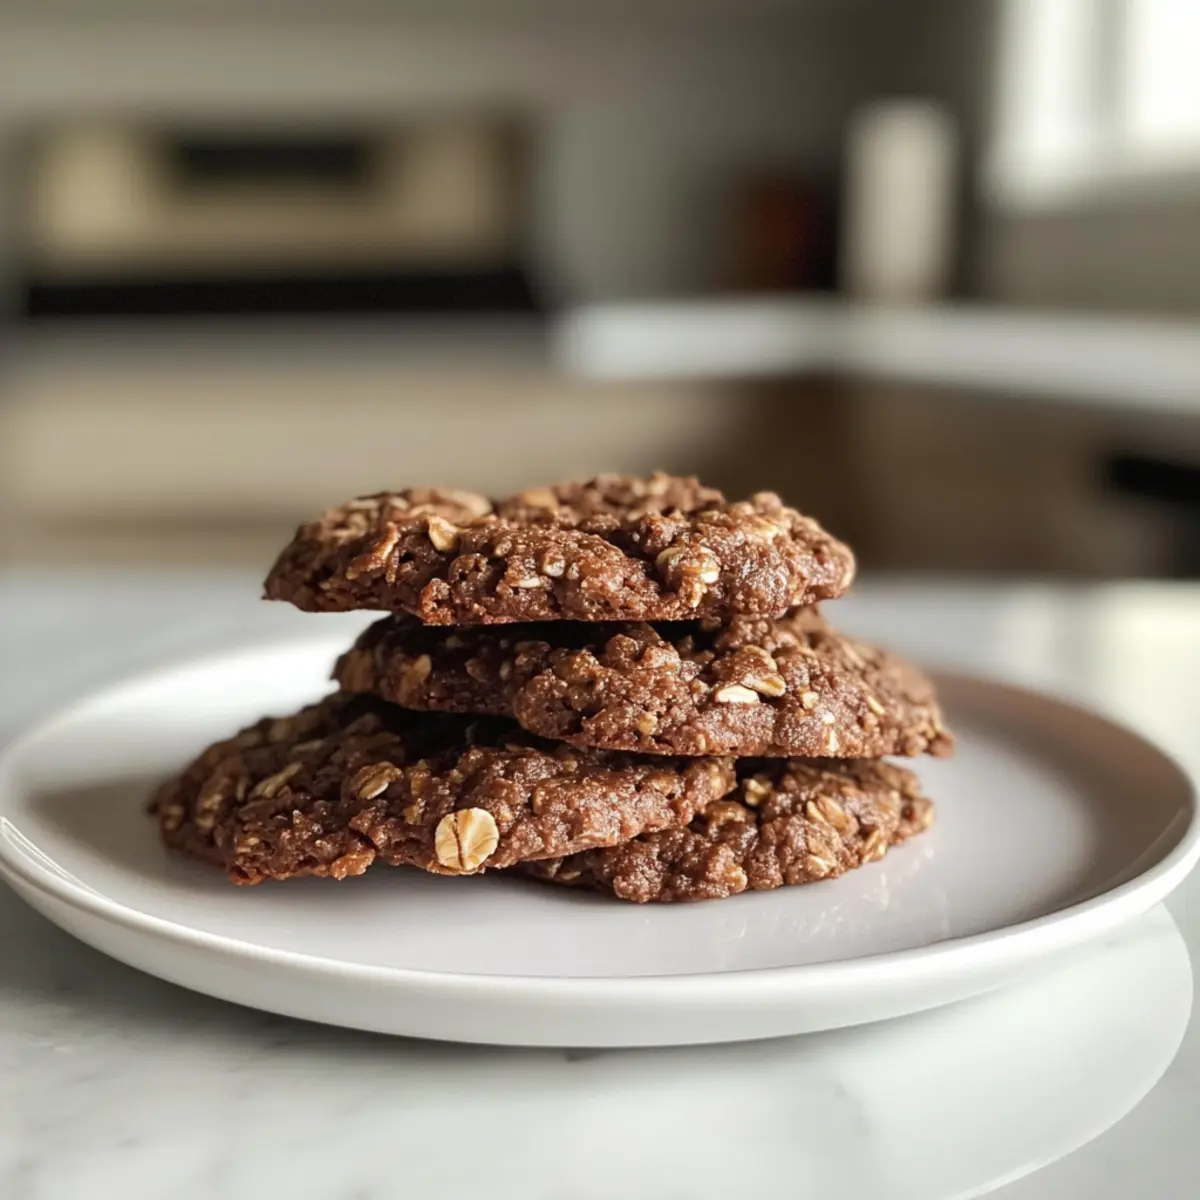
Press down gently on each cookie scoop to flatten slightly and form a distinct cookie shape. This step helps achieve that crispy edge while maintaining a chewy center in your 4-Ingredient Crispy Chocolate Oat Cookies. The cookies should look rustic yet inviting, ready to transform into a beautifully baked treat.
Step 5: Bake the Cookies
Place the baking sheet in the preheated oven and bake for 10-12 minutes. Keep an eye on them as the edges should start to harden and become slightly golden. Perfectly baked cookies will solidify as they cool, so be sure not to overbake for that delightful chewy interior.
Step 6: Cool and Transfer
Once baked, remove the cookies from the oven and let them cool on the baking tray for about 5 minutes. This cooling time allows them to firm up, making it easier to handle. Afterward, carefully transfer the cookies to a wire rack for further cooling, ensuring they maintain their crispy texture as they cool completely.
Make Ahead Options
Want to save time on busy weeknights? These 4-Ingredient Crispy Chocolate Oat Cookies are perfect for meal prep! You can prepare the dough and refrigerate it for up to 24 hours before baking. Simply mix the oats, nut butter, maple syrup, and cocoa powder, then cover the bowl tightly with plastic wrap to maintain freshness. When you’re ready to bake, scoop and shape the cookies directly from the fridge, then place them on a baking sheet and follow the usual baking instructions for a deliciously fresh treat that feels homemade. Taking these steps ensures your cookies stay just as scrumptious, without sacrificing quality, while providing you with an easy, guilt-free snack anytime you crave it!
What to Serve with 4-Ingredient Crispy Chocolate Oat Cookies
Looking to create a delightful spread around your cookies that elevates your snacking experience?
- Glass of Milk: A classic pairing, rich and creamy milk complements the chocolatey notes and elevates the crispy texture of the cookies.
- Fresh Berries: Juicy strawberries or raspberries add a burst of freshness, balancing the sweetness with a delightful tang. Their vibrant colors also bring a beautiful pop to your plate.
- Yogurt Parfait: Layer yogurt with granola and fruit for a wholesome treat, contrasting the crunch of the cookies with creamy decadence.
- Nutty Trail Mix: A mixture of nuts, seeds, and dried fruits will enhance the nutritious aspect of your cookies, offering various textures and flavors to enjoy.
- Herbal Tea: A warm cup of chamomile or mint tea provides a soothing experience, perfectly complementing the rich chocolate flavor without overwhelming it.
- Chocolate Dipping Sauce: For true chocolate lovers, serve your cookies with a side of warm melted chocolate for dipping, making every bite even more indulgent.
- Frozen Yogurt: Serve a scoop of vanilla or chocolate frozen yogurt alongside the cookies for a refreshing treat that pairs wonderfully with their crunchy texture.
- Peanut Butter Spread: Drizzle or dip your cookies in creamy peanut butter for an irresistible combination of chocolate and nutty flavors.
Variations & Substitutions
Explore the possibilities to heighten your cookie experience and match your tastes!
-
Peanut Butter: Swap almond butter for peanut butter for a richer, nuttier flavor. This substitution is a classic choice that adds a lovely depth to your cookies.
-
Sunflower Seed Butter: For a nut-free option, sunflower seed butter works beautifully, providing a similar texture without the allergens. Your cookies will keep their delightful chewiness while being allergy-friendly!
-
Agave Syrup: Substitute maple syrup with agave syrup to lower the glycemic index. This swap will bring a similar sweetness with a versatile flavor that pairs excellently with oats and chocolate.
-
Chocolate Chips: Adding mini chocolate chips will infuse an extra chocolatey burst and delightful texture to every bite. The melted chips paired with the chewy oats create a decadent experience you won’t want to miss!
-
Dried Fruits: Mix in dried fruits like raisins or cranberries for a lovely tangy sweetness that perfectly complements the rich cocoa. This twist adds a playful, cheerful touch to each cookie, making them irresistibly good!
-
Spices: Sprinkle in a pinch of cinnamon or a dash of sea salt to enhance the flavors. Just a hint can elevate your cookies from delicious to extraordinary!
-
Coconut Flakes: For a tropical twist, add unsweetened coconut flakes to the mix. They’ll lend a delightful chew along with a mild sweetness that contrasts beautifully with the chocolate.
These cookie variations not only keep things exciting but make them an outstanding addition to any snack routine! Whether it’s alongside a cozy cup of tea or paired with a side of Cucumber Salad Spicy, there’s always a way to enjoy these treats!
Storage Tips for Chocolate Oat Cookies
Room Temperature: Store cookies in an airtight container at room temperature for up to 7 days to keep them fresh and maintain their delightful crunch.
Fridge: If you prefer them chilled, place the cookies in the fridge for up to 2 weeks. Just remember to keep them in an airtight container to prevent moisture from making them soggy.
Freezer: For longer storage, freeze the cookies in a single layer on a baking sheet until solid, then transfer them to a freezer-safe bag for up to 3 months.
Reheating: When you’re ready to enjoy the frozen cookies, simply thaw them at room temperature or warm them in the oven for a few minutes to restore that chewy, crispy texture.
Expert Tips for the Best Chocolate Oat Cookies
-
Texture Matters: Ensure oats are finely ground for a smoother texture. Large oats can lead to a chunky cookie, deviating from the desired consistency.
-
Timing is Key: Avoid overbaking; cookies will continue to firm as they cool. Keep a close eye on the edges, aiming for a golden hue.
-
Use a Scoop: A cookie scoop promotes uniform size, which aids in even baking. Uneven scoops can result in some cookies being crunchy while others remain soft.
-
Cool Completely: Allow cookies to cool on the rack to maintain that crunchy exterior and chewy center, ensuring the perfect bite each time.
-
Experiment with Flavors: Don’t hesitate to mix in other ingredients, like mini chocolate chips or chopped nuts, to elevate your 4-ingredient chocolate oat cookies.
4-Ingredient Crispy Chocolate Oat Cookies Recipe FAQs
What type of oats should I use?
Absolutely! You can use gluten-free oats if you need to adhere to a gluten-free diet. Always check the label to ensure they’re certified gluten-free, as some oats may be processed in facilities that handle gluten.
How long can I store the cookies, and what’s the best method?
Store your cookies in an airtight container at room temperature for up to 7 days. To maintain their delightful crunch, keep them away from moisture. If you prefer, you can also refrigerate them for up to 2 weeks, just remember to use an airtight container to prevent sogginess!
Can I freeze these cookies?
Very! To freeze your cookies, first place them in a single layer on a parchment-lined baking sheet and freeze until solid, about 1-2 hours. Once frozen, transfer them to a freezer-safe bag and store them for up to 3 months. When you’re ready to enjoy them, simply thaw at room temperature or warm in the oven to bring back that delicious texture.
What if my cookies come out too soft?
If your cookies turned out too soft, it might be due to underbaking. Next time, keep a close eye on the edges; they should be golden but not overly firm. Allow the cookies to cool completely on the baking rack; they will firm up as they cool. If they’re still too soft, consider slightly increasing the baking time by a minute or two.
Are there any dietary concerns I should be aware of?
Definitely! If you or anyone you’re serving has nut allergies, you can easily swap out the nut butter for sunflower seed butter or a similar alternative. Always read the labels on all ingredients to check for allergens, especially if you’re sharing these treats with friends or family members who have specific dietary restrictions.
Sweet and Spicy Chicken Wings That Will Ignite Your Taste Buds
Ingredients
Equipment
Method
- Preheat the oven to 400°F (200°C).
- In a mixing bowl, combine the sweet chili sauce, soy sauce, honey, garlic powder, paprika, and black pepper.
- Add the chicken wings to the mixture and coat evenly.
- Place the wings on a baking sheet lined with parchment paper.
- Bake in the preheated oven for 20 minutes, flipping halfway through.
- Let the wings cool for 5 minutes before serving.